Frizzy hair and braids have a complicated relationship. You want the polished, elegant look that comes with a well-executed French braid, but frizz has other plans. Every strand that escapes becomes more noticeable, flyaways multiply under tension, and humidity seems designed specifically to sabotage your styling efforts. The truth is, not all French braids are created equal when it comes to managing frizz—some techniques actually make it worse, while others can transform frizz into texture that looks intentional and beautiful.
The secret isn’t fighting frizz with force. Tight, pulled braids can actually create more breakage and leave flyaways even more visible. Instead, the best French braids for frizzy hair work with your hair’s natural texture rather than against it. They use strategic moisture, selective product placement, and braiding techniques that keep hair smooth at the surface while allowing enough give in the braid that you’re not creating stress on individual strands. A well-chosen braid for frizzy hair should look polished in humid conditions, require minimal re-tucking throughout the day, and actually get better-looking as the day progresses.
What makes one French braid style work for frizzy hair while another falls apart? It comes down to the combination of prep work, product choice, tension control, and braid pattern. Some styles work best when your hair has been blow-dried straight first. Others actually perform better on slightly damp hair where a smoothing serum can lock moisture into the cuticle. A few brilliant options bypass traditional frizz concerns entirely by leaning into textured, slightly undone braids that read as intentional rather than frizzy. Once you understand which approach matches your hair type and daily lifestyle, you’ll finally get that effortless French braid that lasts.
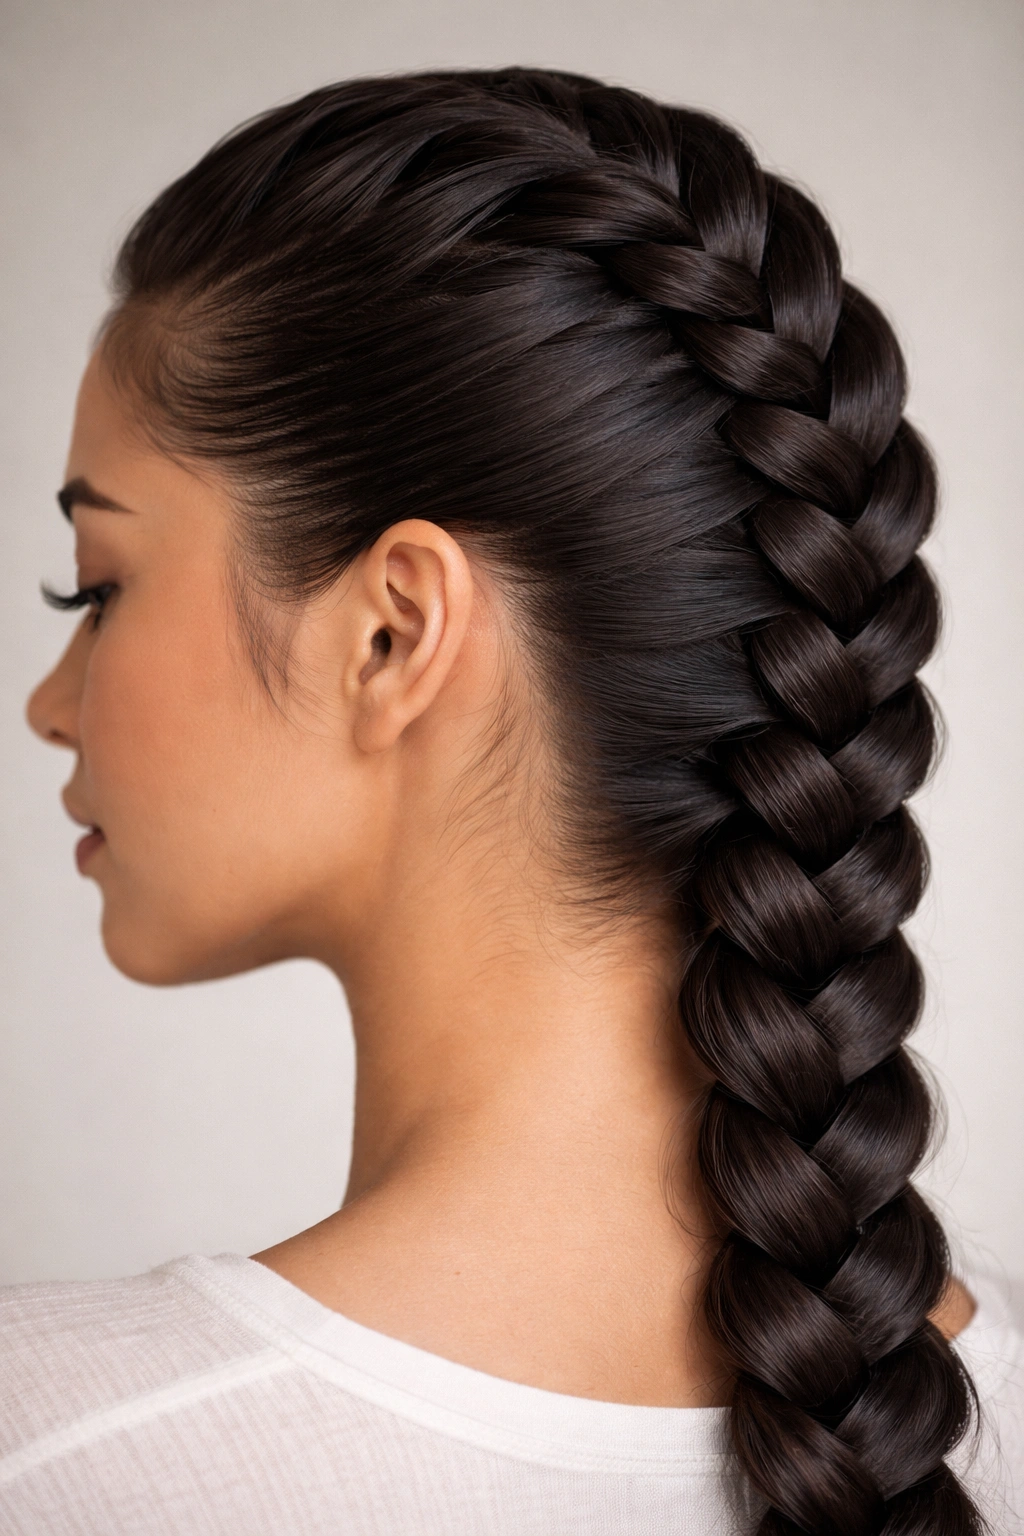
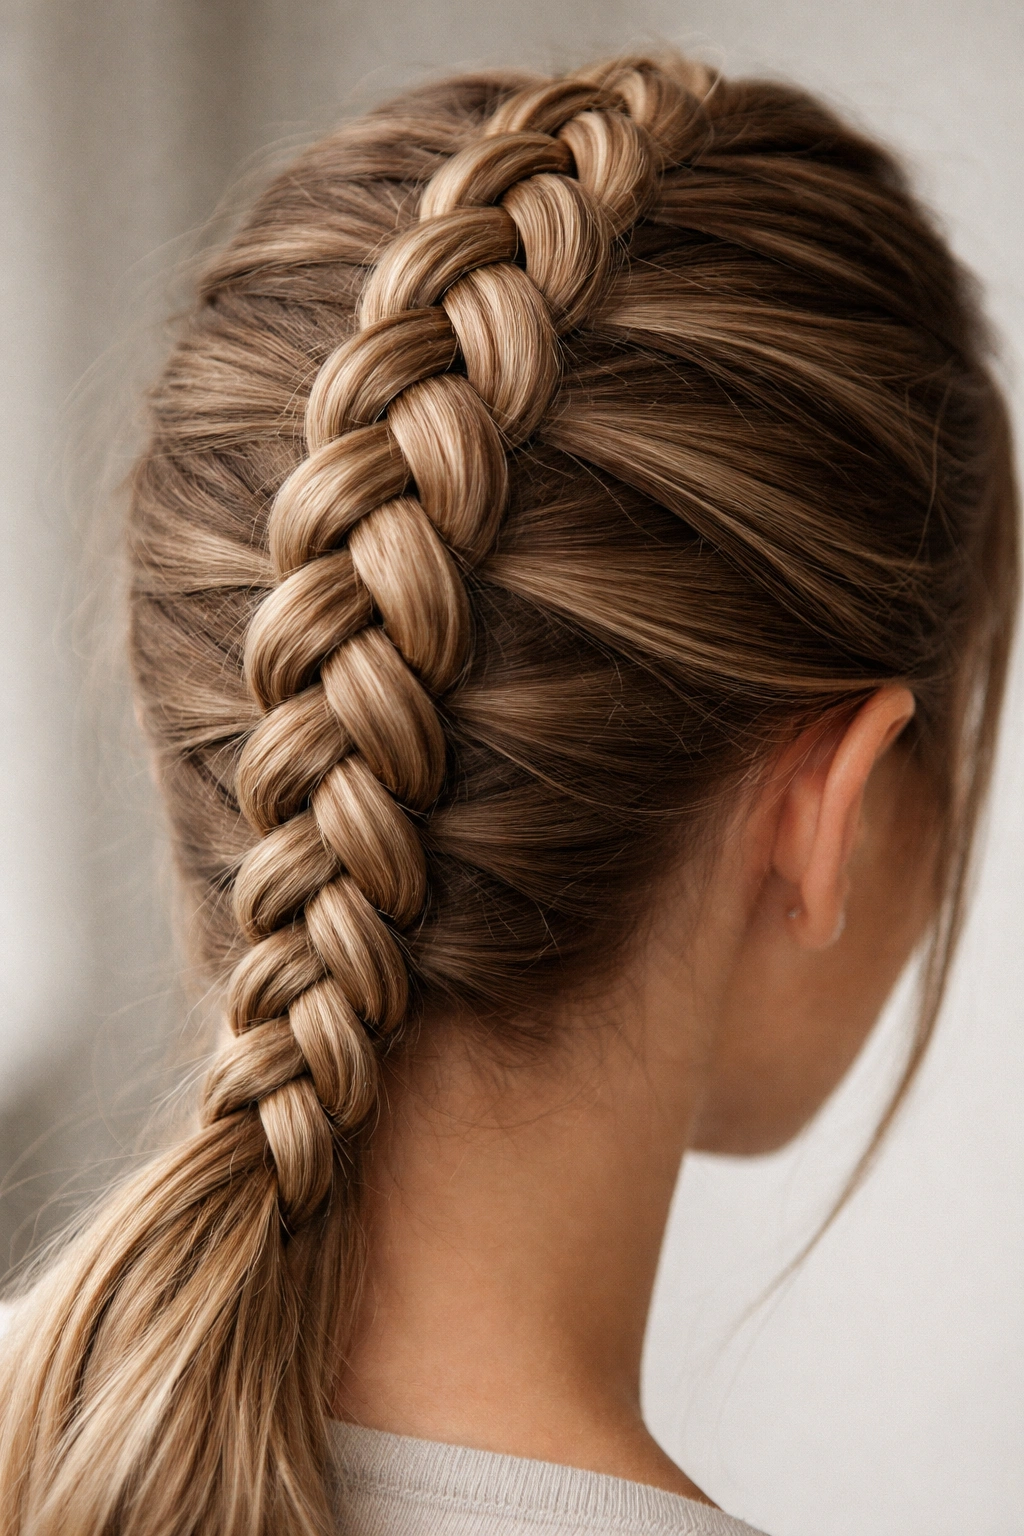
1. The Tight Dutch Braid
The Dutch braid is the secret weapon for frizzy hair that responds well to tension and structure. Rather than the traditional French braid where you weave strands over each other, a Dutch braid weaves strands under, creating a raised, three-dimensional braid that sits visibly on top of the hair rather than sinking into it. This subtle difference has a major payoff: the raised structure of a Dutch braid actually contains flyaways better. Each strand is held more firmly in place, and the braid’s architecture naturally corrals loose hairs into the pattern rather than letting them escape.
Why This Style Tames Frizz Effectively
The Dutch braid’s raised, interlocking pattern creates friction between the braided sections and the loose hair underneath, which paradoxically helps hold everything in place. The braid itself becomes a structural support that prevents the hair from separating and exposing frizz. Because the braid sits visibly on the scalp rather than blending into the hair, you also get a finished, intentional look that makes any remaining frizz feel like part of the style rather than a styling failure.
How to Execute It Perfectly
- Start with completely dry or blow-dried hair for maximum grip and control
- Apply a lightweight smoothing serum or anti-frizz cream from mid-length to ends before braiding
- Divide your hair into three even sections at the crown, then begin braiding by crossing the right section under the center, then the left section under the new center
- Keep tension firm and consistent—this is not the time for a loose, undone braid
- Continue braiding down the length of your hair, adding hair as you would with a traditional French braid, but always weaving sections under rather than over
- Finish with a small elastic and gently smooth any visible flyaways with a fine-tooth comb and smoothing product
Pro tip: Slightly damp roots (while the rest of your hair is dry) give you the best grip without adding extra frizz. Blow-dry your roots smooth before braiding, but don’t apply additional moisture to the lengths.
2. The Textured Heatless Wave Braid
This style plays to frizzy hair’s strengths by intentionally creating texture that disguises true frizz. The goal isn’t a perfectly smooth braid but rather a loosely woven braid that you’ll later unravel slightly to create soft waves. The beauty of this approach is that loose waves naturally hide any frizz or flyaways that might show up in a tighter style. What looks like texture from the braid actually blends with what might otherwise read as frizz, creating a cohesive, intentional texture.
The Strategic Advantage of Loose Braiding
Loose braids put less stress on individual hairs, which means less breakage and fewer flyaways created by tension itself. The looser weave also means the braid stays neater longer because there’s not constant tension pulling strands out of place. As you move through the day, a loose braid tends to relax further into waves without unraveling completely, creating the effortless texture that makes frizz disappear into the overall look.
How to Create This Style
- Apply a lightweight sea salt spray to damp hair (this adds grip without the stiffness of gel)
- Begin braiding while your hair is still slightly damp but not dripping wet
- Braid loosely, intentionally leaving extra space in each section rather than pulling tight
- As you braid, gently pull and tease sections of the braid with your fingers to add width and texture
- Once you reach the ends, secure with a small elastic but don’t pull it too tight
- After a few hours, gently unravel the braid by loosening sections with your fingers, starting from the bottom and working upward
- The result should be soft, piece-y waves that disguise any frizz as intentional texture
Worth knowing: This style performs better when you braid before your hair is completely dry. Completely dry hair will be harder to braid loosely without sections popping out.
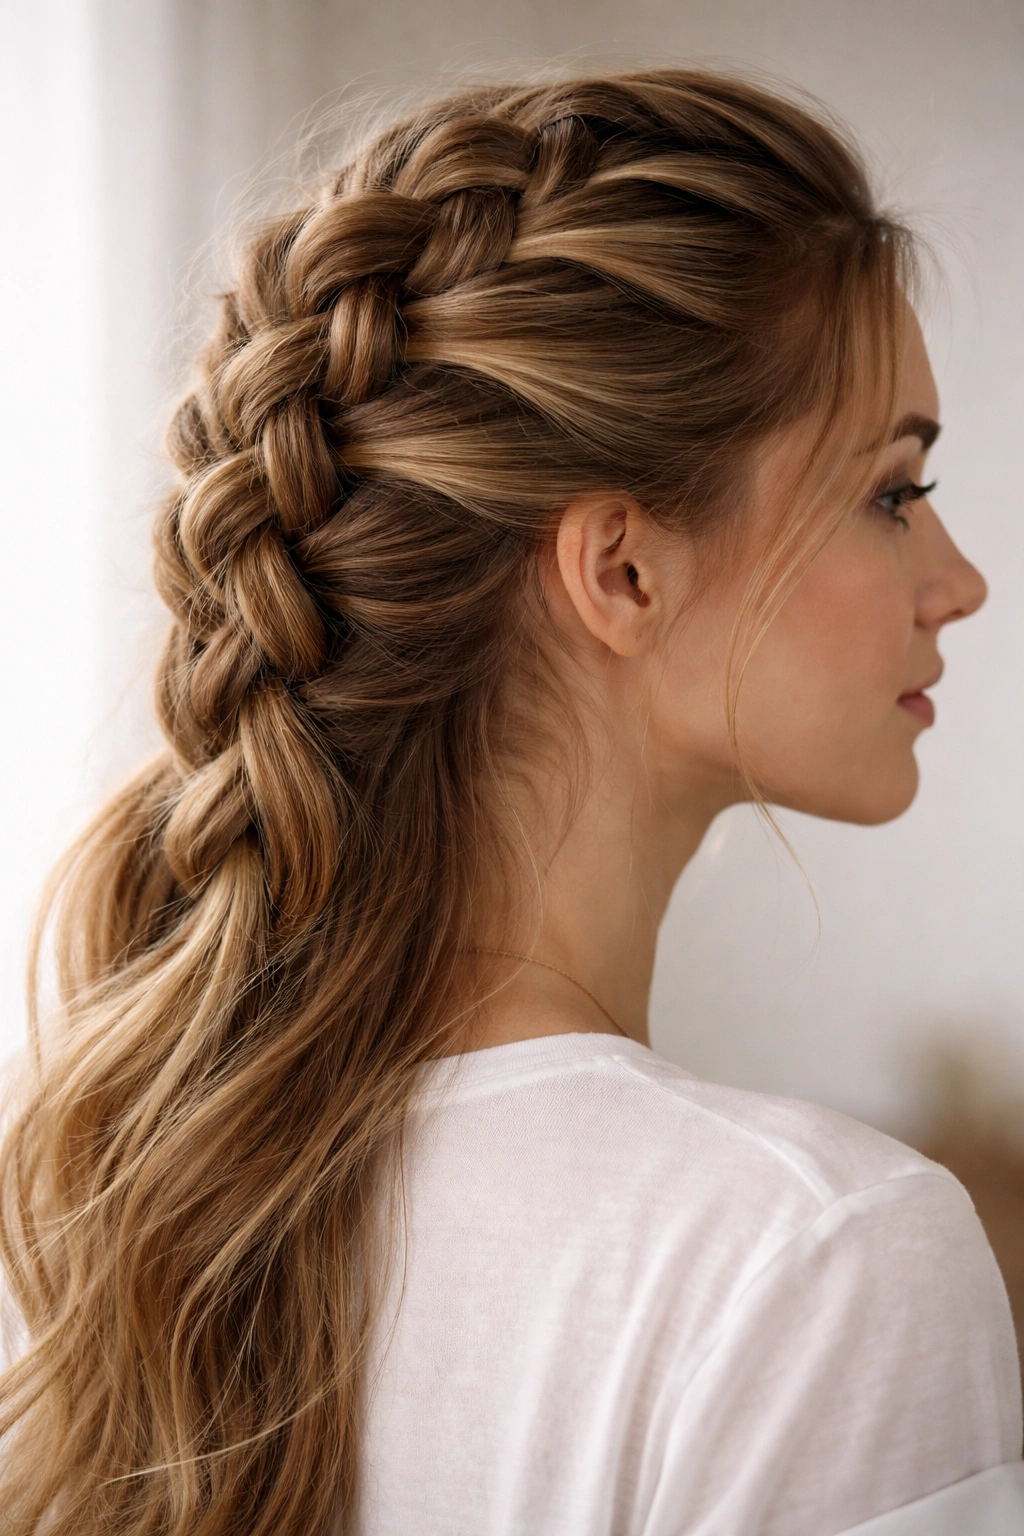
3. The Side-Swept Romantic Braid
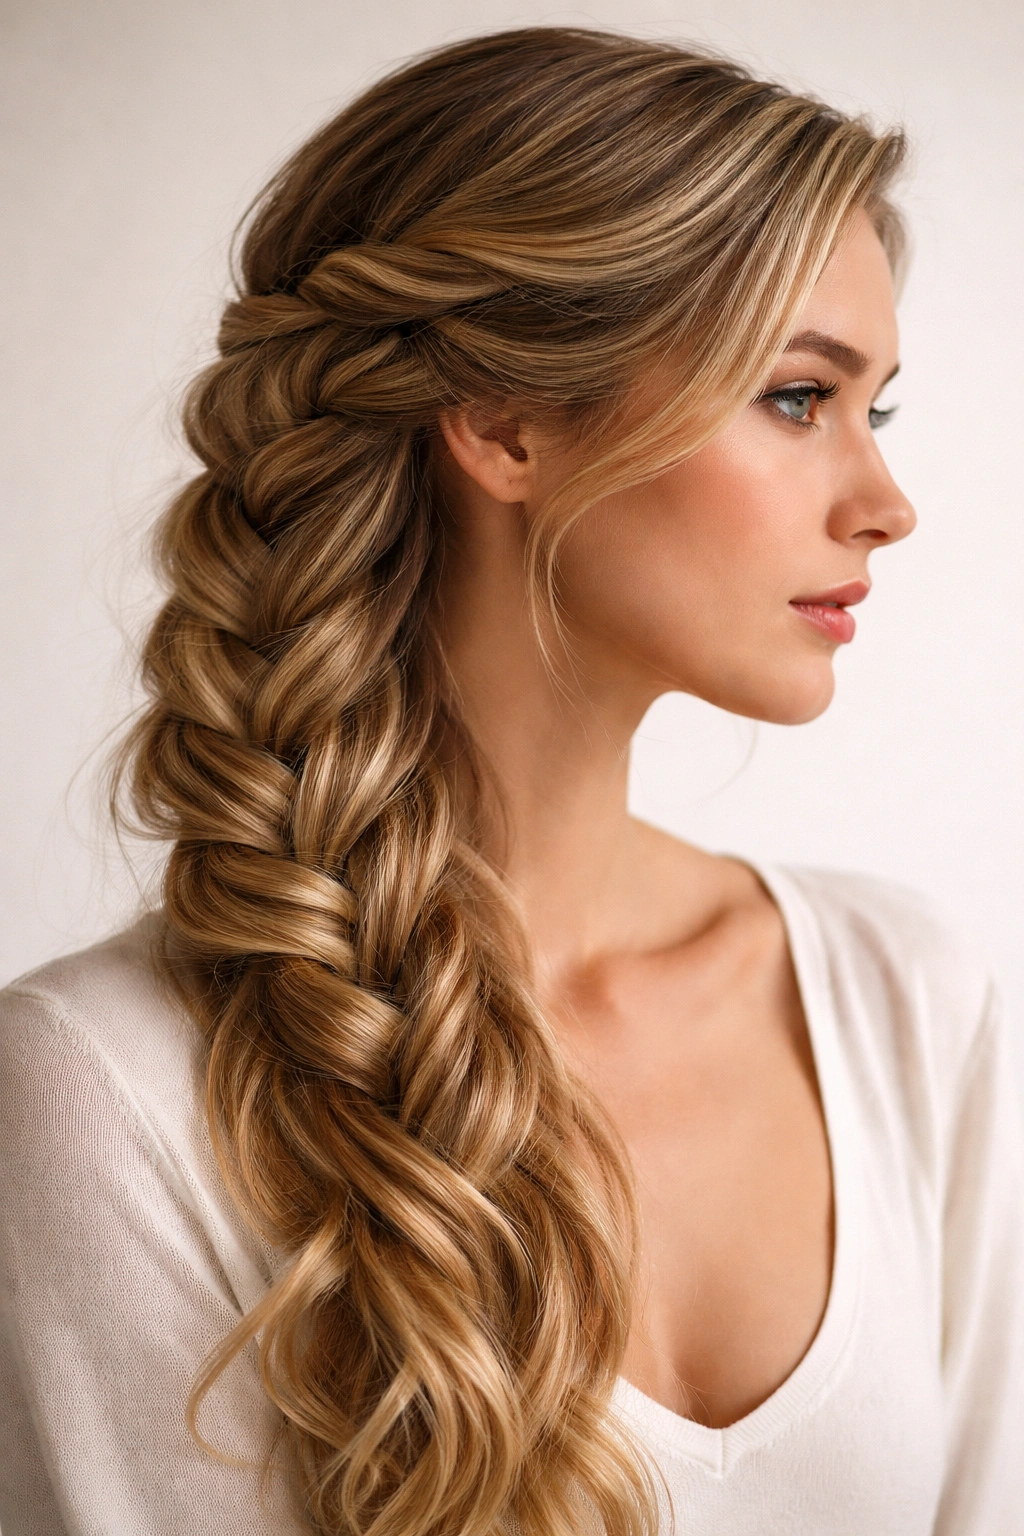
The side-swept French braid is a genius move for managing frizz because it concentrates all the hair on one side of your head, reducing the total surface area exposed to frizz. By shifting the braid to one side—typically beginning at the opposite temple—you create more control over the hair you’re actually braiding while the rest of the hair remains smoother and closer to your scalp on the opposite side. The asymmetrical placement also adds visual interest that draws attention to the intentional styling rather than individual frizzy strands.
Why Side-Sweeping Reduces Visible Frizz
When all your hair is distributed evenly around your head, frizz appears across a larger visible area. A side-swept braid collects hair into one concentrated space, which creates a focal point. The braid itself becomes the statement, and the smoother hair on the opposite side looks intentionally sleek in comparison. The angle of the braid also tends to catch light differently, making the hair appear shinier and smoother overall.
Step-by-Step Execution
- Begin on one side at the temple, approximately 2 inches above your ear
- Section three strands of roughly equal thickness and begin a traditional French braid
- Instead of braiding straight back, angle the braid diagonally across the back of your head, always adding hair from the lower half of your head (the side the braid is traveling toward)
- As the braid travels across the back, gradually shift it toward the opposite ear
- This creates a naturally traveling braid that sits at an angle across the back of your head
- Secure the braid behind the opposite ear with bobby pins and a small elastic hidden beneath the braided section
Insider note: Apply a smoothing cream only to the side being braided, not your whole head. This keeps the smoother side looking intentionally sleek.
4. The Crown Braid with Frizz Control
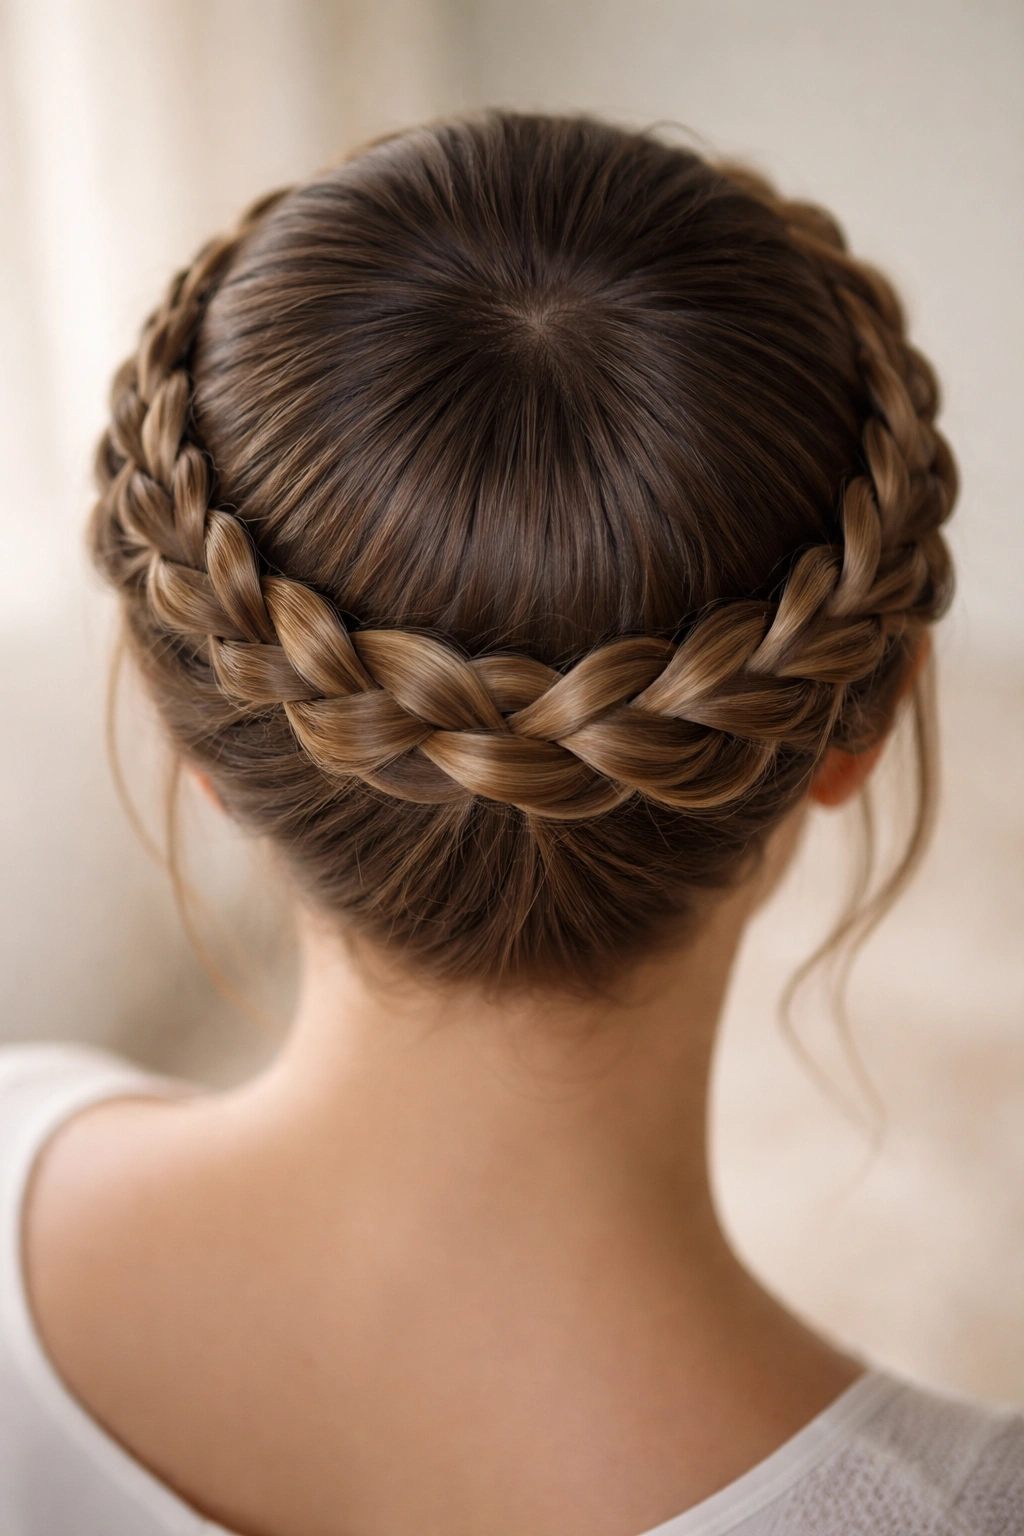
A crown braid—where the braid travels around the back of the head like a halo—is surprisingly effective for frizzy hair because it distributes tension evenly across the crown and back rather than concentrating it in one spot. The style also frames the face with smooth hair while the bulk of the braiding happens around the back where frizz is less visible. By starting with moisture-locked hair and using the right products, you can create a crown braid that looks polished while feeling comfortable enough to wear all day.
The Structural Benefits for Frizz Management
Because the crown braid sits in a horizontal line around the head, it creates a band of control around the upper portion of the hair. Any frizz that occurs typically happens in the hair below this band, where it’s less visible. The braid’s position also means that hair hanging below it naturally sits closer to your shoulders and back, creating a smoother appearance overall. The style is forgiving—a slightly loose crown braid actually looks more romantic and intentional than a tight, overly controlled version.
How to Construct a Crown Braid
- Part your hair slightly off-center on one side
- Begin the braid at the temple on the fuller side of your part, using three sections to start
- Begin a regular French braid, but from the very first section, only add hair from the underside of the braid—this keeps the braid sitting on top of the head rather than sinking into it
- Travel the braid horizontally around the back of your head toward the opposite ear
- As you reach the opposite side, continue adding hair until you’ve incorporated all the hair from the back
- Finish the braid at the opposite temple and secure with bobby pins, tucking the end under the braid to hide it
Quick facts:
- Works best on hair that’s been blow-dried smooth at the roots
- A light mist of hairspray helps smooth flyaways without stiffening the braid
- This style stays neater longer if you use a smoothing serum on the hair before braiding
- The crown braid actually looks better with a few intentional loose pieces around the face
5. The Sleek Edge-Control Braid
Edge control—those smoothing products originally designed for laying down baby hairs and edges—is a game-changer for French braids on frizzy hair. An edge control braid means using these firm-hold smoothing products strategically along the perimeter of the braid to contain flyaways and create a polished boundary. This approach keeps the braid itself soft and natural while creating a smooth, finished frame around it. The result is a braid that photographs beautifully and stays frizz-free even in humid conditions.
How Edge Control Changes Your Braid Game
Edge control products are formulated to hold very small, delicate hairs in place without flaking or creating visible product residue. When applied along the edges of a French braid, they contain the tiny flyaways that create the appearance of frizz, while the interior of the braid remains soft and moveable. This creates visual polish without stiffness. The technique requires a lighter hand than you might use for actual edges, but the payoff is a braid that looks professionally styled.
The Application Method
- Blow-dry your hair completely straight before braiding
- Begin your French braid as usual, but as you work, use a small brush or applicator to apply edge control product directly along both sides of the braid as it forms
- Focus on the perimeter of the braid where individual strands are most likely to escape
- Smooth down any flyaways as you go, working them back into the braid with the applicator or a fine-tooth comb
- Once the braid is complete, go over the entire length with edge control product applied to the outer edges, using a firm brush to smooth everything into place
- Finish with a light hairspray to set everything
Pro tip: Use a small, firm brush (like a toothbrush or unused eyebrow brush) to apply and smooth the edge control. This gives you more precision than your fingers.
6. The Twisted Rope Braid Variation
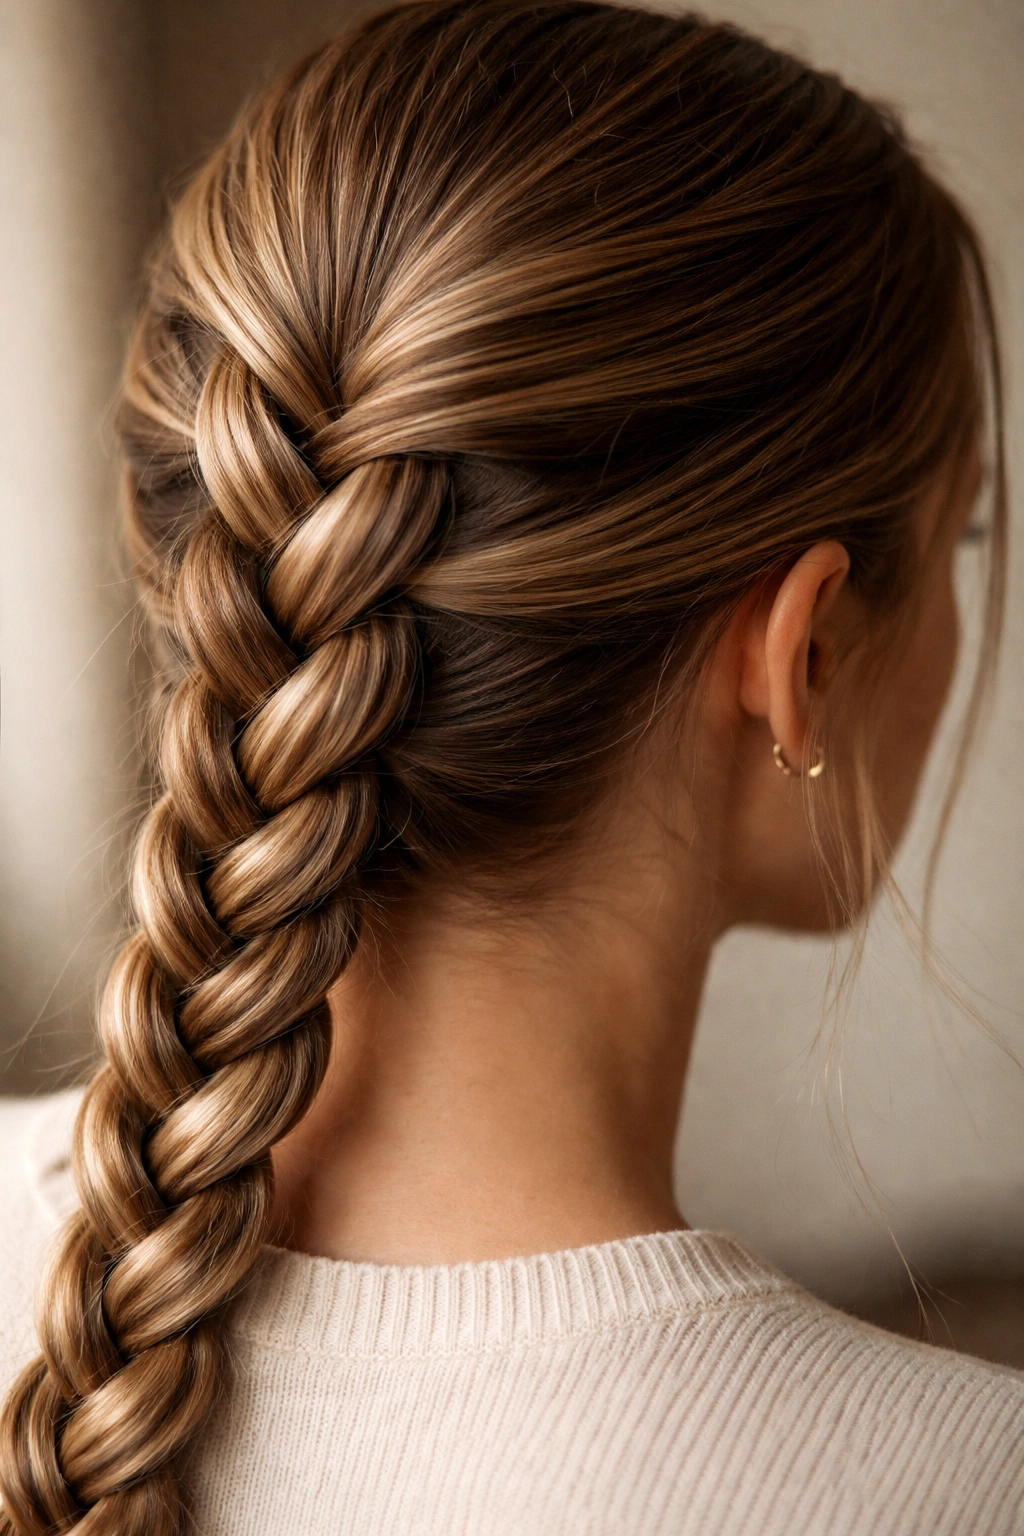
The twisted rope braid is a technical variation that works beautifully for frizzy hair because it uses tension and twisting to smooth the hair surface. Rather than weaving three strands over and under each other, a rope braid twists two sections of hair tightly around each other, creating a more compact, smooth surface than a traditional braid. The twisting motion naturally smooths the hair cuticle, which helps lock moisture in and minimize frizz. This style also tends to stay neater longer because the twisting creates more friction between sections.
Why Twisting Creates a Smoother Appearance
Twisting two sections of hair around each other creates a helical pattern that naturally compacts the hair and smooths the cuticle layer. The twisting motion itself is mechanical frizz control—as you twist, you’re smoothing each hair in the direction of the twist. This is why twisted styles often look shinier and smoother than woven styles, even when created on the same hair type. The style is also more forgiving with product; you can use slightly more smoothing serum than you would with a traditional braid without it looking weighed down.
Creating the Twisted Rope Braid
- Start with damp hair that’s been smoothed with a blow dryer or straightener
- Apply a smoothing serum or anti-frizz cream throughout, focusing on areas prone to frizz
- Divide your hair into two equal sections
- Twist one section tightly in a clockwise direction (or whichever direction feels natural)
- Twist the other section in the same direction
- Now wrap one twisted section around the other, traveling down the length of your hair
- The two twisted sections will naturally wrap around each other as you work
- Secure at the end with an elastic and smooth any remaining flyaways with a fine-tooth comb and more smoothing product
Worth knowing: The tighter you twist each section before wrapping them together, the smoother and more compact your final braid will be.
7. The Double French Braids Power Look
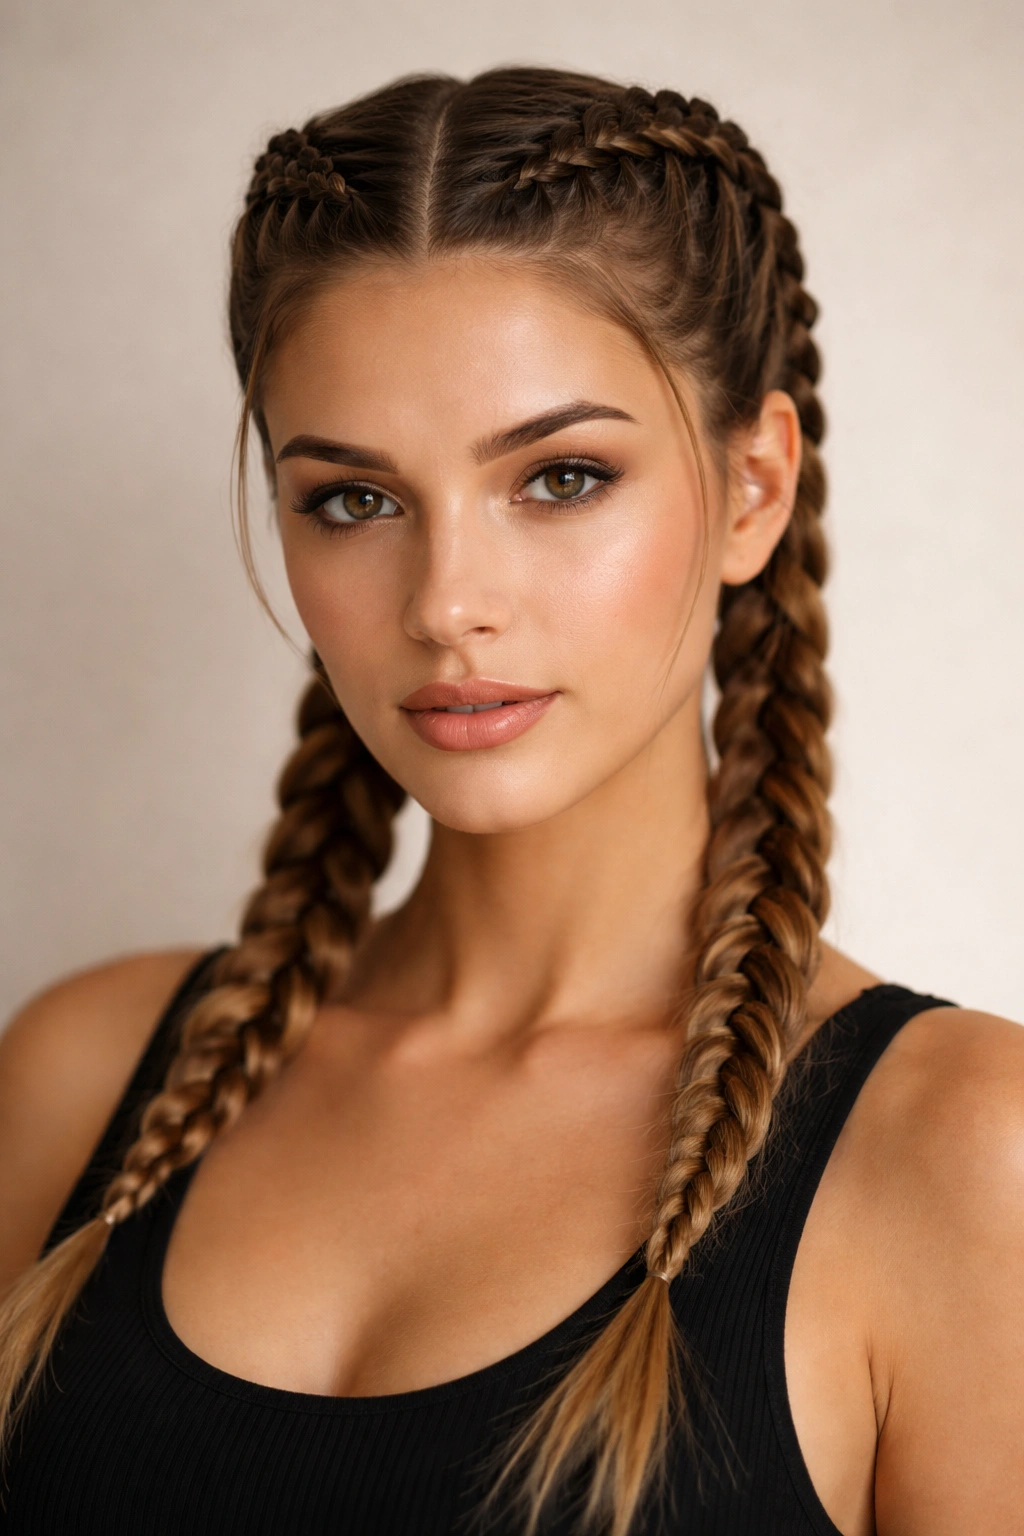
Two French braids are actually easier to manage than one single braid when you have frizzy hair. By dividing your hair in half, you’re working with less volume in each braid, which means more control and less frizz. Double braids also create more visual interest and texture, which is strategic—when there are two focal points, the eye is drawn to the pattern of the braids rather than individual frizzy strands. The style also tends to keep hair closer to the scalp on both sides, which minimizes the surface area exposed to frizz.
The Strategic Advantage of Doubling Down
Two braids means double the anchoring points for your hair, which translates to better frizz control throughout the day. Each individual braid also has less hair to contain, so you can braid with more precision and less strain. The visual weight of two braids creates a powerful styling statement that makes the overall look read as intentionally styled rather than frizzy. This style is also incredibly versatile—you can wear double braids sleek and polished, or you can loosen them for a more textured, undone appearance.
How to Execute Double Braids Flawlessly
- Create a center part from your forehead to the nape of your neck
- Secure one side of your hair temporarily out of the way
- Begin your first French braid on one side, starting at the temple and braiding straight back toward the nape
- Keep tension firm and consistent; incorporate all hair from that side into the braid
- Secure the first braid with an elastic at the nape, then repeat the entire process on the opposite side
- Once both braids are complete, smooth any flyaways around your face and part with an anti-frizz cream or edge control product
Insider note: Slightly offset your starting points—begin one braid closer to the center and the other closer to the ear. This creates a more interesting visual pattern than starting both at the exact same spot.
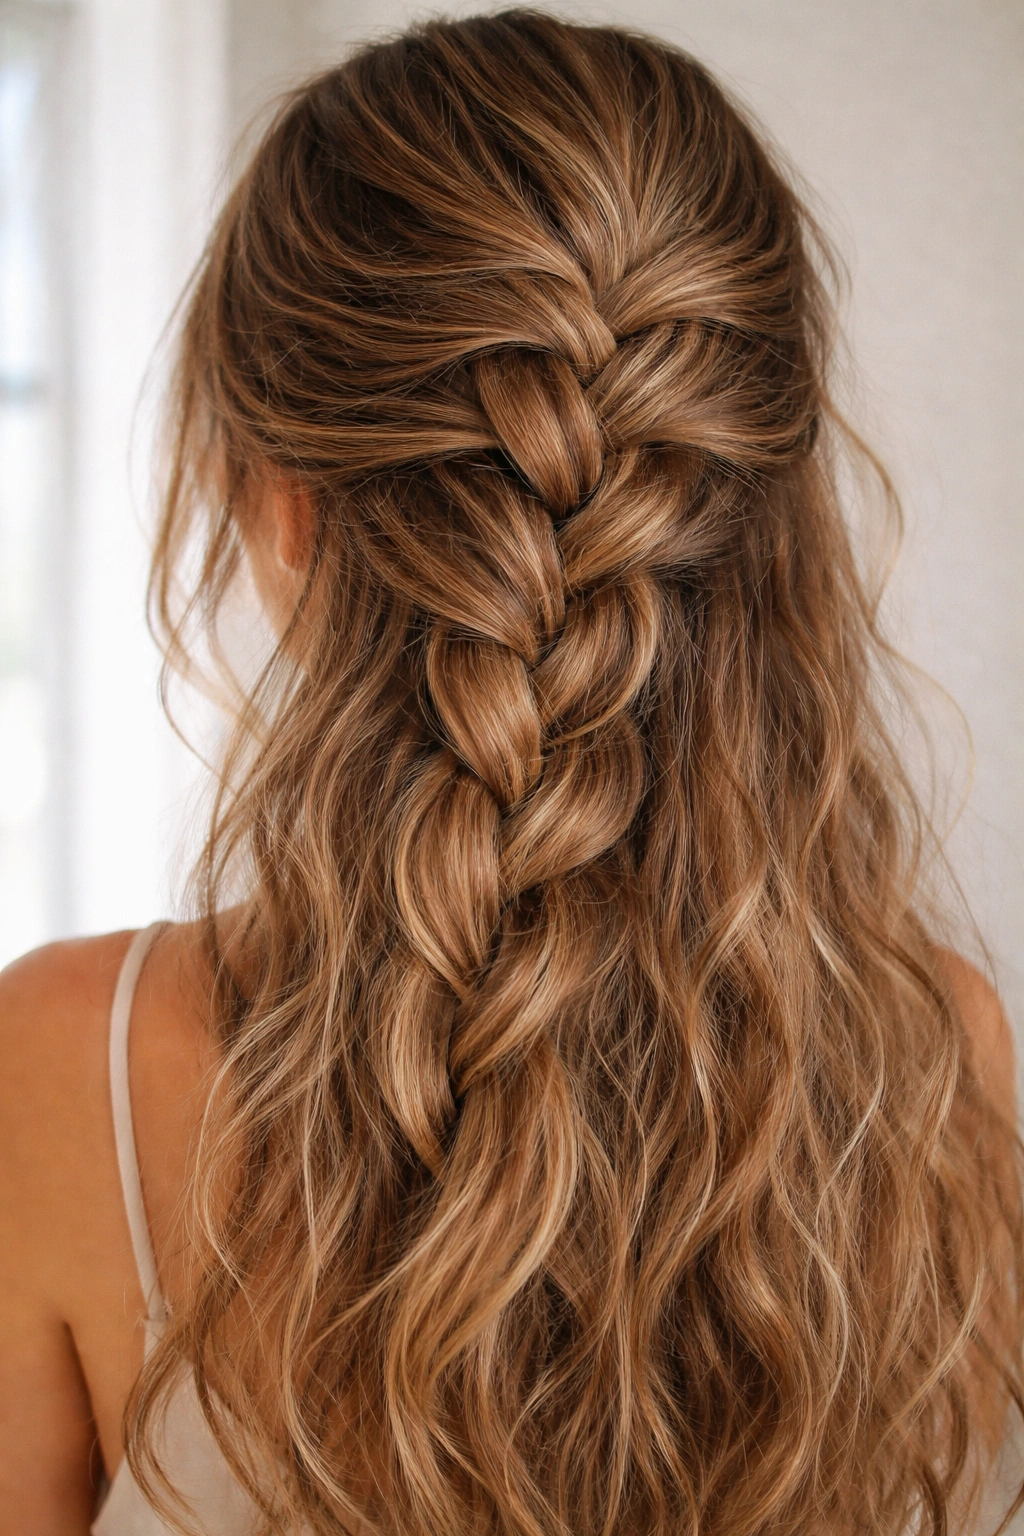
8. The Loose Textured Braid with Serum
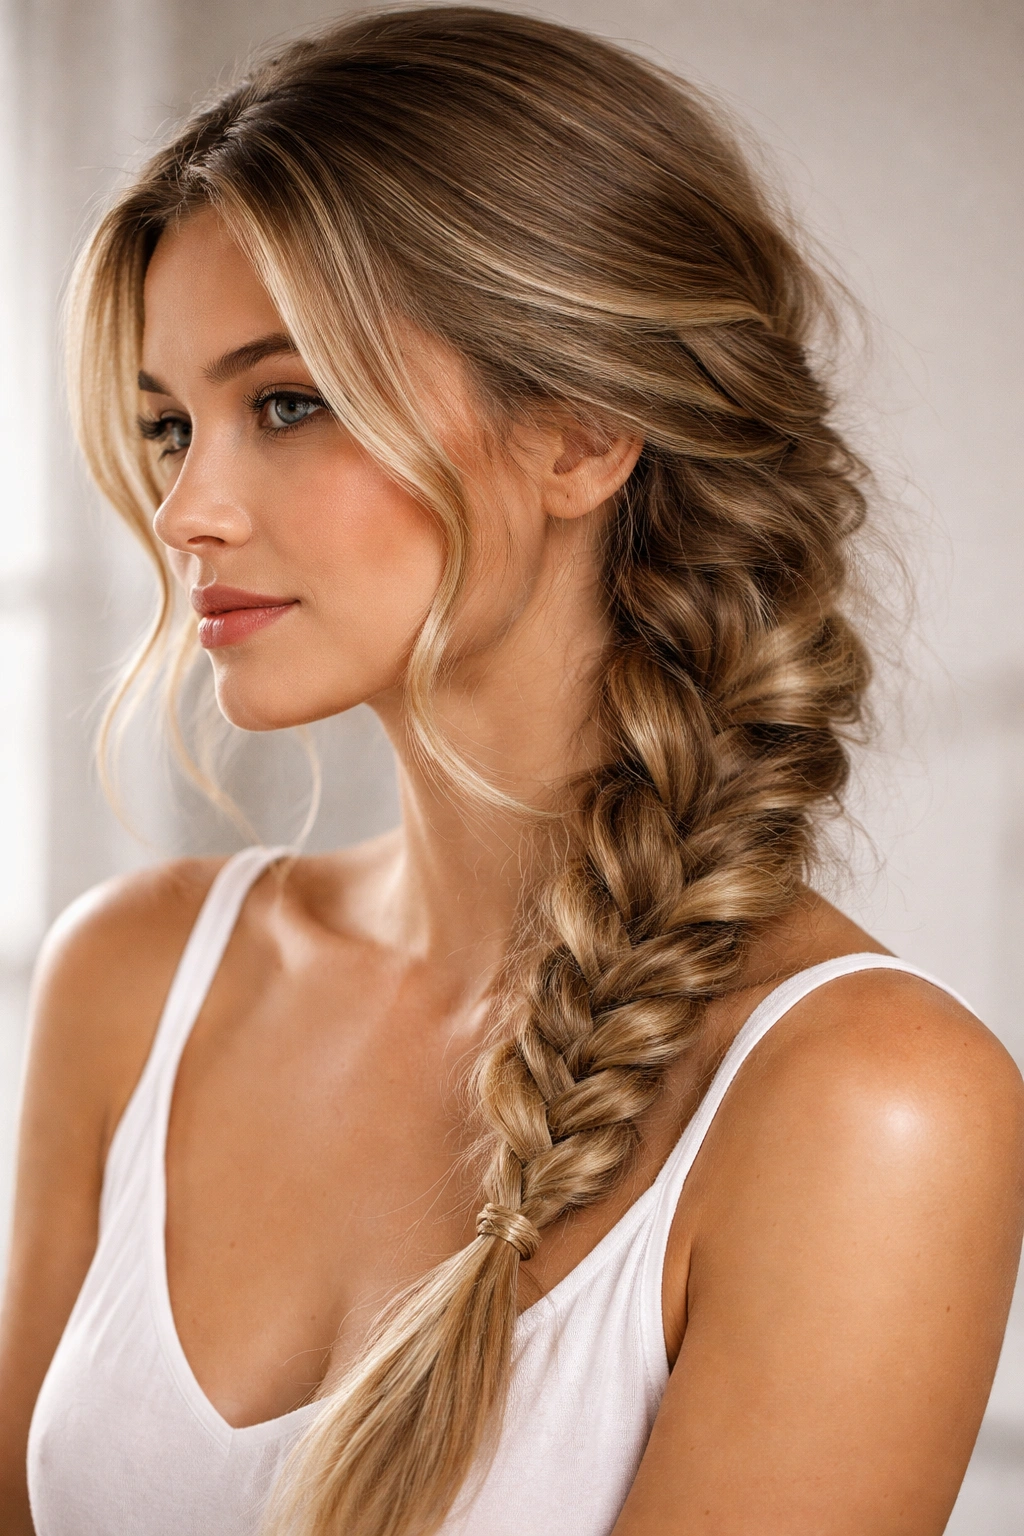
This style leans into the textured, lived-in aesthetic that’s become increasingly popular, and it’s brilliant for frizzy hair because it stops fighting texture altogether. Instead of fighting to create a smooth, tight braid, you intentionally create a loose, textured braid that will look beautifully undone. The key is using the right serum so that the texture reads as intentional shine rather than frizz. The serum catches light, makes the texture look deliberate, and gives the braid a polished appearance despite its apparent looseness.
Why Loose Braids Can Contain Frizz Better Than Tight Ones
Counterintuitively, a loose braid can actually contain frizz better than a tight braid for certain hair types. When you braid too tightly, you create stress points where hair wants to break and escape. A loose braid puts minimal stress on individual hairs, reducing breakage and escape. Additionally, loose braids look intentionally textured and undone, which means any frizz or flyaways that do escape read as part of the style rather than styling failures. The overall impression is polish, not chaos.
How to Build This Look
- Apply a lightweight smoothing serum to damp hair, distributing it evenly from mid-length to ends
- Blow-dry your hair completely straight, but don’t use maximum heat—you want smooth, not overly rigid
- Begin a French braid at the crown, but keep your sections loose and don’t pull tight as you braid
- Intentionally leave sections of hair unbraided near your face and around the edges
- As you reach the ends, finish with a thin elastic but don’t pull it tight
- After the braid is complete, gently pull sections of the braid outward with your fingers to add width and create a more textured appearance
- Run a small amount of serum or light oil through the braid with your fingers to enhance shine and smooth any visible frizz
Pro tip: The serum is essential here—it makes the difference between textured-on-purpose and frizzy-by-accident. Choose a serum that’s lightweight enough not to weigh down the braid.
9. The Braided Bun Protective Style
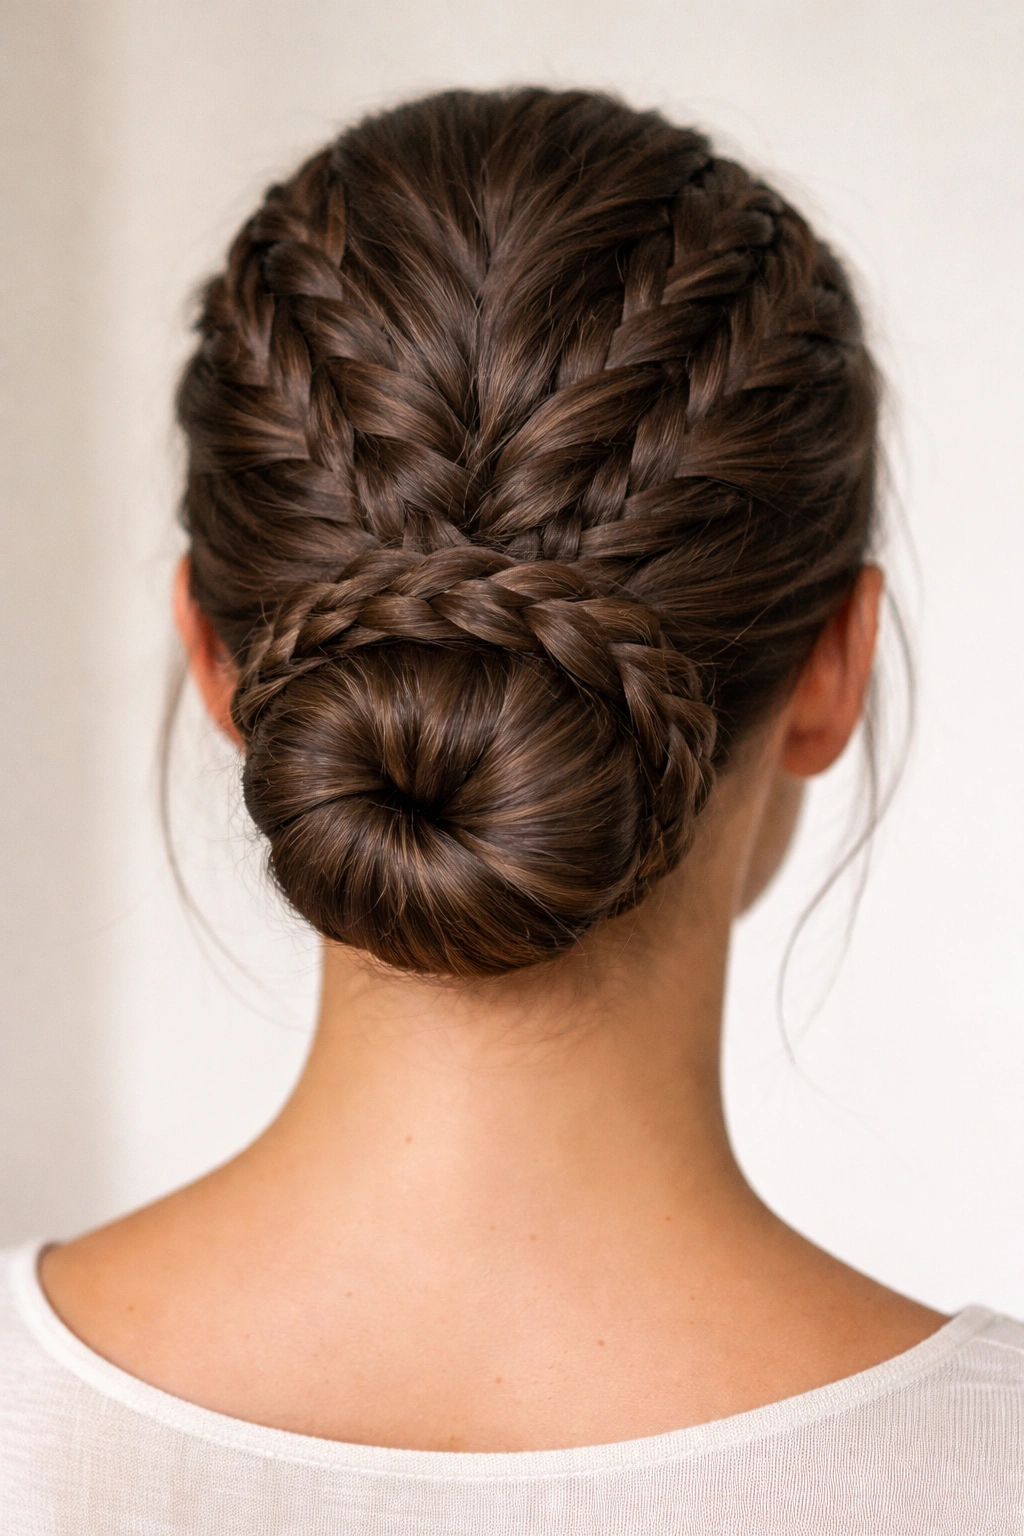
A braided bun—where you create one or more French braids and then coil them into a bun at the base of your skull—is an excellent protective style for frizzy hair. The bun concentrates all your hair into one contained unit, which means minimal surface area exposed to environmental frizz triggers like humidity and friction. The braid itself becomes part of the bun’s structure, creating a secure style that can last for days without re-braiding. This is also an excellent style for sleeping, as it keeps hair contained and protected overnight.
Why a Braided Bun Protects Against Frizz
A braided bun eliminates the problem of hair moving around, which is a major frizz trigger. As your hair rubs against your shoulders, your clothing, and the environment throughout the day, friction causes the cuticle to lift and frizz to appear. A secure braided bun keeps everything in place. The braid itself smooths the hair surface while providing structure, and the bun keeps the ends protected and tucked away. Over time, the slight pressure from the bun can actually help hair smooth and shine as the cuticle settles.
Creating the Perfect Braided Bun
- Start with blow-dried, smooth hair and apply a smoothing serum
- Create a French braid starting at the crown, incorporating all hair as you work down the back of your head
- Once you’ve braided the length of your hair, secure the braid with a thin elastic
- Coil the braided tail into a bun at the base of your skull, positioning it where you want the bun to sit
- Use bobby pins to secure the bun shape, pinning the coiled braid in place
- Smooth the top and sides with a fine-tooth comb and edge control product
- Set with a light hairspray to hold flyaways in place
Worth knowing: This style looks better if you allow a few intentional pieces to fall loosely around your face and neck. It softens the look and actually makes it appear less severe than a completely tight bun.
10. The Reverse French Braid for Volume
A reverse French braid (sometimes called an inside-out braid) is created by weaving strands under each other rather than over, which pushes the braid outward and creates a fuller appearance. For frizzy hair, this is genius because the raised structure of the braid creates volume while the technique naturally contains flyaways. The lifted, dimensional appearance of a reverse braid also makes hair look thicker and more voluminous, which is flattering for fine or thin hair that becomes more vulnerable to frizz. The braid structure itself is more visually interesting, drawing the eye to the intentional styling rather than individual frizzy strands.
How Reverse Braiding Changes Your Texture Game
When you braid in reverse (weaving under rather than over), the braid pushes outward away from the scalp, creating inherent dimension and fullness. This lifted structure is advantageous for frizzy hair because it distributes hair across a broader surface area rather than concentrating it closely to the scalp. The raised braid also tends to catch light differently, creating highlights and shadows that make hair appear shinier and more polished. The technique requires a slightly different hand position and mental model than traditional braiding, but once you get it, you’ll see why it’s so effective.
Mastering the Reverse Braid Technique
- Start with completely dry or blow-dried hair for maximum grip
- Create three sections at your crown and begin braiding by crossing the right section under the center section
- Then cross the left section under the new center, maintaining this under-weaving pattern throughout
- As you descend, add hair to each section before weaving it under, just as you would with a traditional braid
- Keep tension firm but don’t pull so tight that the braid feels strained
- Once you reach the ends, secure with a small elastic
- Optional: gently pull the edges of the braid outward with your fingers to add even more dimension and width
- Smooth flyaways with a fine-tooth comb and anti-frizz product
Pro tip: Reverse braids are actually easier to see while creating them because the braid sits on top of your head rather than sinking into it. This visibility makes them easier to keep neat and tidy.
Final Thoughts
The right French braid for frizzy hair isn’t about fighting your hair’s texture—it’s about choosing techniques and products that work with your hair’s natural tendencies. Whether you’re drawn to tight, structured styles like Dutch braids and edge-controlled braids, or you prefer loose, textured approaches like rope braids and intentionally loose styles, the core principle remains the same: preparation matters more than the braid itself. Blow-dry your hair smooth, use a smoothing serum or cream appropriate to your hair type, and choose a braiding technique that appeals to your styling preferences and lifestyle.
The most successful approach is experimentation. Try a crown braid one day and double braids the next. Test a tight Dutch braid versus a reverse braid and notice which one feels comfortable and looks polished on your specific hair. Pay attention to how your hair responds to different products and humidity levels. Most importantly, remember that a beautiful braid with a few flyaways is infinitely more polished than loose, undefined frizz. Once you’ve found your signature French braid style, you’ll have a go-to option for days when your hair needs to look intentional and controlled—and that’s a game-changer for anyone managing frizz.