


Thin edges are a legitimate concern when styling hair in cornrows. The hairline and temple area are naturally delicate, vulnerable to tension damage, and often show breakage before other parts of your hair do. But cornrows don’t have to be an all-or-nothing choice between protective styling and edge protection — with the right technique, tension level, and style selection, you can wear cornrows that actually help your edges recover while keeping your look sharp and intentional.
The key is understanding that certain cornrow patterns, sizes, and installation methods are fundamentally gentler on the hairline than others. A chunky, loosely braided cornrow at the front creates minimal stress on fragile edges. A tight cornrow pulled directly from the hairline, by contrast, can accelerate thinning and leave you with peach fuzz where you want thickness. Real edge protection means being intentional about where cornrows start, how much tension goes into them, and whether you’re creating breathing room for your hairline to recover between styles.
What makes these 10 styles genuinely different is that they prioritize your edges without sacrificing visual impact. Some use looseness as the edge-saving strategy. Others start farther back on the scalp, letting your hairline breathe. A few incorporate gaps and spacing specifically designed to distribute pressure evenly. The best choice depends on your specific edge situation, how much styling time you’re willing to invest, and what look you’re going for — but every style here has been designed with one principle in mind: protecting thinning edges while delivering the protective, low-maintenance benefits cornrows offer.
1. Feed-In Cornrows with Loose Entry
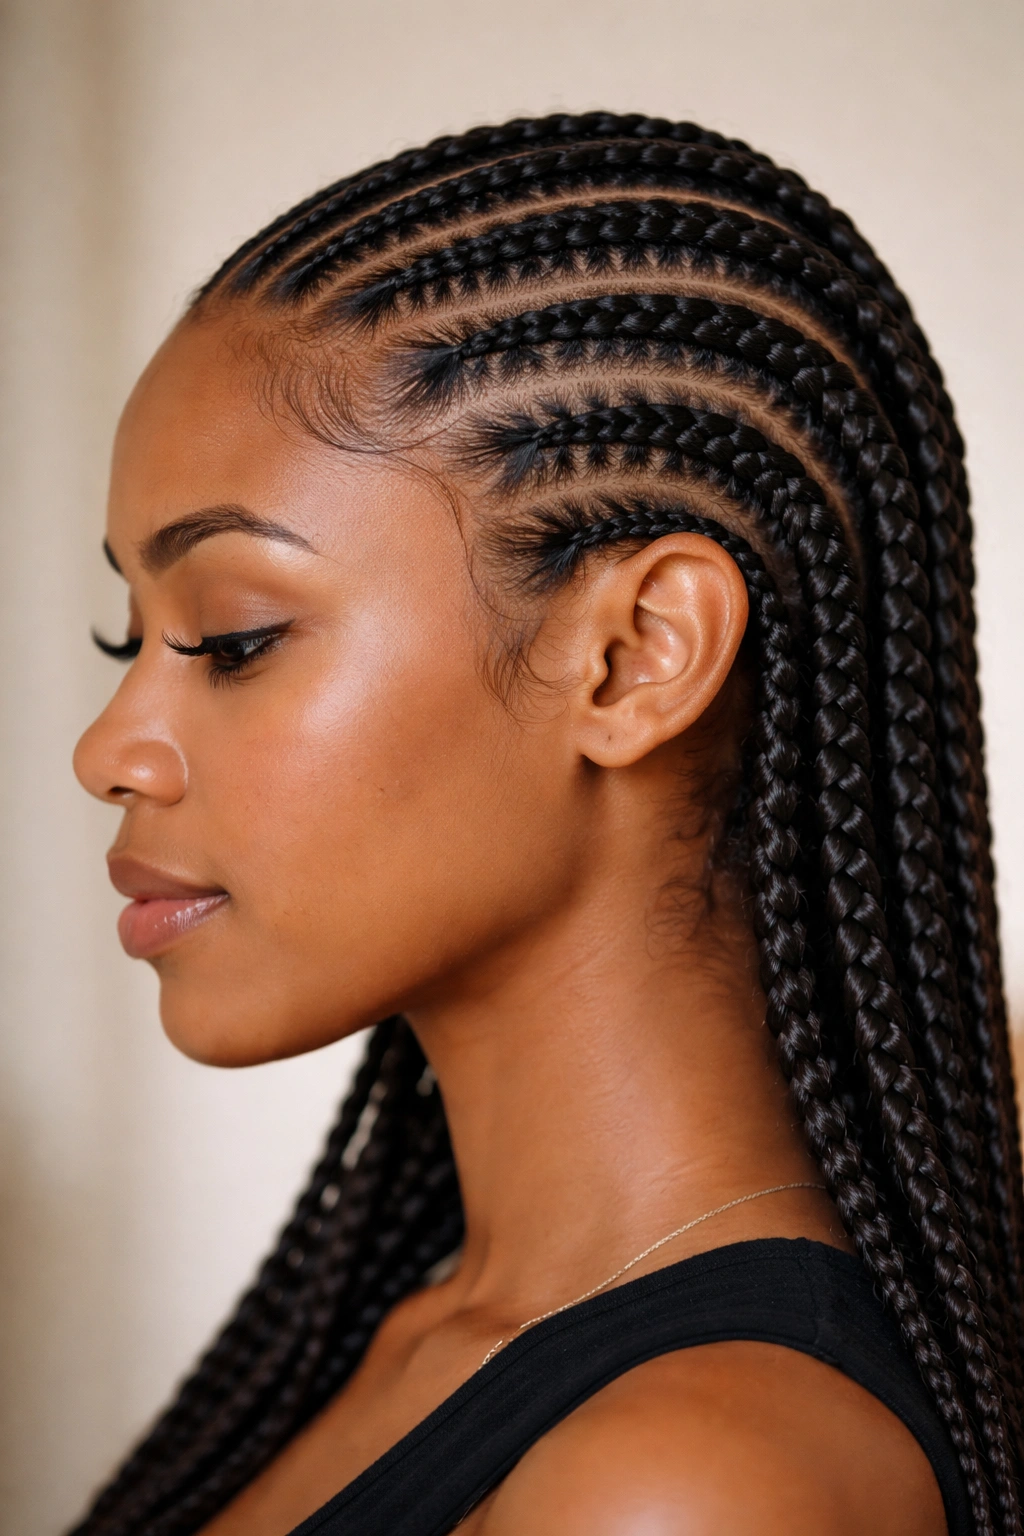
Feed-in cornrows are the gold standard for edge protection because the braid is built gradually, weaving hair in section by section, rather than being pulled tight from the roots. This technique allows you to start the cornrow slightly below your actual hairline, leaving a half-inch to an inch of natural hair untouched at the very front. Your edges stay completely stress-free while the cornrow itself sits just behind them.
Why This Style Protects Thin Edges
The feed-in method prevents the immediate, upward tension pull that traditional tight cornrows create at the hairline. Instead of the braid tugging directly on your delicate hairline hair, the weight and pull gradually increase as the braid develops deeper into your scalp. This is biomechanically gentler — your edges experience light, distributed tension rather than intense concentrated stress. Studies on protective styling have shown that looser tension and gradual weight distribution significantly reduce traction alopecia risk compared to tight-entry braiding.
How to Request or Install Feed-In Cornrows
When visiting a braider, specifically ask for feed-in cornrows with loose tension and a gap of at least a half-inch between the braid start and your hairline. If you’re installing them yourself, begin your cornrow braid pattern about a quarter-inch below where your hairline actually sits, and use your fingers (not your thumbs pressing hard) to add new hair sections every 1-2 braiding sequences. The braid should feel secure but not tight — you should be able to slide a finger between the braid and your scalp comfortably.
Pro tip: Feed-in cornrows actually look more intentional and polished when they have this breathing space — the natural hairline visibility reads as high-fashion rather than as an unfinished style.
2. Skinny Cornrows with Protective Scalp Coverage
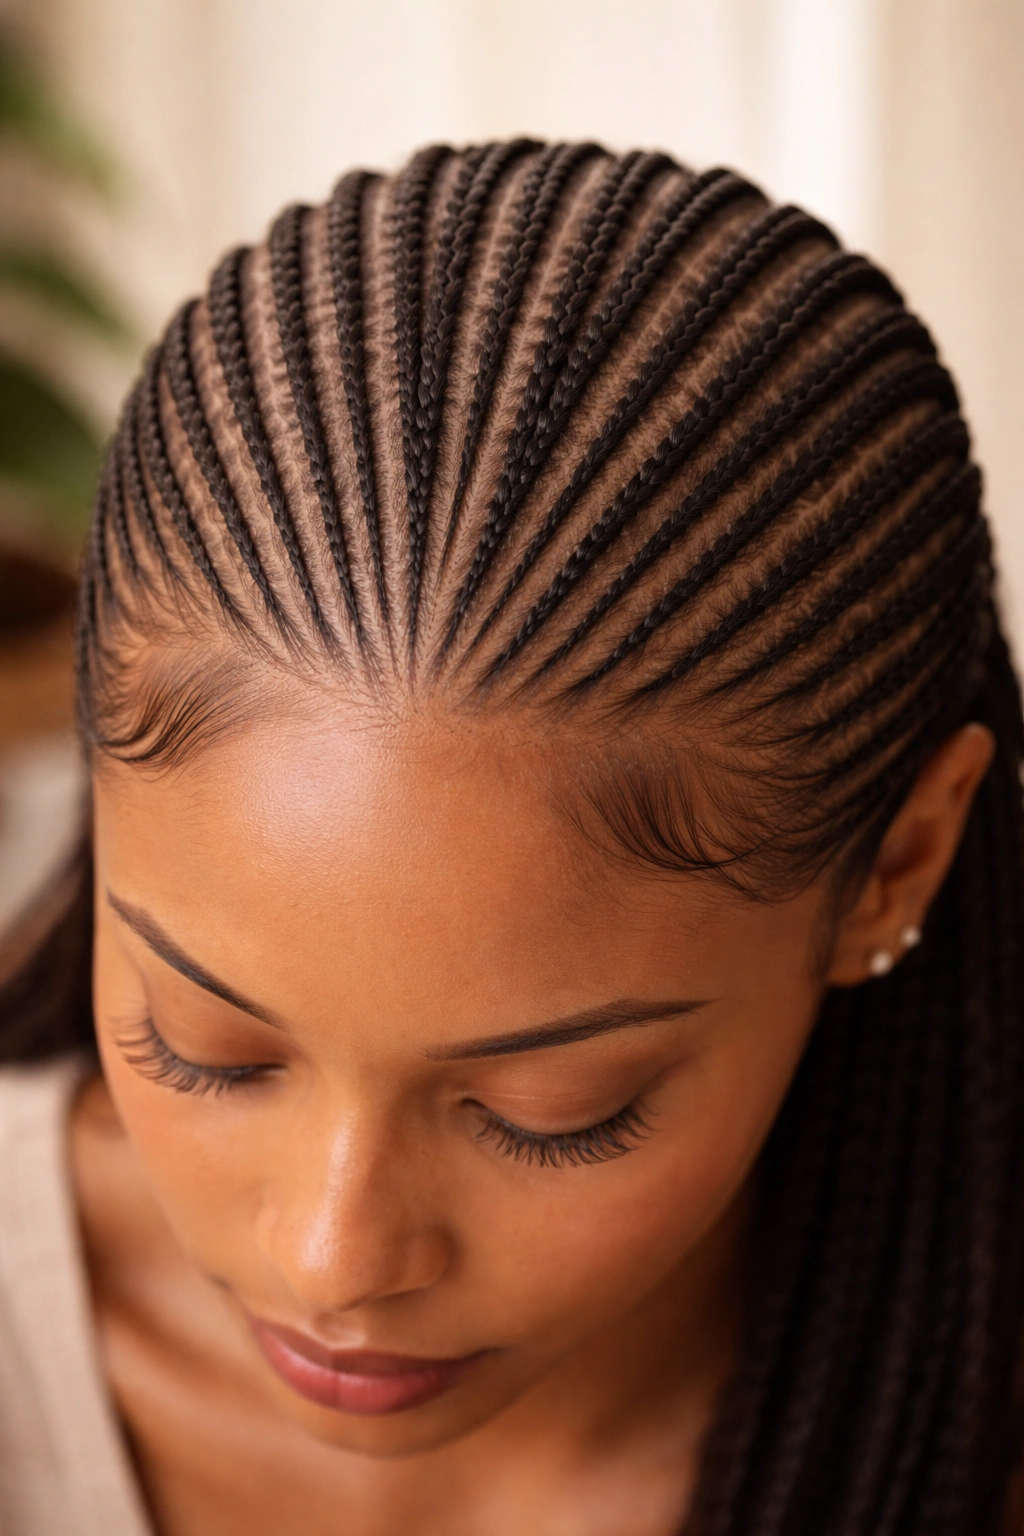
Skinny cornrows are thin, delicate braids (roughly pencil-width) that cover your entire scalp without putting excessive pressure anywhere. Because the braid strand itself is so thin, the total weight and tension distributed across your head is lower than with chunky cornrows, which means less overall stress on your edges. The key is to request them with slightly looser tension than typical, turning an already-gentle style into an edge-recovery powerhouse.
The Tension Balance with Skinny Braids
The paradox of skinny cornrows is that they can actually be more comfortable than thick ones, despite requiring more braids overall. With 20-30 skinny cornrows instead of 8-10 thick ones, the load-bearing responsibility is spread across more anchor points. Your edges experience less force at each point, which significantly reduces the cumulative stress. Skinny cornrows also dry faster, require less daily manipulation, and feel lighter on your neck and shoulders — all factors that reduce irritation and breakage.
Installing Skinny Cornrows for Maximum Edge Safety
Start each cornrow at least three-quarters of an inch back from your actual hairline. Use consistent, even tension throughout — the most common mistake is starting loose and tightening as you go, which creates a stress concentration point. Keep each completed braid the thickness of a pencil or slightly thinner; thicker than that and you lose the tension-distribution benefit. Skinny cornrows should take 3-5 hours depending on your hair texture and how many you’re doing, but the longevity (these can last 6-8 weeks without major maintenance) makes them worth the time investment.
Worth knowing: Skinny cornrows are particularly good for people with type 4 hair textures, which tends to be finer at the edges naturally and benefits from gentler, more distributed tension.
3. Two-Strand Twist Cornrows
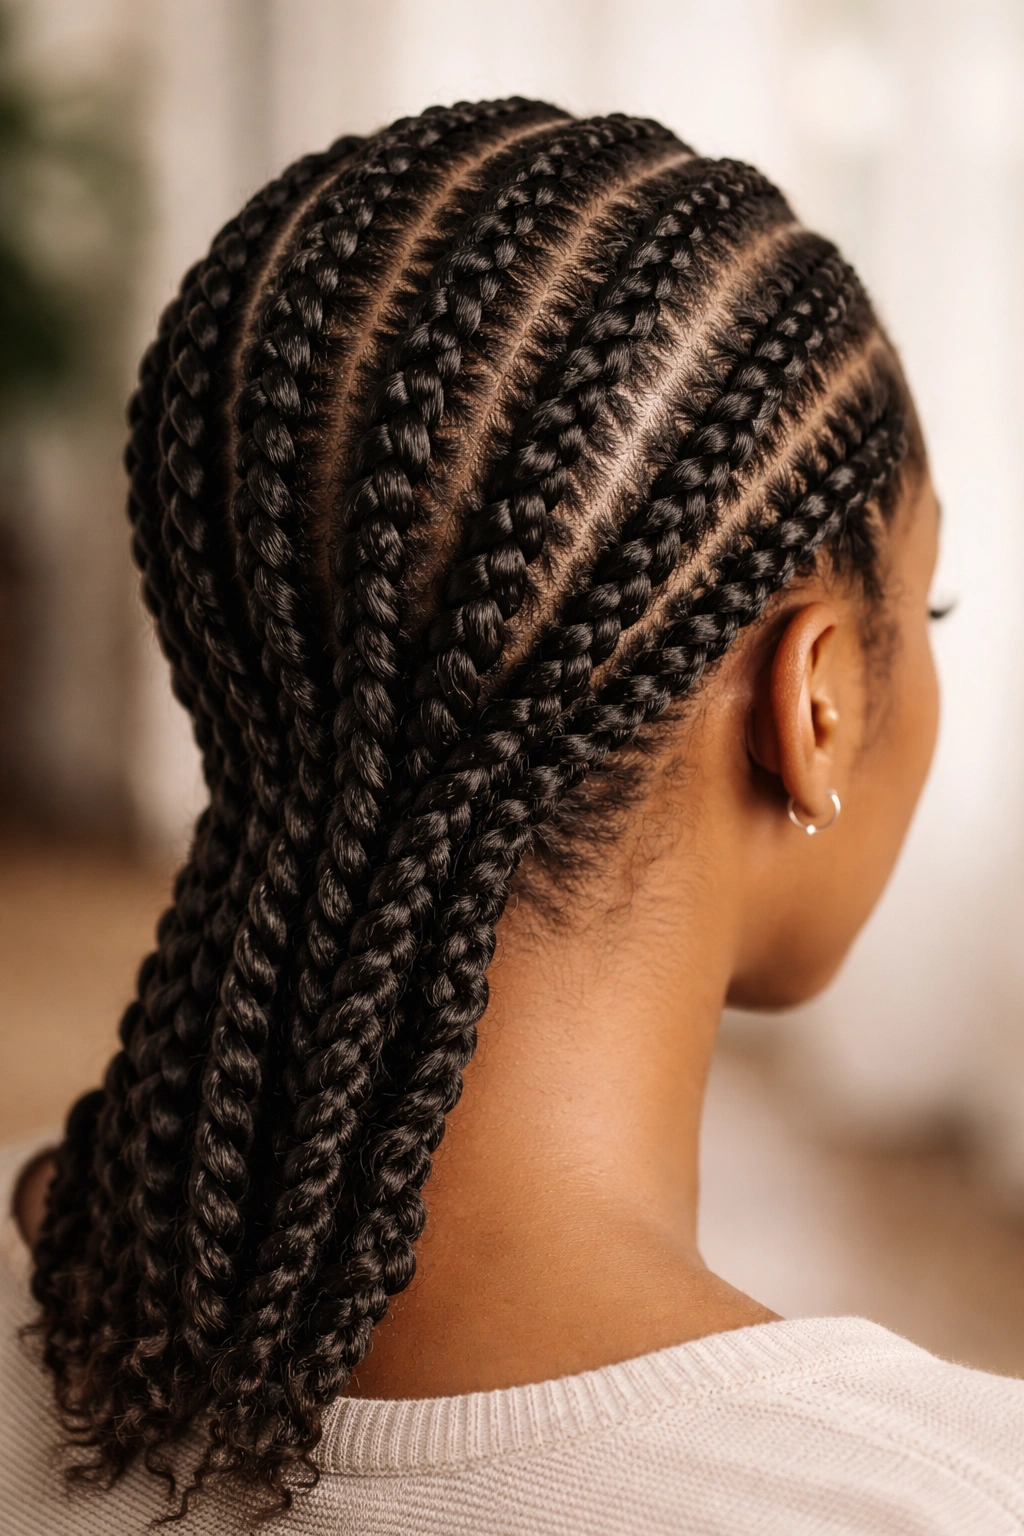
A two-strand twist cornrow is a hybrid style that combines the visual appeal of cornrows with the gentleness of two-strand twists. Rather than braiding three strands together (traditional cornrow), you twist two sections of hair together as you add new hair systematically, just like a feed-in cornrow. The result is a rounder, softer-looking braid that creates inherently less tension because twisting motion is gentler than braiding motion.
How Two-Strand Twists Differ from Traditional Braids
Braiding three strands requires significant tension to keep the braid tight and structured. Twisting two strands creates a rounder, more flexible result with less mechanical stress on the anchor hairs at the roots. The visual difference is subtle but noticeable — two-strand twists have a softer, more organic feel while still reading as a protective, structured style. For edges, this matters because the gentler mechanical action of twisting means less repeated stress on those delicate hairs over the wear period.
Creating a Two-Strand Twist Cornrow Pattern
Begin by sectioning your hair into the pattern you want (straight back, diagonal, zigzag — any pattern works). Starting just below your hairline, take a small section and divide it into two subsections. Twist these two sections together gently, then add a small piece of new hair to one section before twisting again. Continue down the scalp, adding hair to alternate sides with each twist. This creates a cornrow-like pattern with a rounder, thinner appearance. The braid can be as thick or thin as you prefer — aim for pencil-width for maximum edge protection.
Insider note: Two-strand twist cornrows can look especially polished on days 7-14 when the twists have softened slightly and developed a more textured, defined appearance.
4. Cornrows with Deliberate Scalp Breathing Gaps
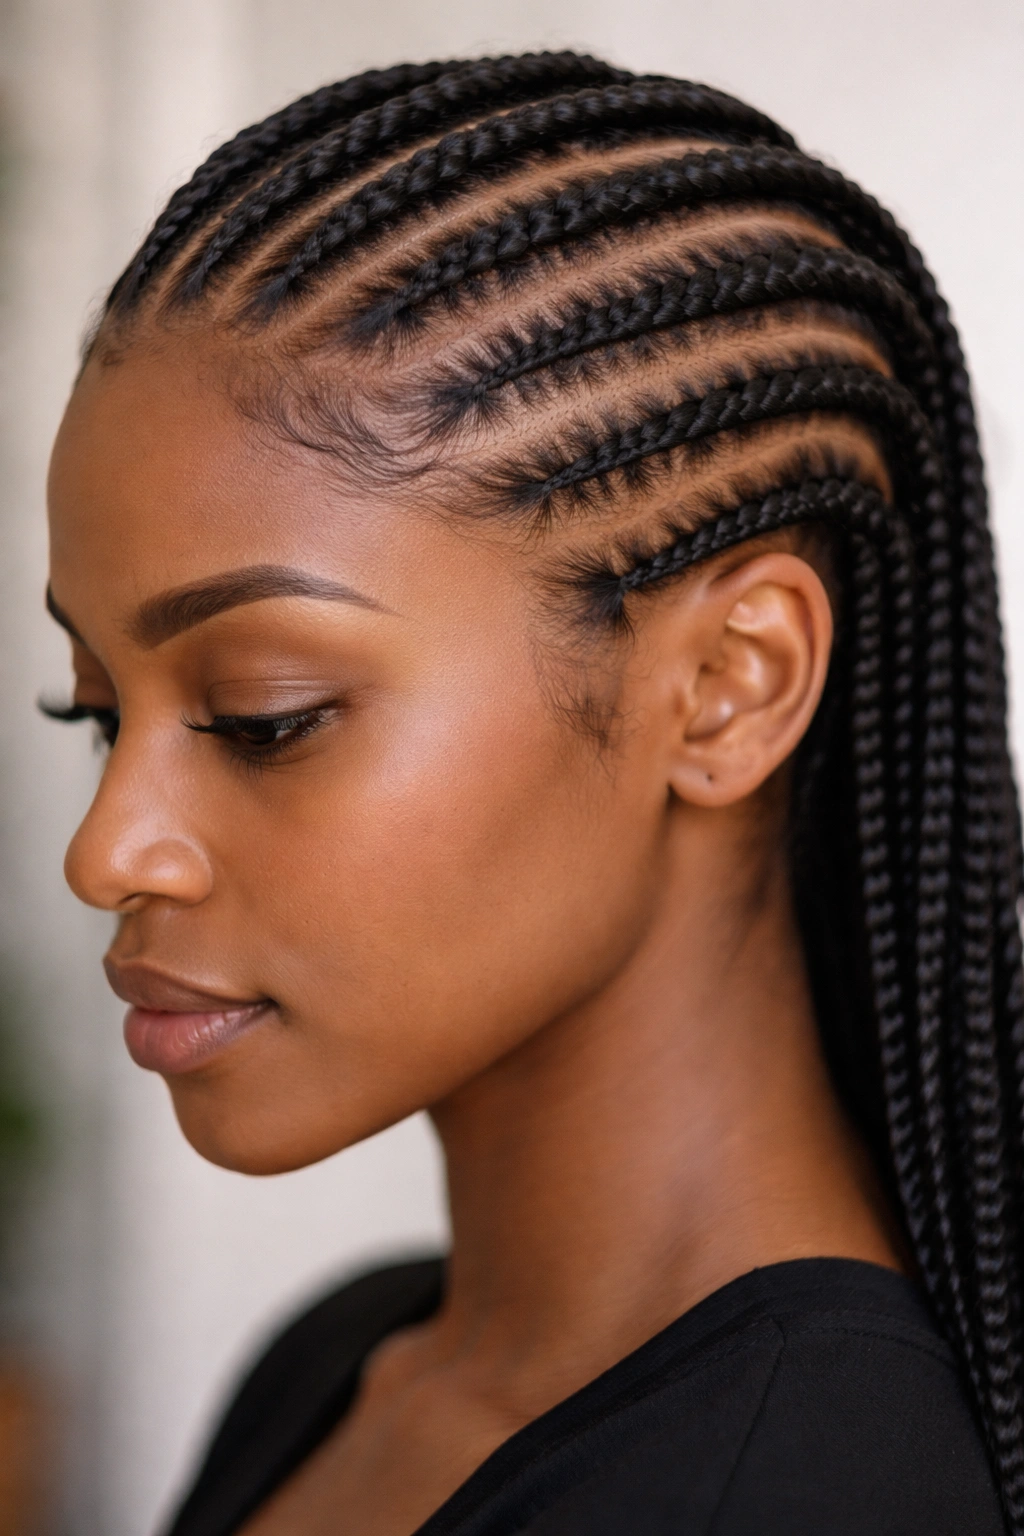
This is a strategic approach rather than a specific cornrow type: install traditional cornrows but create intentional 1/2-inch to 1-inch gaps between each cornrow row. These gaps serve multiple purposes — they reduce the total number of anchor points creating tension, they allow your scalp to breathe and prevent moisture buildup, and they give your edges a regular break from even light tension since not every single area of your scalp is braided continuously.
The Biomechanics of Spacing and Relief
When cornrows are installed touching one another (traditional style), your entire scalp experiences continuous tension for the duration of the style. With gaps between rows, approximately 15-20% of your scalp remains unbrained and stress-free. For edges specifically, you can position these gaps strategically — for example, offset your front and back rows so that the temple and hairline areas align with gaps rather than braid anchors. This approach can reduce edge stress by 20-30% compared to full-coverage cornrows.
Designing a Gapped Cornrow Pattern
Decide on your cornrow direction (straight back, diagonal, curved, zigzag). Instead of braiding rows touching, leave a small gap between each row — roughly the width of a thin cornrow itself. If you’re doing 8-10 cornrows from front to back, this approach is perfect. For 15+ cornrows, the gaps become too pronounced and the style can feel sparse; reserve gapped cornrows for medium-thickness braid sizes. The gaps don’t compromise the protective nature of the style since your hair is still braided and contained — they simply distribute tension more intelligently.
Pro tip: Gapped cornrows actually photograph beautifully because the spacing creates visual rhythm and makes each braid appear more defined and intentional.
5. Chunky Feed-In Cornrows with Loose Tension
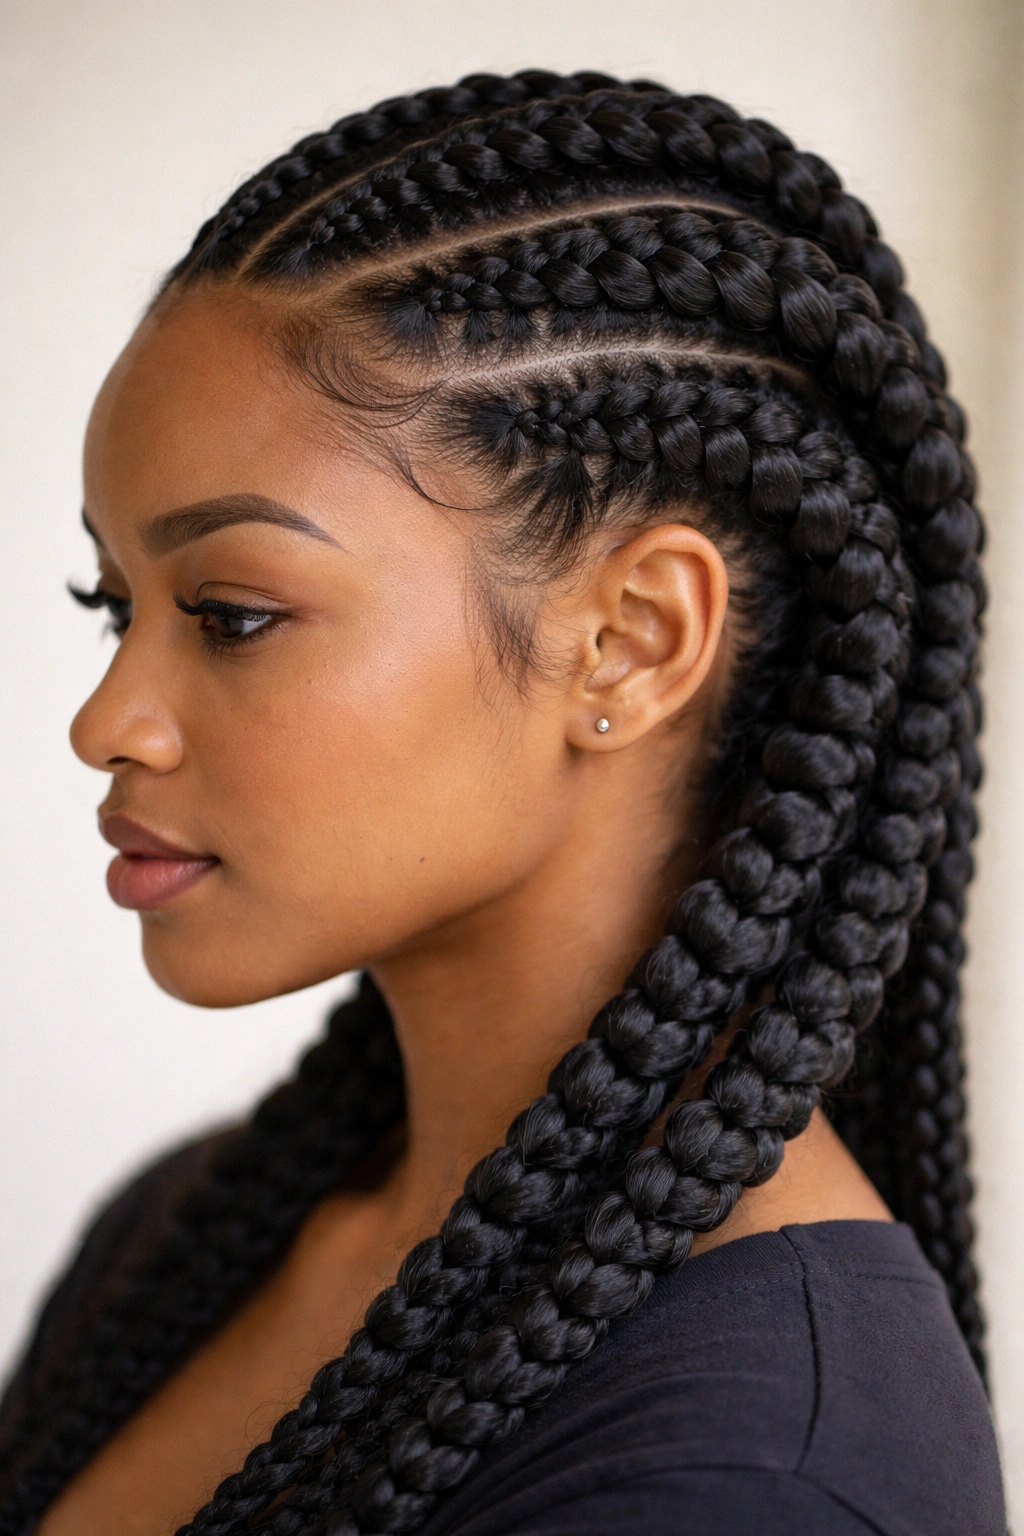
Thick, chunky cornrows (wrist-width or nearly so) are generally considered less ideal for edge protection because of their weight and the assumption that thicker = tighter. But chunky feed-in cornrows with deliberately loose tension actually offer significant edge protection because the loose tension overrides the weight factor. This style is perfect if you love the bold look of thick cornrows but need your edges to recover.
Why Chunky Braids Can Still Protect Edges
A thick cornrow that’s braided loosely puts less total tension on your scalp than a thin cornrow braided tight. Tension level matters more than thickness — a loose, chunky braid distributes its weight across a larger root area and doesn’t create pressure points. Many people assume chunky = tight, but that’s a choice about how the braid is installed, not an inherent property of the thickness itself. You can absolutely request chunky cornrows braided with loose tension that prioritizes comfort and edge safety.
Installing Loose-Tension Chunky Cornrows
Start the braid 3/4-inch below your hairline, and weave new hair in gradually rather than pulling a large section of edge hair into the initial braid. Keep tension light throughout — ask your braider to prioritize comfort over tightness, and don’t hesitate to speak up if anything feels uncomfortably pulled. Chunky cornrows typically number 6-10 depending on your head size and hair thickness, so each braid bears a moderate load. At loose tension, this means your edges experience minimal stress while your style looks bold and intentional.
Worth knowing: Loose-tension chunky cornrows tend to feel softer on your neck, less likely to cause headaches, and more comfortable for sleeping — practical benefits that often get overlooked in discussions of edge protection.
6. Curved and Arched Cornrows for Hairline Protection
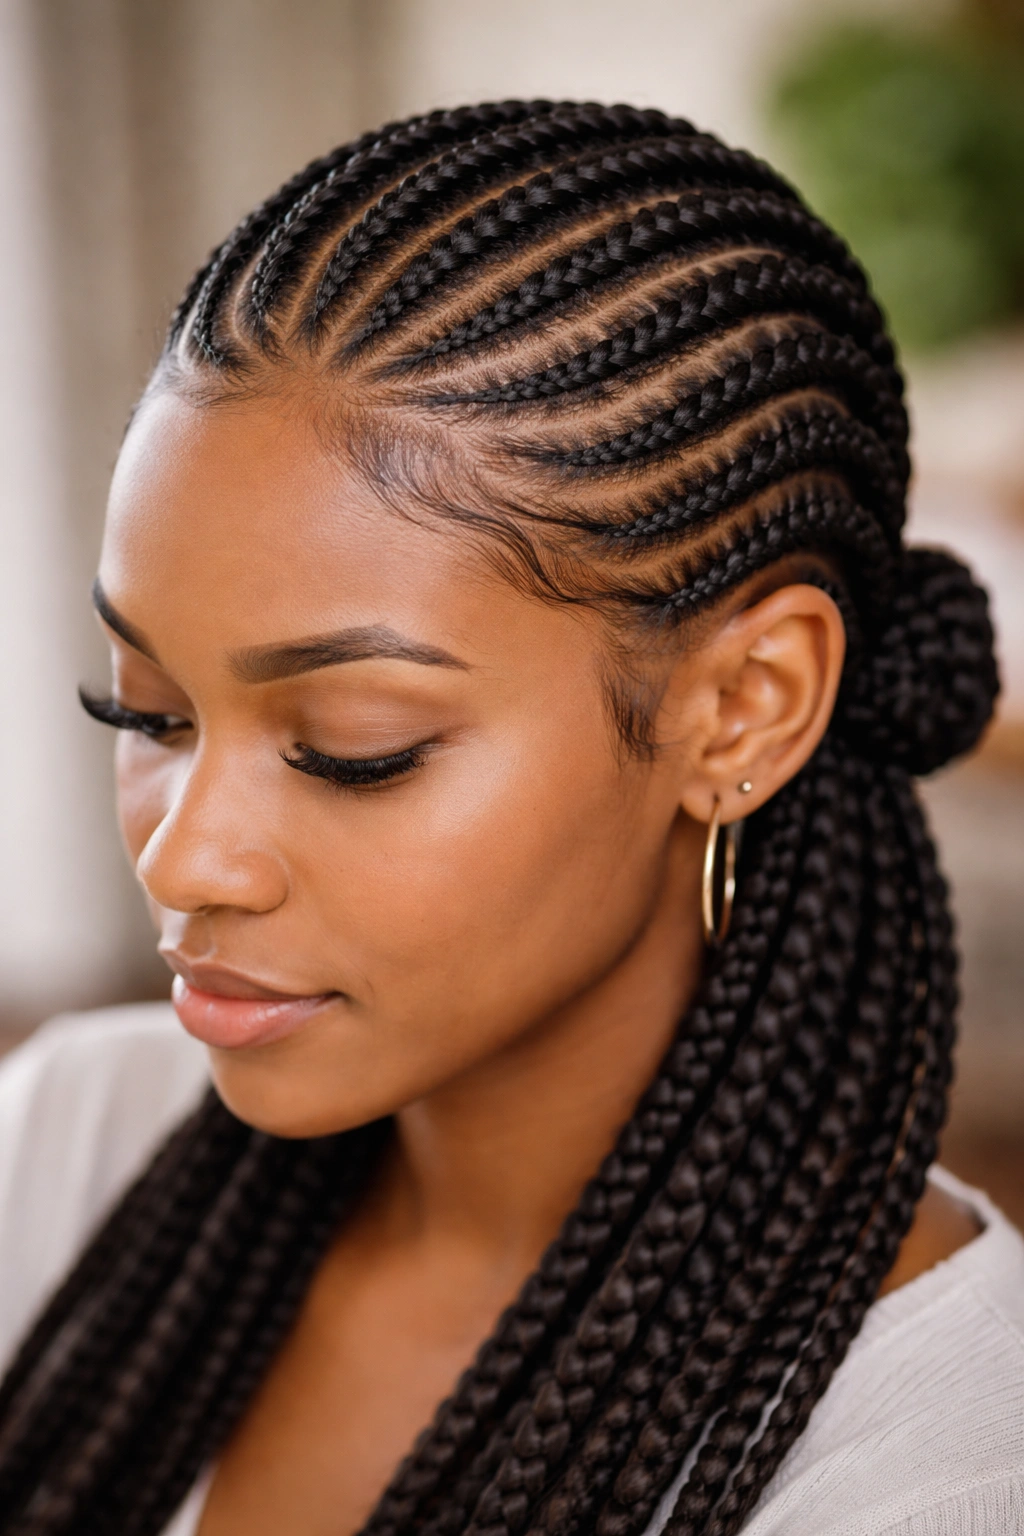
Rather than braiding cornrows in straight lines, you can create curves and arches that intentionally steer away from the most vulnerable parts of your hairline. A gently curved cornrow that starts at the temple, arcs away from the front hairline, and then curves back around removes direct tension from the hairline itself. This is a style choice that makes a significant difference for edge preservation.
The Geometry of Edge-Safe Cornrow Patterns
Straight cornrows create a direct pull from the hairline backward — the most mechanically stressful path for edges. A curved cornrow that sweeps around the sides of your head, or one that angles away from your front hairline, removes that direct backward pull. The tension is redirected laterally or at angles less stressful to the delicate front hairs. If you map out your cornrow pattern on paper first, you can intentionally design curves that take pressure off the hairline while maintaining a cohesive, intentional look.
Creating Curved Cornrow Patterns
Start by planning your pattern — for example, two cornrows that begin behind the temples, arc up and back toward the crown, leaving your actual front hairline unbrained. Or three cornrows that start at each side and curve back, with your front section left out or in a protective updo. The curves don’t need to be dramatic; even a slight deviation from a straight line meaningfully changes the direction of tension. Work with a braider who’s comfortable with custom pattern design, or reference images of curved/arched styles to show exactly what you want.
Insider note: Curved cornrows are especially flattering on oblong face shapes because the arching motion draws the eye horizontally and creates visual balance.
7. Knotless Cornrows (The Gentlest Option)
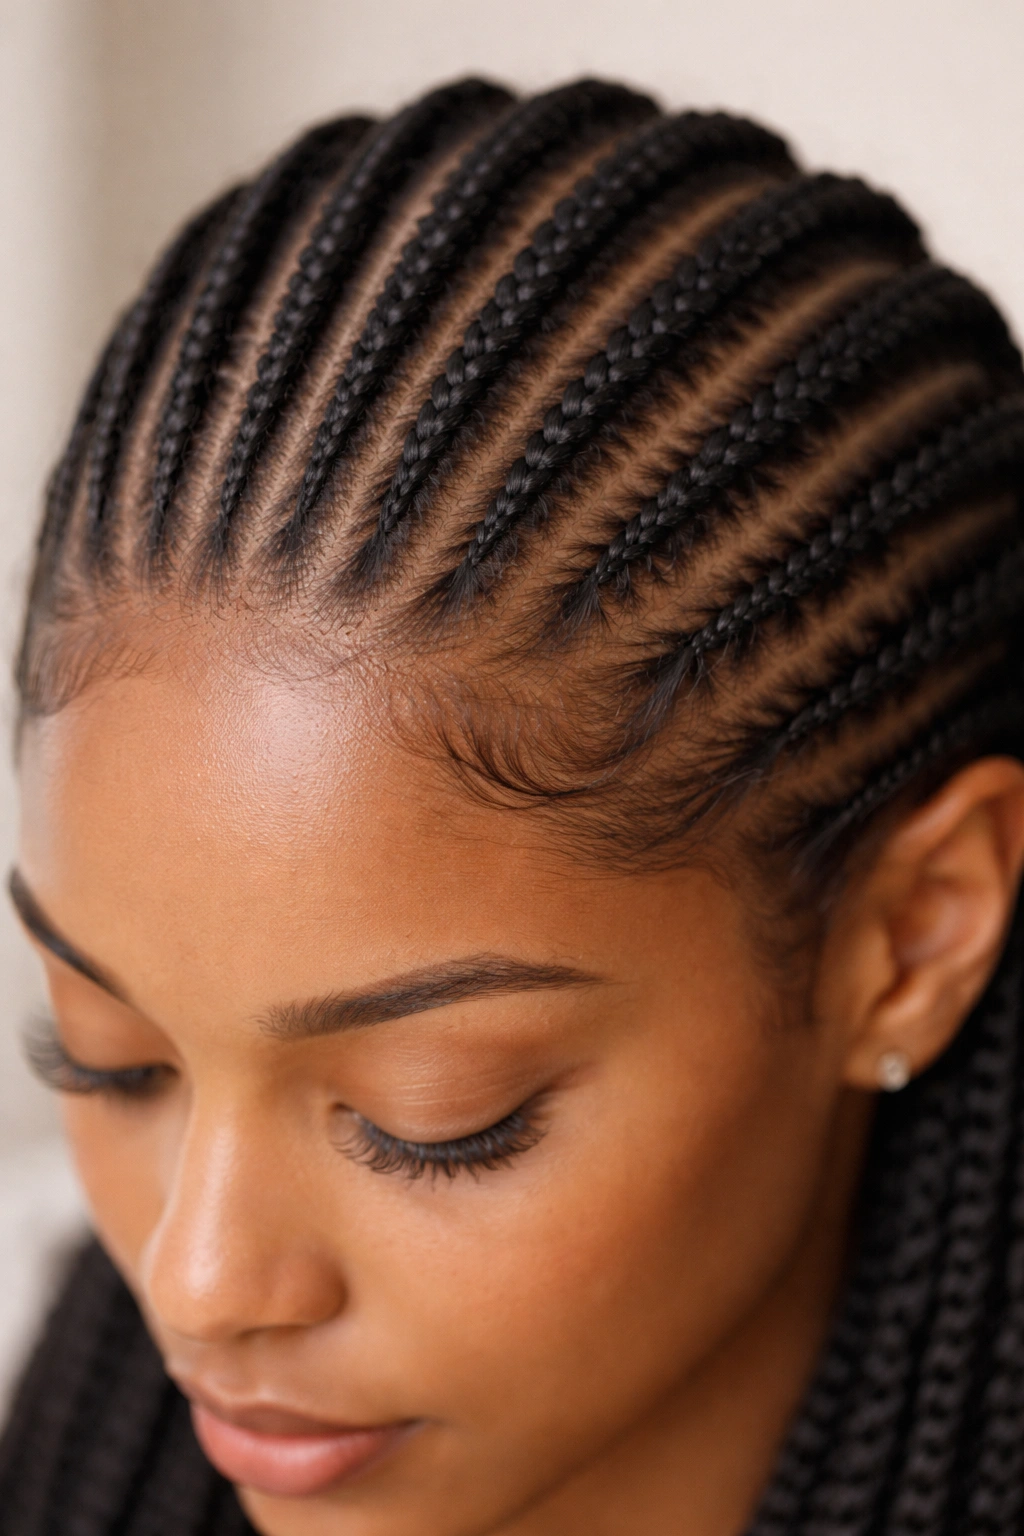
Knotless cornrows are created without initial knots at the root and without weaving in extensions immediately at the scalp. Instead, the braider uses only your natural hair to create the cornrow pattern, adding synthetic hair (if desired) once the braid is already established about an inch away from the roots. This eliminates the concentrated tension knot that traditional cornrows create at the hairline, making knotless cornrows the absolute gentlest option for recovering edges.
How Knotless Installation Protects Edges
A traditional cornrow begins with a tight knot where three strands meet at the root, concentrating all the braid tension at that single point. Knotless cornrows avoid this knot entirely, distributing tension gradually as the braid develops. Your hairline experiences virtually no concentrated stress — just the weight of a developed braid that sits slightly back from your actual edges. For people with significantly thinning or damaged edges, knotless cornrows offer the maximum protection available while maintaining the cornrow look and protective benefits.
The Reality of Knotless Cornrow Installation
Knotless cornrows take 4-6 hours or longer, depending on thickness, length, and braider experience, because the technique requires more precision and time. The style is visually softer and rounder than traditional cornrows, especially in the first week, and they eventually frizz out slightly as they age (typically after week 3-4). If you’re willing to invest the time and maintenance, knotless cornrows offer unmatched edge protection. Many people find them comfortable enough to sleep in without a bonnet, which reduces nightly friction damage.
Pro tip: Knotless cornrows with baby hair (your finest edges) left completely out and styled separately into a soft updo is the gold-standard approach for severe edge thinning — it removes all braid tension from your most vulnerable area while still delivering the protective style benefits.
8. Zigzag Pattern Cornrows
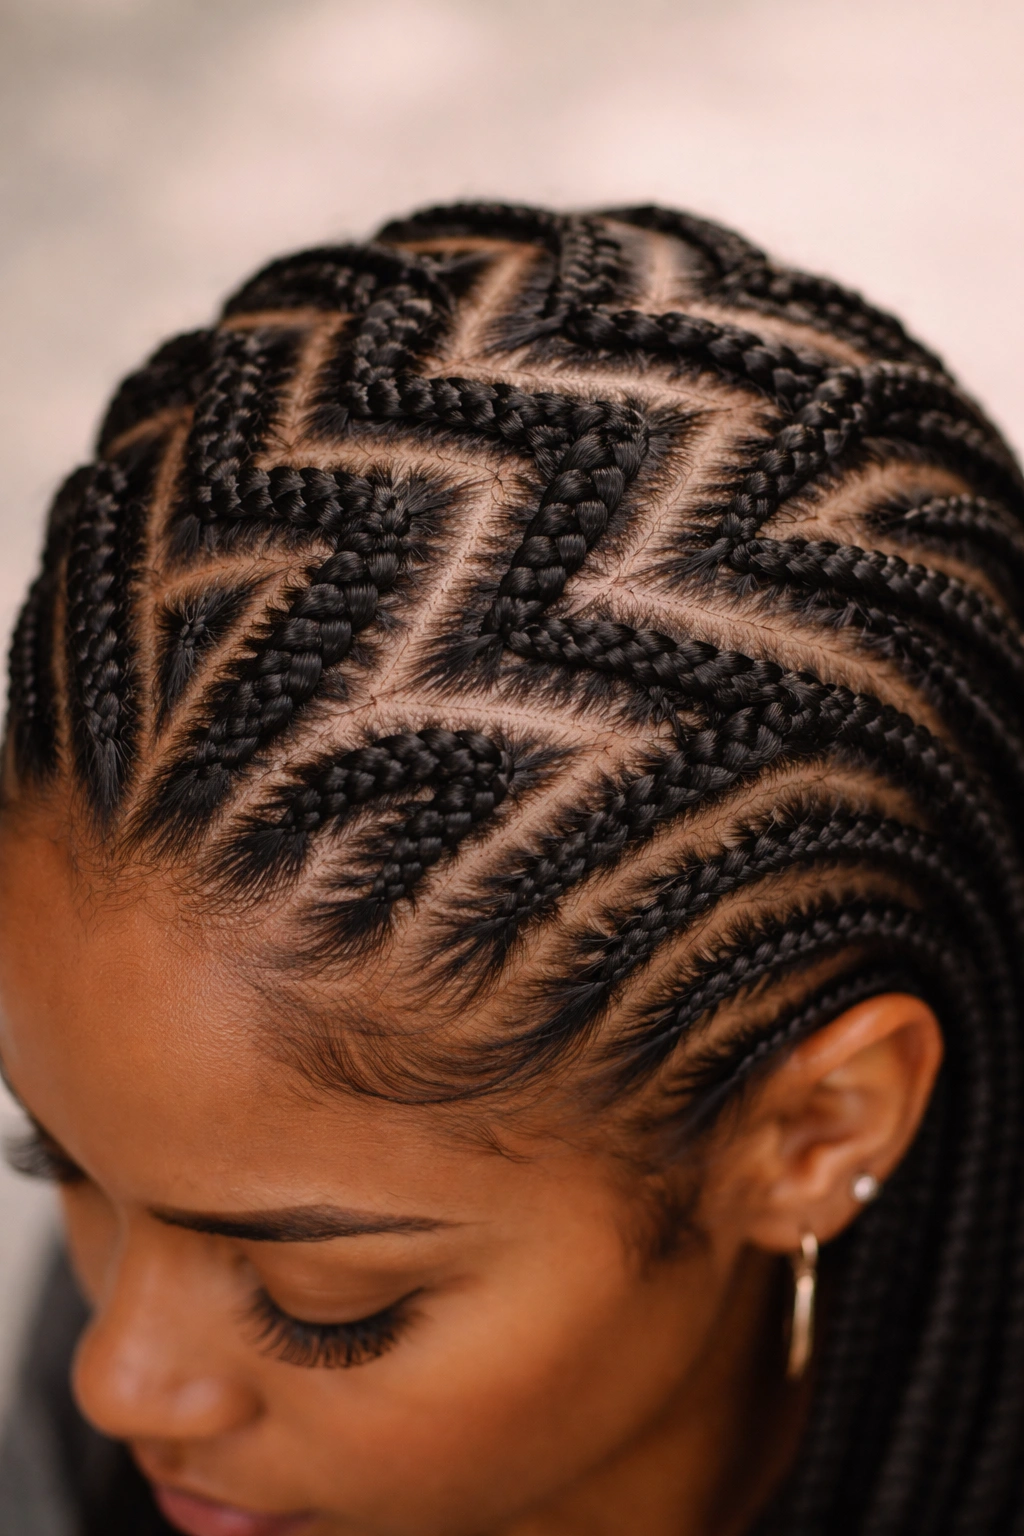
Instead of cornrows braided in straight lines from front to back, a zigzag pattern weaves side-to-side, creating an S-shaped or W-shaped path across your scalp. This approach changes where tension concentrates and how weight distributes. Zigzag cornrows naturally avoid putting sustained, linear pressure on any single area, including your hairline, because the braid path changes direction repeatedly as it moves down your scalp.
Why Directional Variation Reduces Edge Stress
A straight line creates a consistent vector of pull along a fixed path. A zigzag breaks that consistency, distributing stress across multiple directions and multiple scalp areas. If your edges are thin along the entire hairline, straight cornrows create repeated, cumulative stress along that entire vulnerable zone. Zigzag cornrows, by contrast, create shorter segments of stress — the braid pulls at different angles as it moves side to side, preventing the concentrated, sustained tension that causes damage.
Executing a Zigzag Cornrow Pattern
Begin by mentally mapping a zigzag path across your head — for example, starting at the left temple, angling up and across toward the right side of your crown, then angling back down toward the right temple. You can do one large zigzag, multiple smaller zigzags, or a complex W pattern depending on how many cornrows you want. The beauty of this pattern is that it’s endlessly variable — work with your braider to design something that works for your face shape and hair goals. Zigzag patterns look especially modern and intentional, so you’re protecting your edges while also delivering a fresh, fashion-forward appearance.
Worth knowing: Zigzag cornrows tend to show scalp and braiding patterns more clearly than straight cornrows, so they’re ideal if you like a style with visible texture and definition rather than solid-looking braids.
9. Cornrows with Side Sweep and Front Release
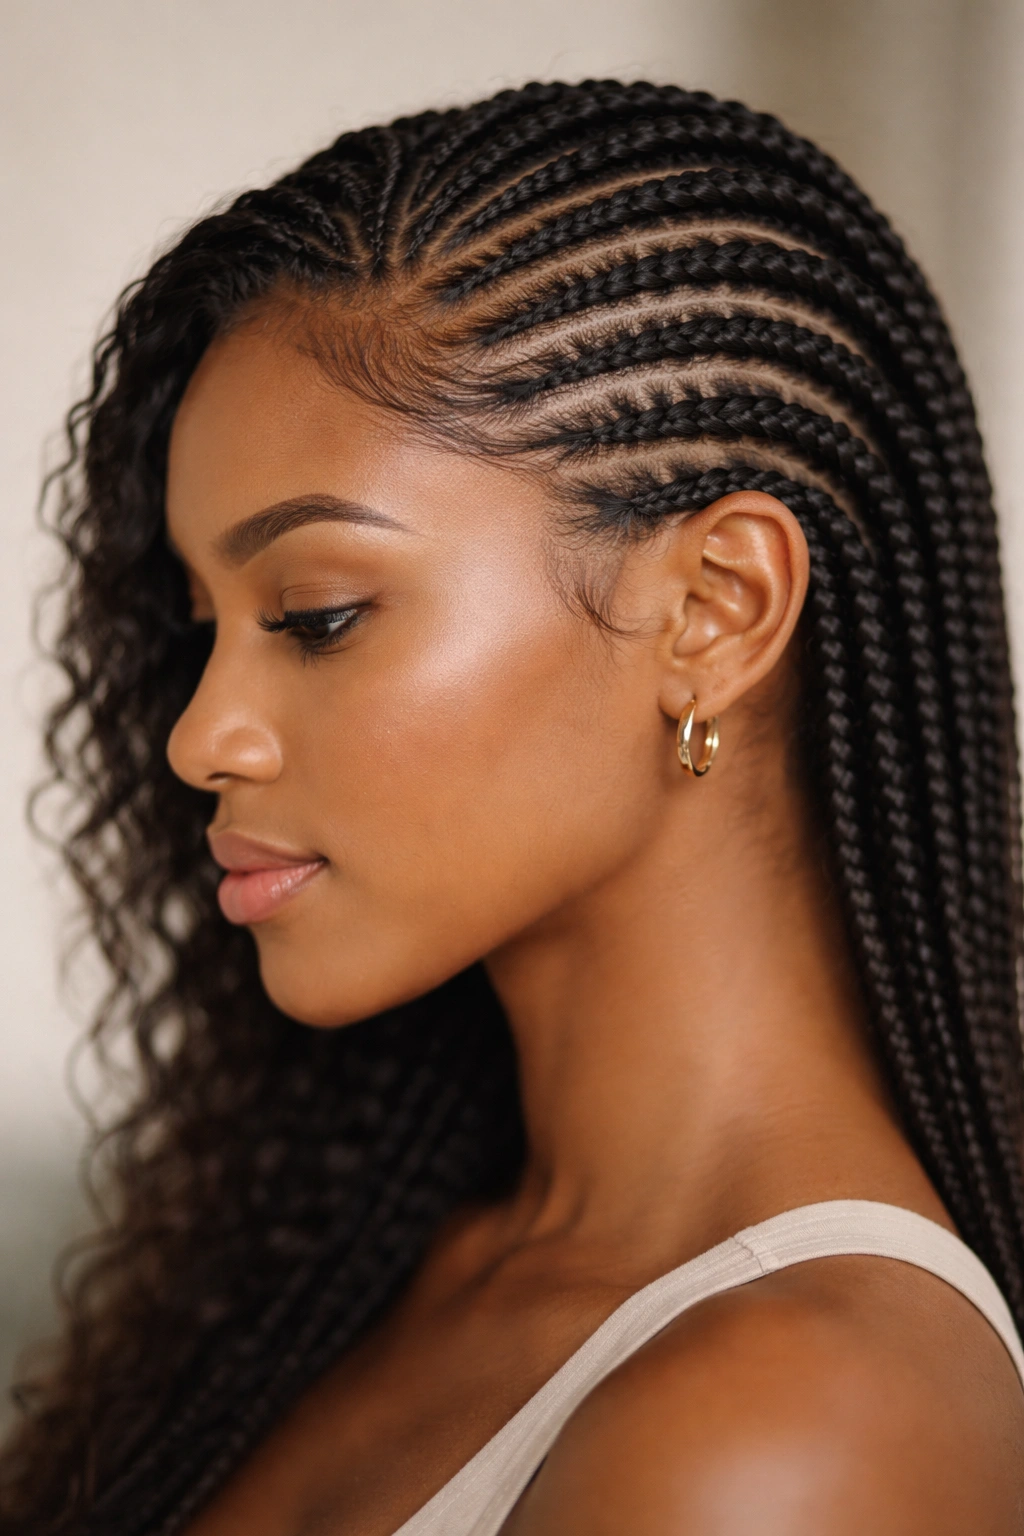
A side-sweep cornrow pattern braids most of your hair, but intentionally leaves your front hairline and temple area completely out. The cornrows begin at the side of your head or slightly back from where they would normally start, sweeping back and away from your face, leaving at least an inch of natural hair at your front hairline. This natural hair can be styled in a soft wave, baby twists, or worn free — the key is that your most vulnerable edges never enter the braiding at all.
Strategic Release Points for Edge Safety
By releasing your front section from braiding entirely, you eliminate tension on approximately 20-30% of your hairline, depending on how wide your front release is. This is a particularly smart approach if you have significant thinning specifically at your hairline or temples, but thicker edges elsewhere. The cornrows still provide protective styling benefits for the bulk of your hair, while your thinning edges get a complete break from tension. If your front hair is also thinning, you can smooth it into a soft, tension-free wave or style it into loose two-strand twists pinned gently to the side.
Designing a Front-Release Pattern
Start your first cornrow at your temple area rather than at your front hairline. Braid it back and slightly upward, or in whatever direction feels natural, avoiding your hairline entirely. Continue with additional cornrows behind this first one, creating a pattern that moves back toward your crown. Your front hairline, temples, and maybe a few inches of your crown at the front stay unbrained. This design is especially flattering on oval and heart-shaped faces because it frames your face while protecting sensitive areas. The released front section can be slicked down with gel, styled into waves, or braided separately for visual interest.
Insider note: Side-sweep cornrows with the released front section styled into baby twists is a high-fashion combination that reads as intentional design rather than as an unfinished style.
10. Micro Cornrows with Loose Tension and Extra Scalp Spacing
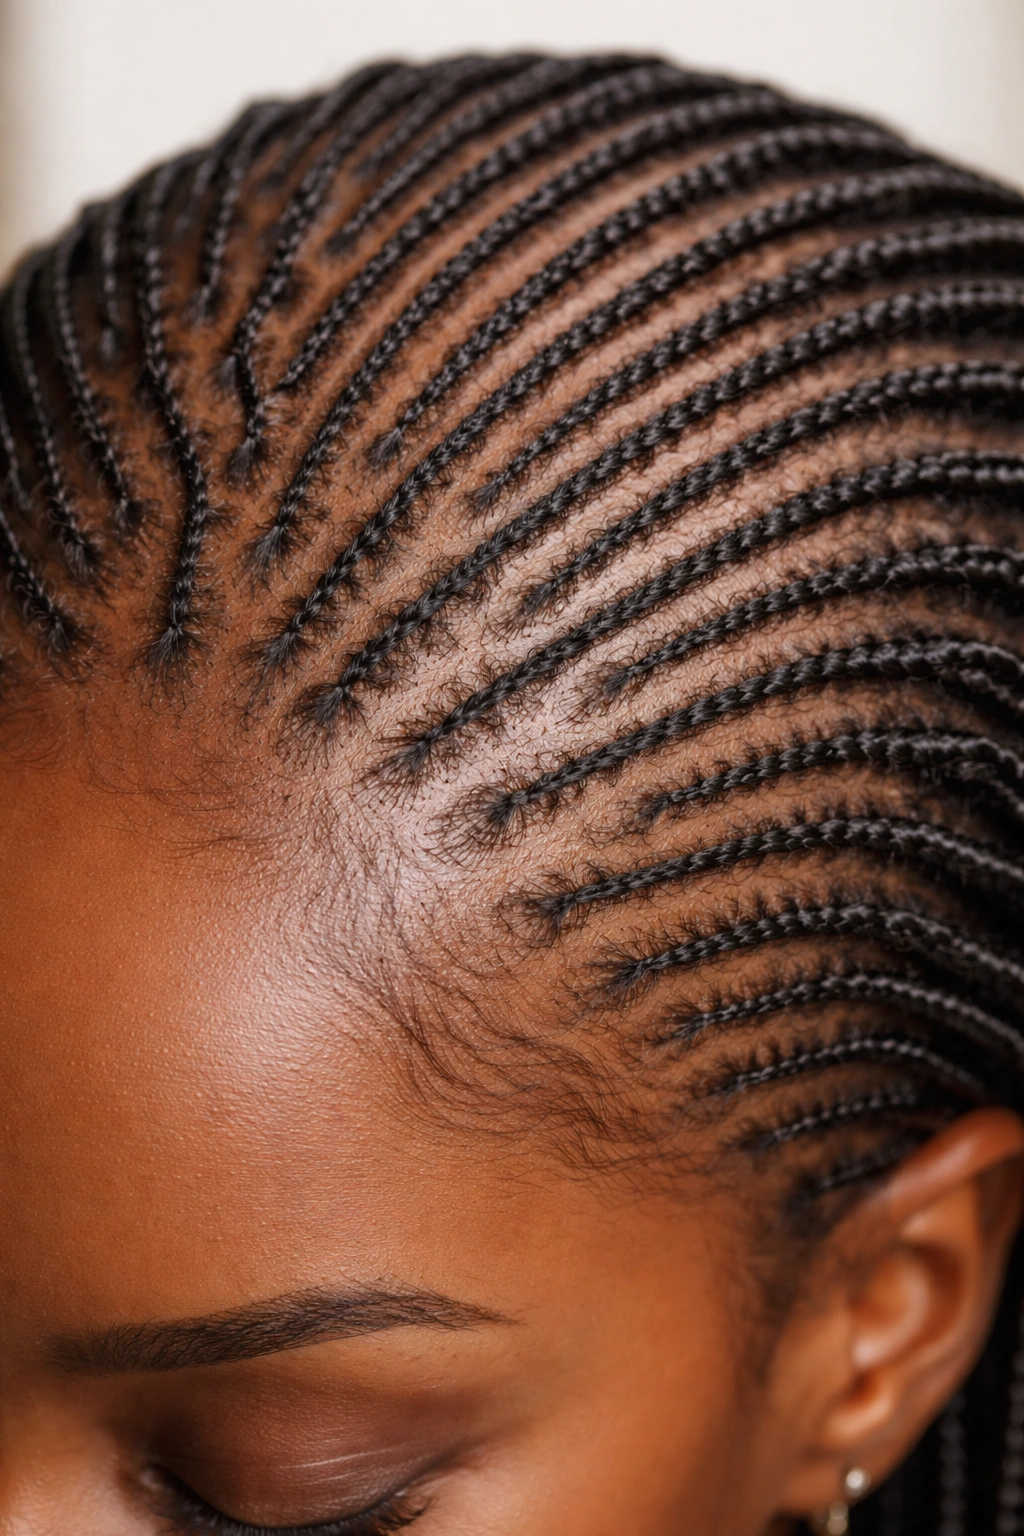
Micro cornrows are extremely thin braids (thinner than a pencil, about the width of a shoelace or thinner). When installed with loose tension and spacing between rows, they create the most distributed tension load possible. Your edges experience minimal force at any single point because the entire load is spread across 40-60+ anchor points rather than concentrated on 8-10 thicker braids.
The Mathematics of Ultra-Distributed Tension
A traditional 8-cornrow style concentrates tension at 8 main anchor points on your scalp. A 50-cornrow micro style distributes tension across 50 points. At the same overall tension level, each individual braid applies roughly one-sixth the force. For edges, this difference is significant — the stress per hair strand is dramatically lower with micro cornrows. The trade-off is time: micro cornrows take 6-8 hours to install and require more careful maintenance to prevent frizz, but they represent the gentlest practical option for active edge recovery.
Managing Micro Cornrows Long-Term
Micro cornrows typically last 6-10 weeks depending on your hair growth rate and how well you care for them. Sleep with a bonnet or silk scarf every night to prevent frizzing and friction damage. Wash gently, section by section, using a spray-bottle approach rather than pouring water directly on your head. Lightweight oils and leave-in conditioner are your friends — micro cornrows can dry out more than thicker braids because there’s more surface area. Many people find that micro cornrows feel lighter and more comfortable than chunky styles, especially in warm weather.
Pro tip: Micro cornrows actually blend beautifully with your natural hair growth as your hair grows out, so they can transition from a protective style into an everyday style fairly seamlessly if you maintain them well.
Final Thoughts
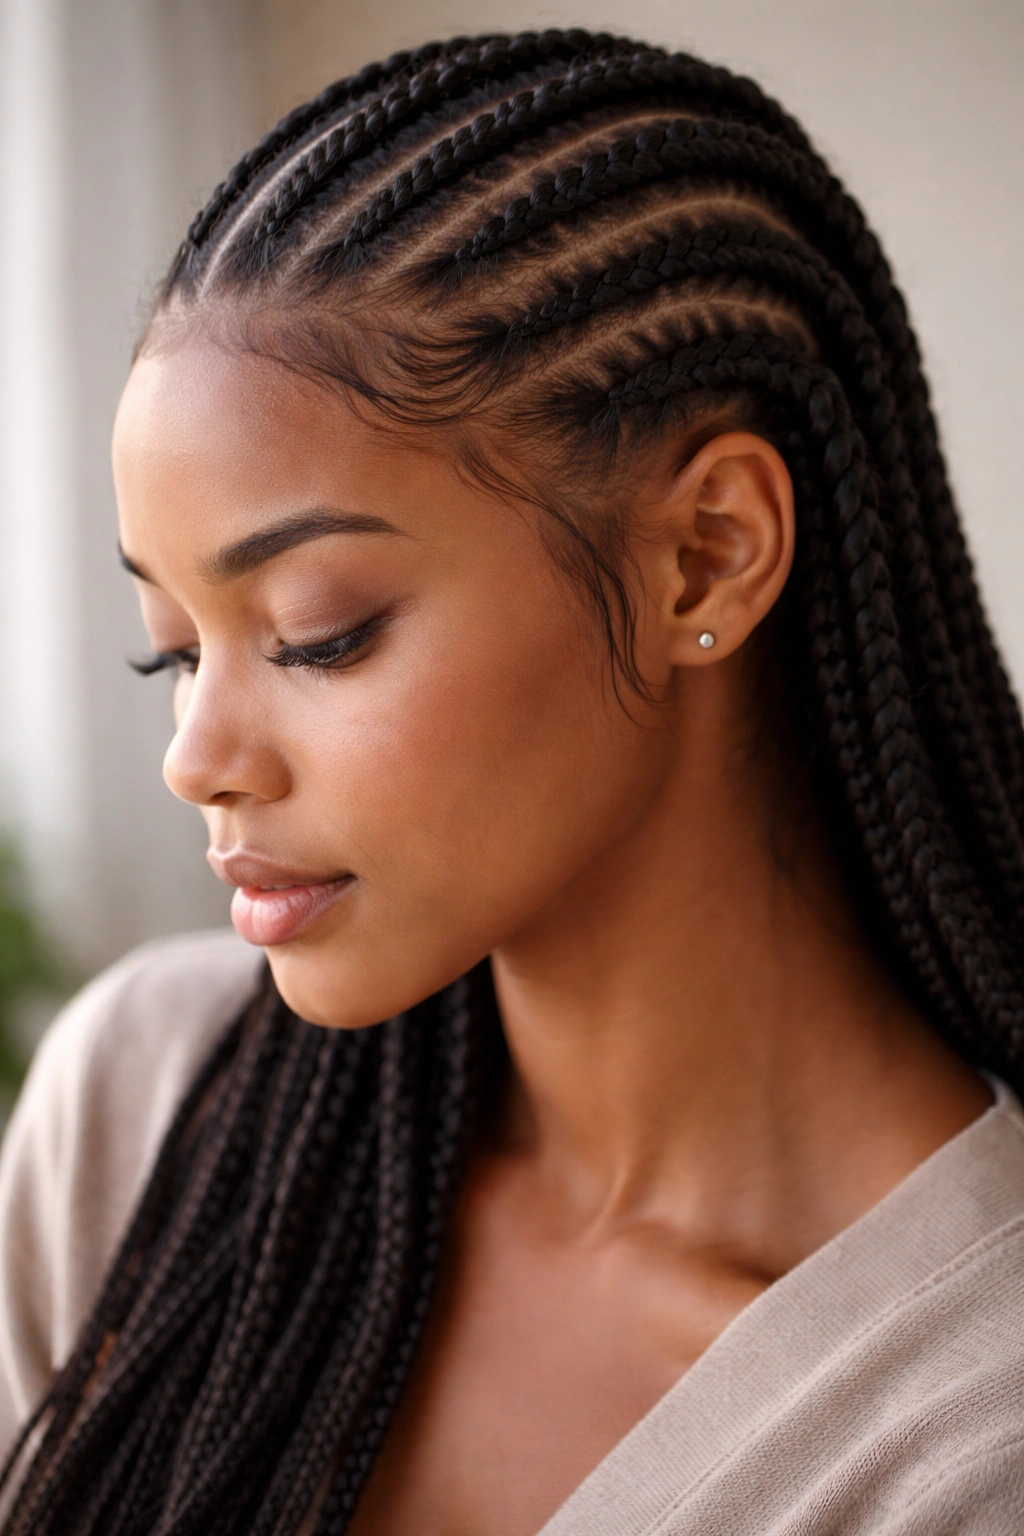
Protecting thin edges while wearing cornrows isn’t about avoiding the style altogether — it’s about choosing approaches that respect your edges’ vulnerability while you still get the protective, low-maintenance benefits cornrows offer. Every style here operates on one fundamental principle: lower tension, distributed stress, and intentional spacing remove pressure from delicate areas while keeping your hair safely contained and styled.
The most protective approach combines multiple strategies rather than relying on a single one. Feed-in installation + loose tension + hairline spacing gives you three layers of edge protection in a single style. Knotless cornrows + baby hair released + a soft front updo compounds the benefits even further. Start with whatever resonates with your lifestyle and edge situation, then adjust as your edges recover and your needs change.
Your edges will thank you for prioritizing their health, and the braider who truly understands edge protection will recognize that request with immediate respect. That’s the hallmark of someone who sees cornrows not as a one-size-fits-all protective option, but as a customizable tool that can work for every hair type, edge situation, and styling goal.