Silver hair paired with long, wavy texture creates one of the most striking and versatile looks in contemporary styling. The ethereal quality of waves combined with the luminous coolness of silver tones elevates an already beautiful palette into something genuinely transformative. Whether you’re drawn to the romance of old Hollywood glamour, the edge of modern fashion-forward styling, or the effortless sophistication of lived-in waves, silver long hair offers endless possibilities for personal expression.
The magic of this combination lies in how waves interact with silver pigment. Where straight hair can sometimes feel harsh or too uniform in tone, waves add dimension and movement that make silver appear deeper, more dynamic, and endlessly changeable depending on light and styling. A simple shift in how you part your waves or the direction you curl them can completely transform the mood of the look. One day it reads romantic and soft, the next edgy and bold—all with the same base color and texture.
Long wavy silver hairstyles work across virtually every age, face shape, and personal aesthetic. The length provides canvas for styling versatility, while the waves add the texture that photographs beautifully and moves naturally without looking flat or lifeless. Silver itself has moved far beyond being associated with aging—it’s now embraced as a fashion statement, a deliberate choice that signals confidence and a willingness to explore unconventional beauty. Combined with waves and length, it becomes a powerful expression of individuality.
The real work in wearing this look well comes down to understanding which wave pattern suits your face, which styling techniques keep your silver looking vibrant and cool-toned rather than brassy, and which maintenance routine protects the integrity of both the color and the texture. These 20 hairstyles showcase the range of possibilities, each with specific styling approaches and maintenance needs tailored to help you achieve and maintain the look.
1. Loose Romantic Waves with Face-Framing Layers
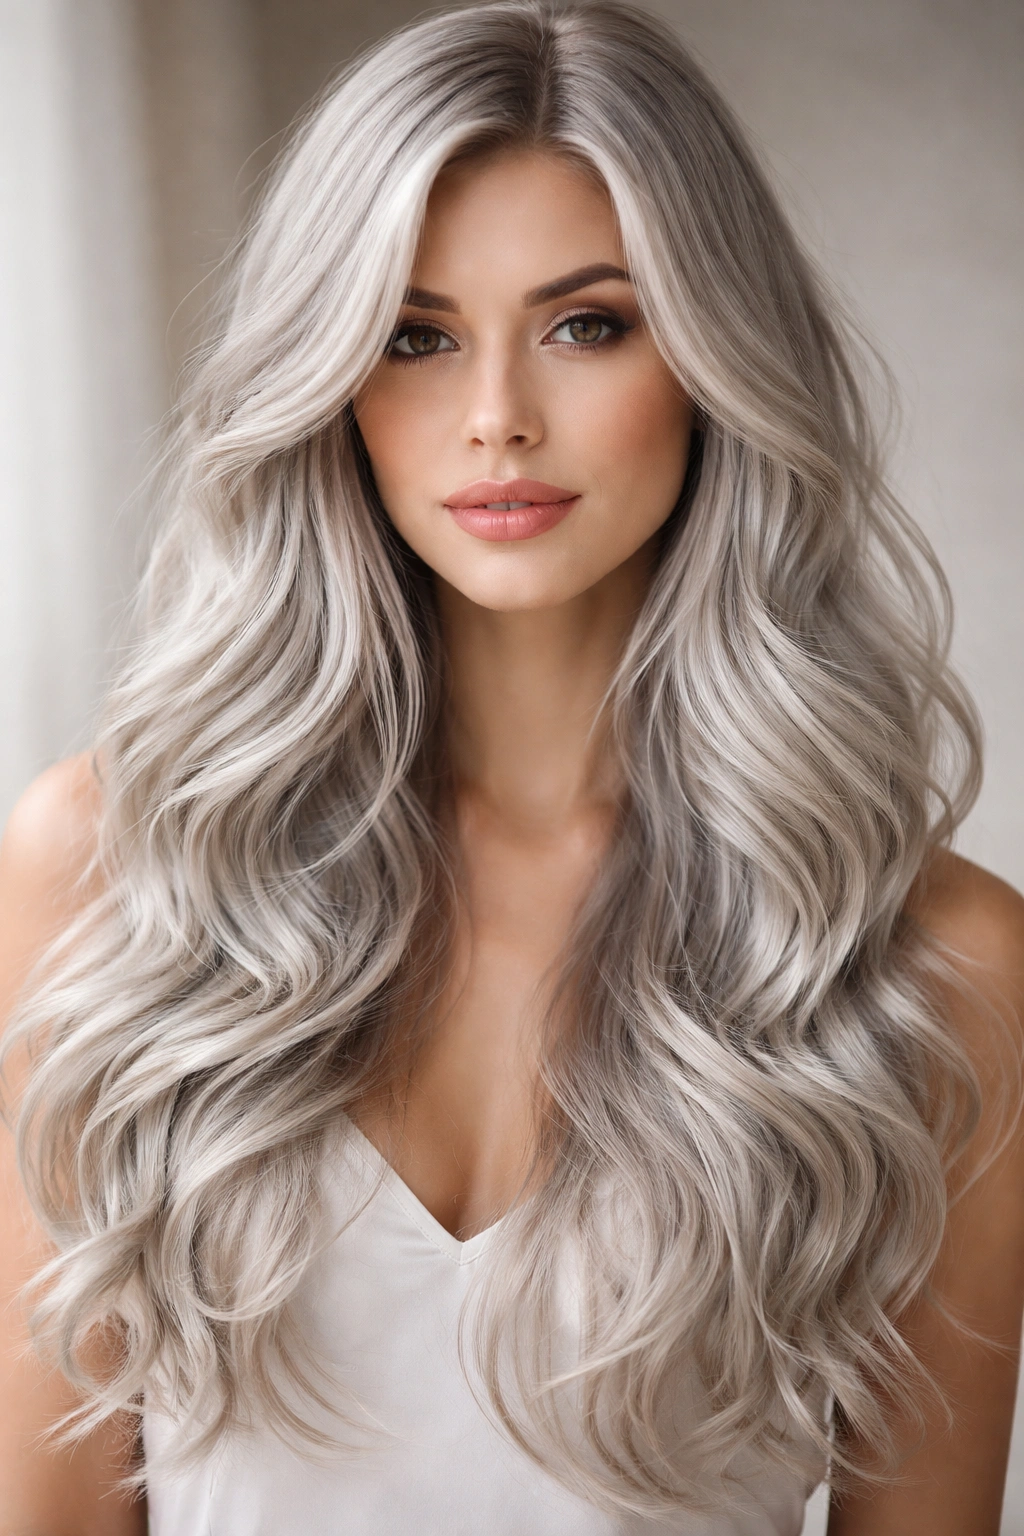
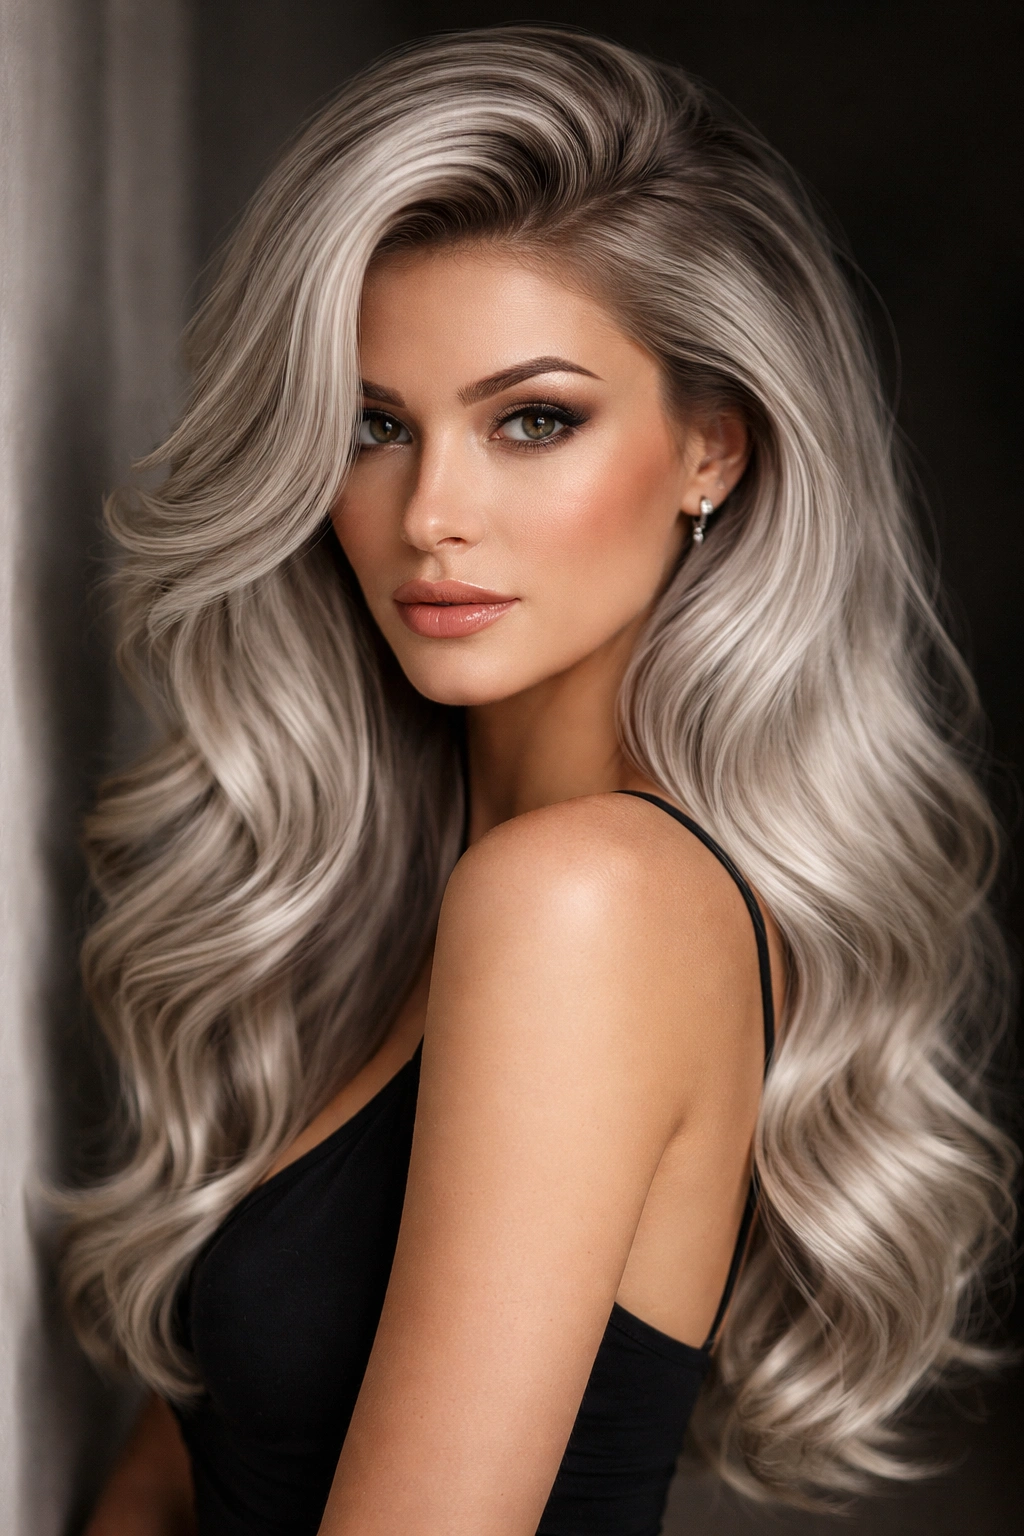
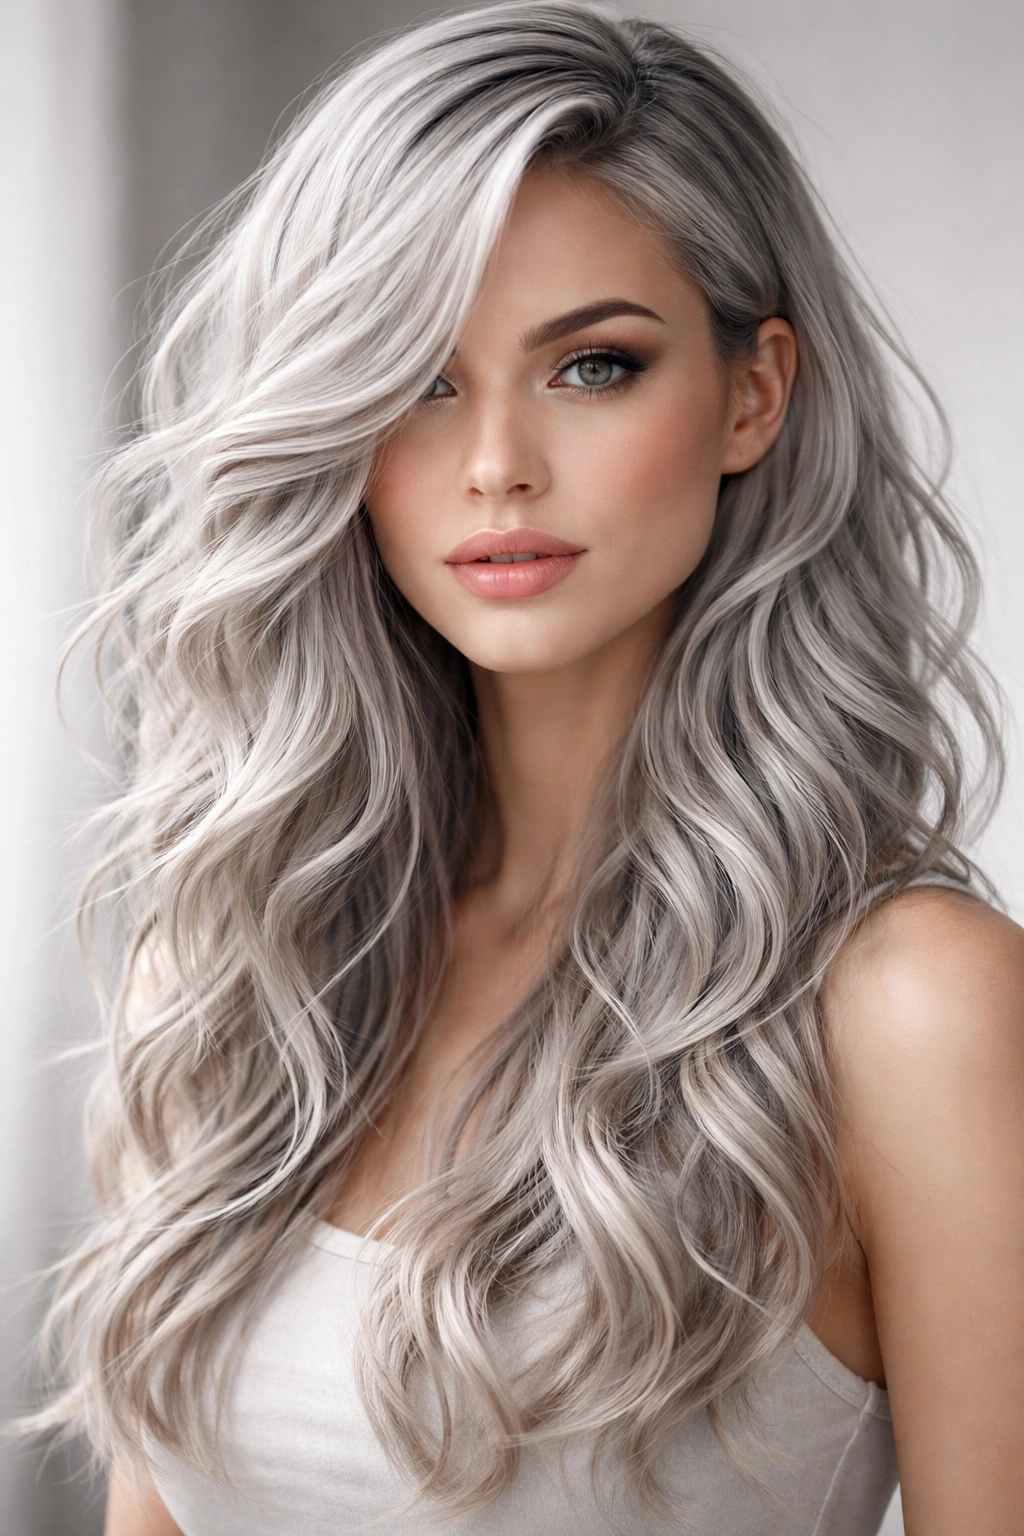
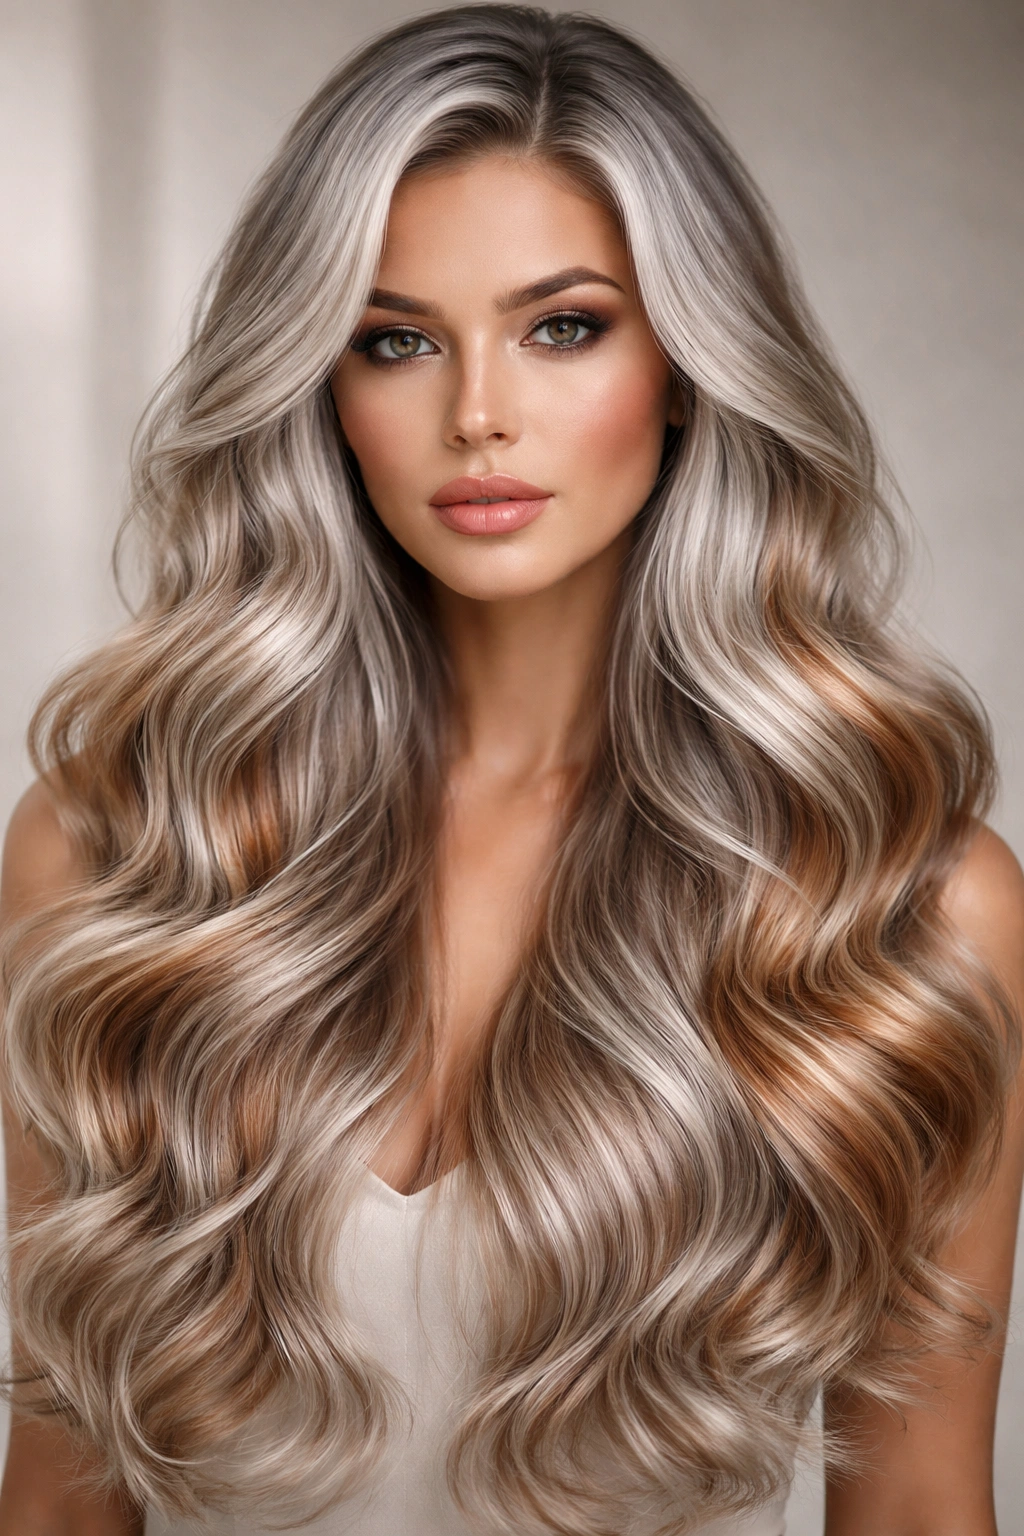
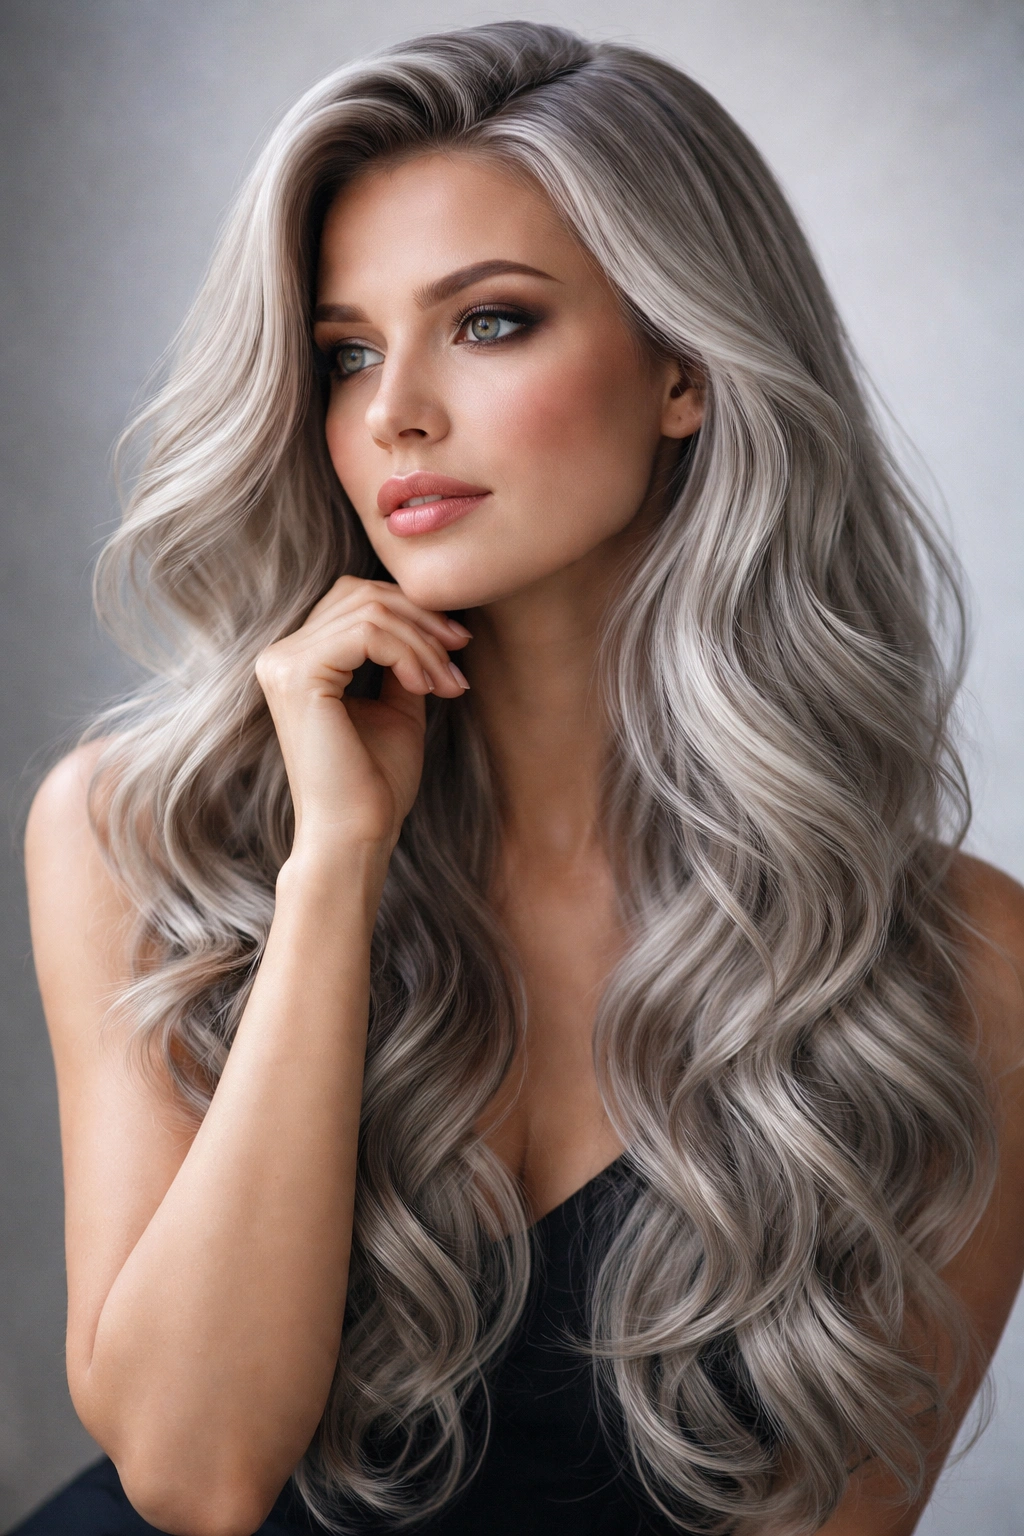
This classic approach emphasizes softness and movement, with gently undulating waves that start around mid-length and flow all the way to your waist or beyond. Face-framing layers in the front create definition without sacrificing the overall length, and they’re essential for drawing attention to your features while the rest of your hair creates a dreamy backdrop. The wave pattern here is loose and organic—not tight curls, but genuine flowing waves that catch light beautifully.
Why It Works For Silver Hair
Loose waves showcase silver’s natural luminosity because the texture creates constant light-catching movement. The face-framing layers prevent the style from feeling too heavy or predictable, and they break up what could otherwise be a monotonous sheet of color. This approach is genuinely flattering because the softness around your face balances the cool intensity of silver while the length and movement read as intentional and modern rather than accidental.
Key Styling Elements
- Wave pattern should begin around mid-length for a natural, undone look
- Face-framing pieces should be 1-2 inches shorter than surrounding layers to create dimension
- Use a large-barrel curling iron (1.5 to 2 inches) or a straightener to create waves with a relaxed curve rather than tight spirals
- Blow-dry with a diffuser for texture that feels lived-in rather than blow-dried
Pro tip: Apply sea salt spray to damp hair before blow-drying to enhance the wave texture and add grip that makes styling easier.
2. Beachy Tousled Waves with Textured Ends
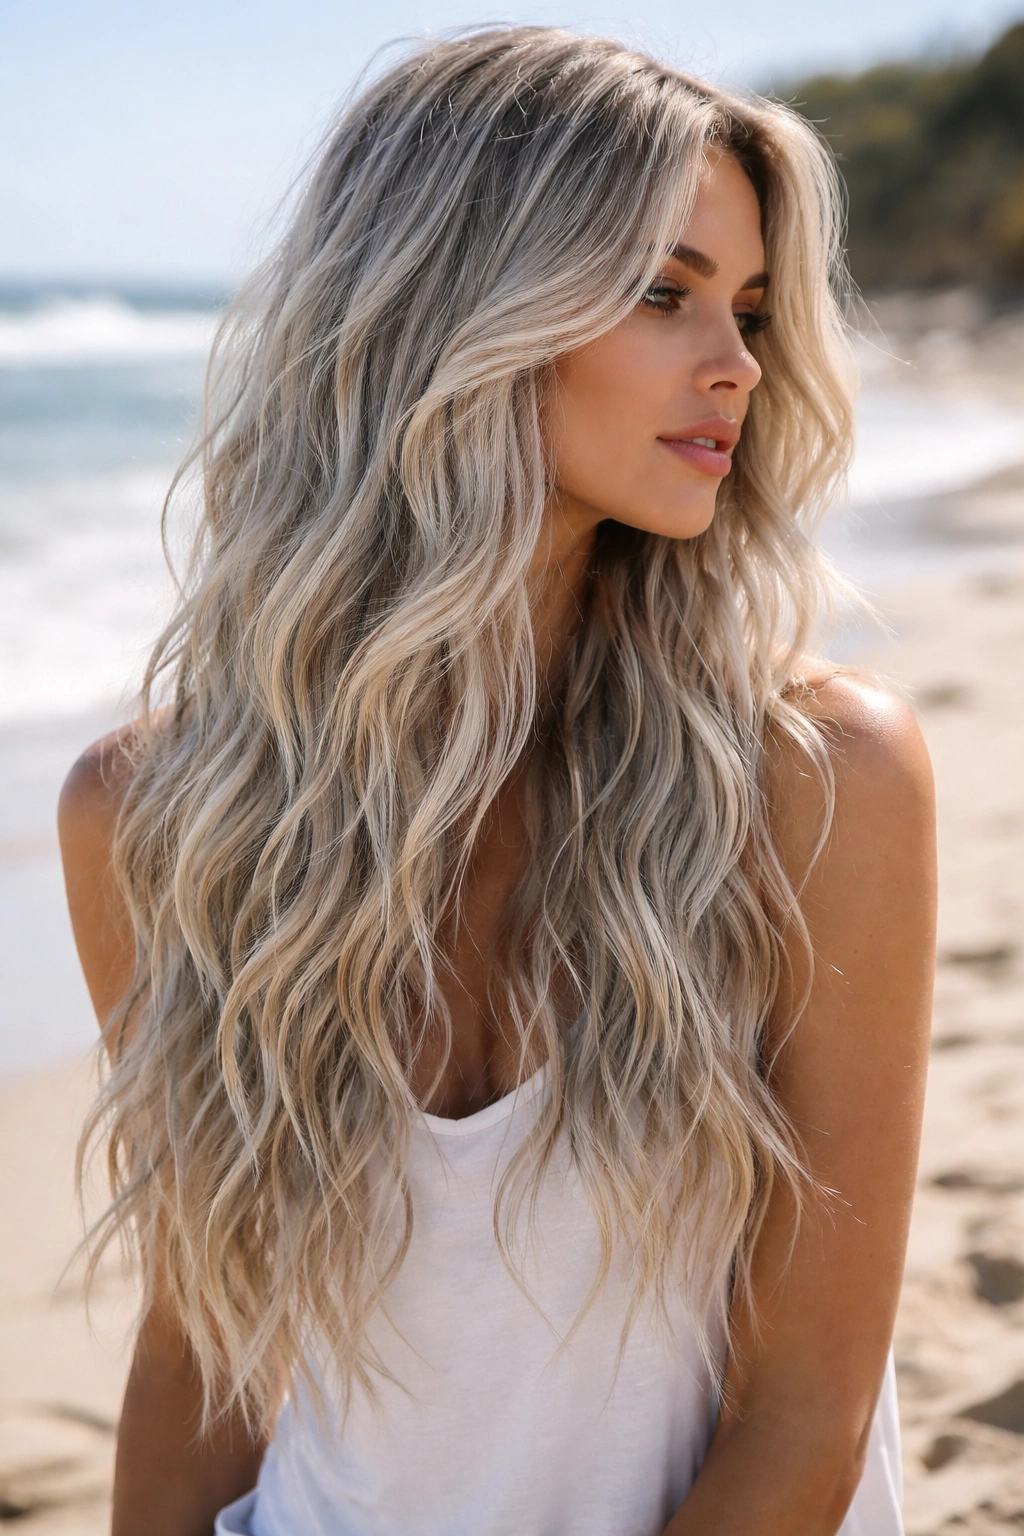
Beachy waves prioritize that undone, salt-sprayed look that feels effortlessly cool. The technique here involves creating loose, irregular waves with slightly textured and piecy ends rather than blunt, uniform ones. This hairstyle sits somewhere between intentional styling and I-just-came-from-the-beach ease, and it’s more forgiving to maintain than sharper, more controlled wave patterns.
The Styling Approach
The waves don’t need to be uniform or perfect—in fact, slight variation is the entire point. Longer pieces in the front can be wavy while the back layers are slightly wavier, and your side pieces can have a different wave direction than the rest. This apparent randomness is what makes beachy waves feel authentic. The textured ends happen naturally when you create waves with irregular-sized sections and don’t over-curl them into perfect spirals.
Maintenance and Refresh Tips
- These waves hold better with a texturizing spray or dry shampoo applied to the roots
- Refresh waves on day 2 or 3 by misting with sea salt spray and scrunching
- Sleep on a silk or satin pillowcase to minimize friction that flattens waves
- Avoid brushing through finished waves—use your fingers or a wide-tooth comb instead
Worth knowing: This style actually looks better as it relaxes slightly over 2-3 days, so don’t expect it to stay perfectly waved the entire time.
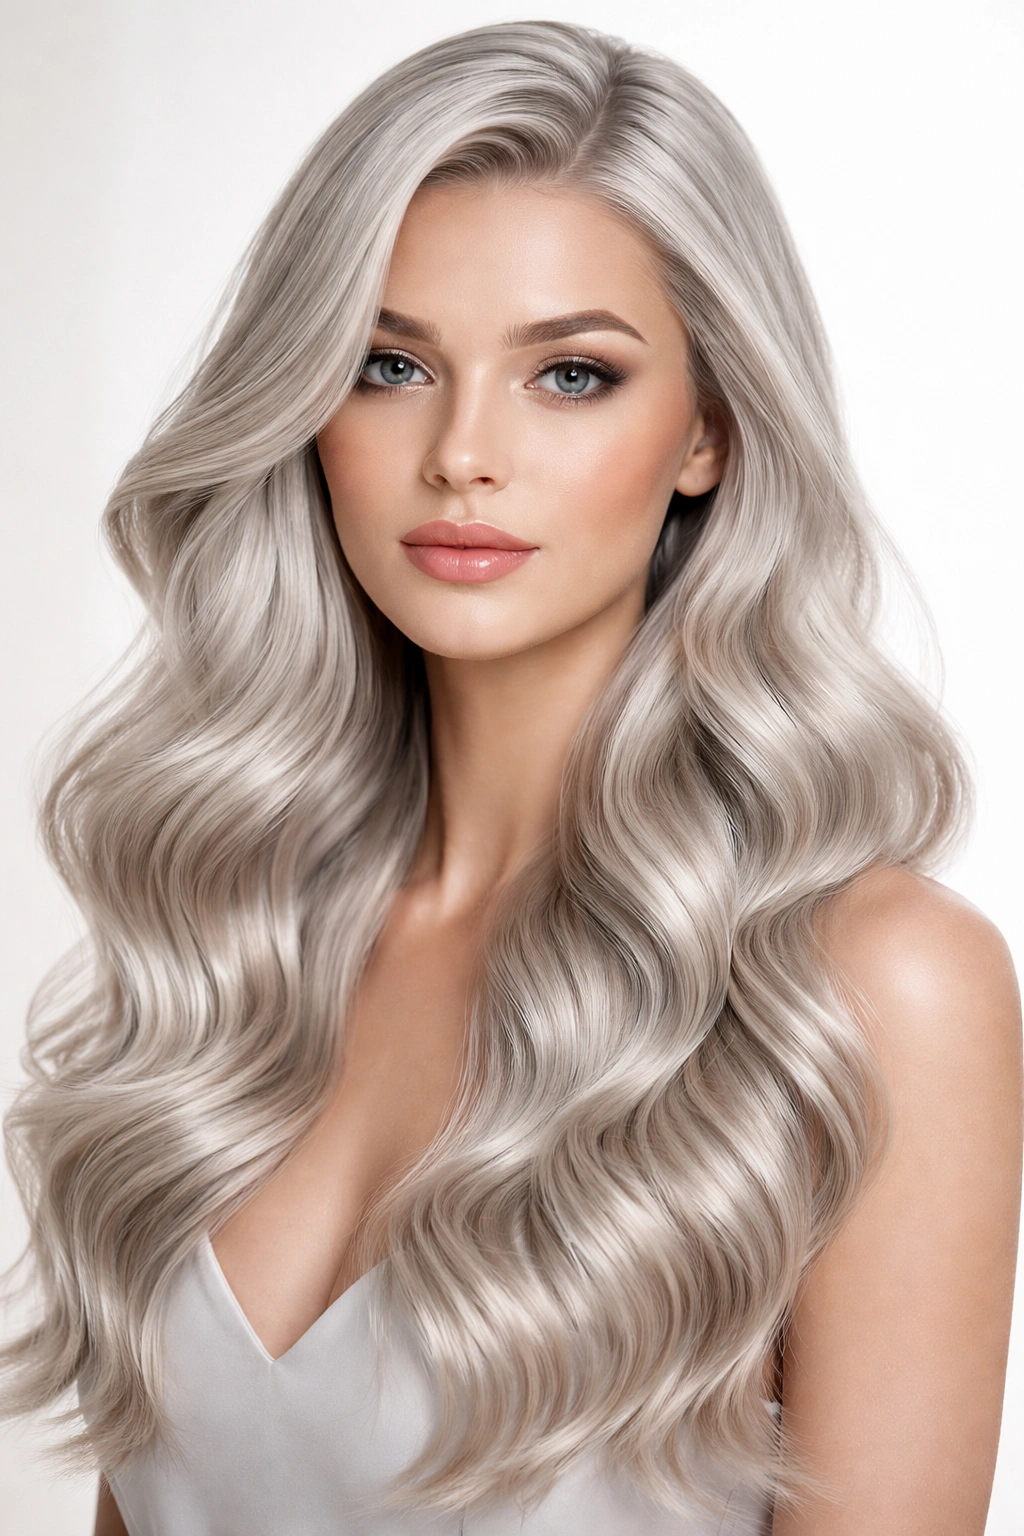
3. Mermaid Waves with Gradient Silver Tones
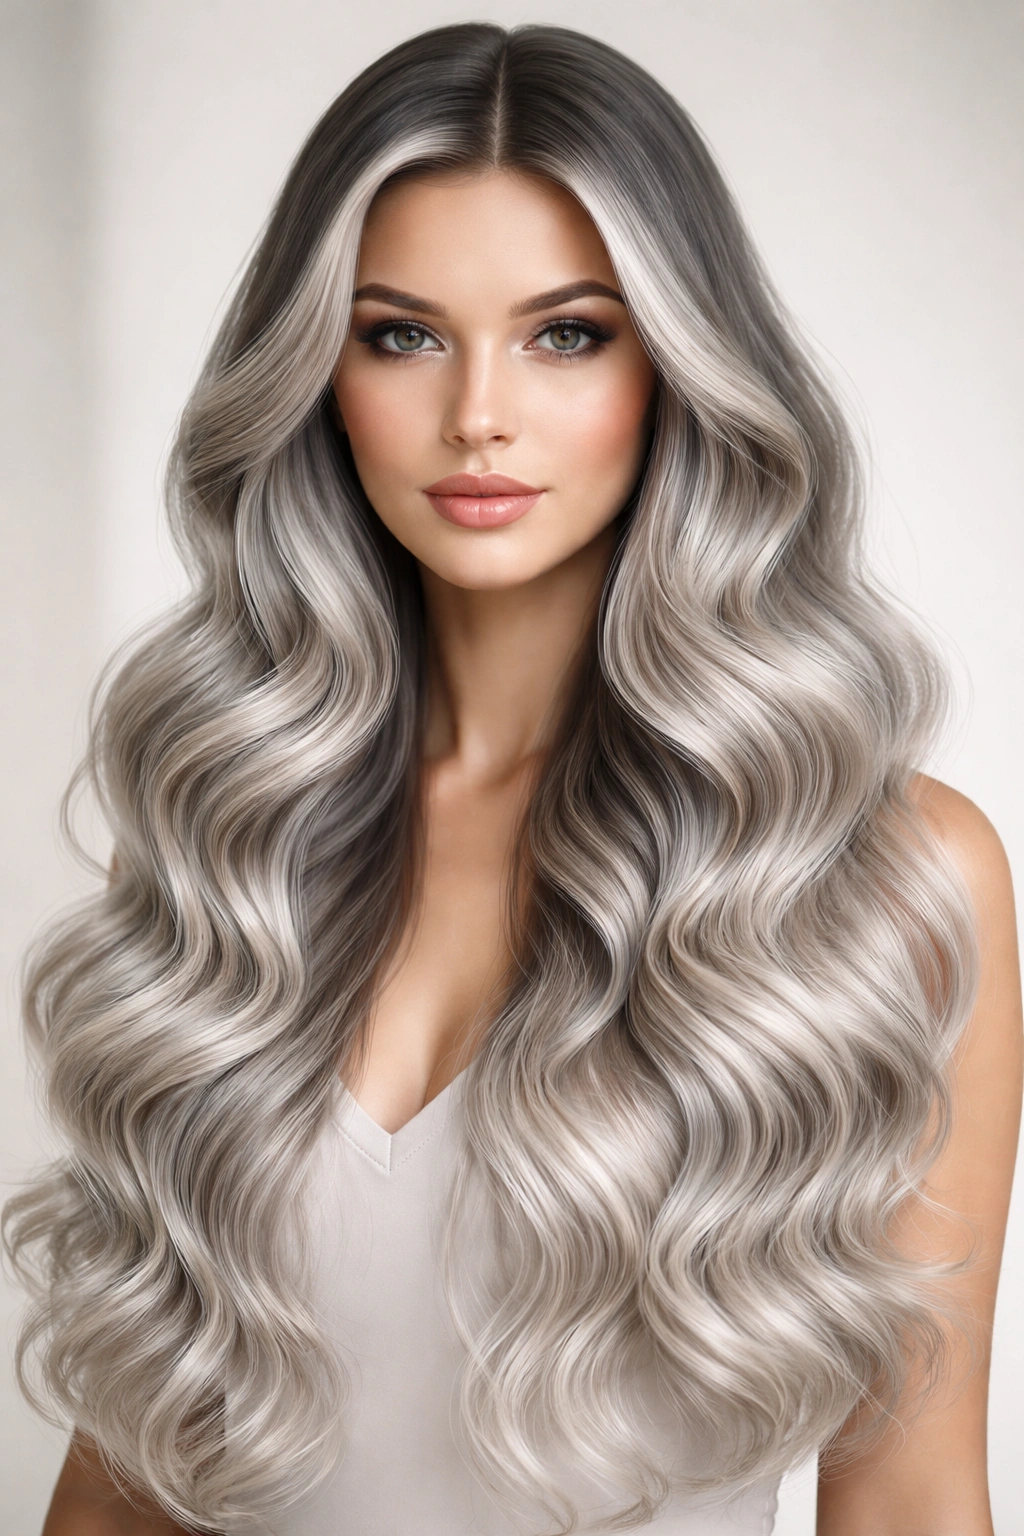
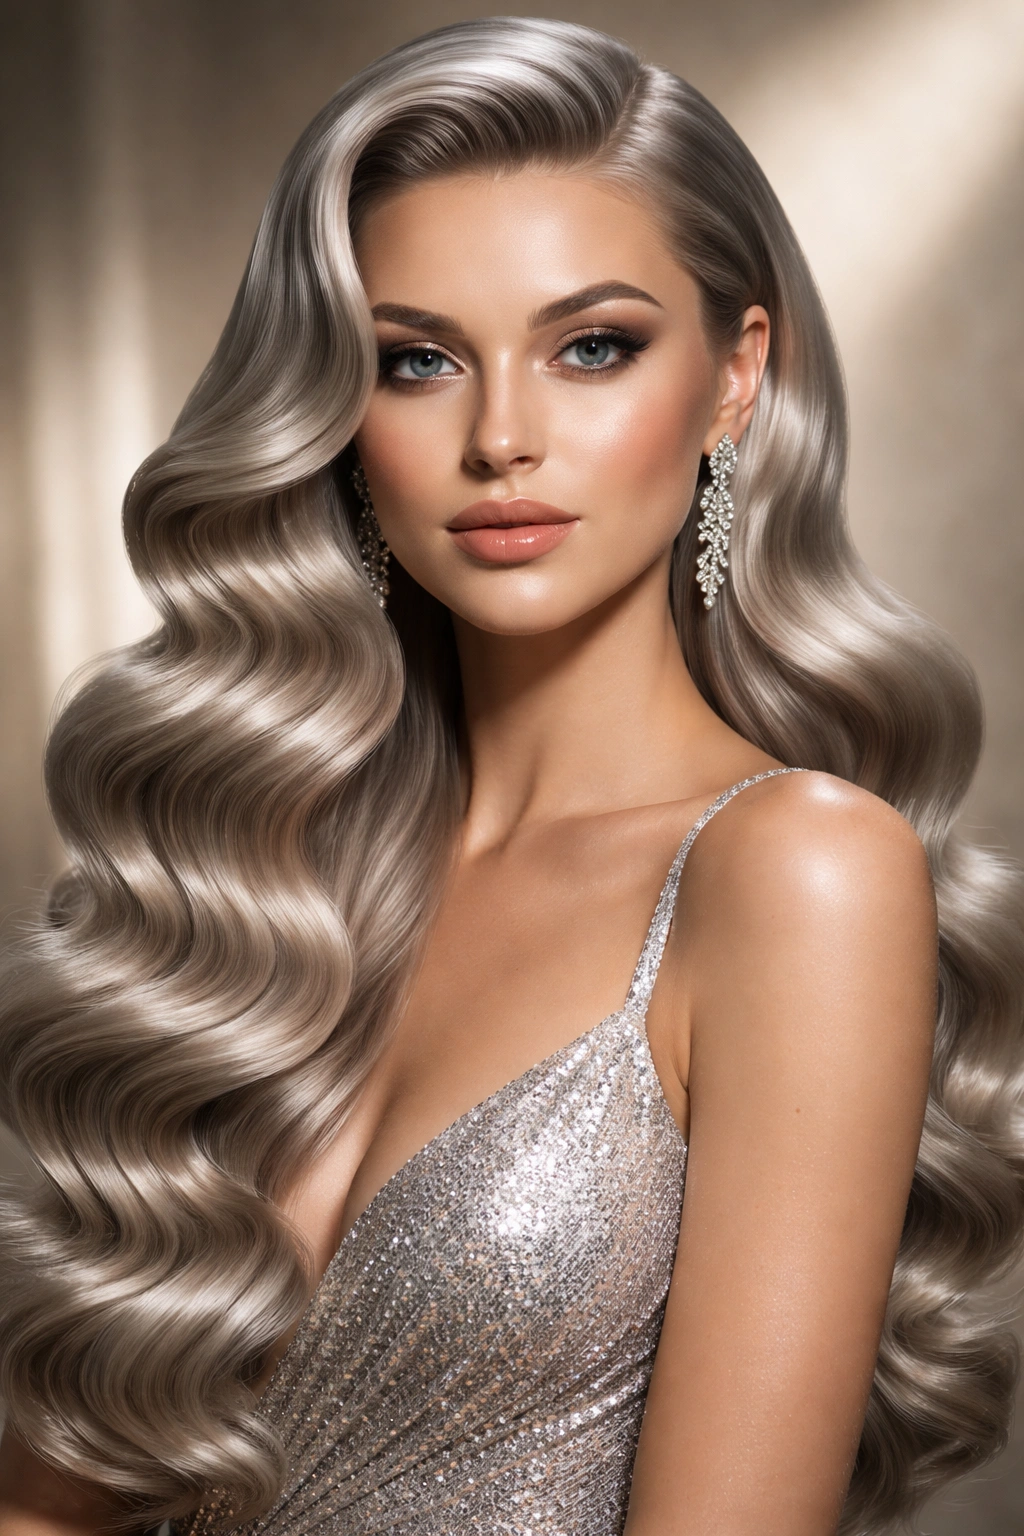
Mermaid waves are defined by their perfect, almost impossibly uniform wave pattern—each section curves the same way as its neighbor, creating an organized, almost art-deco aesthetic. Pairing this with gradient silver (darker silver or black roots fading to pale silver or platinum as you move down the length) adds tremendous visual depth and makes the wave pattern even more striking because the color variation emphasizes the line of each wave.
Creating the Mermaid Wave Pattern
This requires a meticulous approach with consistent section size and curl direction. Use a 1-inch curling iron and take even sections, curling each one away from the face, always in the same direction. Roll each section up to the roots and hold for a full count before releasing. The key is consistency—every wave should mirror the last one. This is a style that genuinely benefits from professional styling or practice because the imperfections show immediately.
Why Gradient Tones Enhance This Look
When your silver has dimension through color placement, the mermaid wave pattern reads as sculptural and intentional. Light roots and pale silver ends create visual separation that makes each wave appear more defined. The two elements—perfect wave pattern plus color dimension—work together to create a look that feels polished and fashion-forward.
Insider note: This style photographs exceptionally well, especially with studio lighting that catches the dimension in both the waves and the color gradient.
4. Curtains and Center Part with Soft Waves
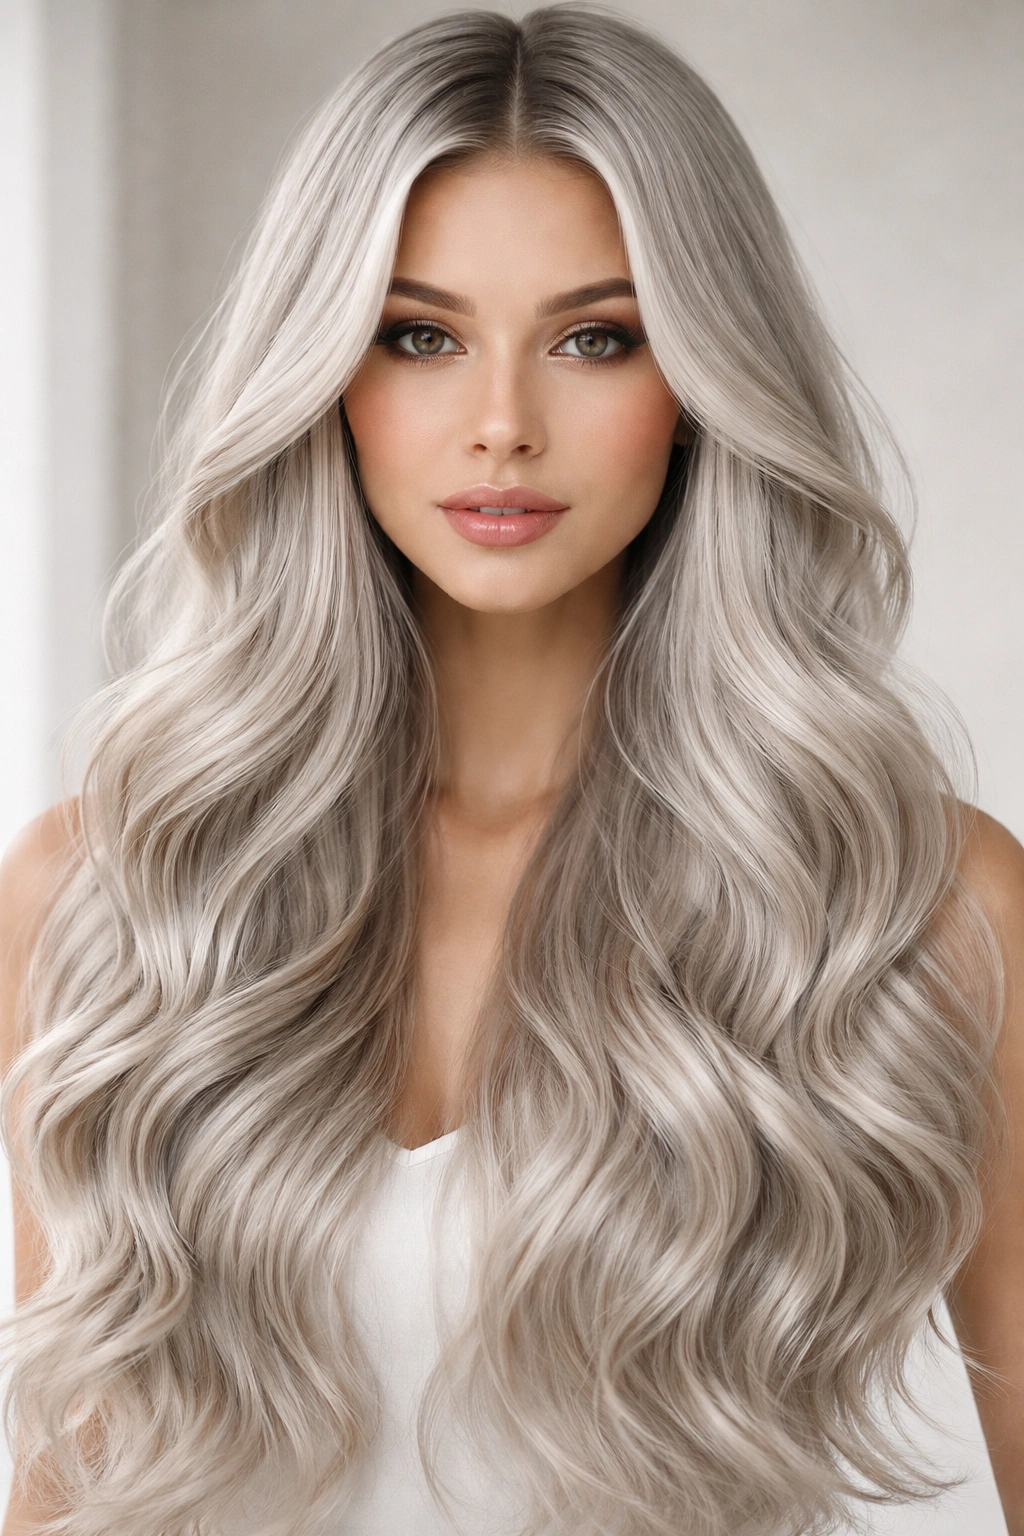
The curtain part is experiencing a major resurgence, and it’s genuinely flattering with long wavy hair. The style involves a deep center part with the front sections waving away from the face on both sides, creating a frame that draws attention to your center features while the overall movement is open and airy. Long length gives you plenty of hair to work with for creating substantial, romantic waves.
The Center Part Advantage
A center part balances your face and creates symmetry, which is especially striking when combined with silver because the cool tones already have a defined, sophisticated quality. The waves falling away from the face prevent you from looking severe or overly formal—they soften the geometry of the part with movement and curve. This style is versatile enough to wear sleek and pulled-back on some days or loose and romantic on others.
Styling This Look
- Create the center part while hair is damp or just after shampooing
- Use a 1.5-inch curling iron to wave sections away from the face, starting from about ear-level
- Let waves cool completely before running your fingers through for a softer look
- Use a lightweight mousse on damp hair to add texture without weighing waves down
Pro tip: If you struggle with your center part looking too harsh, use a fine-tooth comb to very gently feather the part line once waves are complete.
5. Deep Side Part with Volume at the Crown
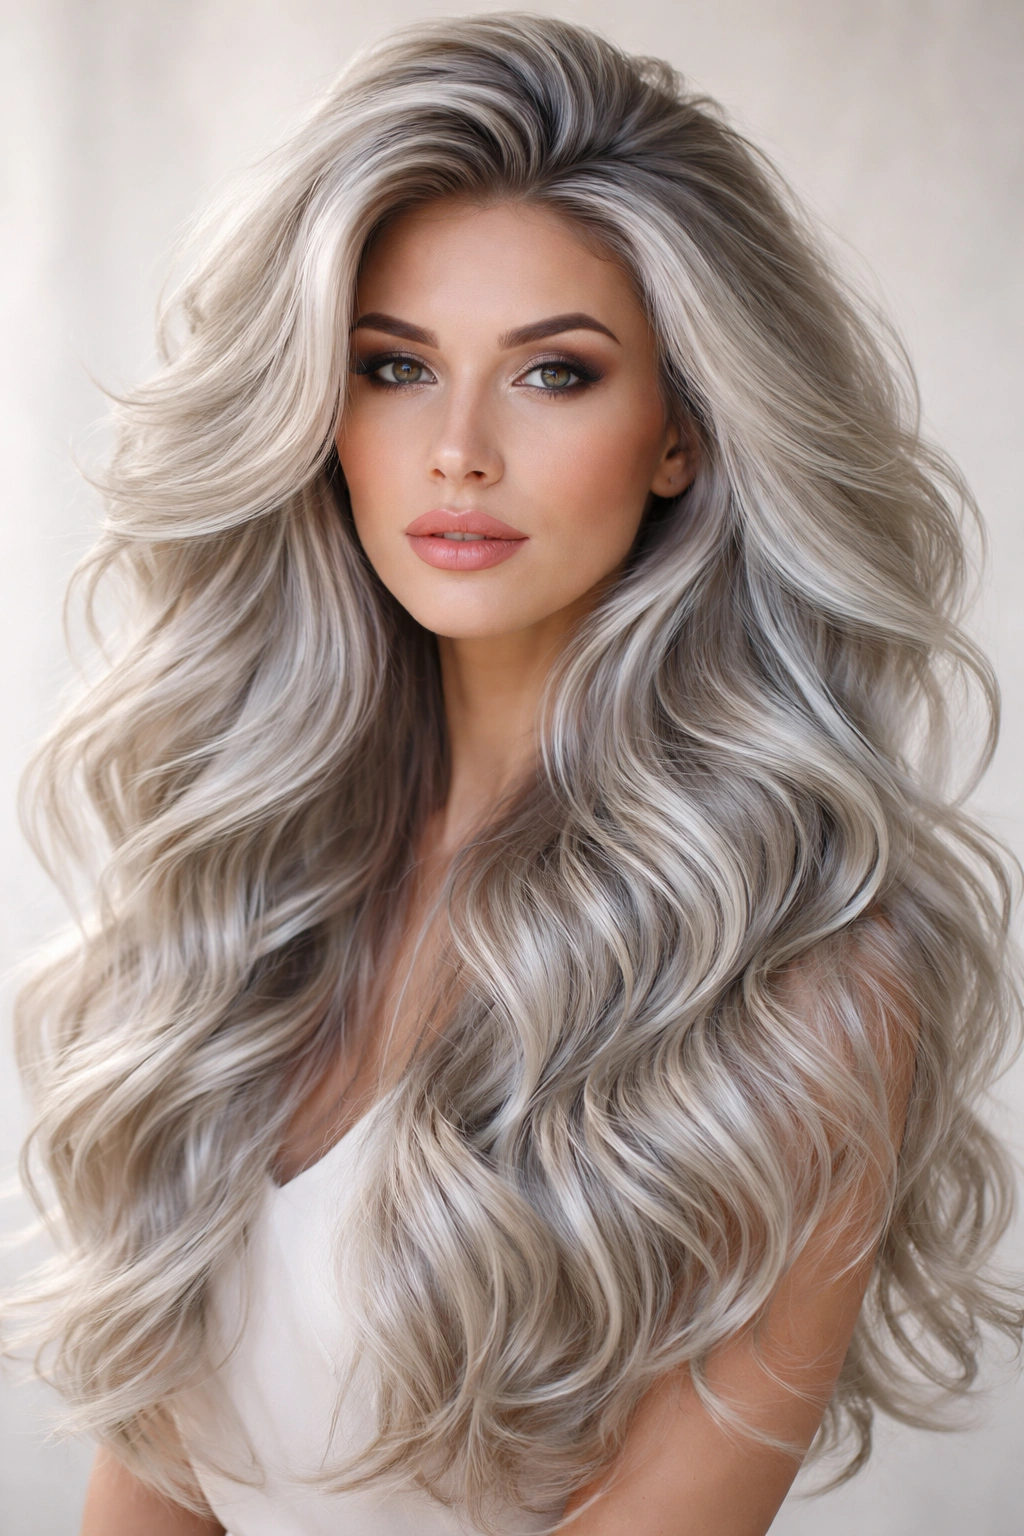
The deep side part creates asymmetry and drama, perfect for face shapes that benefit from angled lines. By sweeping your hair dramatically to one side with voluminous waves, you create movement and direction that reads as intentional and editorial. The waves on the less-heavy side appear lighter and airier, while waves on the side with more hair create dimension and texture.
Building Crown Volume
Volume at the crown prevents this style from looking flat or weighted down by the side part. Blow-dry your roots with a round brush, directing hair upward and slightly backward to create genuine lift. Once you’ve established that base, waves will sit on top with more dimension. The crown volume also balances the visual weight of hair being pushed to one side.
The Deep Part Technique
The part should sit somewhere between your temple and the side of your head, creating a clear, visible division. Style the smaller side smoothly (waves are optional here or can be very subtle), while the larger side receives fuller, more pronounced waves. This contrast—smooth versus textured, less hair versus more—creates visual interest and movement.
Worth knowing: Deep side parts can sometimes make hair look thinner if you don’t build crown volume first, so prioritize that step.
6. Hollywood-Inspired Vintage Waves
Vintage Hollywood waves are the definition of glamorous, with perfect pin curls that created consistent S-curves down the length of the hair. While this style takes more effort to create, it pairs beautifully with silver because the cool tones evoke that old-Hollywood aesthetic perfectly. Each wave is pronounced and sculptural, creating movement that’s both romantic and undeniably elegant.
Achieving the Vintage Wave Pattern
The traditional method involves pin curls set on scalp with a blow-dryer, then left to cool and harden before removal. Modern alternatives use a straightening iron technique where you create S-curves by alternating the direction the iron curves as you move down each section. The result should be waves that are distinct and defined, not soft or blended together. Each wave should be visible as its own curve.
The Silver Advantage in This Style
Silver’s cool tone naturally complements the structured elegance of vintage waves. Where vintage waves might look dated with certain other hair colors, silver makes them feel intentionally styled and fashion-forward. The combination reads as “I’m aware this is a classic look and I’m choosing it deliberately,” rather than accidental or dated.
Pro tip: Set these waves with a light-hold hairspray while they’re still cooling—once they fully cool, they’ll be more stable and the shape will last longer.
7. Lived-In Waves with Grown-Out Silver Roots
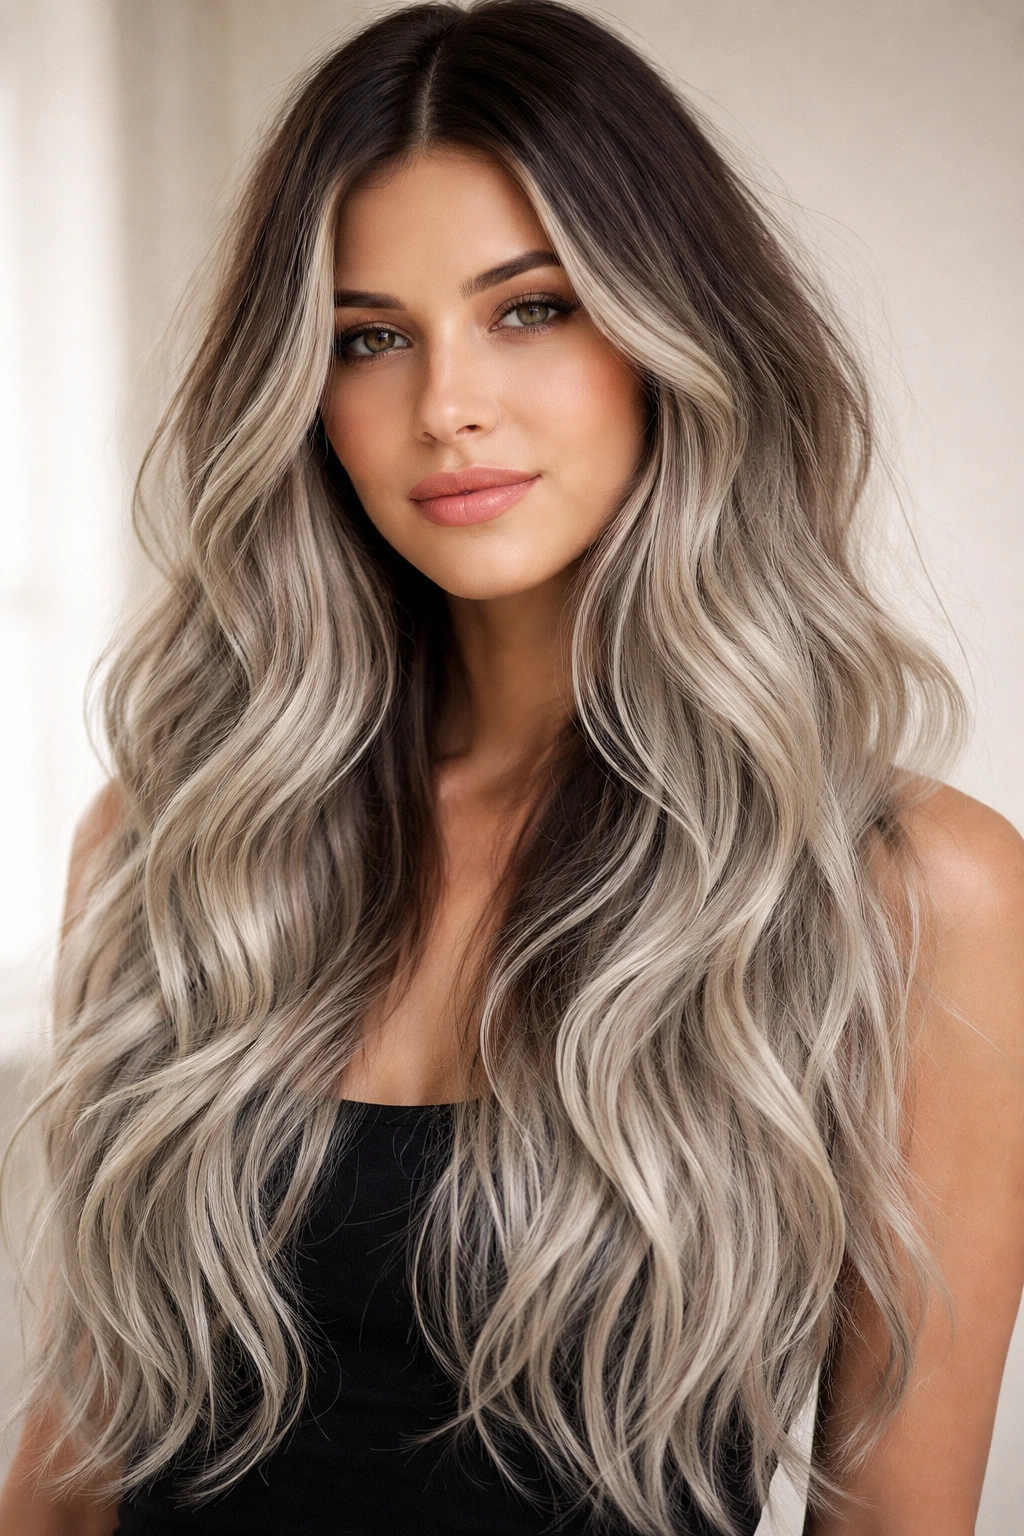
This style embraces the transition phase of silver hair by intentionally showing darker roots. The contrast between darker regrowth and lighter silver lengths creates visual depth and texture, and it’s honestly more forgiving to maintain because you’re not trying to hide the grown-out line. Waves throughout the entire length, including the darker roots, create movement that’s casual and effortlessly cool.
Why This Approach Works
Grown-out roots actually reduce the maintenance burden because you’re not constantly chasing perfect silver coverage. More importantly, the two-tone effect makes waves appear more dimensional—the darker roots provide contrast that makes the lighter silver lengths read as brighter and more interesting. The casual aesthetic also means your waves don’t need to be perfect or uniform, which makes daily styling easier.
Styling for the Two-Tone Look
- Create waves on slightly damp hair using a sea salt spray for texture
- Don’t over-style the roots—let them look a bit undone and textured
- On reset days, use a texturizing dry shampoo to add grip and make waves last longer
- Embrace second and third-day waves, which often look better with this style than freshly styled waves
Insider note: This look works especially well for people with naturally darker hair who are growing out silver, because the contrast is already there and you’re working with it rather than against it.
8. Spiral Curls Creating Defined Waves
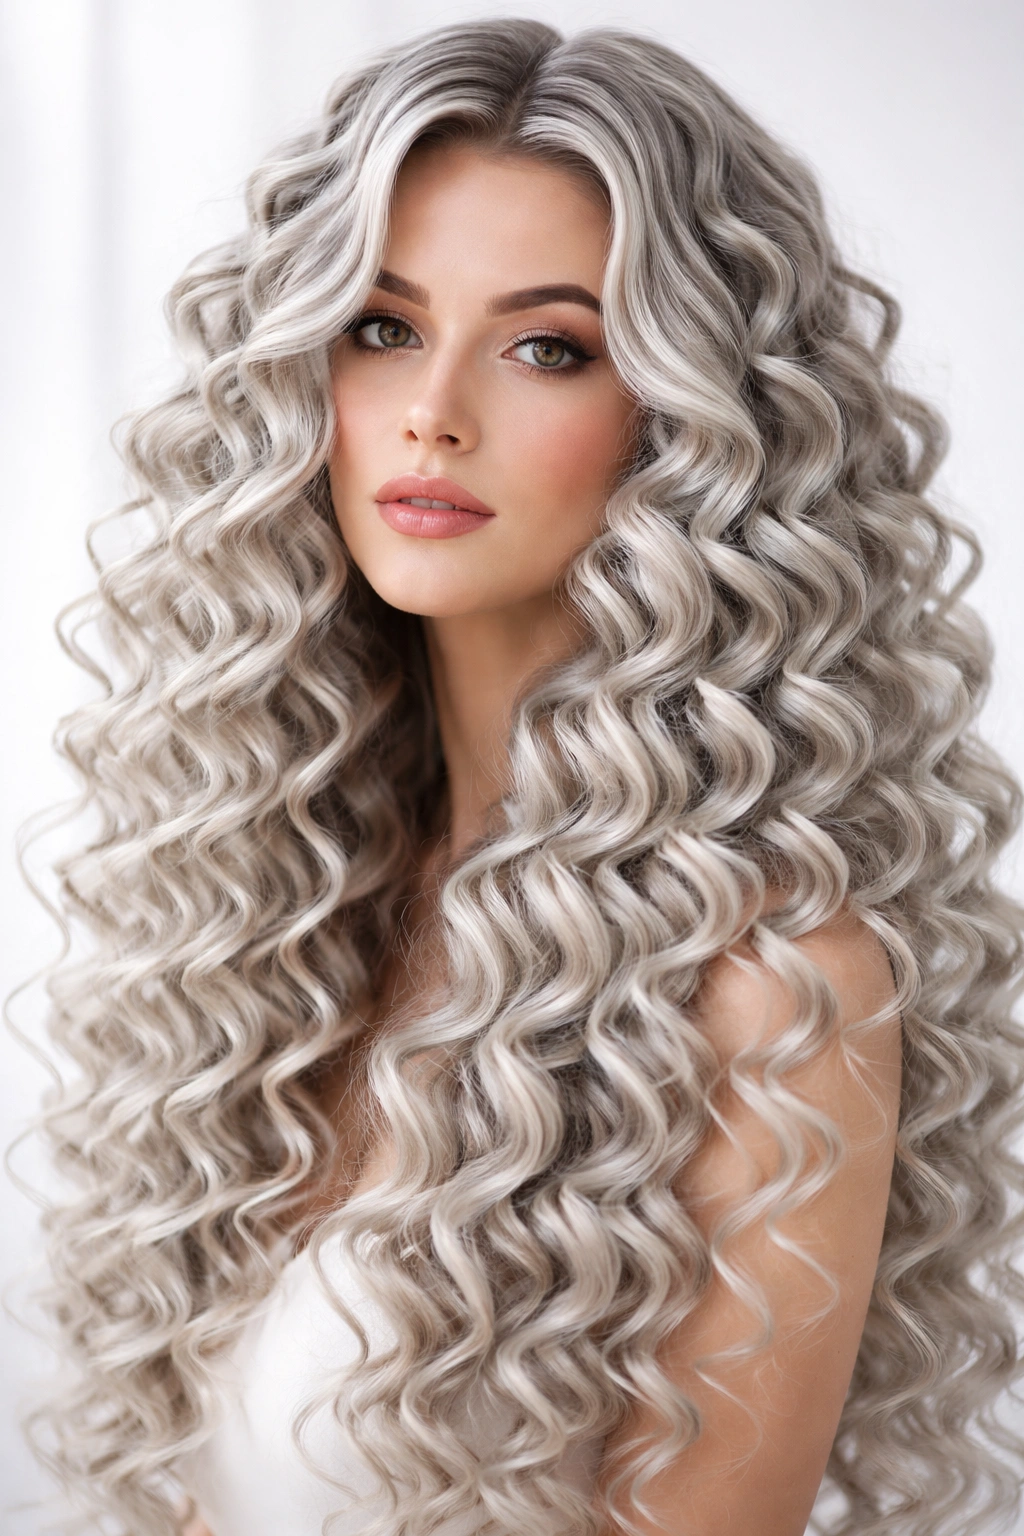
Where waves are soft and flowing, spiral curls are more defined and bouncy. This style uses smaller curling irons (1 inch or less) and tighter rolling techniques to create cork-screw spirals that hold their shape as discrete curls rather than blending into waves. Pair this with silver and you get dimension and movement with a more youthful, playful energy.
Creating Spiral Curls in Silver Hair
Take small sections (about the width of your curling iron barrel) and roll the hair tightly from end to root, holding for 15-20 seconds before releasing. Each section should form a distinct spiral curl. The key is using consistent-sized sections and holding the iron long enough for the curl to set. You can create these throughout the entire length or reserve them for the lengths while keeping the roots wavy for a hybrid style.
The Visual Effect
Spiral curls catch light differently than waves because of their tighter structure and defined shape. This creates a playful, dimensional look that photographs beautifully. The curl pattern is especially striking in silver because each individual curl reads as a distinct unit of color and light reflection.
Pro tip: For longer-lasting spiral curls, apply a setting lotion to damp hair before curling and finish with a medium-hold hairspray while curls are still warm.
9. Asymmetrical Waves with Layers
This style combines asymmetrical length with varied wave patterns—perhaps shorter layers on one side and longer on the other, with tighter waves in one section and looser in another. The asymmetry prevents the style from feeling too uniform or predictable, and it works beautifully with silver because the cool tones can otherwise read as very formal and structured.
The Asymmetrical Layer Placement
Ask your stylist to create layers that vary in length throughout your hair, with perhaps more pronounced shorter layers on one side and longer, less-layered sections on the other. The unevenness creates visual movement even when your hair is down and unstyle. When you add waves, the varying layer lengths mean waves behave differently throughout your hair—tighter in some sections, looser in others—creating organic, lived-in texture.
Styling Approach
- Waves look better with asymmetrical layers when you don’t try to make them uniform
- Allow waves to be tighter on shorter sections and looser on longer pieces
- Use the asymmetrical shape to your advantage by styling one side more deliberately than the other
- A side part or deep center part emphasizes asymmetry and creates intentional direction
Worth knowing: This style requires more styling maintenance because the uneven layers and wave patterns need regular restyling to look intentional rather than just messy.
10. Wavy Shag with Modern Texture
The shag is back, and this version combines choppy, layered texture with waves for an undeniably modern look. Shag layers are shorter and more pronounced than traditional layers, creating movement and lift throughout your hair. When combined with silver and waves, you get a style that’s rock-and-roll cool while remaining sophisticated and wearable.
The Modern Shag Technique
The best modern shags use strategic layering throughout—not just at the ends, but at mid-length too—to create bounce and movement. Each layer should be distinct enough to create a shaggy texture, but blended enough that the style doesn’t look unkempt. Waves throughout enhance the texture because they sit on top of the layered base and create dimension on multiple levels.
Styling This Look
- Blow-dry with a medium round brush to encourage movement and lift
- Add waves using a 1.5-inch curling iron on damp hair
- Use a texturizing spray to enhance the piecy, undone quality
- Embrace movement—this style looks better when hair moves around your face rather than being pulled back
Pro tip: The shag works best when your natural hair texture has some body already; very fine or straight hair may need more styling effort.
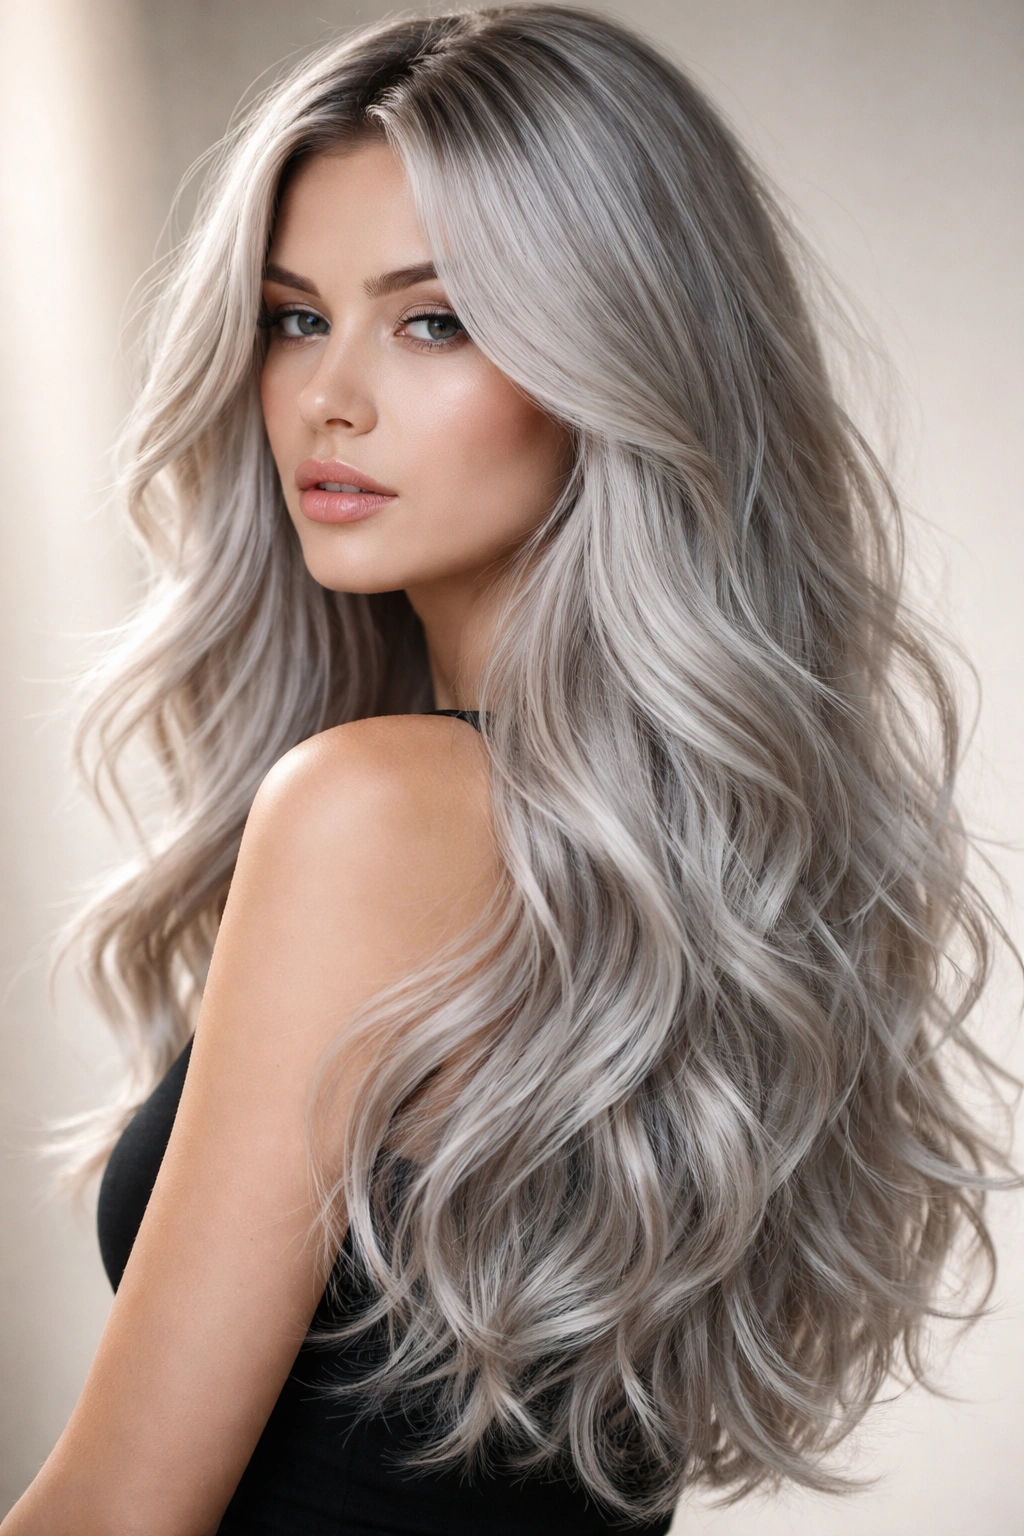
11. Reverse Waves for a Modern Twist
Where traditional waves curve away from the face, reverse waves curve toward it. This creates a different visual effect—sometimes more playful or modern, sometimes more directional and dramatic. Reverse waves also work beautifully with silver because they create light-catching movement that emphasizes the color’s luminosity.
Creating Reverse Waves
Use a curling iron to curl each section toward your face rather than away from it. This creates waves that spiral inward, sometimes even touching your face depending on length and curl tightness. The result is movement that draws focus inward toward your facial features rather than outward away from them. This can be flattering for certain face shapes and creates a distinctly different aesthetic from forward-facing waves.
The Modern Feel
Reverse waves read as more fashion-forward and intentional because they’re less conventional than forward-facing waves. This styling choice signals that you’re thinking deliberately about hair direction and movement, not just doing the traditional wave pattern because that’s what’s always done.
Insider note: Reverse waves can sometimes feel more comfortable to wear if you have shorter hair because they curve away from your neck and shoulders rather than hanging straight.
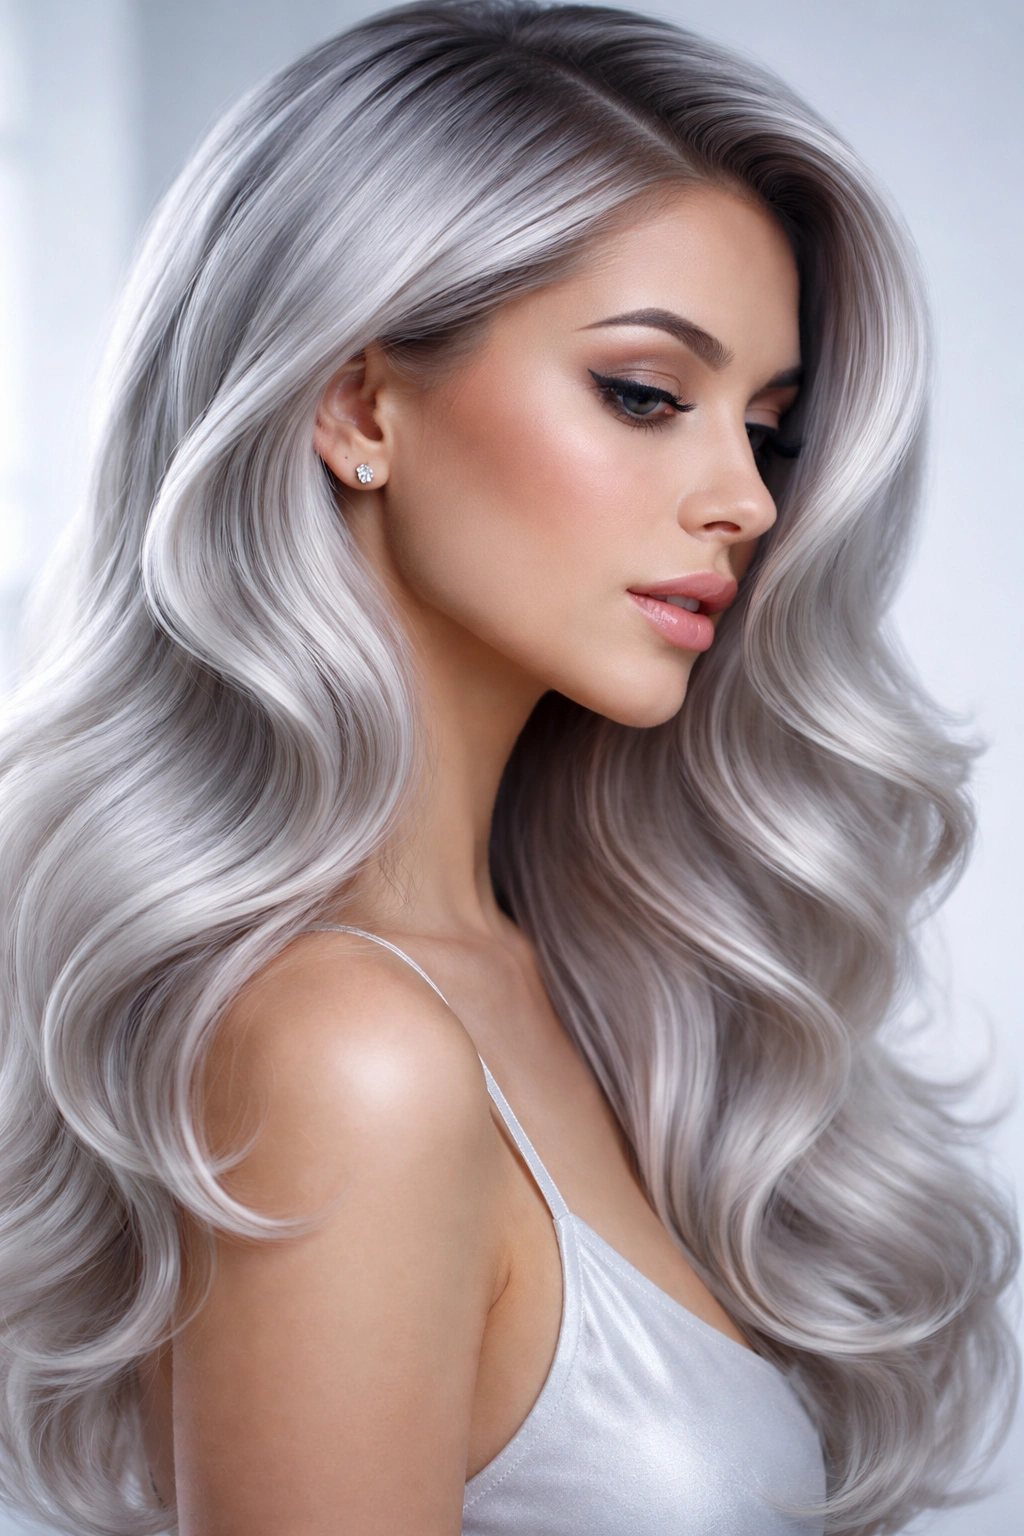
12. Sleek Waves with Silk-Like Texture
This style prioritizes smooth, polished waves rather than textured or undone ones. The waves are defined and clear, but the hair itself has a sleek, smooth finish without frizz or texture. Achieving this look requires a smoothing treatment or careful blow-drying technique, but the result is incredibly sophisticated and works beautifully with silver because the smooth texture lets the color shine without distraction.
Creating Sleek Waves
Start with a smoothing or anti-frizz treatment applied to damp hair. Blow-dry completely with a smoothing brush or paddle brush to eliminate frizz and create a sleek base. Once hair is fully dry, use a 1.5 to 2-inch curling iron or a straightening iron held at a curve to create waves. The key is keeping the base smooth while creating waves on top of that smooth surface. Finish with a light-hold smoothing serum to enhance shine and keep frizz down.
Why Smooth Waves Suit Silver
The clean, polished quality of sleek waves complements silver’s cool, sophisticated tone. Where textured waves might feel slightly disheveled with silver, smooth waves feel intentional and controlled. This style works beautifully for professional settings or situations where you want to look put-together without sacrificing movement or texture.
Pro tip: Use a ceramic or tourmaline straightening iron for sleek waves because these materials heat more evenly and create less frizz than standard irons.
13. Wavy Ponytail with Pieces Framing the Face
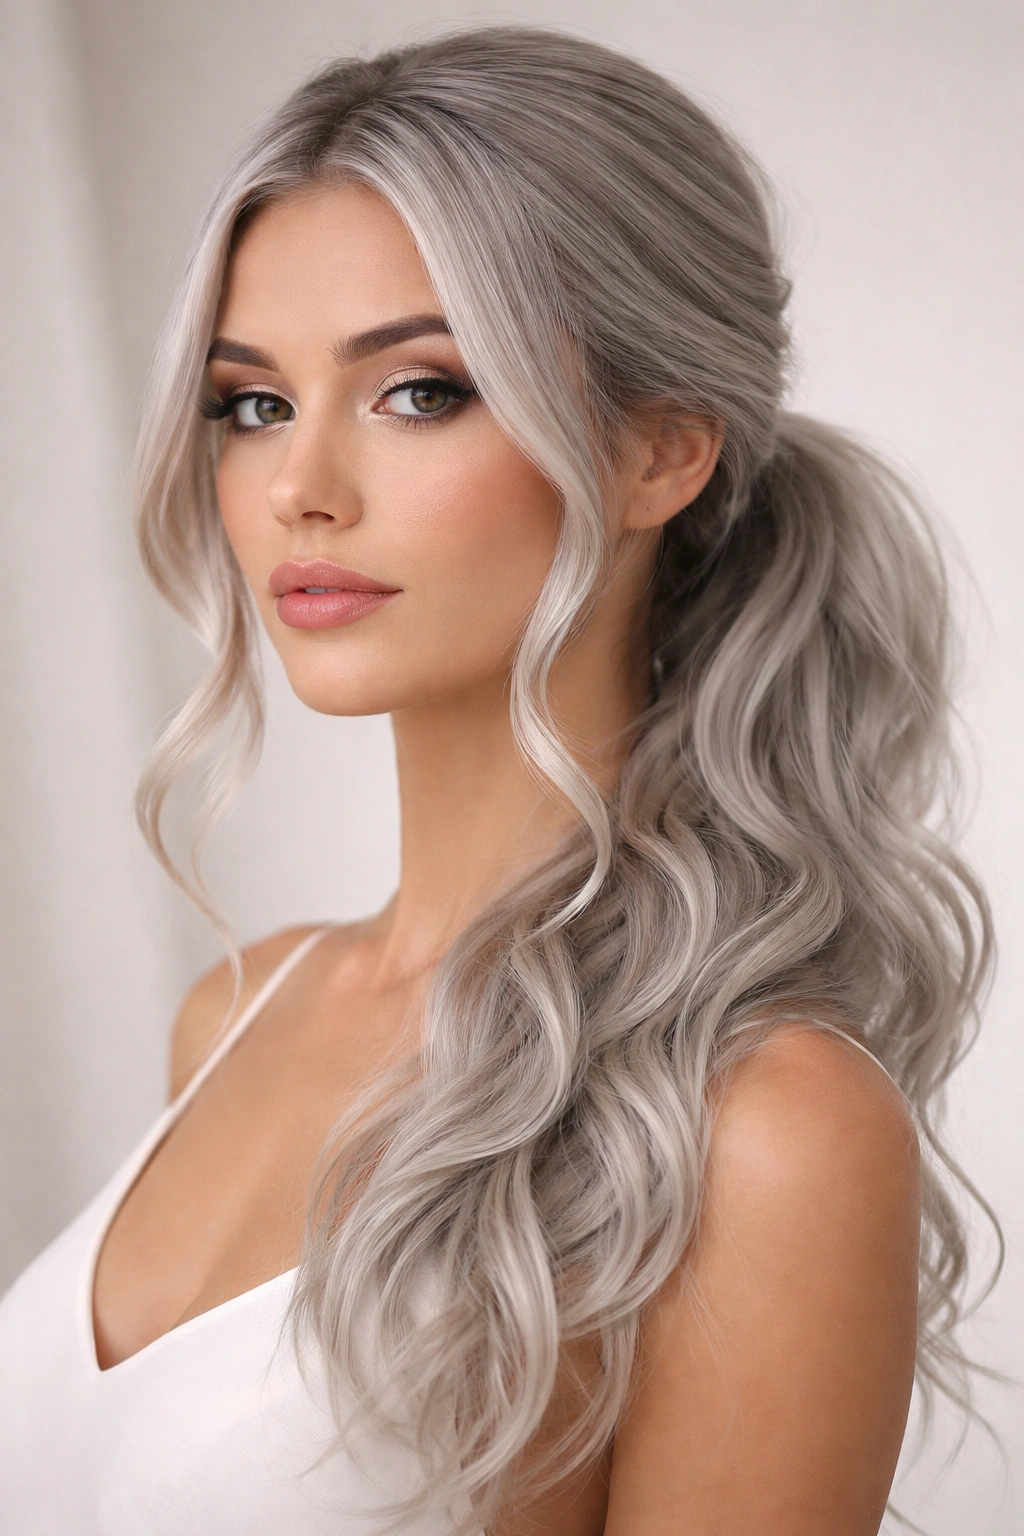
Long wavy hair styled into a low ponytail with face-framing pieces loose is romantic and incredibly versatile. You get the practical benefit of hair off your neck while maintaining the visual interest of waves around your face. This style reads as polished for professional settings while remaining soft and approachable. The silver shows beautifully in the face-framing pieces while the bulk of your hair is gathered for practicality.
Creating the Face-Framing Pieces
Pull your hair into a low ponytail (around the nape of your neck), but before securing it, pull out two pieces from either side of your face—about 1 to 2 inches wide each, starting from your temples. Leave these pieces loose and style them into waves while the rest of your hair is gathered. This creates balance and softens what could otherwise be a very pulled-back look.
Styling the Ponytail Waves
- Wave your face-framing pieces using a 1-inch curling iron
- Gently tease or backcomb the ponytail base to create volume at the gathering point
- Secure with an elastic that matches your silver tone or a claw clip for a more undone look
- Smooth flyaways with a smoothing balm so the face-framing pieces look intentionally styled rather than just loose pieces
Worth knowing: This style works for casual days (with loose, messy waves) or professional settings (with sleeker, more defined waves) depending on how you style those face-framing pieces.
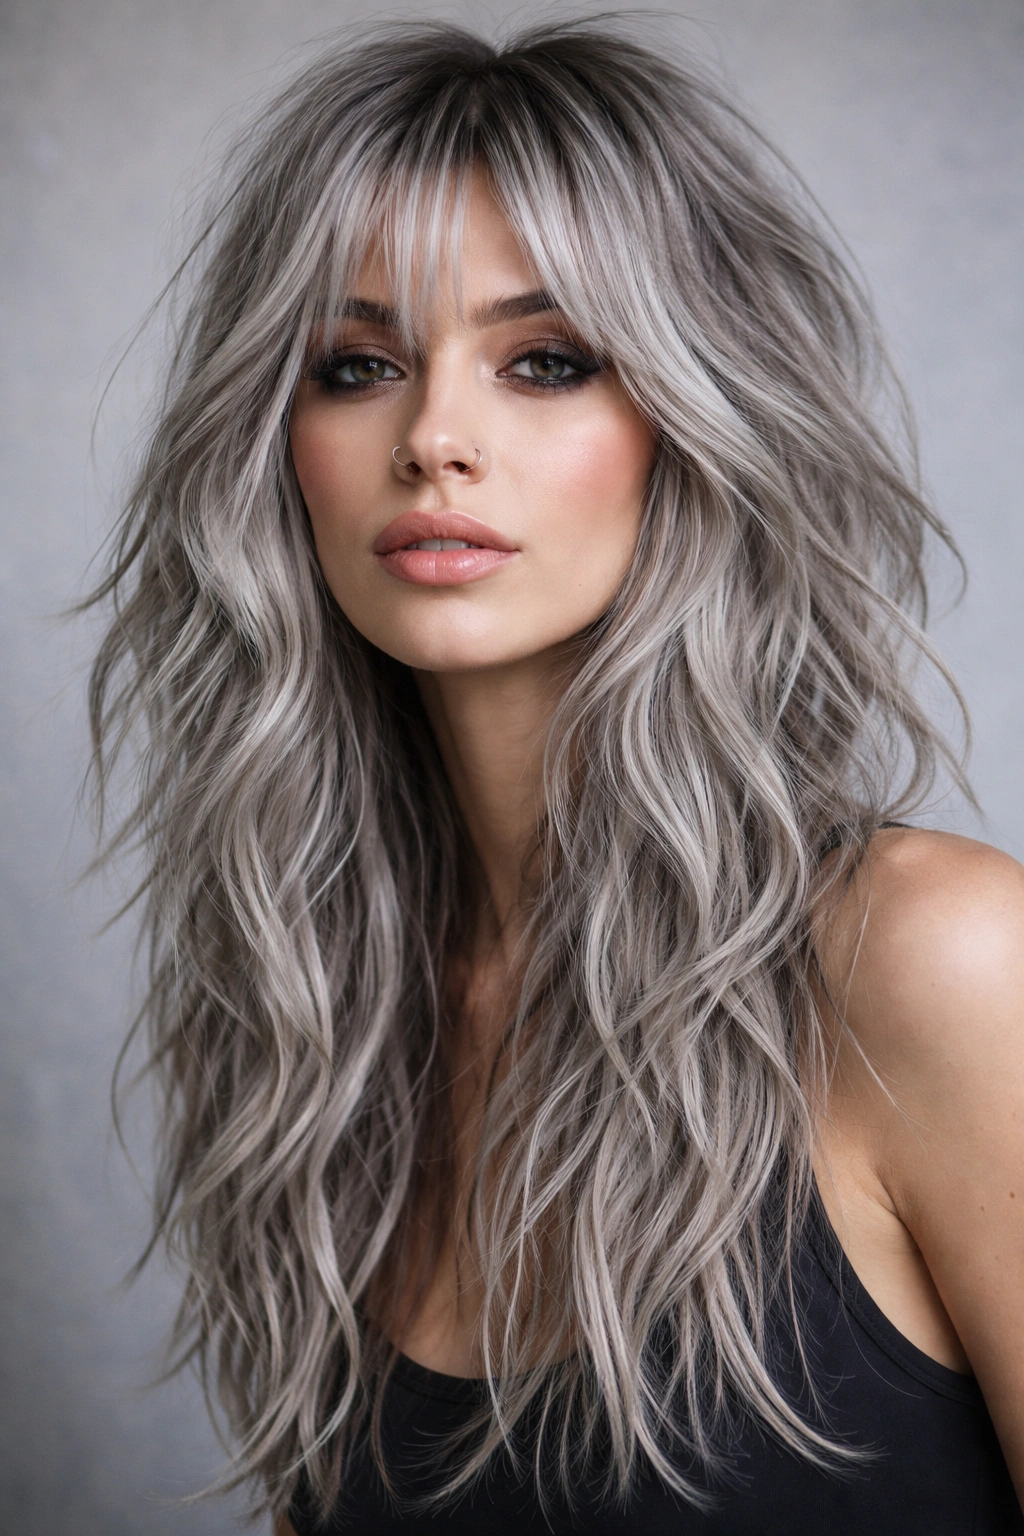
14. Waves with Micro Bangs for Edge and Modernism
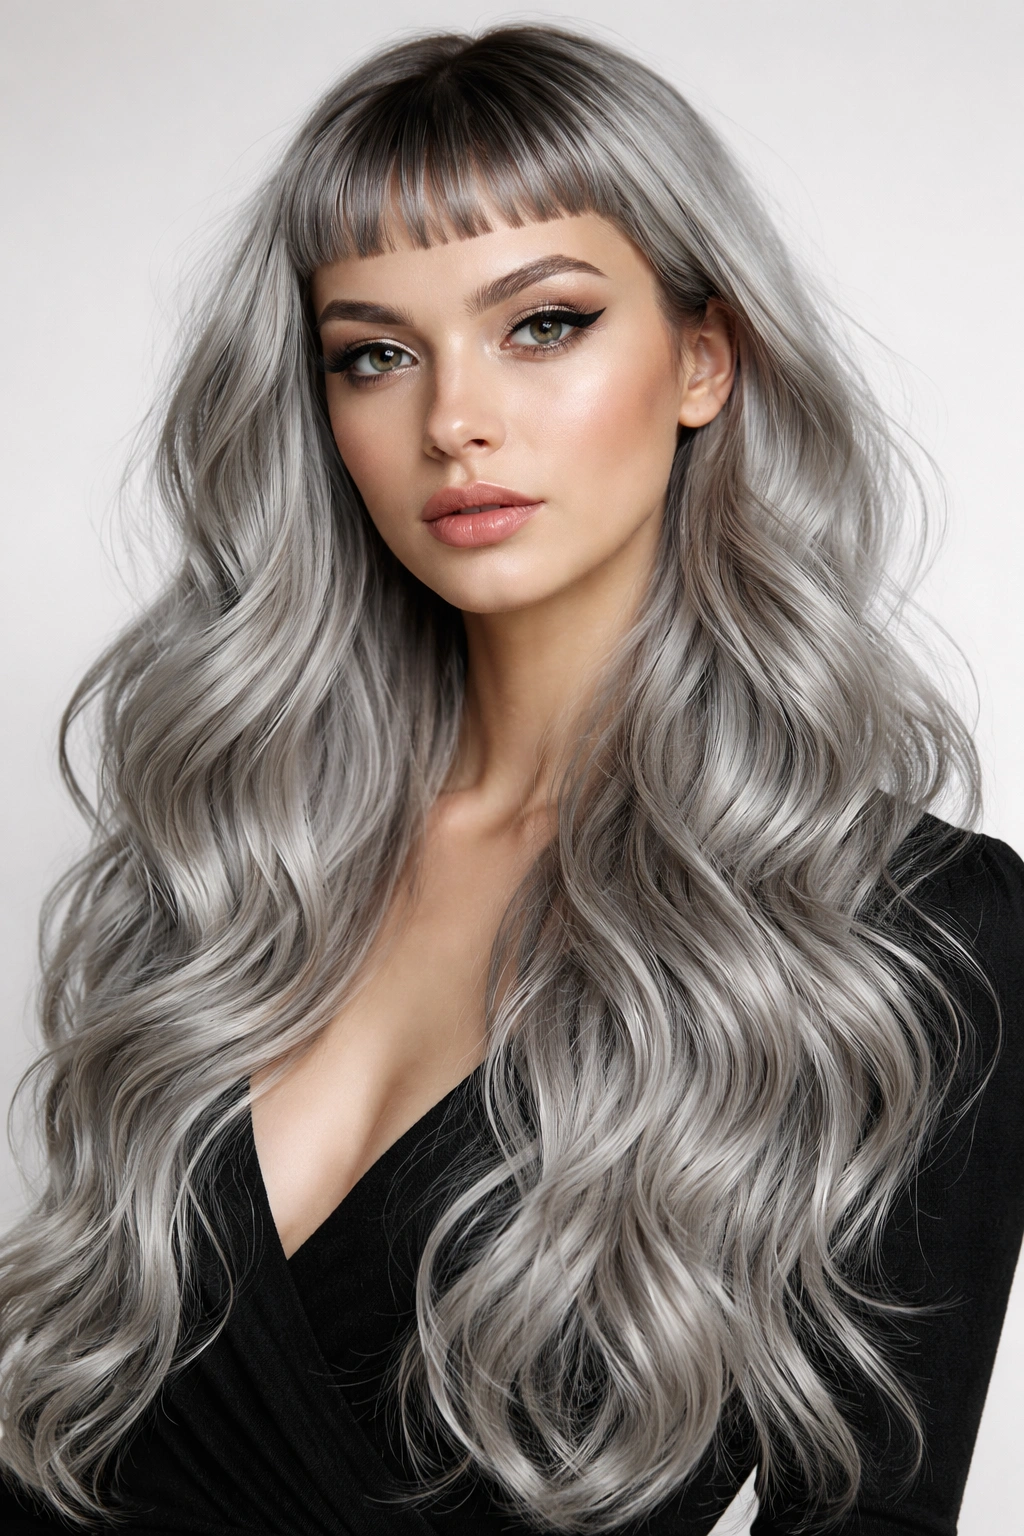
Pairing long wavy silver hair with micro bangs creates an incredibly modern, fashion-forward look. Micro bangs sit very high on the forehead, creating a striking frame for your face while the waves below maintain softness and movement. This combination balances the edge of micro bangs with the romance of waves, creating something genuinely unique and memorable.
The Micro Bang Approach
Micro bangs should sit just a few inches below your natural hairline, creating a dramatic frame without being too extreme. They work best when they’re subtle enough that you can push them slightly to the side on days you want softer styling, but distinct enough to make an impact. With silver, micro bangs create a cool, editorial aesthetic because the color supports the modern, fashion-forward vibe.
Styling Consideration
- Micro bangs need regular trims (every 3-4 weeks) to maintain the length
- Style them straight and sleek for the most modern impact
- The rest of your hair can be as relaxed and wavy as you want—the micro bangs provide all the structure this look needs
- This style suits confident people who want their hair to make a statement
Pro tip: If you’re hesitant about committing to micro bangs, ask your stylist about growing out a longer bang that sits at eye level first, then transitioning to micro bangs once you’re comfortable with the shorter length.
15. Long Waves with Texture Powder for Grip
This style uses a volumizing or texture powder applied to the roots and throughout the length to create grip and visual texture. The powder (usually in a spray or powder form) adheres to hair and creates separation between strands, making waves appear thicker and more textured. This is especially useful for those with fine hair or for creating an especially undone, piecy aesthetic.
Using Texture Powder Effectively
Apply a volumizing powder to damp roots before blow-drying, then add more throughout the length once waves are created. The powder clings to hair and creates friction that helps waves hold their shape longer. It also breaks up light reflection slightly, which can make thin hair appear fuller. On silver hair, texture powder creates a slightly matte finish that balances silver’s natural shine and prevents hair from looking plastic or overly reflective.
The Effect on Wave Pattern
With texture powder, waves don’t blend seamlessly into each other but instead remain distinct and piecy. This creates a more modern, undone look compared to waves that are blended smooth. The texture also adds visual interest to solid-color silver by creating shadow and dimension through the variation in how light hits the textured strands.
Insider note: Texture powders work best on slightly dirty hair (day 2 or 3 after shampooing) because clean hair is too slippery for the powder to grip effectively.
16. Waves with Braided Sections for Unexpected Detail
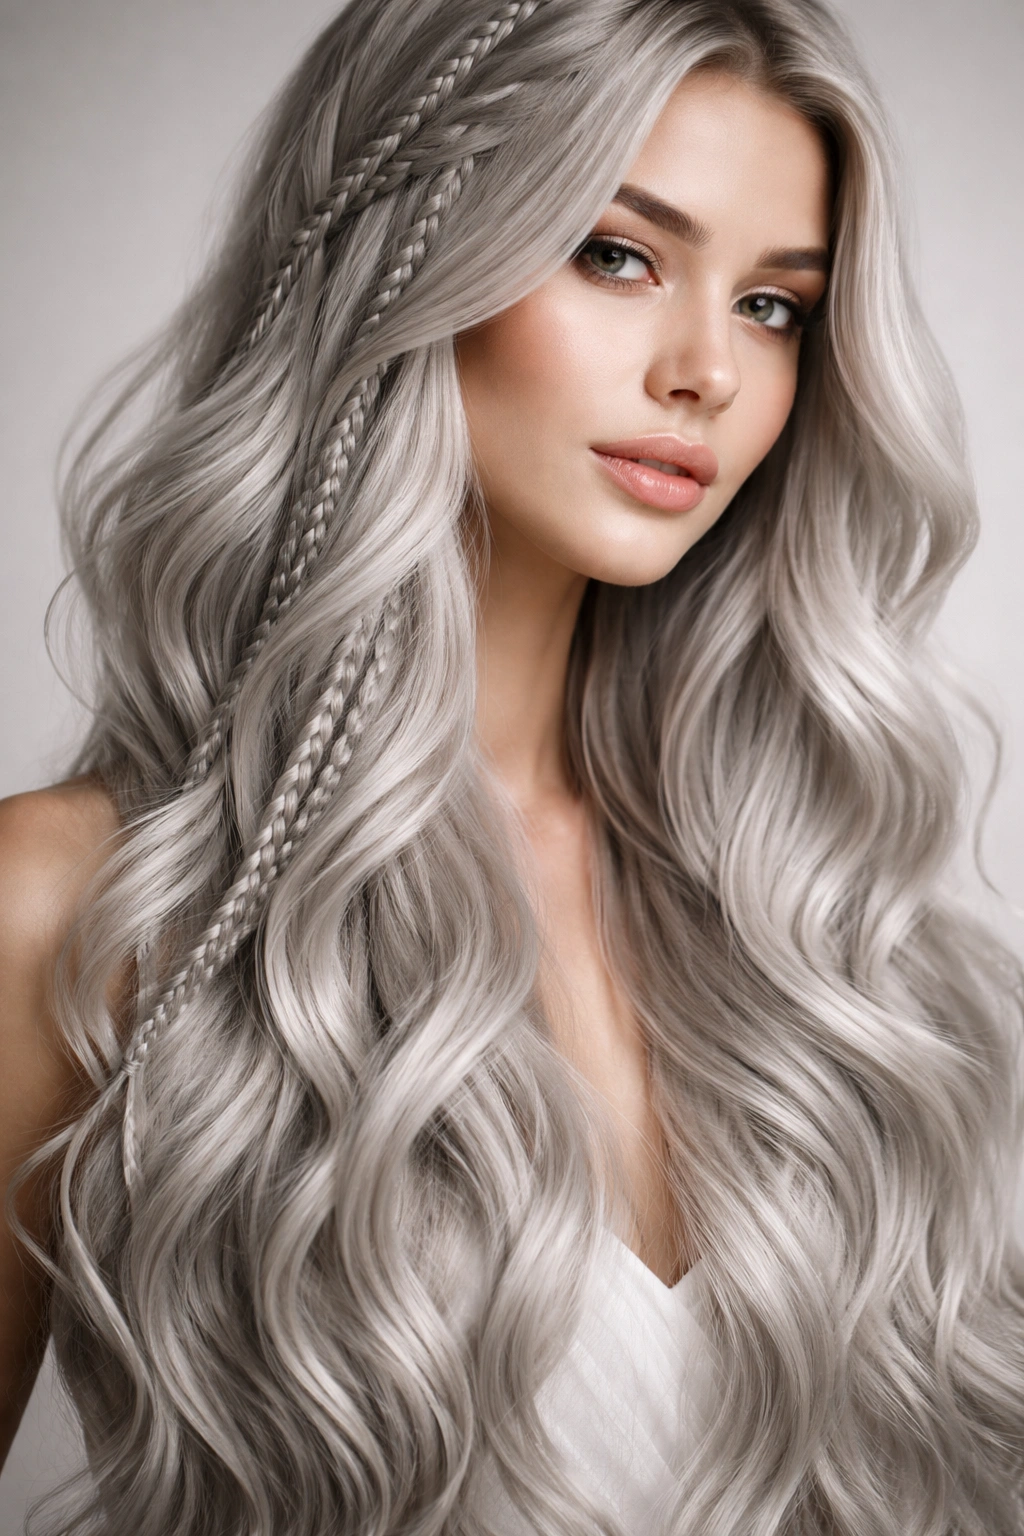
This style integrates thin braids throughout long wavy hair, creating unexpected detail and visual interest. A braid might frame one side of your face, another might weave through the back, and others might be scattered throughout. The braids themselves might be wavy too, creating layers of texture and pattern. This approach turns standard wavy hair into something with genuine artistic intention.
Integrating Braids with Waves
You can create the waves first and then add the braids, or vice versa. Either way, the braids should feel intentional rather than random—perhaps framing one side more densely than the other, or following the natural part of your hair. Thin braids (Dutch, French, or fishtail) work best because thicker braids can look bulky in long wavy hair. The silver shows beautifully in the negative space between braids and in the braids themselves as they twist and turn.
Styling Variations
- Create braids on straight hair, then wave everything for a hybrid look
- Braid already-waved sections for a more textured, complex effect
- Use metallic threads or hair cuffs on braids to enhance the artistic intention
- Integrate braids on one side for asymmetrical styling
Pro tip: Fishtail braids photograph especially beautifully and feel less formal than French or Dutch braids while still adding distinctive detail.
17. Waves and Curls with Intentional Color Melting
This style embraces silver as a canvas and adds dimension through color melting—perhaps silver with copper undertones, or silver with champagne tones, or even silver with subtle ash blonde. The color transitions from one tone to another throughout the length, and waves work with that color movement to create an incredibly dynamic, dimensional look that never feels flat or monotonous.
Working With Color Melting
Color melting requires professional expertise to place correctly, but the payoff is significant. Rather than uniform silver, you have silver plus complementary secondary tones that appear throughout your length. Waves catch these different tones differently depending on light and angle, creating an almost iridescent quality. This is especially striking with silver because the primary color is already cool and luminous, and secondary tones add warmth and depth.
Maintaining Melted Tones
- Use a color-safe, sulfate-free shampoo and conditioner to preserve tone
- Get toning treatments every 4-6 weeks to refresh color vibrancy
- Use a purple-toning shampoo if your secondary tones are blonde-based to prevent brassiness
- Deep condition regularly because color melting techniques can be slightly more processing-intensive
Worth knowing: Color melting works best on longer hair because the length gives plenty of space for the color to transition gradually.
18. Waves with Volume from the Roots Outward
This style prioritizes maximum volume created by teasing and backcombing at the roots, then styling long waves on top of that voluminous base. The result is hair that appears thicker and fuller, with waves that sit on top of carefully constructed lift. This approach transforms thin or fine silver hair into something with genuine body and presence.
Building Root Volume
Use a fine-tooth comb to gently backcomb at the roots throughout your head, focusing on the crown and sides. Don’t create a ratted mess—just enough texture that you create grip for volume. Then smooth the outer layer of each section slightly so the hair looks polished while the interior remains backcombed for lift. Once you’ve created that volume base, waves will sit on top and appear fuller.
The Silver Advantage
With silver, this volume-building approach is especially important because solid-color hair can sometimes read as thinner or flatter than darker hair with natural dimension. Building genuine root volume helps silver hair appear thicker and more substantial. The waves on top of that volume create constant movement that emphasizes the light-catching quality of silver.
Pro tip: Use a dry shampoo the day before styling with this technique because slightly dirtier hair grips better for backcombing and holds volume longer.
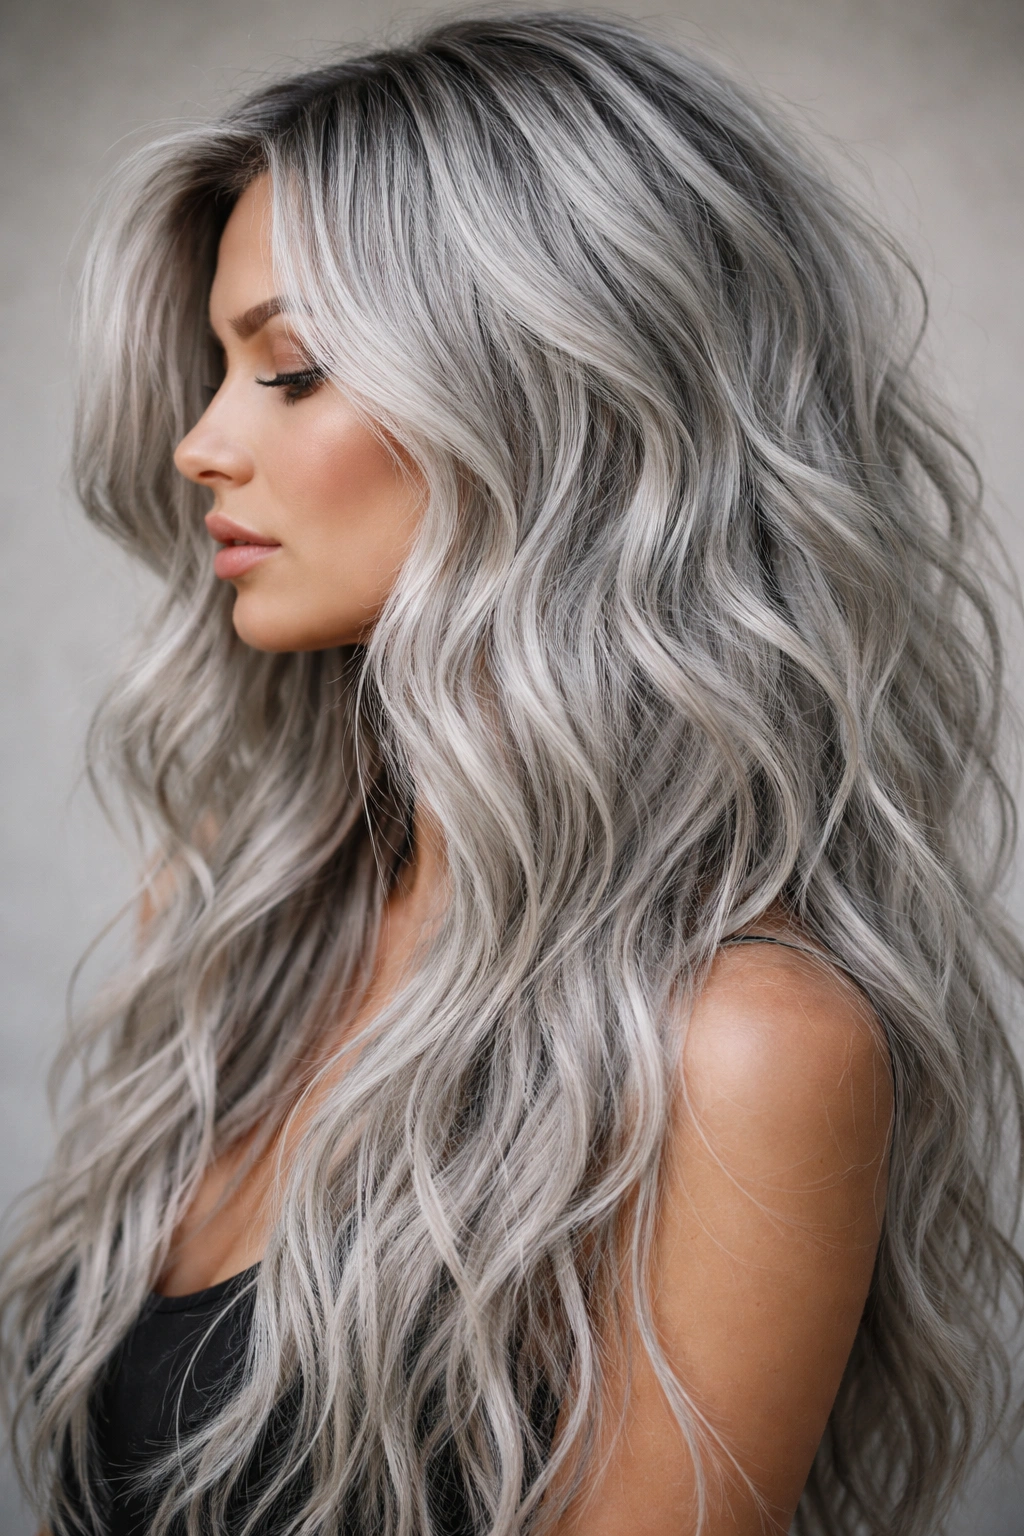
19. Beach Waves with a Defined Wave Pattern
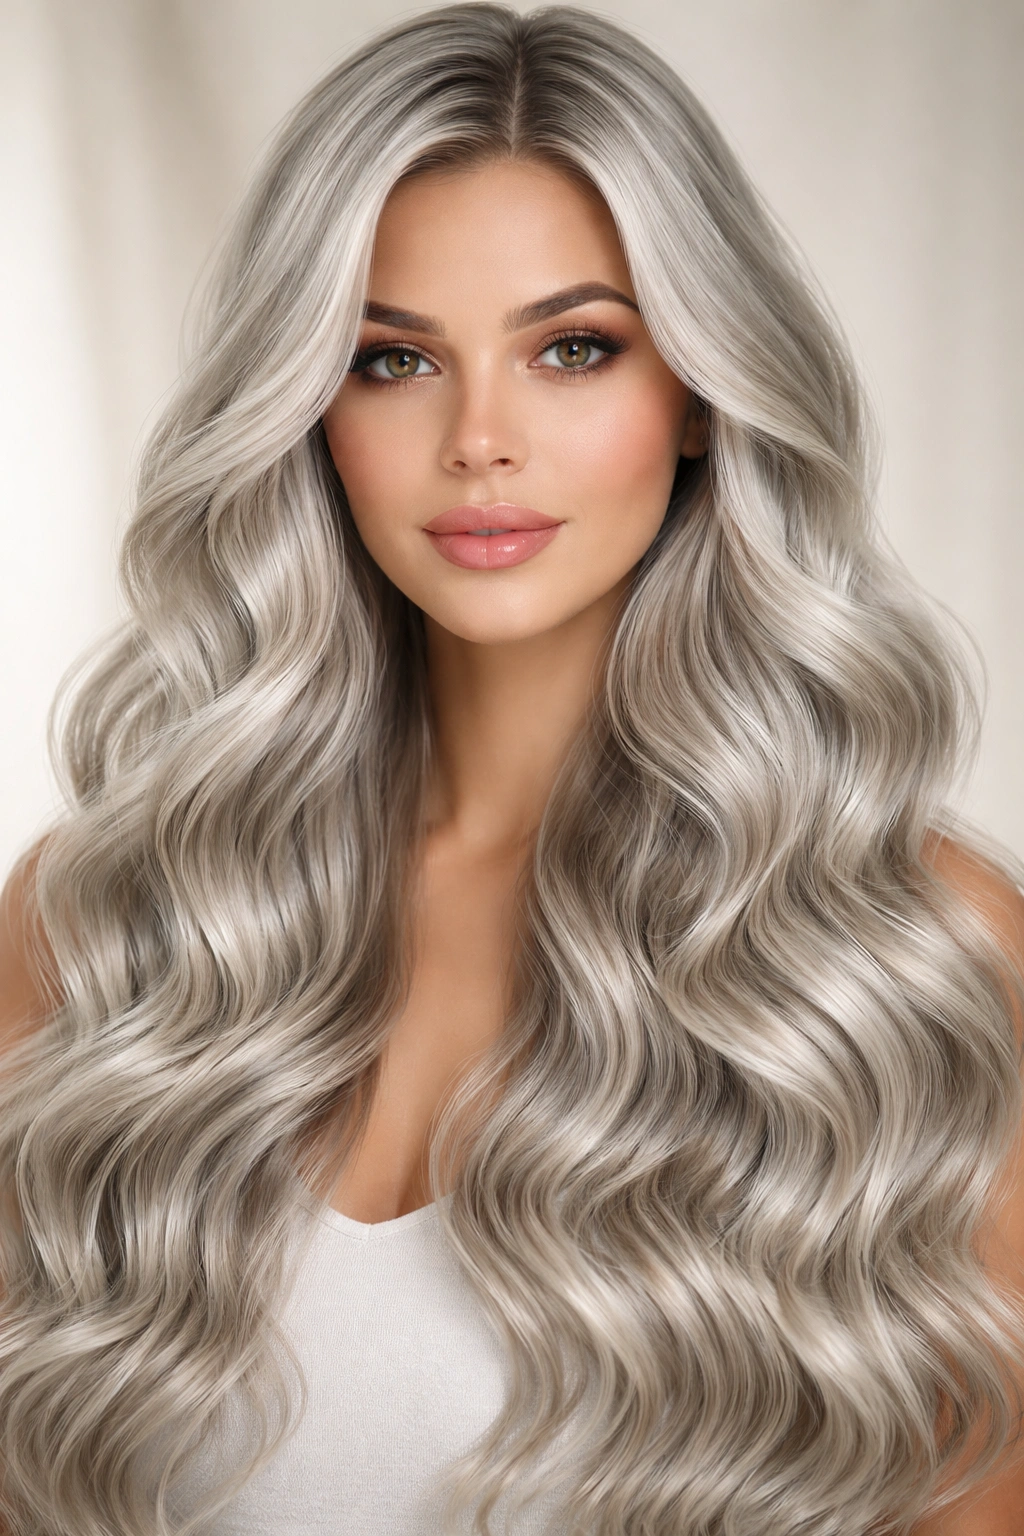
This style sits between beachy and polished—the waves are tighter and more defined than casual beach waves, but still relaxed enough to feel undone rather than formal. Each wave is visible as its own distinct curve, but they’re not perfectly uniform or overly controlled. This approach offers the ease of beachy styling with more polish and intention.
Creating Defined Beach Waves
Use a 1.25 to 1.5-inch curling iron and take even sections. Curl each section away from your face, but don’t hold the iron as long as you would for tighter curls—just long enough to create a visible wave without a tight spiral. Let each curl cool completely before moving to the next section. Once all sections are curled and cooled, gently run your fingers through to separate and soften the waves slightly.
Styling for Silver
The defined nature of these waves really showcases silver’s luminosity because each wave is distinct enough to catch light independently. The waves also prevent silver from reading as too formal or severe—there’s movement and ease that soften the cool intensity of the color. This style works beautifully for people who want polish without looking overly styled.
Insider note: These waves actually improve slightly as they relax over 24 hours, so don’t expect them to stay perfectly defined indefinitely.
20. Long Wavy Hair with Layered Ends for Movement and Shape
This final style focuses on the ends of your hair, using strategic layering to create choppy, piecy texture throughout the bottom third or half. Rather than blunt ends, layered ends create separation and movement that makes waves appear more dynamic. The layers also reduce bulk at the ends while maintaining overall length, creating a lighter, airier silhouette.
Layering the Ends Effectively
Ask your stylist to create choppy, uneven layers throughout the bottom third of your hair, with some pieces significantly shorter than others. This creates a shaggy, piecy quality that’s especially striking when you add waves. The layers sit on top of longer pieces underneath, creating depth and dimension. With silver, this technique creates visual texture and prevents long hair from reading as a heavy, flat sheet of color.
Styling Approach
- Waves show the most movement when you don’t brush through them after styling
- Use your fingers or a wide-tooth comb to gently separate layers after waves cool
- The layered ends create movement even when hair is down, so you don’t need as much wave-specific styling to create shape
- These layered ends look great both down and in updos because they create texture and softness in either scenario
Pro tip: Layered ends require more frequent trims (every 6-8 weeks) to maintain the choppy shape, but they’re low-maintenance between appointments because they naturally look piecy and undone.
Final Thoughts
Silver hair paired with long, wavy texture is a genuinely transformative combination that works across ages, face shapes, and personal styles. The key to making this look feel effortless is finding the wave pattern and styling approach that resonates with your face shape, hair density, and daily styling commitment. A Hollywood-inspired wave requires more precision and maintenance than lived-in beachy waves, but both read beautifully in silver when executed well.
The cooling quality of silver complements the softness of waves in a way that feels both sophisticated and accessible. You’re not locked into one aesthetic—the same long wavy silver hair can feel romantic on one day and edgy on the next depending on how you style and part it. That versatility is genuinely valuable. Your silver isn’t a limitation; it’s a luminous, cool-toned canvas that makes every styling choice feel intentional and fashion-forward.
The real secret to maintaining any of these styles isn’t complicated: invest in quality products designed for colored hair, respect your washing frequency to keep silver from turning brassy, and get trims every 6-8 weeks to keep layers and ends fresh. Wave-specific heat protectants and texturizing sprays will become your allies, and a good silk or satin pillowcase prevents unnecessary friction that disrupts waves while you sleep. Silver hair deserves care, but that care yields a look that’s genuinely striking and worth the attention it requires.