Some mornings, your hair wants to do one thing and your schedule wants another. That is exactly when easy afro hairstyles earn their place in the bathroom mirror.
The best styles at home are not the ones that pretend shrinkage does not exist. They work with it. They let texture stay textured, which is half the beauty of natural hair anyway. A good puff, a clean twist-out, or a simple headband tuck can take ten minutes or a little longer, depending on how neat you want the finish to be.
There is also a small truth that gets ignored in a lot of hair advice: the easiest style is not always the loosest or the quickest. Sometimes the smartest move is a style that looks done with very little fuss, even if it takes a few extra pins or a good parting job. That trade-off matters, especially when you want something that holds up past the first hour.
A clean set of tools helps. So does damp hair, a decent leave-in, and the patience to stop touching your curls once they’re set. Small thing. Big difference.
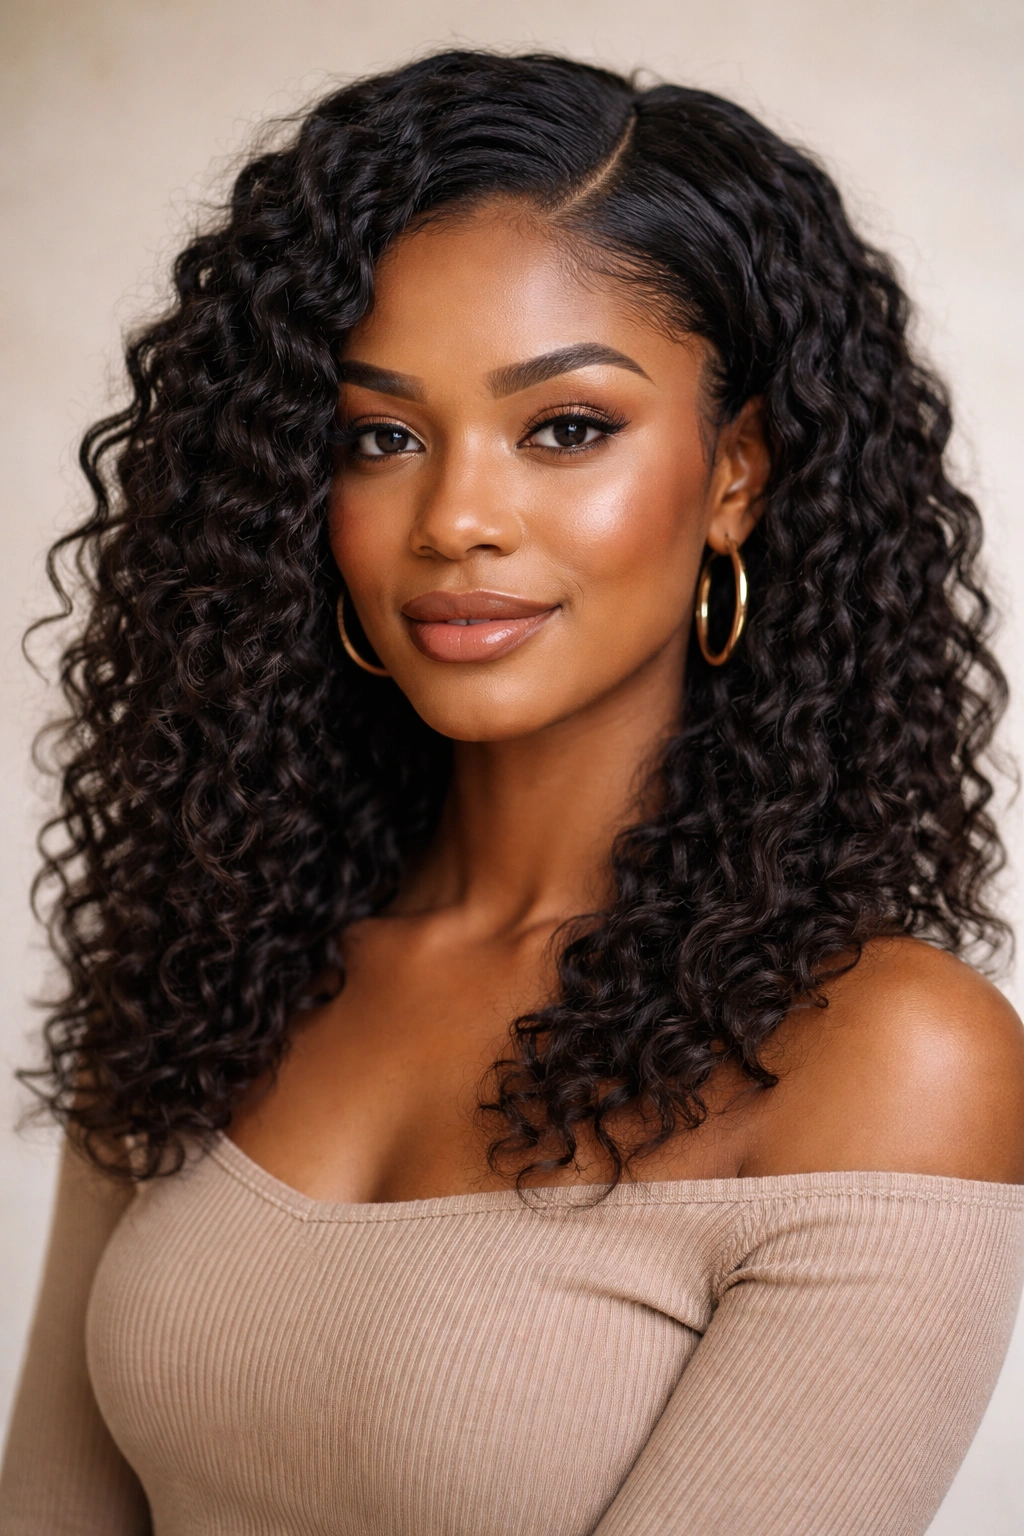
1. The Rounded Wash-and-Go Afro
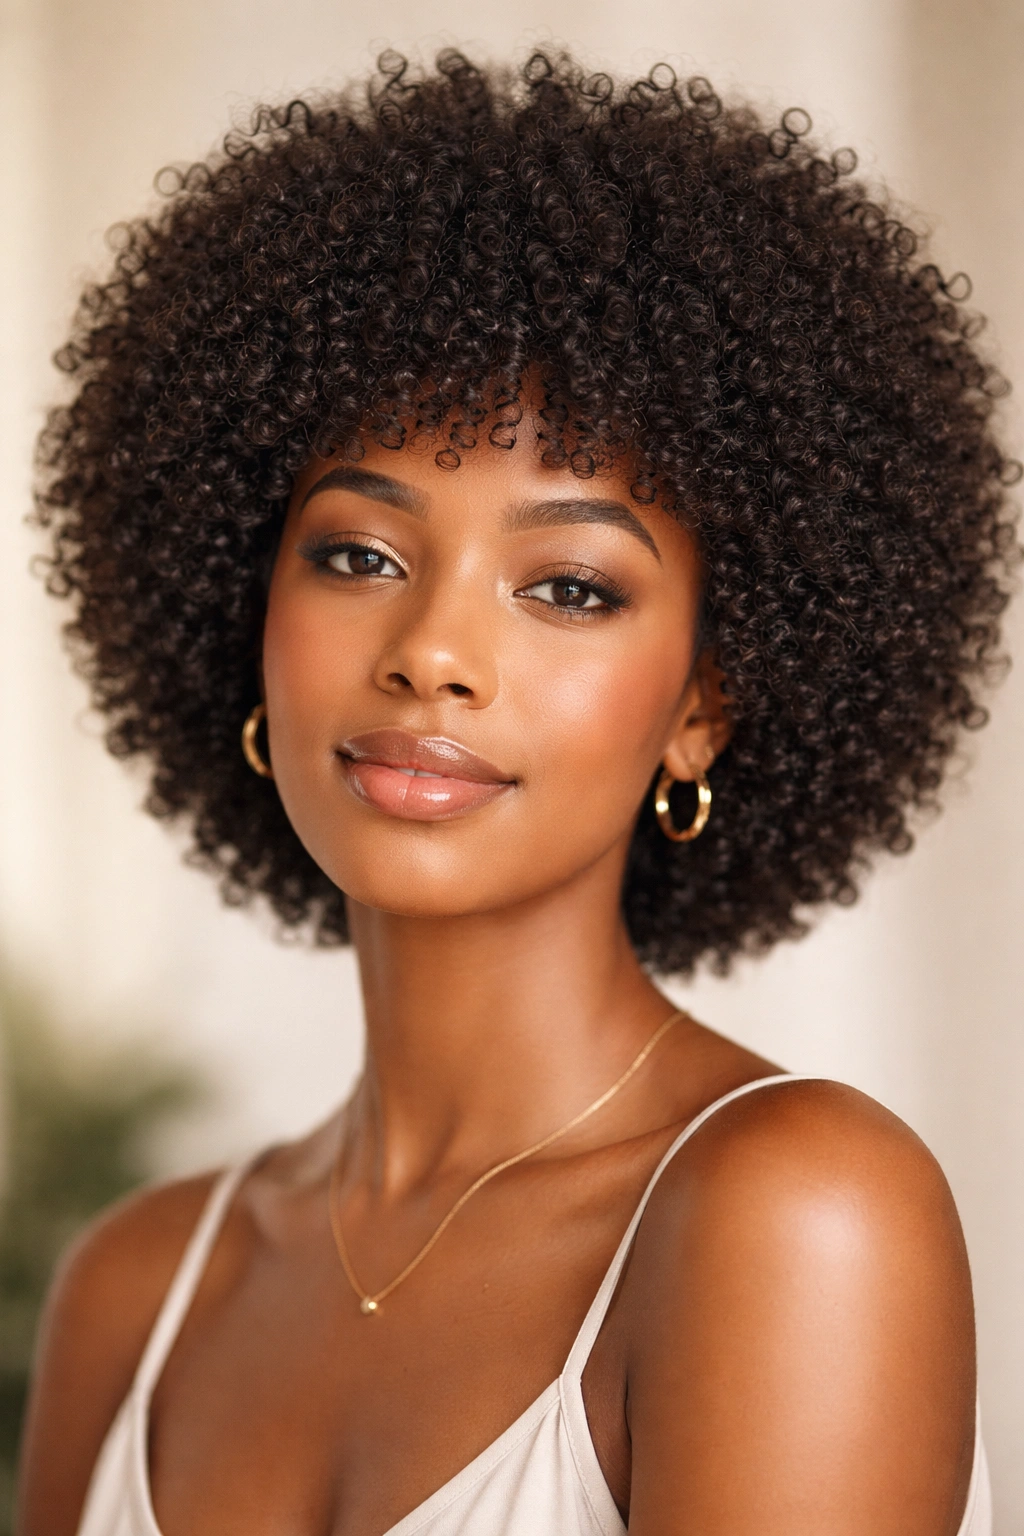
A rounded wash-and-go is the style I always think of first when someone wants easy afro hairstyles that still look polished without looking stiff. It works because it leans into your natural curl pattern instead of trying to flatten, stretch, or force it into something else.
Why It Looks So Good
The shape matters more than people think. A good wash-and-go is not just “hair left out.” It is hair that has been hydrated, defined, and fluffed into a soft halo shape. That shape frames the face in a way that feels balanced, especially if the sides and top are trimmed into a shape that suits your curl density.
Start with damp hair, not soaking wet hair. Apply leave-in conditioner, then a cream or gel that gives your curls some hold, and rake it through in sections so the product actually reaches the roots. If you want more clump and less frizz, use smaller sections. If you want a softer, fuller look, use bigger ones and separate gently after drying.
What Makes It Work
- A wide-tooth comb or Denman-style brush can help define curls while they’re wet.
- A light gel layer helps keep the shape longer, especially around the crown and nape.
- Drying with a hooded dryer or diffuser keeps the root shape from collapsing.
- A small pick at the roots gives the afro that rounded lift many people want.
Tip: Do not fluff too early. Let the hair dry all the way first, or the curl clumps will fall apart and frizz out fast.
2. The High Puff That Sits on the Crown
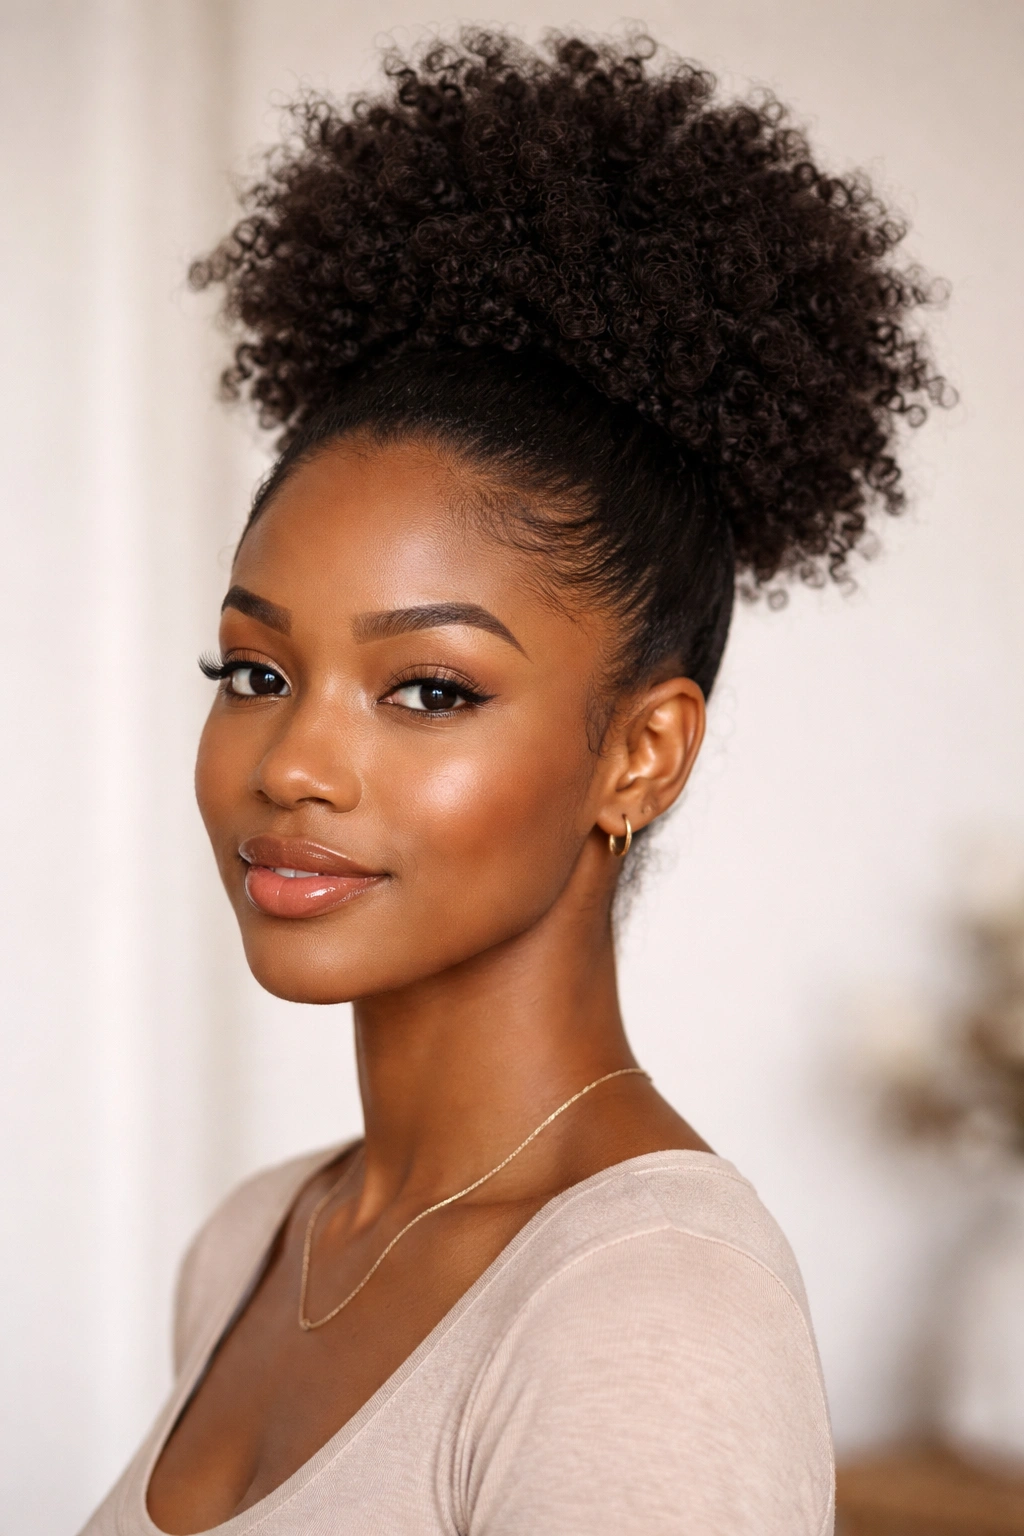
If you need one style that looks clean, fast, and intentional, the high puff is it. I’m blunt about this because there are a lot of “quick” styles that still require more skill than most people want to give on a busy morning. A high puff is simpler. It gives instant shape, keeps hair off the neck, and looks neat even when the rest of your day is not.
The trick is placement. Too high, and it can pull at the edges. Too low, and it starts looking like a half-hearted ponytail. Aim for the crown, where your curls can sit with a little lift but still feel secure. If your hair is thick, use a puff cuff or a strong satin scrunchie so you do not have to loop the elastic too many times.
I also like this style on hair that has been lightly stretched overnight. A twist-out that has not been fully separated works well here. So does second-day hair with a little edge control at the perimeter and a mist of water on the lengths. The puff reads as tidy, not forced.
The one mistake people make is packing too much product at the front just to smooth it down. That usually leaves the roots crunchy and the puff looking smaller than it should. Keep the edges neat, yes. But let the puff stay soft. That contrast is the whole point.
3. The Low Puff at the Nape
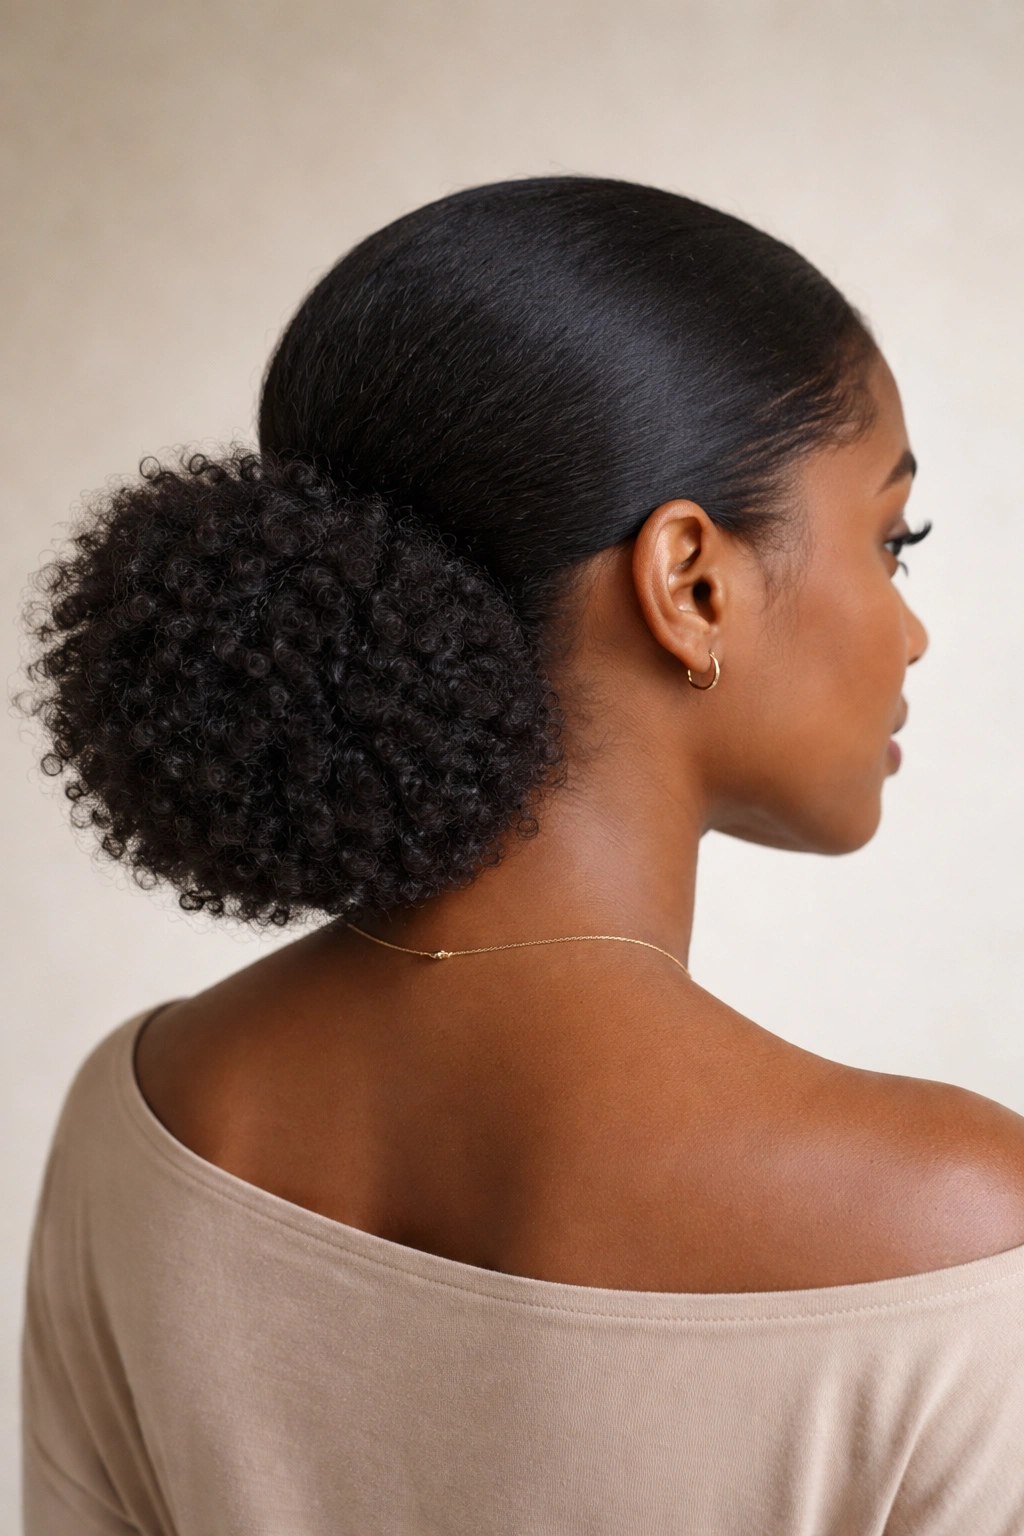
Want the same easy energy as a high puff, but with a little more calm? The low puff sits lower, gathers the hair at the nape, and tends to be kinder to edges that need a break from tension.
The style works best when the hair has enough stretch to be gathered without snagging. A slightly stretched wash-and-go, an old twist-out, or even fresh hair that has been detangled carefully can work. What you want is a smooth base at the crown and a soft, full puff near the neck. That shape looks neat with almost no effort.
How to Make It Sit Right
- Brush or smooth the top section gently with a soft bristle brush.
- Use a small amount of gel or edge control only where the hair needs it.
- Secure with a satin scrunchie, not a tiny tight elastic.
- Leave the puff fuller by pulling the gathered hair out a little after securing it.
The low puff is especially useful when you want your hair up but still want some softness around the face. It also pairs nicely with side parts, a few laid baby hairs, or a simple middle part if your hairline likes symmetry. Tiny details. They matter.
4. The Twist-Out With Soft Volume
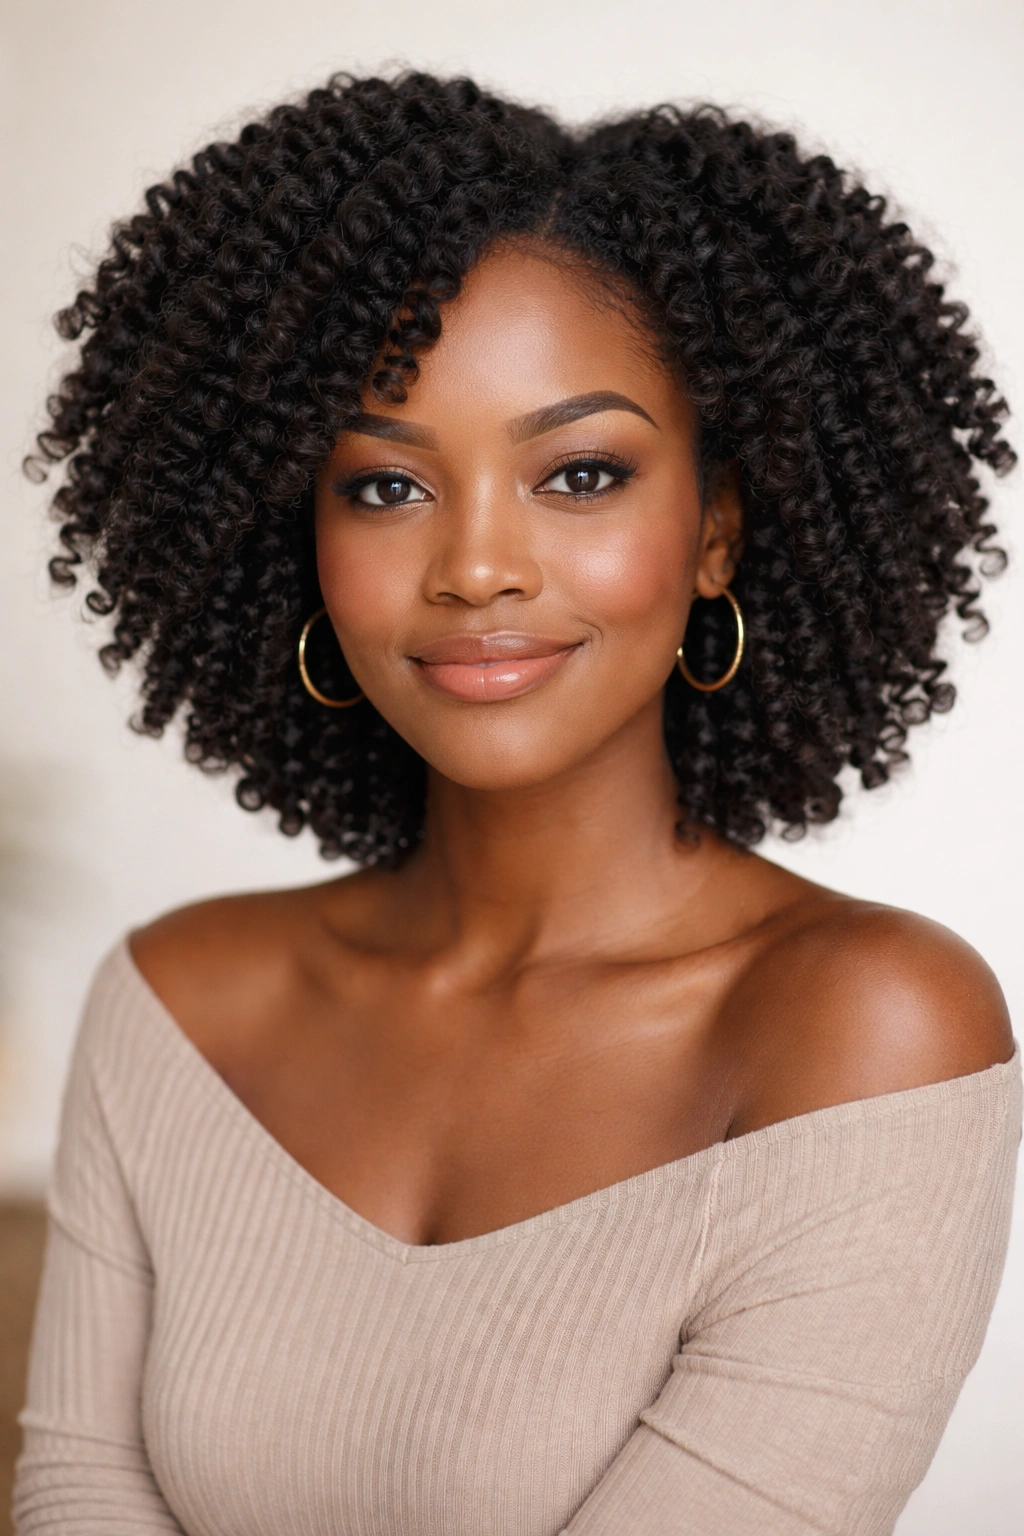
A twist-out is one of those styles that looks casual until you realize how much control it gives you over shape, volume, and texture. It is also one of the most forgiving easy afro hairstyles if you like softness around the face and a little stretch through the ends.
Here’s what usually happens: you twist damp hair in sections, let it dry fully, then unravel with a bit of oil on your fingertips so the strands separate cleanly. That part is where people get impatient and ruin the result. If the twists are even slightly damp inside, the definition falls apart fast and the hair puffs up in odd places.
The style suits people who like a rounded finish but do not want the full shrinkage of a wash-and-go. I prefer medium-sized twists for this one. Tiny twists can look too piecey if you want softness, while huge twists tend to leave the curl pattern less defined. Medium gives you the best balance.
- Twist in the same direction all over for a uniform curl pattern.
- Let the twists dry completely before taking them down.
- Separate each twist only once or twice; over-separating makes frizz.
- Use a little oil, not a lot, on your fingers when unraveling.
The final look should feel airy, not stiff. That’s the sweet spot.
5. The Braid-Out With Less Frizz
A braid-out gives a different finish than a twist-out, and that difference is the whole reason people love it. Braids create a looser wave pattern, a little more hold at the root, and less puff at the ends. If your hair usually expands faster than you want, this style can be a better bet.
The setup is straightforward. Moisturized damp hair, sectioned neatly, braided down to the ends, then left alone until it dries all the way through. Bigger braids give a chunkier wave; smaller braids create more definition and tighter bends. I usually think braid-outs look best when they are not overdone. Six to ten braids can be enough for many heads. More than that, and the style can start feeling fussy unless you want a very detailed pattern.
What makes braid-outs useful is the way they control volume. They still give body, but the body is a little more organized than a twist-out. That can be a lifesaver if your hair blooms fast in humidity or if you want a style that stretches your coils without fighting them.
The takeaway here is simple: if twist-outs feel too soft and fuzzy by midday, braid-outs usually hold their shape longer. They are a bit slower to take down, yes. Worth it.
6. Flat Twists Straight Back
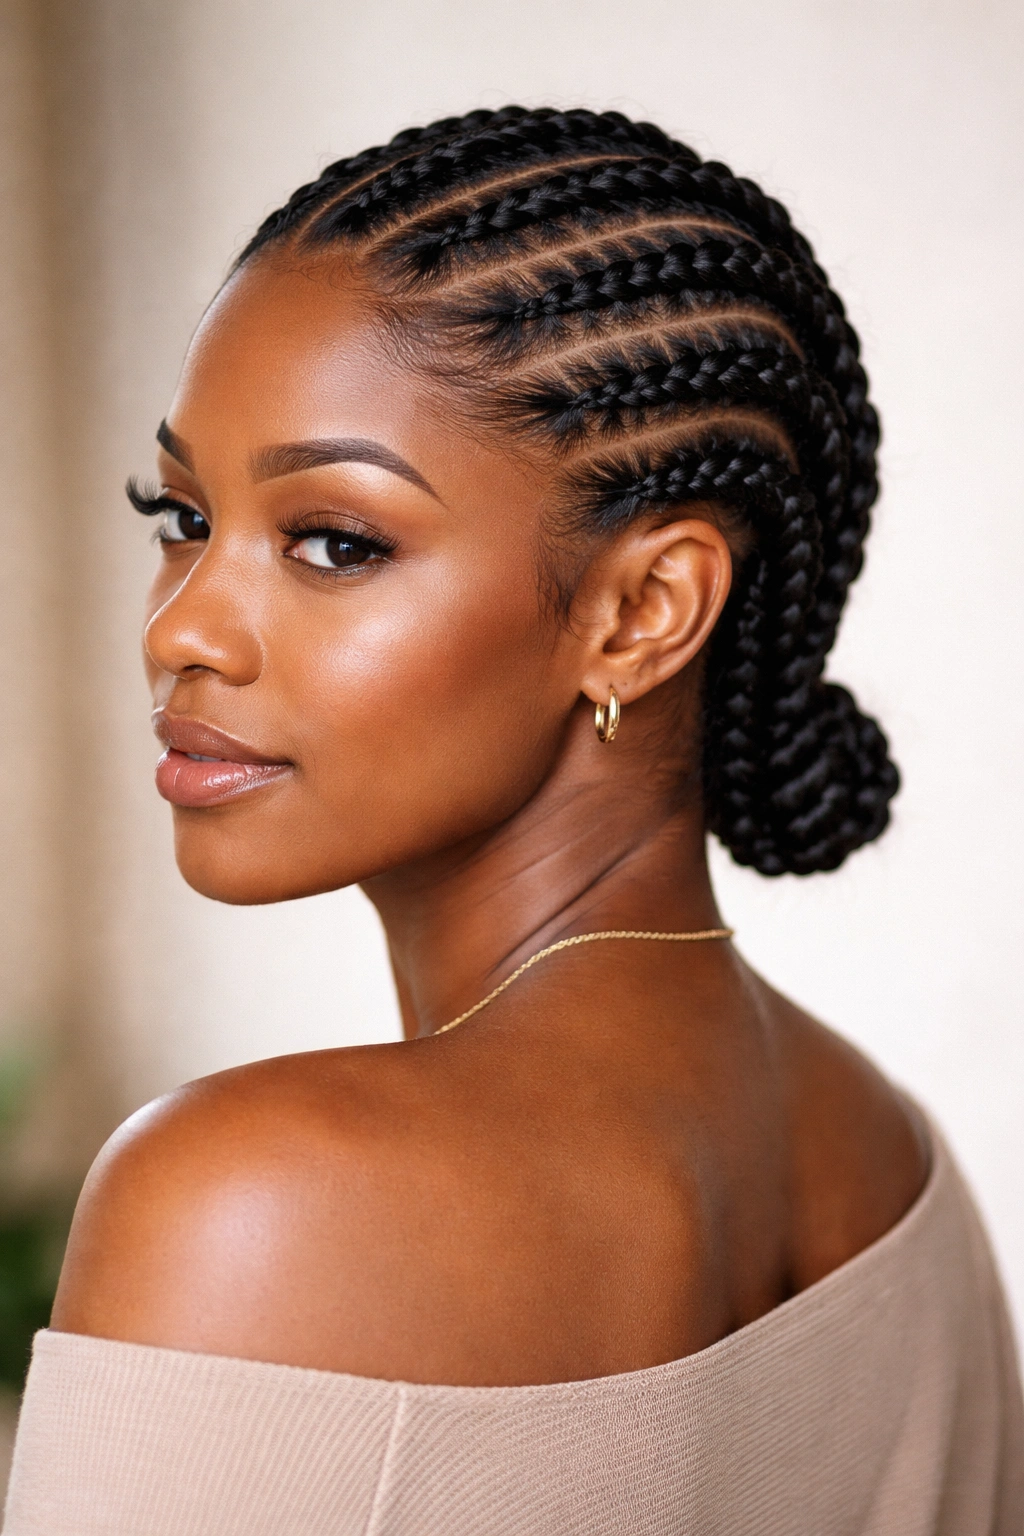
Flat twists are one of the smartest protective styles for people who want neatness without spending forever in front of the mirror. They sit close to the scalp, create a clean pattern, and can be worn as-is or taken down later for another curly style.
Unlike cornrows, flat twists are done with two strands instead of three. That makes them easier for a lot of people to learn at home. The hand motion feels more familiar, and if your parting is decent, the result can look crisp without needing salon-level precision. You do not need perfect hands to make them work. You need steady sections and a little patience.
I like flat twists straight back because they keep the face open and the hair protected at the same time. You can stop at the nape and tuck the ends under, or you can leave the ends loose and later turn them into a twist-out. That gives the style a second life, which is always nice when you want to stretch wash day.
Best Uses for Flat Twists
- A quick weekday style that stays in place.
- A base for a later twist-out.
- A low-manipulation look for thick, dense hair.
- A neat option for school, work, or a more dressed-up outfit.
If you are new to them, start with six to eight medium sections. Small sections look pretty, but they take longer and can test your patience.
7. Mini Twists That Stay Neat
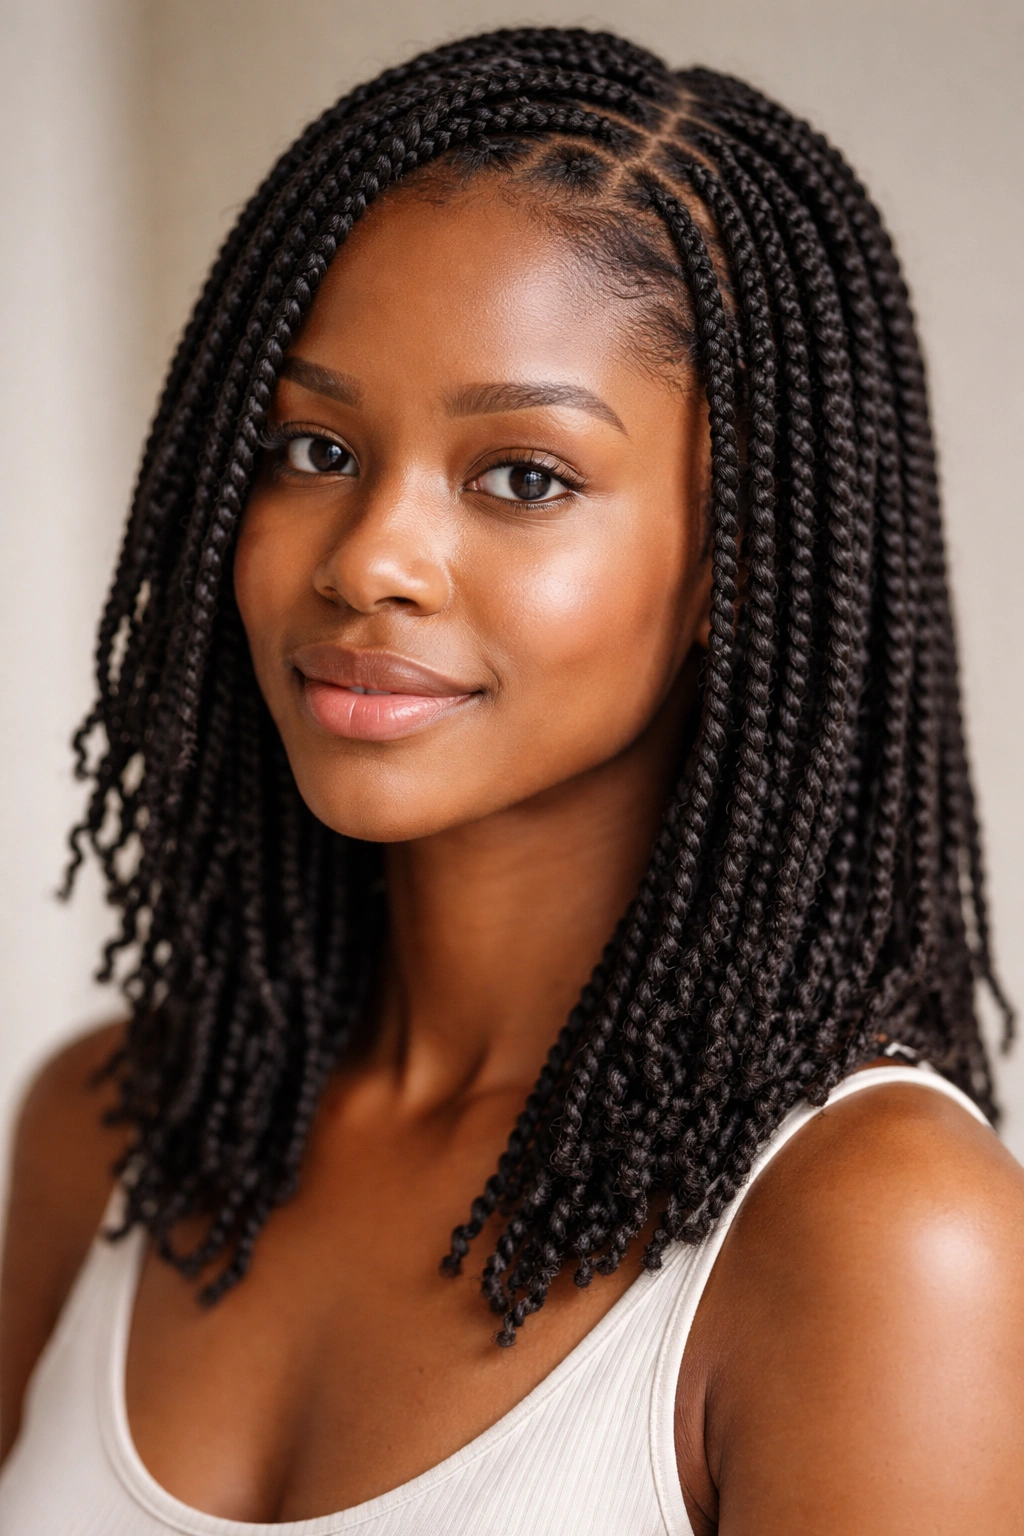
Mini twists are for the days when you want your hair to stay orderly for more than a few hours. They take longer to install than a puff, sure, but the payoff is real: low manipulation, easy styling, and a clean look that can be worn loose, pinned up, or tucked behind the ears.
What makes mini twists different from bigger two-strand twists is the scale. Smaller parts create a denser finish, which means less frizz around the edges and more movement through the body of the hair. They also hold shape well if your hair likes to puff up on contact. If you have tightly coiled hair and want a style that lasts, this is one of the better home options.
How to Keep Them Tidy
- Part the hair while it is slightly damp and stretched.
- Use a light leave-in plus a cream, not heavy grease.
- Make each twist small enough that the roots grip, but not so tiny that your scalp feels tight.
- Sleep on a satin bonnet or pillowcase from the start.
Mini twists can be worn loose, gathered into a low bun, or clipped back on one side. They also make an easy base for beads if you like that look. One caution: if you twist too tightly at the roots, the style stops being convenient and starts being annoying. Keep the tension firm, not painful. That’s the line.
8. Bantu Knots That Turn Into Curls
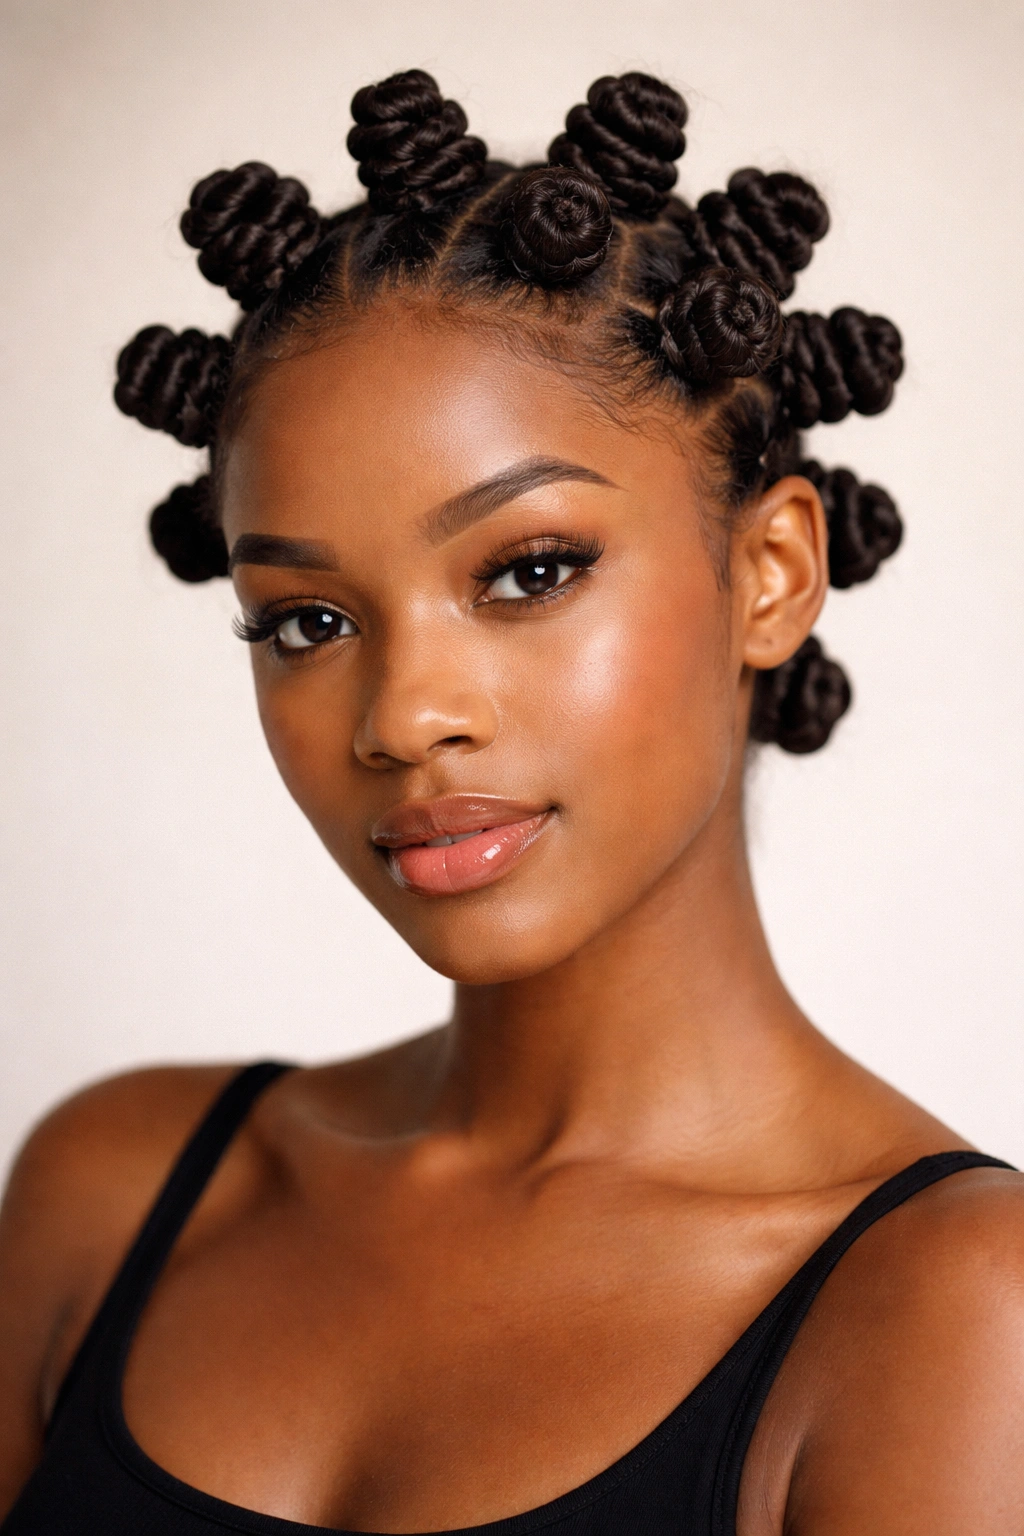
Bantu knots do two jobs at once, and that is part of why they are so practical. Worn in, they give a sculptural look with a lot of personality. Taken down later, they leave behind a defined curl pattern that can turn into a knot-out.
The technique is not hard, but it does ask for neat sectioning. Each section should be smooth, twisted from root to tip, then wrapped into a small knot close to the scalp. If the ends stick out, tuck them under the knot carefully. That little detail matters more than people think, because loose ends create frizz and unraveling.
I like this style on hair that has already been moisturized and stretched a little. It helps the knots sit flatter and makes the takedown easier later. If your hair is very short, the knots may feel more like little loops than full buns, and that is fine. The style still works.
What to Watch For
- Keep the sections even-sized so the knots dry at the same rate.
- Do not rush the takedown; dry knots unravel badly.
- Use a tiny bit of oil on your fingers when separating.
- Sleep with a satin scarf tied snugly around the hairline.
Bantu knots are one of those styles that can read playful or elegant depending on how neat the parting is. A clean part makes a difference.
9. Two Puffs With a Clean Center Part
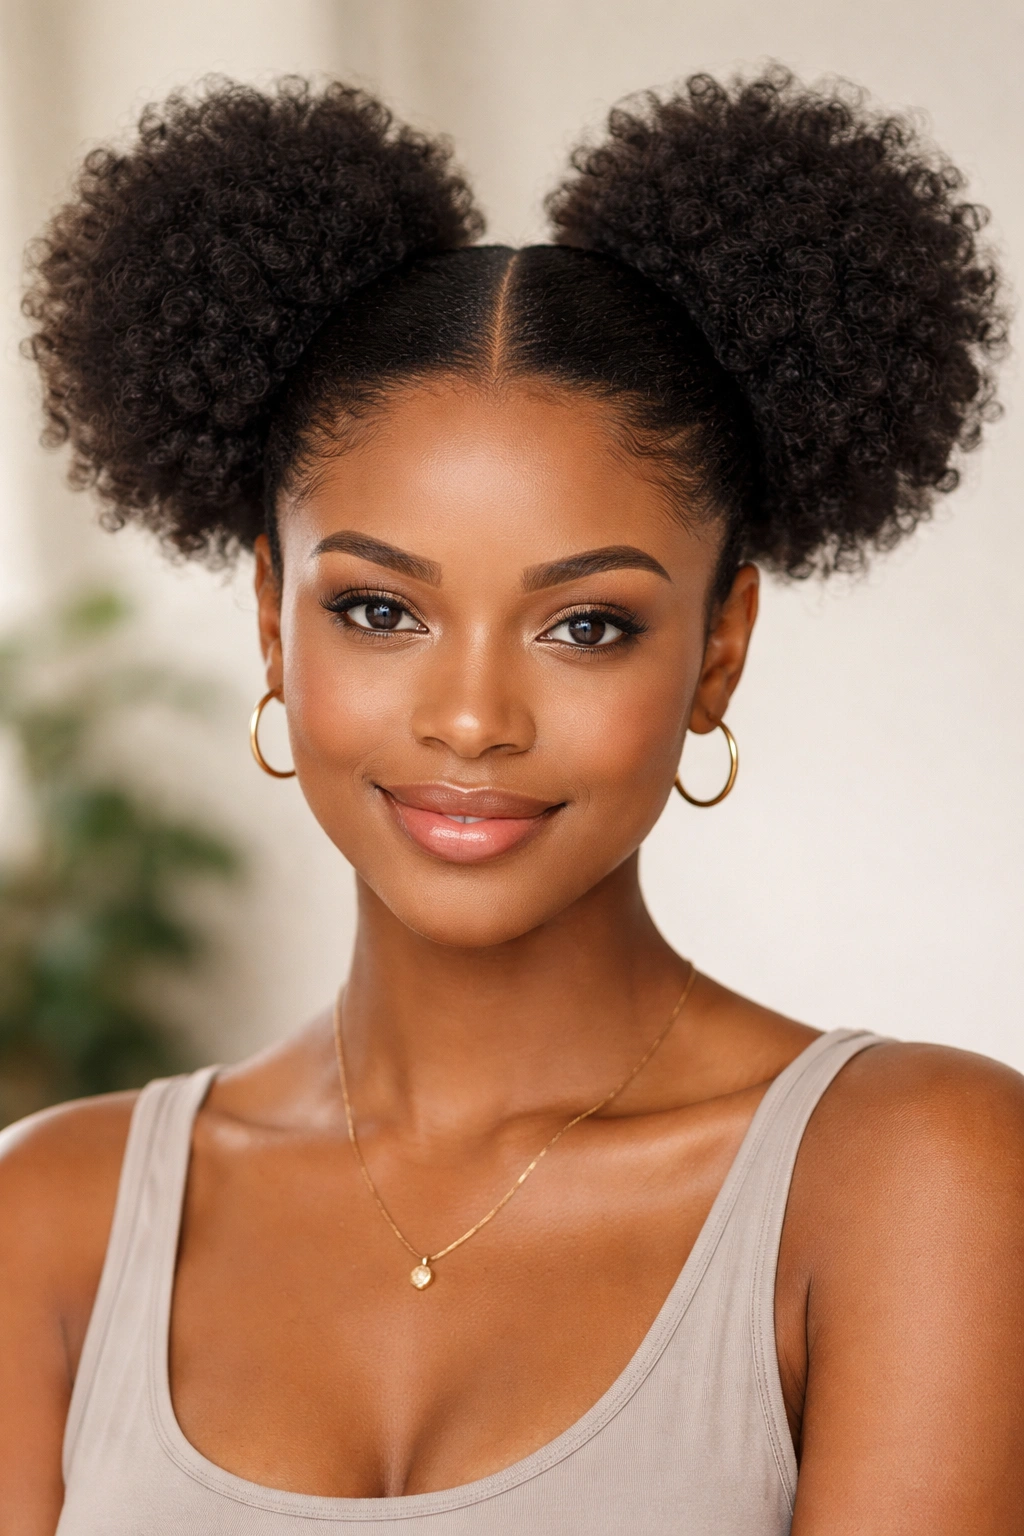
Two puffs are the kind of style that looks cheerful without trying too hard. They work especially well on medium-length hair because you get enough fullness on both sides to make the style balanced, but not so much length that the puffs drag down.
The clean center part is the anchor here. If the part is crooked, the whole style looks off. If the part is straight, the rest can stay soft. Smooth each side with your hands or a brush, gather at the spots where the puffs will sit, and secure with elastic or satin ties. Then fan each puff out a little so they look full instead of squeezed.
I think this style shines on hair that has a bit of stretch. A braid-out, stretched wash-and-go, or heatless banding set all work. It is also a good one for younger wearers, though plenty of adults wear it too. There’s no age limit on a good two-puff day.
The style feels casual, but you can dress it up fast with a cute clip, small beads, or a sharp part. If you want a style that takes your face out of the frame and gives you volume on both sides, this one does the job without much drama.
10. Space Buns on Natural Hair
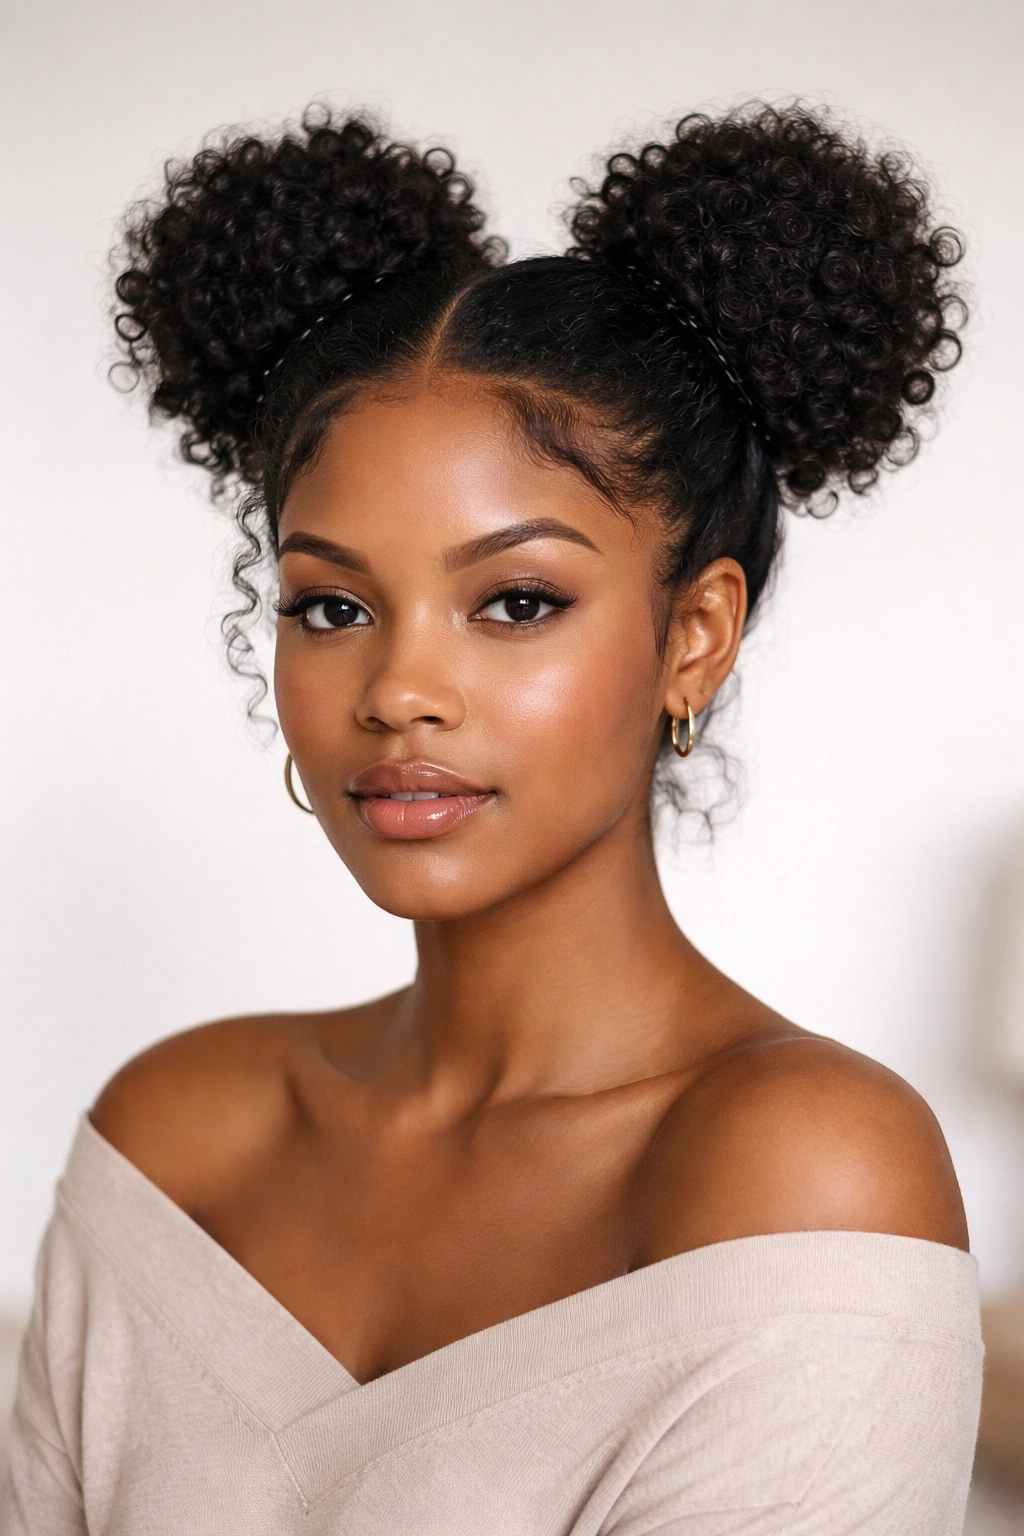
Space buns get written off as playful or young, and that is lazy thinking. On natural hair, they can look sharp, neat, and honestly a little cool when the buns are placed well and the rest of the hair is shaped on purpose.
The main thing is balance. You do not want the buns sitting too high unless that is the look you want. A lower, wider placement tends to feel more wearable for everyday settings. Gather the hair into two sections, twist or coil each side, then wrap into buns and secure with pins or a strong tie. If your hair is thick, use more pins than you think you need. Thick curls love to escape.
Space buns work well on stretched hair and on hair that has a bit of product memory from a twist-out. The texture gives the buns grip, which helps them stay put. If your hair is freshly washed and very soft, you may need to rough it up a little at the roots before styling.
A small side note: leave a little softness around the edges. Tight, scraped-back buns can look harsh on afro-textured hair. A bit of lift at the front makes the whole thing easier on the eyes.
11. The Frohawk With Pinned Sides
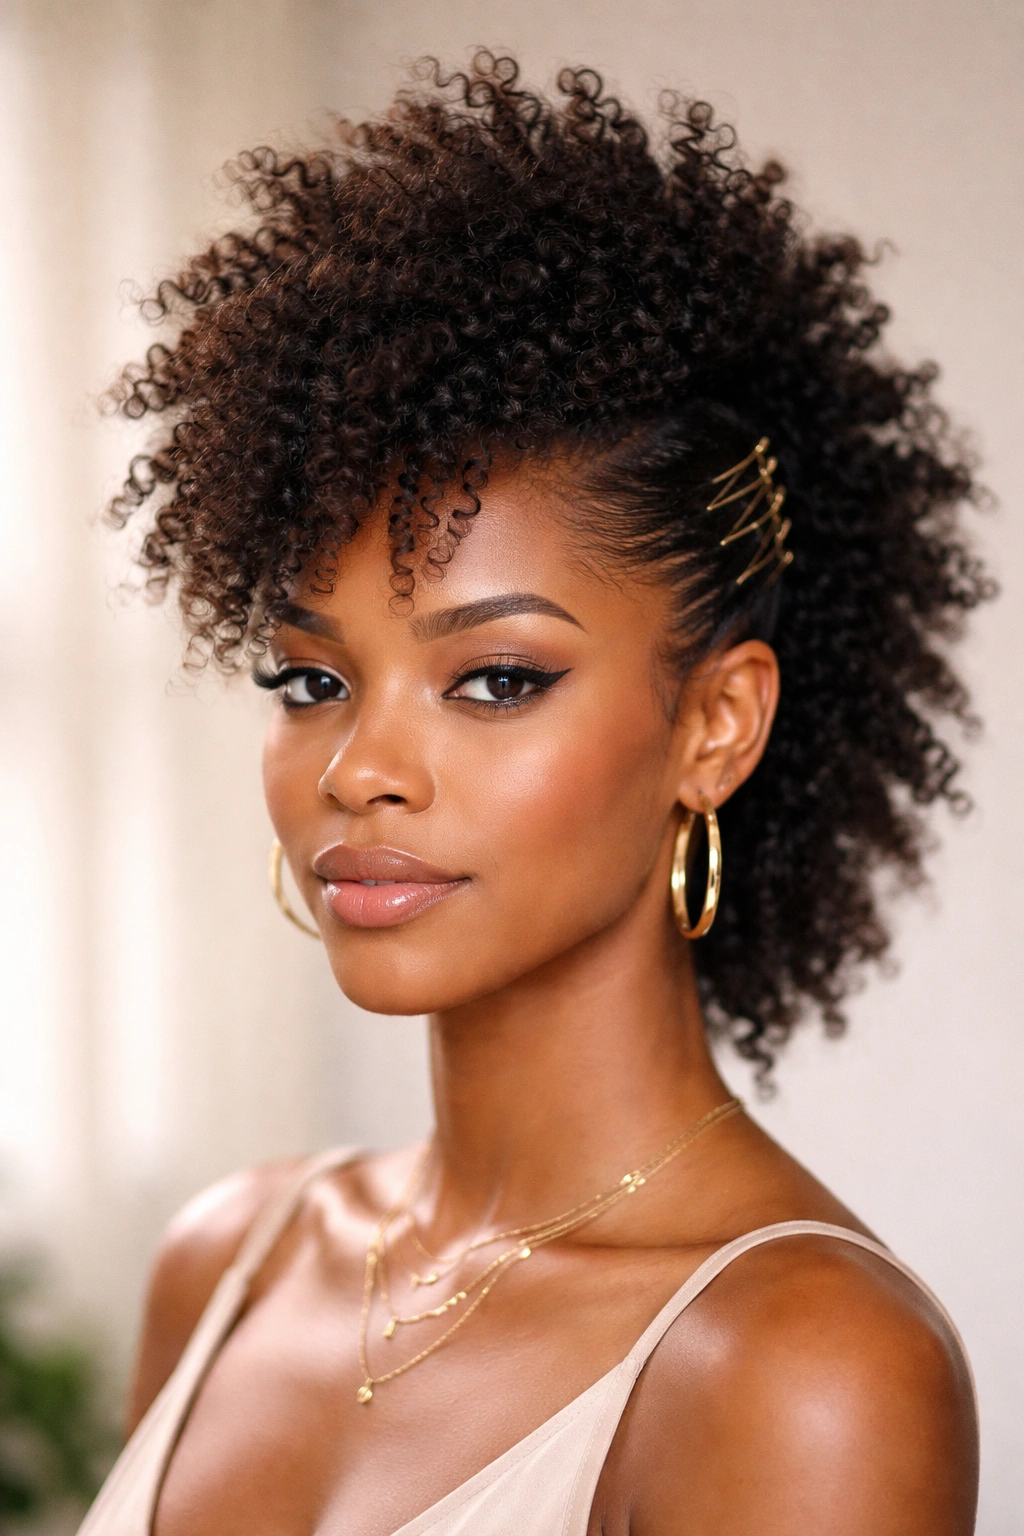
A frohawk is one of my favorite styles when you want shape but do not want to flatten the personality of your hair. The sides are pinned or slicked upward, and the center strip stays full and textured. That contrast is what makes it work.
The best version keeps the center line loose enough to show curl and volume. You can do this with a wash-and-go, a twist-out, or hair that has been lightly stretched. The sides should be secure, but not over-sprayed into stiffness. Too much gel can make the look feel hard instead of clean.
What Helps It Hold
- Use bobby pins in matching color so they blend into the hair.
- Cross the pins in an X if the sides keep slipping.
- Smooth the sides in sections rather than in one huge swipe.
- Add a little oil to the pinned sections if they feel dry.
The frohawk is good when you want something with edge but still easy to do at home. It also works better than people expect on thicker hair because the texture itself helps hide pins and small bumps. No need to fight every flyaway. A few are part of the style.
12. The Headband Tuck-and-Pin
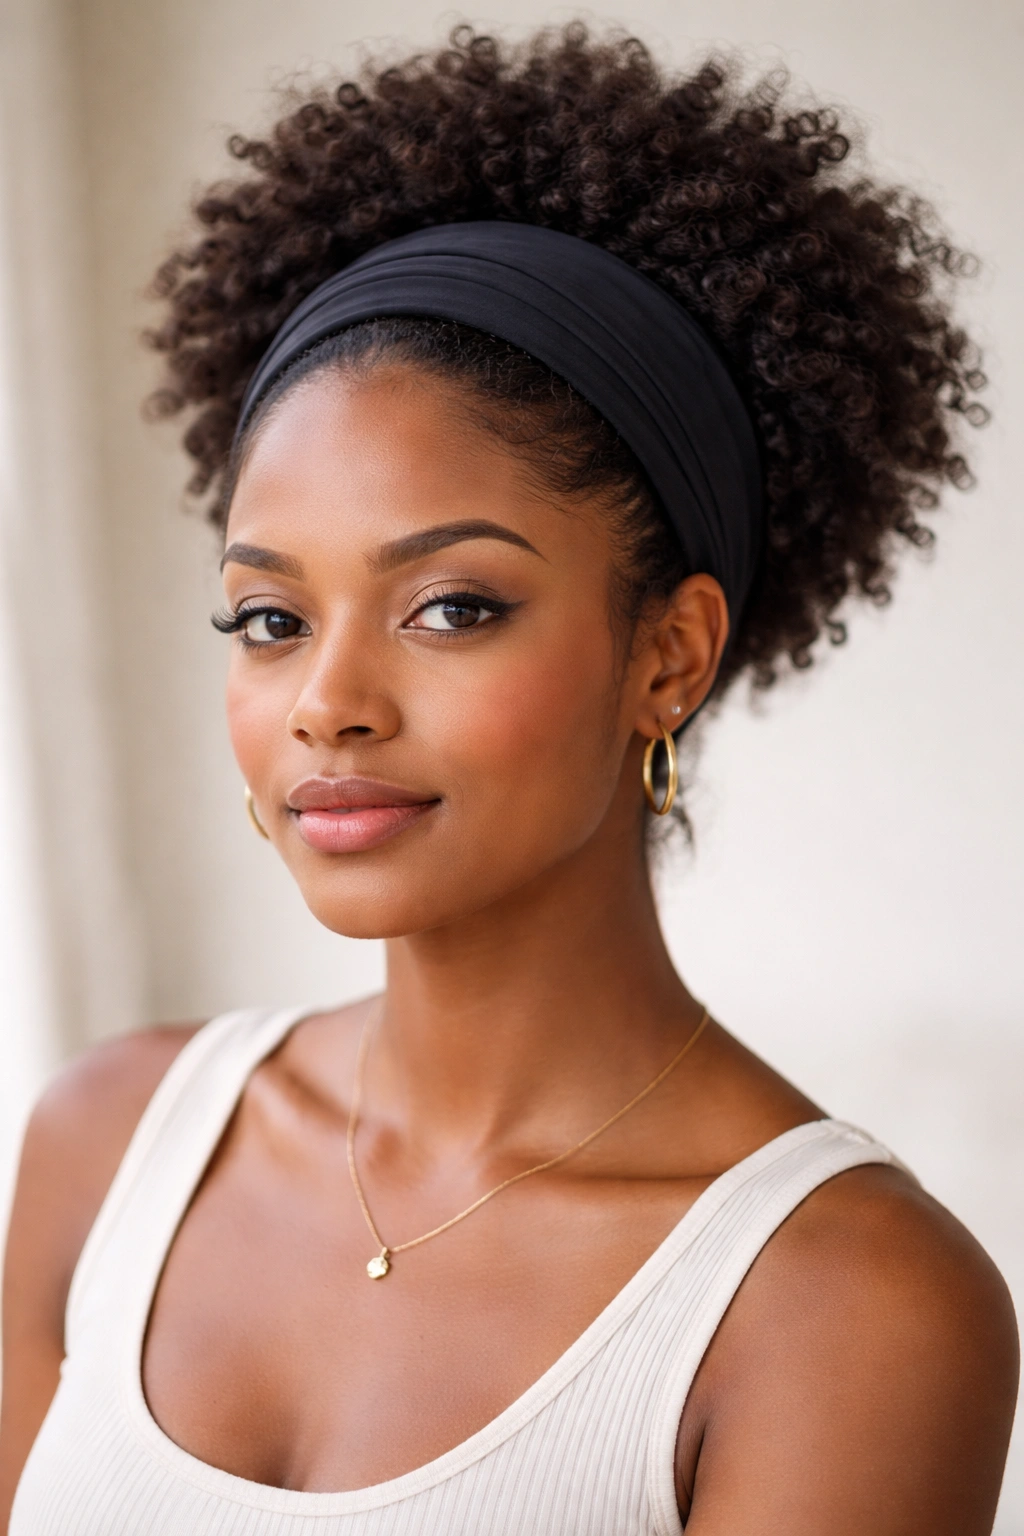
When hair is not cooperating, a wide headband can save the day. This style is basic in the best way: tuck the hair back, shape the front, pin what needs pinning, and let the band do the visual work.
The reason it looks better than people expect is that a good headband creates a frame around the face and hides the messiest part of the roots. That means you can wear an old twist-out, a stretched afro, or even hair that feels a little too fuzzy for a fully down style. It does not require perfect definition. It asks for enough shape to look intentional.
Pick a headband with some width. Thin bands slide. Wide bands hold the hair better and create a clearer shape. If you want more polish, tuck the sides behind the band and pin the back loosely so the hair does not puff out in one odd spot. If you like a softer finish, leave more volume at the crown.
This is one of those styles that looks better when it is not overworked. A little looseness reads as lived-in. Too much smoothing can make the curls sit flat in a way that does not suit afro texture at all.
13. The Half-Up Claw Clip Afro
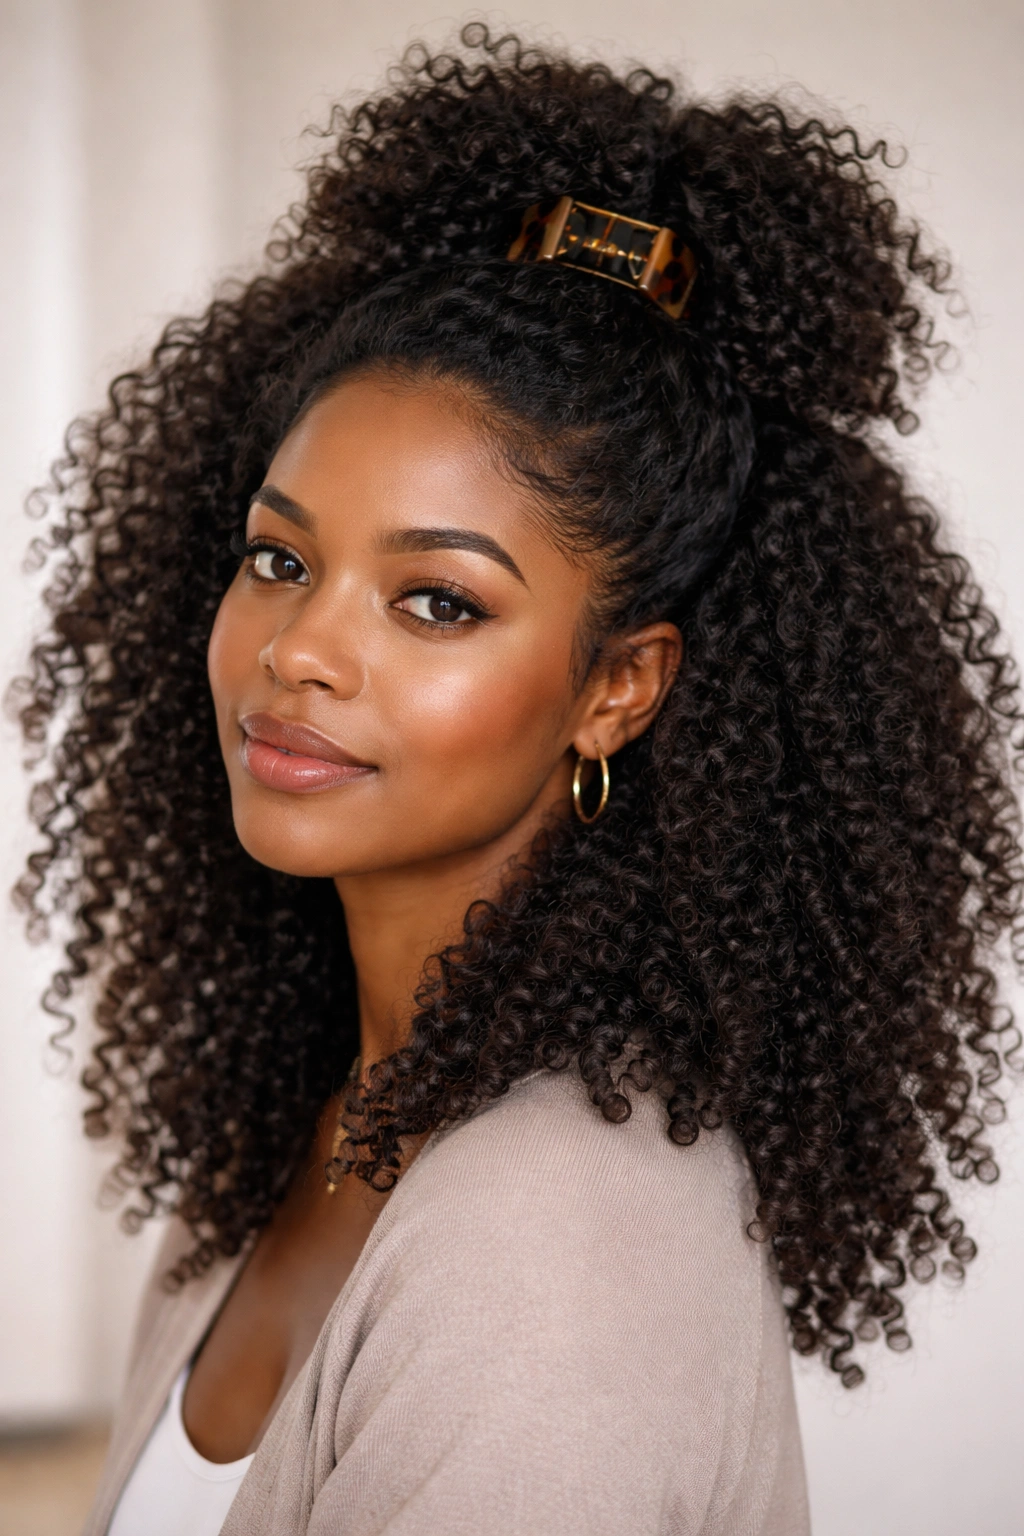
A half-up claw clip style is a gift when you want your curls visible but not in your face. It is fast, low effort, and surprisingly tidy if you place the clip in the right spot.
The trick is to take the top section high enough to create lift, then twist or gather it once before clipping. If you just grab and clamp, the style can fall apart by lunchtime. A gentle twist gives the clip something to hold. The bottom half stays loose, which keeps the texture front and center.
I like this style for hair that is medium to long and has enough volume to fill out the lower half on its own. Shorter hair can still do it, but the clip has to be small enough to stay anchored. Use a clip with teeth that grip well but do not snag. Cheap clips break fast and pull at the strands.
A Few Things That Help
- Spritz the hair lightly before gathering if the top feels too dry.
- Use a medium or large claw clip for dense hair.
- Pull a few curls loose near the temples if the style feels too tight.
- Keep the twist loose enough to avoid a dent across the crown.
It’s a practical style. That is the charm.
14. Crown Twists Into a Puff
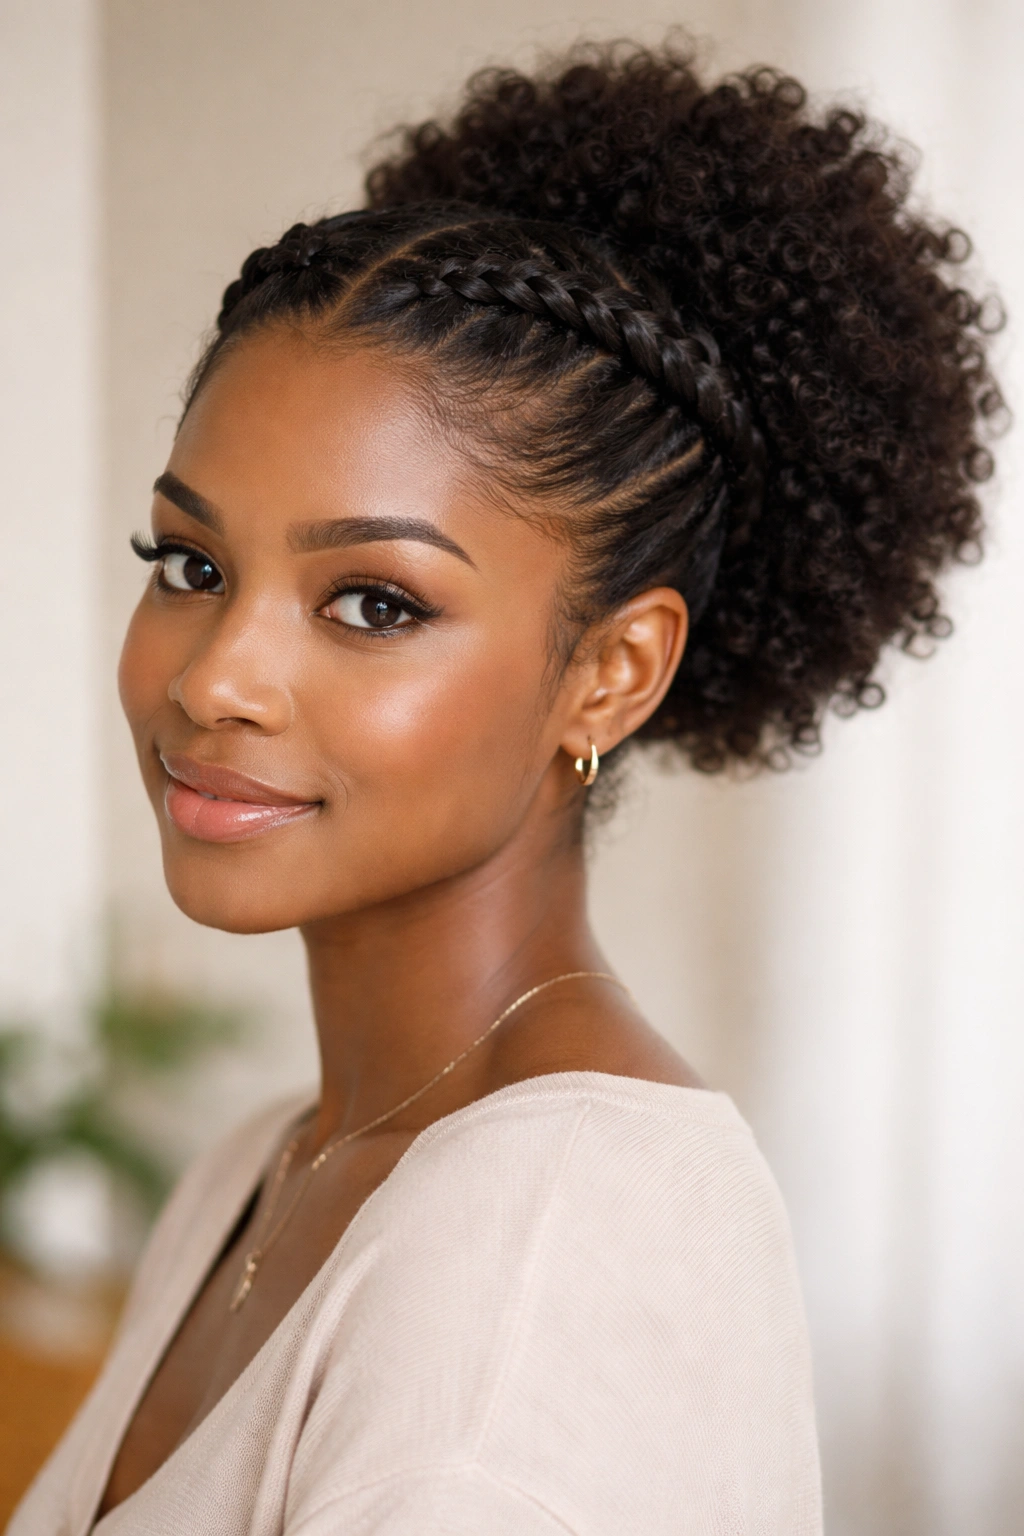
Crown twists give you the neatness of a pulled-back style with the volume of a puff or loose curls at the back. They’re especially handy when you want something that looks a little more put together without turning into a full updo.
The front sections are twisted along the hairline and pinned toward the back, where the rest of the hair is gathered into a puff, bun, or left loose. That structure keeps the face open and creates a clean frame around the forehead and temples. If your hairline is sensitive, keep the twists loose. Tight front twists are a fast way to make a style feel less wearable.
How to Keep It From Slipping
- Start with hair that has some texture or a little product hold.
- Pin the twists under the back puff so the ends stay hidden.
- Use two pins per twist if your hair is thick.
- Press the twists lightly with your palms after setting them so they sit close to the head.
This style works well for events, work, or any day when you want something a touch dressier than a standard puff. It also hides uneven regrowth nicely if your hair is in an in-between stage. That is one of those small real-life benefits that does not get enough credit.
15. Finger Coils for a Tight, Defined Finish
Finger coils take a little more time than some of the other easy afro hairstyles here, but the method itself is straightforward. If you can wrap a small section around your finger and let it spring into place, you can do finger coils at home.
The style is especially good on short to medium hair because the coils hold their shape and give the hair a compact, neat look. On longer hair, the coils can still work, but they take longer to set and separate. Start with damp, well-moisturized hair. Apply a curl cream or gel in small sections, then wrap each strand around your finger until it coils back on itself. Let it dry fully before touching it. Fully. Not almost dry. Fully.
What you get is a crisp, defined texture that can be worn alone or later separated for more volume. It is also one of the better styles when you want to show off curl pattern rather than hide it. A lot of people think finger coils are only for special occasions, and I disagree. They are useful when you want control and order without heat.
If your goal is speed, pick a puff or headband style. If your goal is lasting definition, mini twists or finger coils will treat you better. And if your goal is a style that looks good even when the rest of the day gets messy, honestly, that’s where the high puff, twist-out, and frohawk keep proving themselves.