Side ponytails have a unique power—they’re effortlessly chic, incredibly versatile, and work beautifully with every hair texture, especially textured and coily hair. When styled right, a side ponytail can transition from casual weekend vibes to polished enough for professional settings. The shift to one side creates movement, frames the face gorgeously, and offers a fresh take on an otherwise classic look.
What makes side ponytails particularly flattering for Black women is how they celebrate natural texture while keeping hair off the face and neck. Whether you’re working with coils, curls, waves, or a combination of textures, side ponytails offer protection, versatility, and style all in one. They can look soft and romantic or sharp and sleek—sometimes both on the same day depending on how you style them.
The real magic of side ponytails is that they work across hair types and lengths. You can create them with natural hair, braided styles, extensions, or a combination. They’re low-manipulation enough to be a protective style, yet they feel intentional and polished rather than like you’re just pulling your hair back. Here are twelve ways to wear a side ponytail that’ll make you want to try them all.
1. The Classic High Side Ponytail
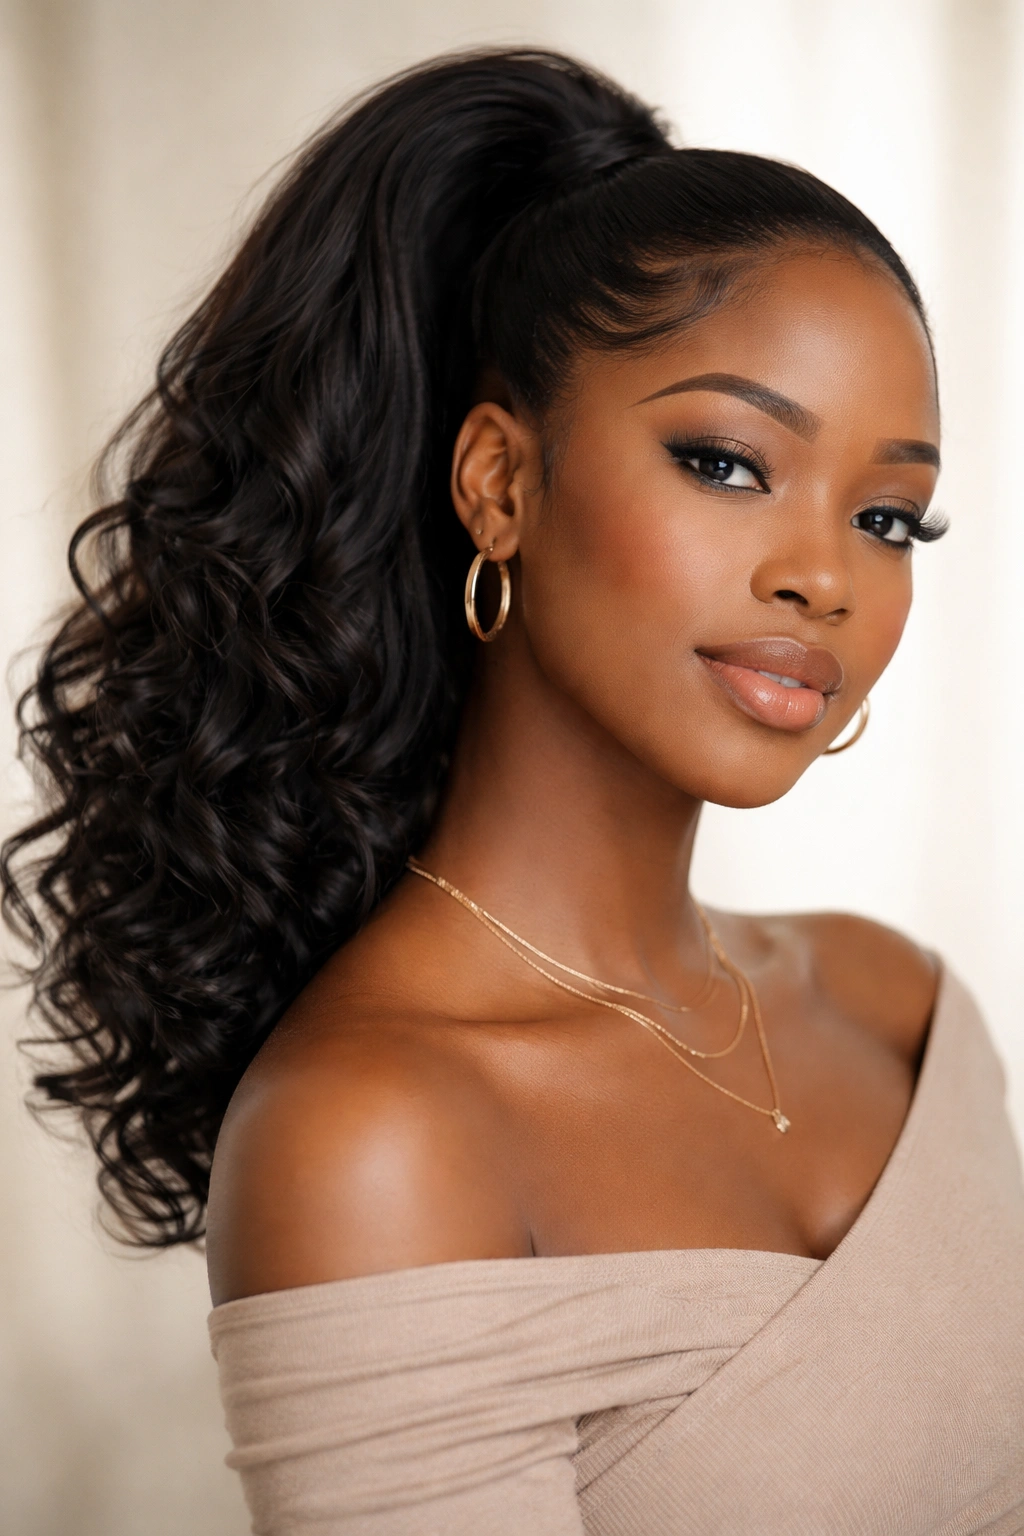
The classic high side ponytail is the foundation style—the one you’ll return to again and again. This style pulls hair smoothly from the crown toward one side, gathering it at the ear level or slightly higher. The positioning creates the illusion of a lifted face and works beautifully whether you’re styling natural texture or working with extensions.
Why This Look Works for Your Texture
With natural hair, a high side ponytail showcases your coils and curls while keeping them gathered neatly. The height at the crown means you’re not straining hair at a single point—the tension distributes naturally along the side of your head. This makes it a genuinely protective option you can wear repeatedly without worry.
How to Style It Perfectly
- Section your hair from one temple across the back to the opposite ear, keeping the front section out for now
- Smooth the back section with a lightweight leave-in conditioner or edge gel for a polished finish
- Gather the hair into a high ponytail on your preferred side, using a silk or satin elastic to avoid snagging
- If you’re working with natural texture, you can leave the ponytail voluminous or smooth it with a brush for a sleeker effect
- Take a small section from the ponytail itself and wrap it around the elastic to hide it—this instantly looks more intentional
Pro tip: Brush the front section smoothly backward and secure it with bobby pins that match your hair color for a seamless, finished look that doesn’t scream “styled.”
2. Sleek and Straight Side Ponytail
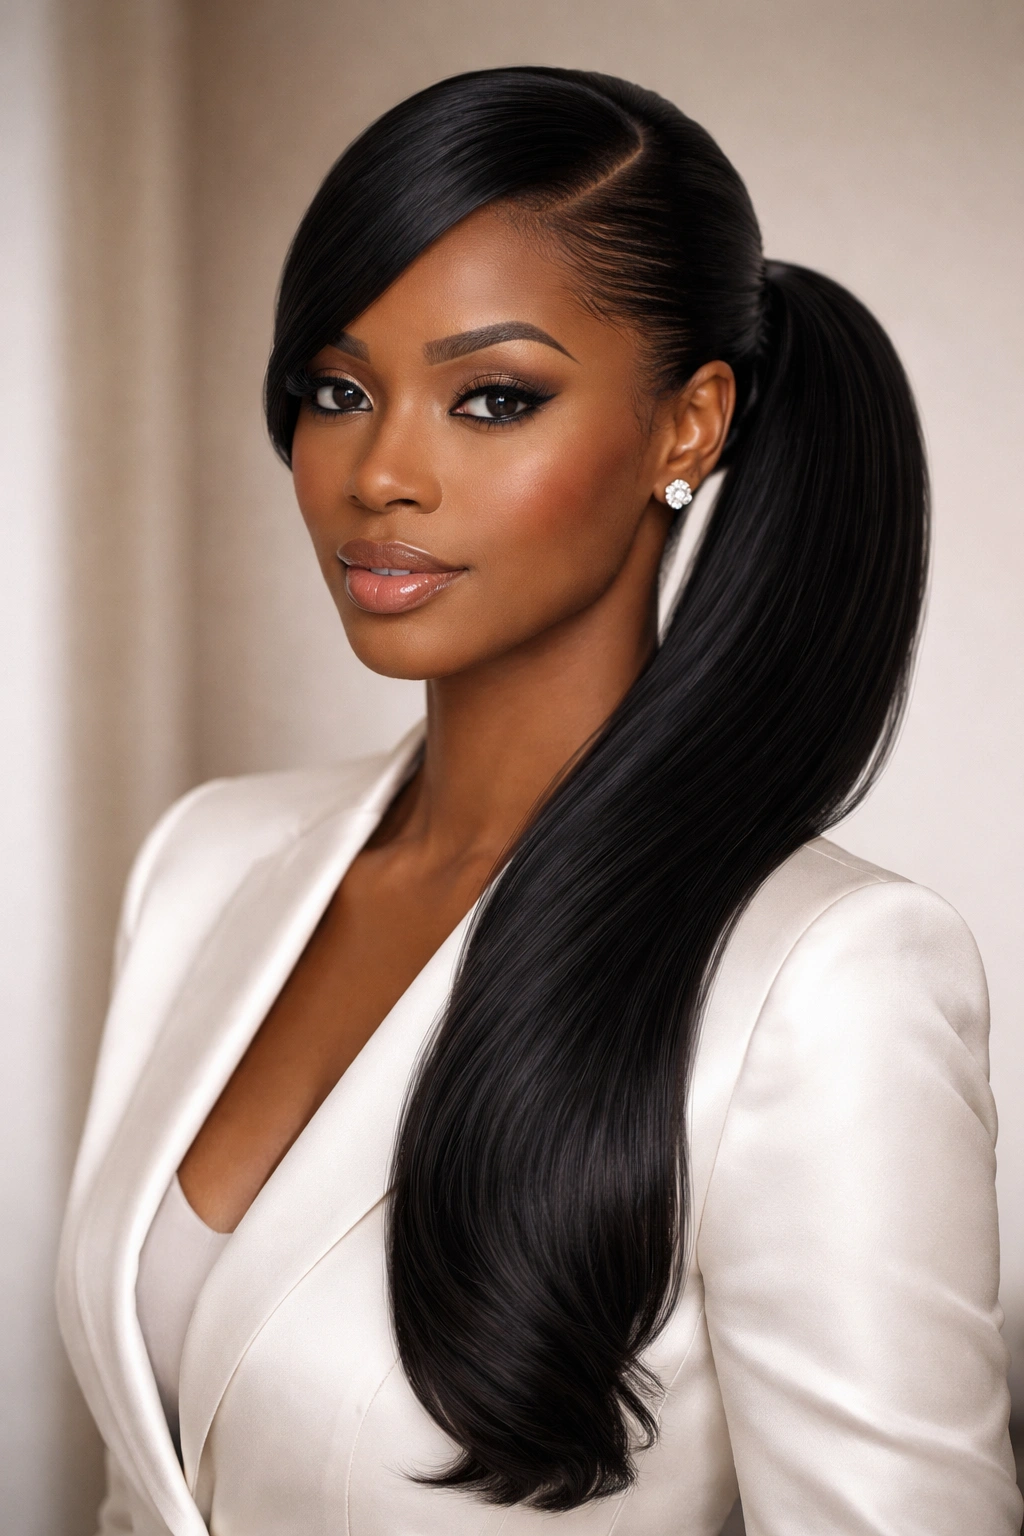
A sleek, straightened side ponytail is your power-move style—the one you wear when you want to feel polished and put-together. This requires blow-drying or flat-ironing your hair straight, which temporarily alters your curl pattern, so it’s best reserved for special occasions rather than a daily protective style.
The Technique That Creates True Sleekness
Sleekness comes from proper preparation and the right products. Start with a smoothing cream or anti-frizz serum applied to damp hair before blow-drying. Use a paddle brush or blow-dry brush while your hair dries to train the hair to be smooth. Once fully dry, a light pass with a flat iron ensures every strand lays flat. The key is working section by section—rushing this step creates frizz.
Creating the Perfect Sleek Ponytail
- Apply a smoothing serum to the entire ponytail section
- Use a fine-tooth comb to gather hair and secure it with a satin elastic or metal cuff
- Smooth the ponytail itself with the brush or flat iron for an ultra-polished finish
- Tame flyaways around the hairline with edge control applied with a soft brush or your fingertips
- Optional: wrap a small curved section of hair around the base of the ponytail to conceal the elastic
Worth knowing: Satin or silk elastics and metal cuffs create a noticeably more luxe finish than standard hair ties. This small investment in accessories changes how polished your whole look feels.
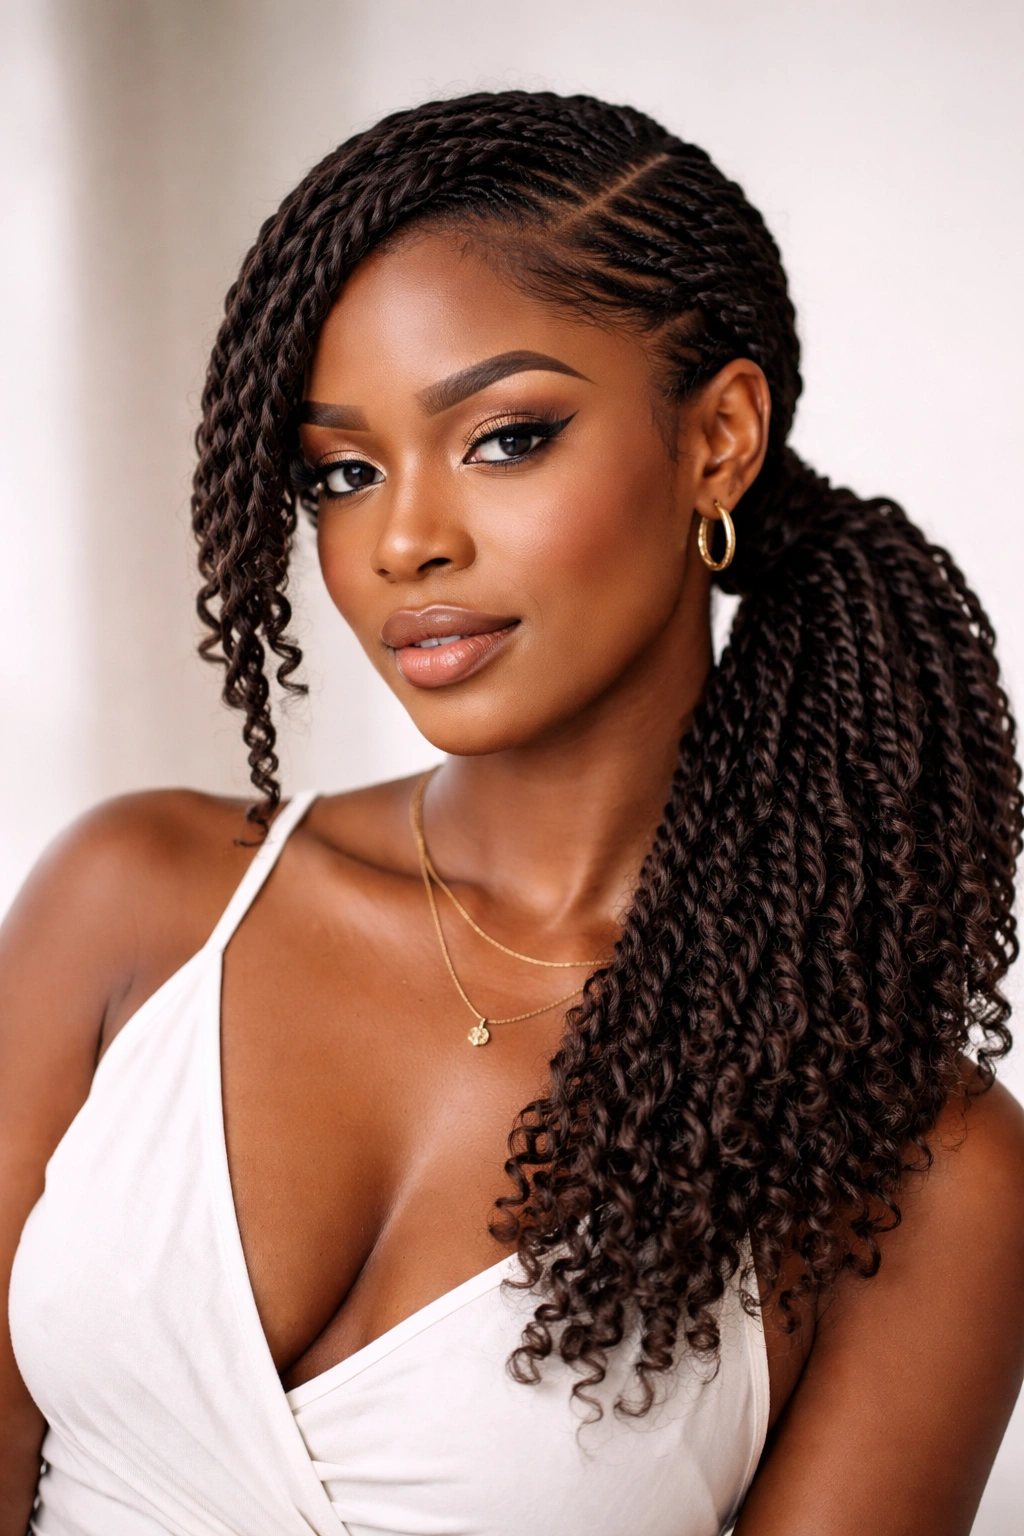
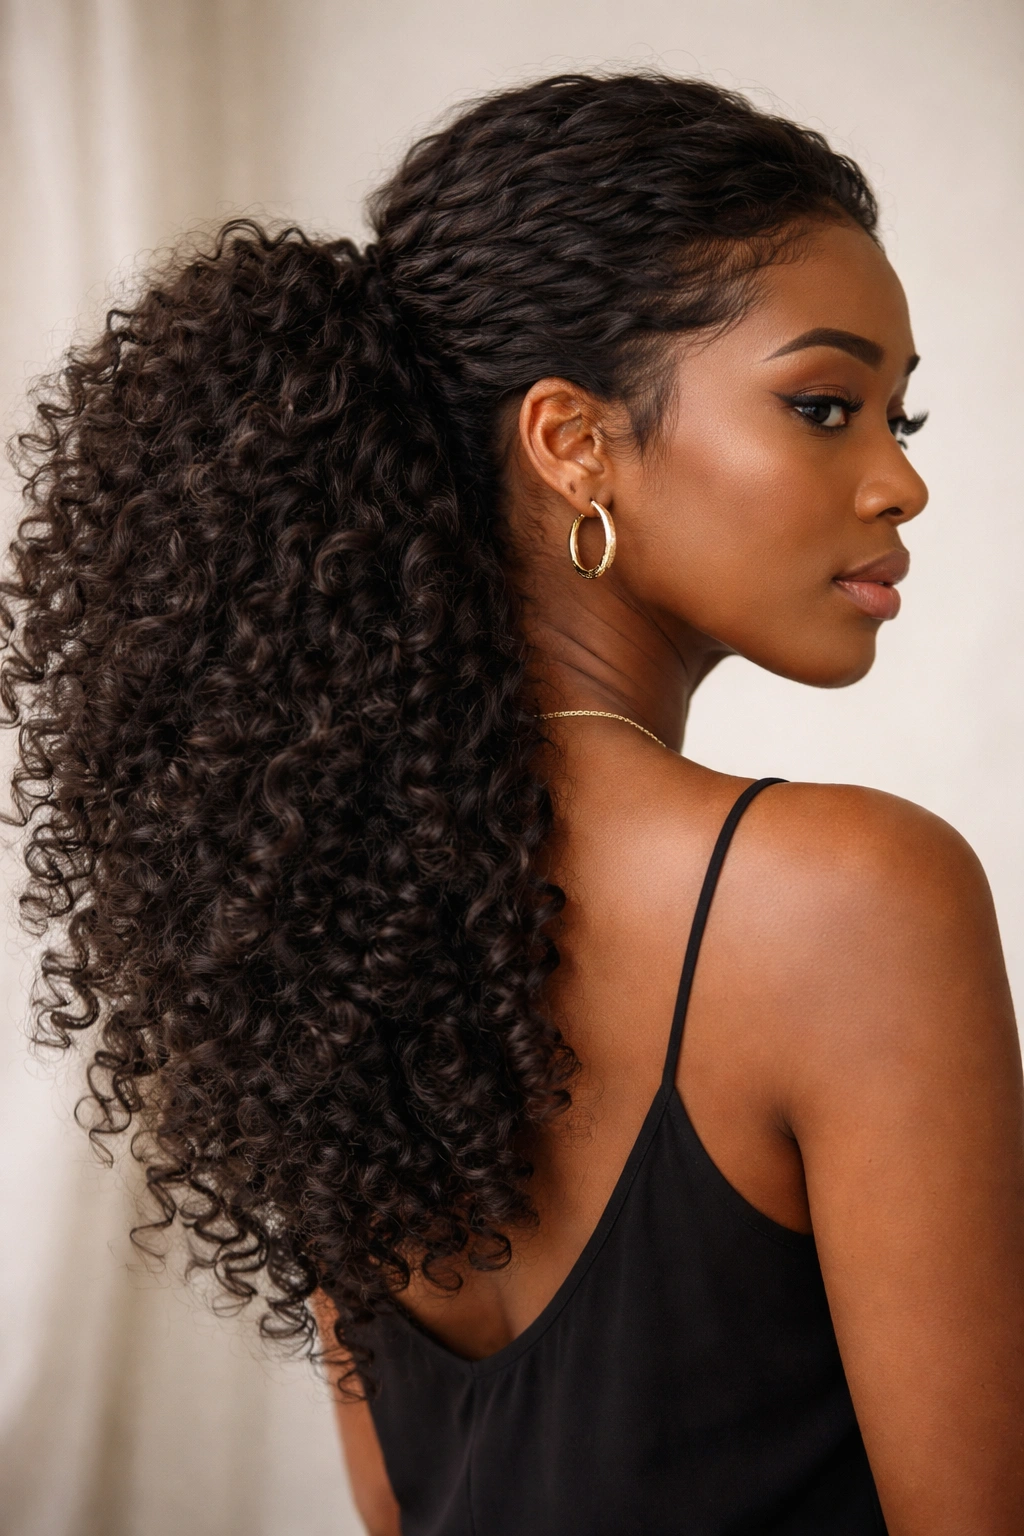
3. Curly and Voluminous Side Pony
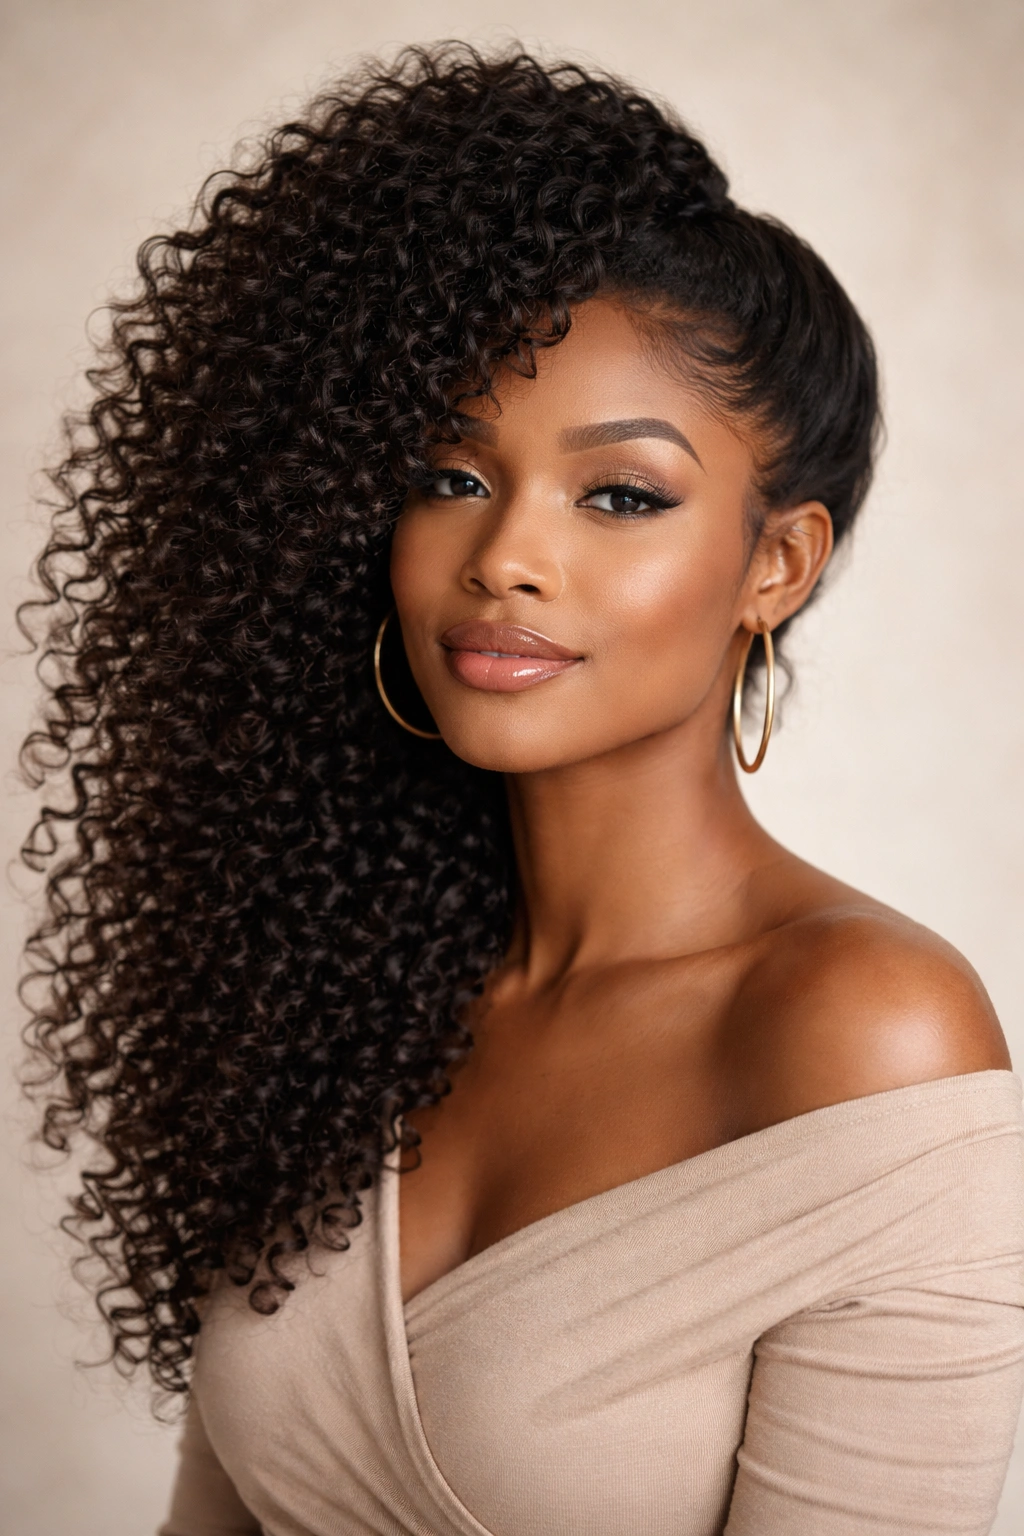
Let your texture shine with a curly, voluminous side ponytail that celebrates your natural curl pattern. This style works best when you’re a few days into a wash-and-go or a braid-out, when your curls have settled into their pattern and have some body. The volume in a side ponytail is genuinely forgiving—it looks intentional and full rather than frizzy.
Building Volume Without Damaging Hair
Volume comes from how you gather your hair, not from teasing or backcombing. Instead of creating tension by pulling hair tightly, use a scrunchie that accommodates the volume of your curls. A Pony O, coil hair tie, or larger scrunchie distributes the weight of your hair more evenly. You’re cradling your curls, not compressing them.
Styling Steps for Maximum Curl
- Apply a curl cream or mousse to refresh your curls if they’ve relaxed (work it through with your fingers, not a brush)
- Flip your head to one side and gather your curls loosely, letting them bunch naturally
- Secure with a hair-friendly elastic, positioning it where it feels balanced (usually ear-level or slightly lower for side ponytails)
- Use your fingers to gently pull and fluff individual curl sections around the base to add even more dimension
- Shake it out and let your curls fall naturally around your face
Insider note: The ponytail looks best when you don’t try to perfectly define or separate every curl. Texture layered together creates a lush, full look. Let some curls fall naturally in the front for that effortlessly chic feeling.
4. Braided Side Ponytail
A braided side ponytail combines two protective styles into one—the structure and control of braids with the versatility and manageability of a ponytail. You can create this with a single large braid down one side that feeds into the ponytail, or with multiple smaller braids that merge together. This style is genuinely low-manipulation and can last several days.
Two-Braid Approach for Maximum Hold
Create two thick braids on one side of your head—one that starts at your temple and one that starts at your ear level. Braid each down several inches, then release the remaining hair. Gather all your hair (the loose ends of the braids plus the remaining hair) into a side ponytail. The braids anchor the ponytail in place, preventing it from slipping even if you wear it for several days.
Single Braid Flowing Into the Ponytail
- Section off the front portion of hair you want to keep out and to the side
- Starting at the crown, create a French braid that angles down toward your preferred side
- Braid until you’re about ear-level, then release the remaining hair
- Gather all hair into a side ponytail, with the braided section as part of the base
- The braid naturally secures the ponytail and creates an intricate, detailed look
Pro tip: This style works wonderfully with extensions or added hair for extra length and volume. The braided section provides a secure anchor point for securing additional hair.
5. Twisted Side Ponytail
Twists are an underrated alternative to braids—they’re faster to create, look incredibly elegant, and work beautifully as the base for a side ponytail. The twisted sections catch light differently than straight hair and create visual texture without the time commitment of braiding.
Creating Defined Two-Strand Twists
Two-strand twists are simpler than they sound. Section off hair and divide it into two parts. Twist one section around the other, continuing down the length. The tighter you twist, the more defined and long-lasting the style. For a side ponytail, you want twists tight enough that they hold for several days.
Building a Twisted Side Ponytail
- Create two-strand twists on one side of your head, starting near your temple
- Twist down about three to four inches, creating 3-4 twists depending on thickness
- Release the ends of each twist and let the hair fall naturally
- Gather all your hair into a side ponytail, with the twisted sections visible in the gathered base
- Gently separate the twists slightly once they’re secured to enhance their texture
Worth knowing: Applying a light holding product like a twisting cream before creating twists helps them last longer and look crisper. A small amount goes a long way—you want definition, not crunchiness.
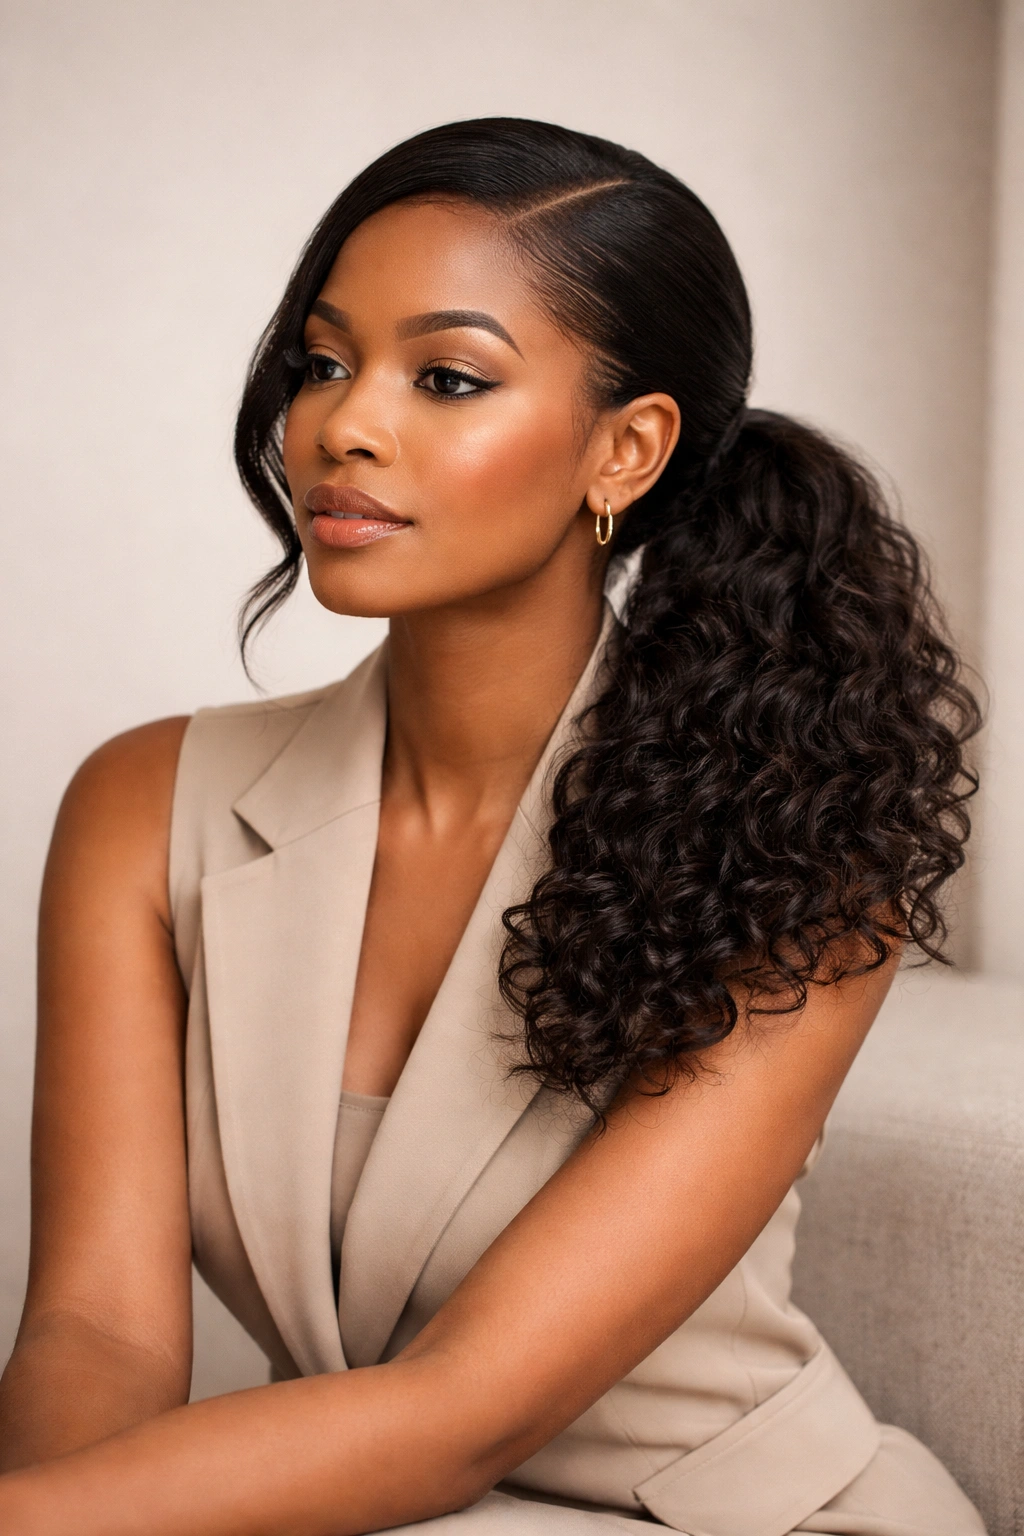
6. Low Side Ponytail with Edge Control

A low side ponytail sits near the nape of your neck, creating an elegant, understated look that works in professional and casual settings alike. Paired with deliberate edge control, this style reads as intentional and polished rather than simply pulled back. The lower placement is actually easier on your hairline than a high ponytail.
Perfecting Your Edge Control Application
Edge control products aren’t just for smoothing baby hairs—they’re essential for creating intentional, finished edges. Apply edge control with a soft brush (never a hard brush), working it in the direction your hairline naturally follows. The goal is a smooth, defined hairline that frames your face, not a slicked-down appearance that looks uncomfortable.
Creating a Polished Low Side Pony
- Apply edge control to your hairline with a soft toothbrush or edge control brush, brushing in the direction of your natural hairline
- Smooth a lightweight leave-in conditioner through the section of hair you’ll be gathering
- Gather hair low on one side, at the base of your skull, using a smooth ponytail holder
- Create a clean part on the other side with a rat-tail comb if you want extra definition
- Pin any face-framing pieces with bobby pins that match your hair color to complete the look
Pro tip: A low side ponytail looks even more polished when you wrap a small strand of hair from the ponytail around the elastic itself, concealing it completely. This takes thirty seconds and transforms the look from casual to intentional.
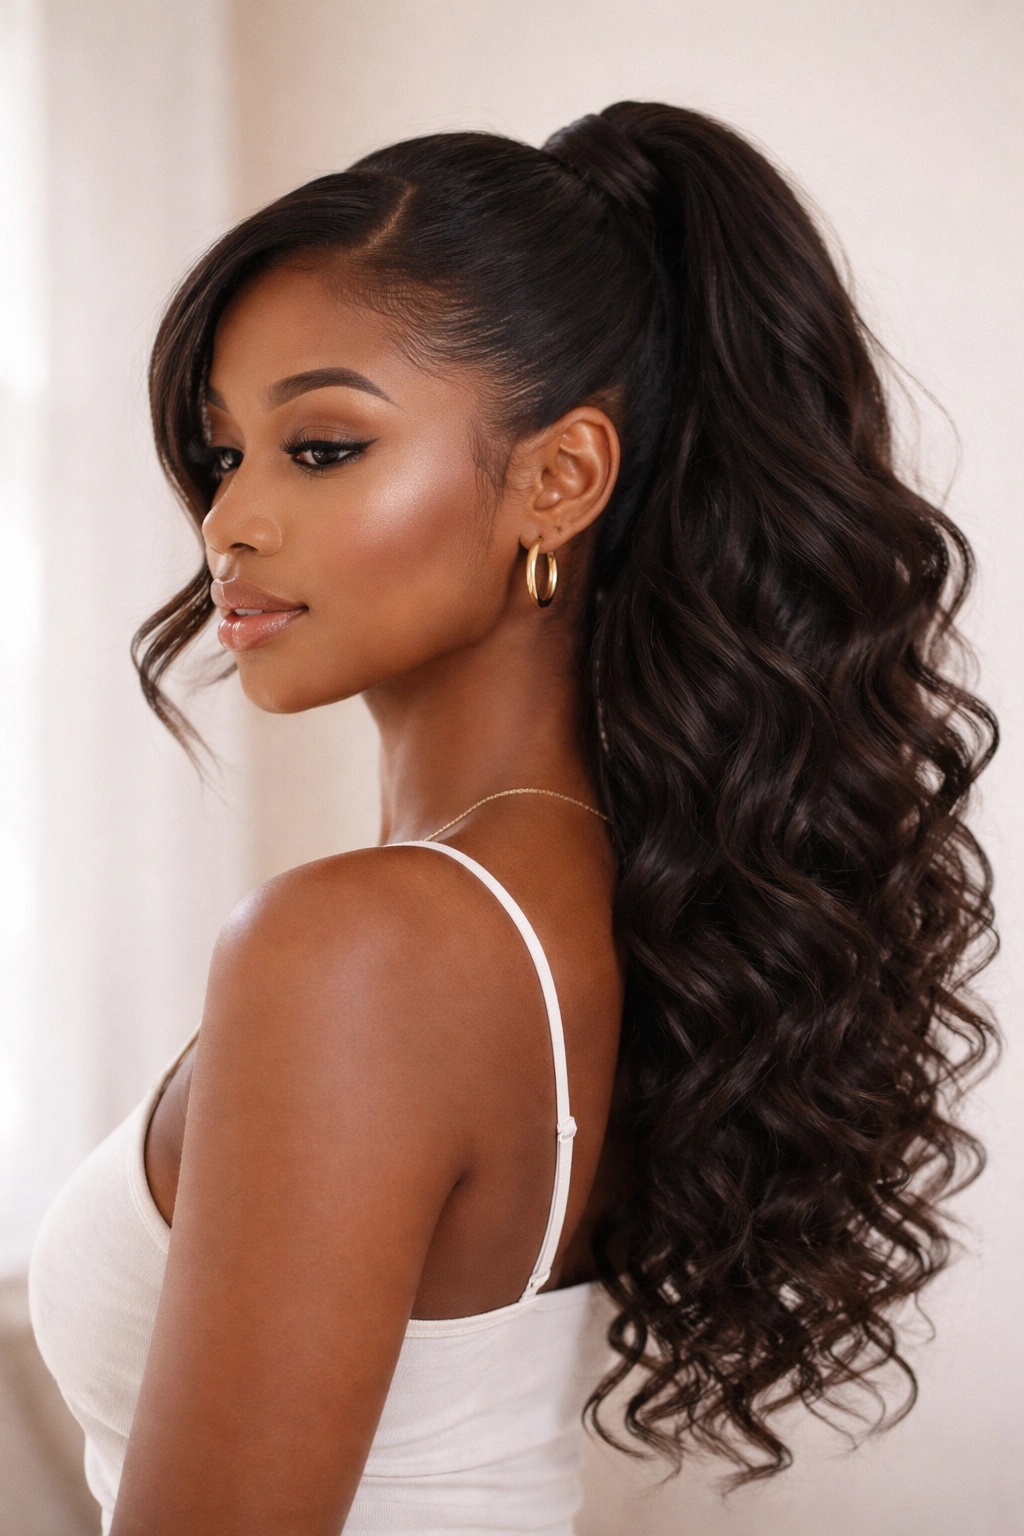
7. Side Ponytail with Soft Waves
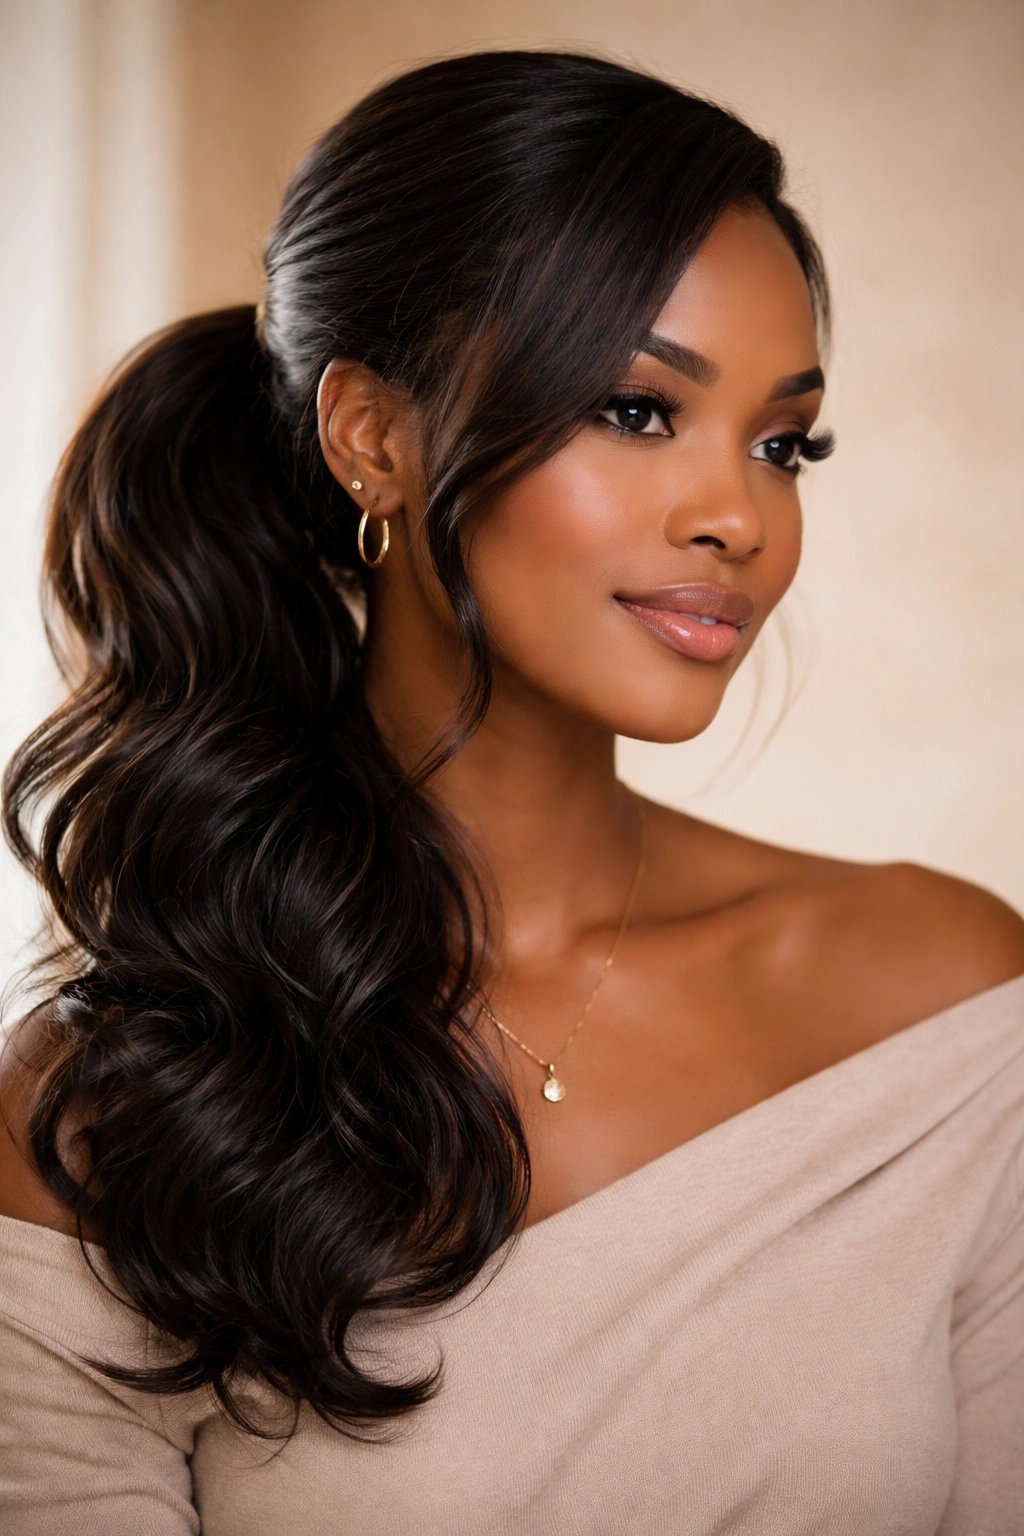
Soft waves in a side ponytail create romance and movement while keeping hair off your face and neck. This style sits between sleek and textured—it’s refined enough for dinner or a date, casual enough for weekend plans. Waves show beautifully against the side-swept positioning of a side ponytail.
Creating Soft, Lasting Waves
Waves start with slightly damp hair and a curl-defining product. Apply a wave cream or mousse to towel-dried hair and blow-dry while directing your hair to one side. Alternatively, use a curling iron or wand to create loose waves throughout, working in large sections and leaving the ends looser than the mid-lengths for that effortless vibe.
Gathering Waves Into a Side Ponytail
- Create soft waves throughout your entire head using your preferred method
- Allow waves to cool completely if you used heat tools—this sets them
- Gather hair to your preferred side, securing with a gentle elastic
- Don’t smooth the ponytail tightly; let your waves maintain their soft, undefined quality
- Use your fingers to gently separate waves and create volume around the base of the ponytail
Insider note: Waves last longest when you skip the brush once they’re gathered. Your fingers create definition without disrupting the wave pattern. A light hairspray applied to the gathered ponytail extends the wave life another day or two.
8. Bubble Ponytail (Side)
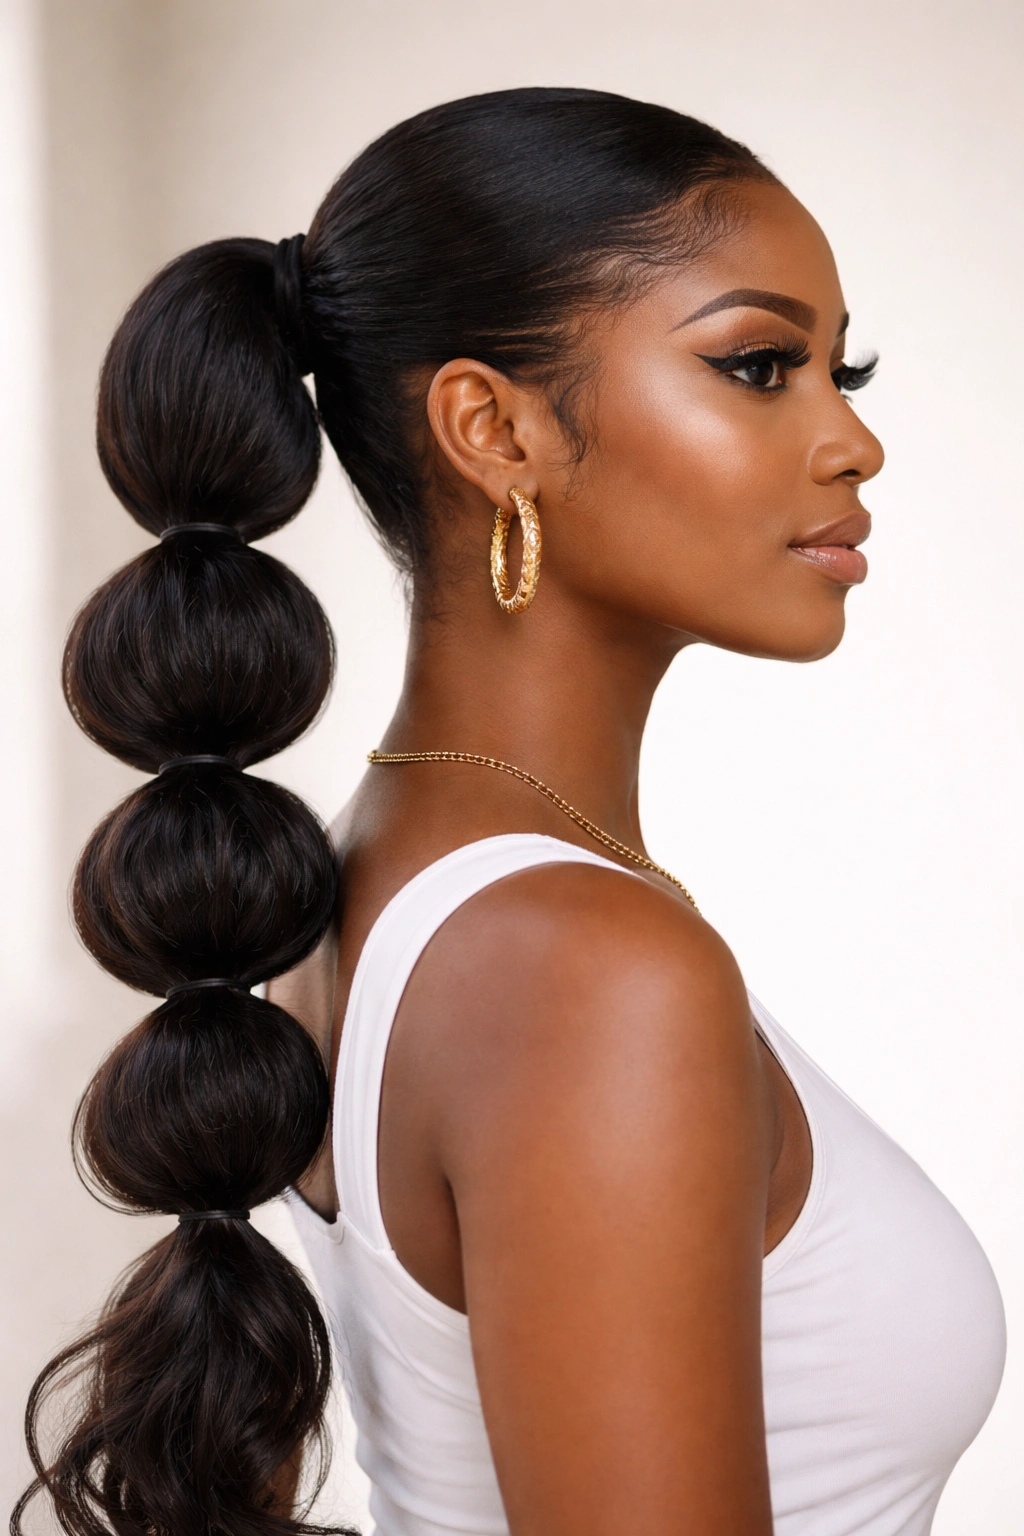
A bubble ponytail—sometimes called a stacked ponytail—is pure fun while remaining entirely practical. Instead of one gathered section, you create multiple sections down the length of your hair, securing each with its own elastic. When positioned to the side, bubbles create playful volume and visual interest that catches eyes.
The Bubble Ponytail Technique
A bubble ponytail starts with one initial side ponytail secured at your preferred height. Secure a second elastic a few inches below the first. Gently pull the hair between the two elastics outward and upward, creating a bubble of volume. Repeat this down the length of your ponytail, creating as many bubbles as your hair length allows.
Styling Bubble Ponytails on Your Terms
- Start with a sleek or smooth side ponytail as your base
- Secure the first elastic, then add a second elastic a few inches below
- Gently pull the hair between elastics upward and outward—this creates the bubble
- Add a third elastic and repeat, continuing down the length of your ponytail
- Adjust bubble sizes as you go, making them slightly larger toward the bottom for a balanced look
Pro tip: For longer bubble ponytails (six or more bubbles), slightly looser elastics hold their shape longer than tight ones. Silk or satin elastics minimize creasing and look more polished than standard hair ties.
9. Layered Textured Side Ponytail
A layered, textured side ponytail embraces multiple textures and lengths happening at once—which is the reality for most Black women with natural hair. Rather than trying to make everything uniform, a layered side ponytail celebrates dimension and the natural variation in your hair.
Creating Intentional Texture Layers
Texture layers happen naturally when you don’t try to force all your hair into one smooth section. Gather your hair into a side ponytail without over-brushing or over-smoothing. The natural texture of your curls, coils, and waves will create layers and dimension automatically. You’re not creating texture; you’re allowing it.
Building a Purposefully Layered Look
- Section your hair into a side ponytail without aggressively brushing
- Leave some curls and coils slightly loosened and visible around the gathered base for dimension
- Use your fingers—not a brush—to arrange the ponytail, separating larger sections to show texture
- Lightly fluff sections as you go, creating volume where you want emphasis
- The goal is a full, textured look that shows every beautiful variation in your hair
Worth knowing: This style actually photographs better and looks more interesting than perfectly uniform ponytails. The texture variation is your hair being itself—that’s the beauty of it.
10. Side Ponytail with Accessories and Cuffs
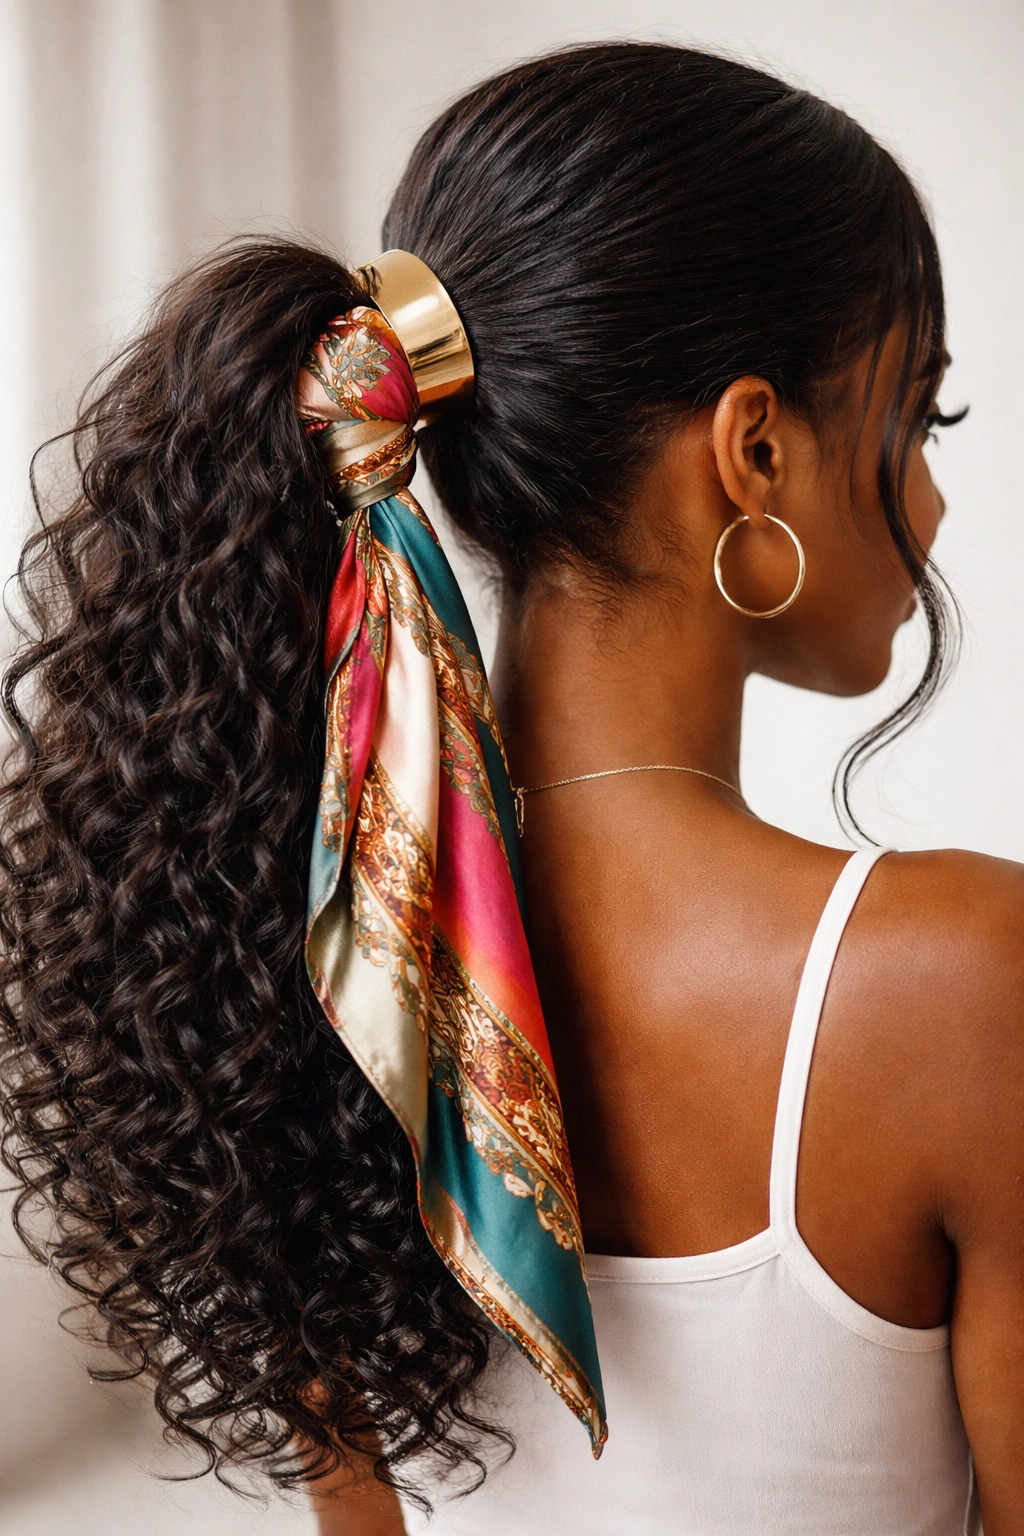
Accessories completely transform a side ponytail from basic to intentional. Metal cuffs, hair jewelry, decorative elastics, silk scarves, and beads instantly elevate even a simple side ponytail. Accessories are also functional—they catch light, add visual interest, and make your style feel complete.
Choosing Accessories That Complement Your Style
Metal cuffs in gold, silver, rose gold, or copper work with virtually any aesthetic. Hair jewelry (decorative pieces that wrap around the base of your ponytail) adds dimension. Silk scarves wrapped around the base or through the ponytail add color and texture. Beads threaded onto small braids within your ponytail create detail. The key is choosing one or two statement pieces rather than overwhelming the style.
Layering Accessories Effectively
- Secure your side ponytail with a basic elastic first
- Slide a metal cuff over the elastic, positioning it where it catches light
- Optional: wrap a silk scarf around the base, covering the elastic
- If adding a decorative hair tie or jewelry piece, position it slightly below the cuff for visual separation
- Keep accessories toward the back rather than the front for a balanced look
Pro tip: Metal cuffs specifically designed for ponytails stay put throughout the day and don’t slip. Invest in one or two quality pieces rather than several cheap ones—they’ll look noticeably more polished and last longer.
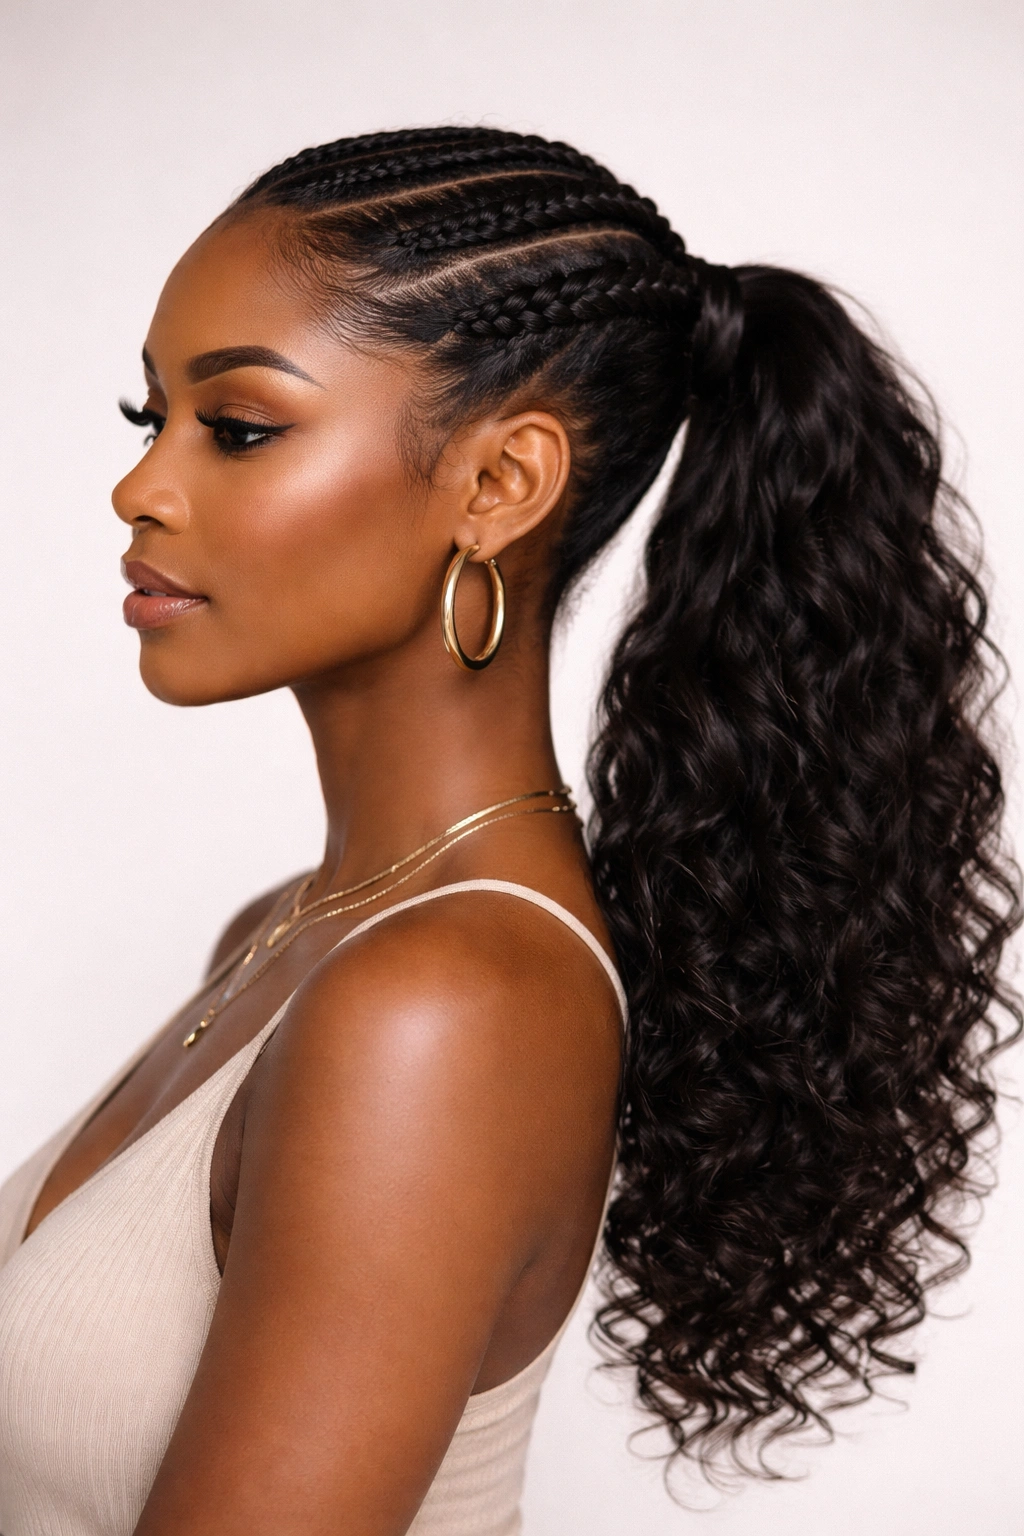
11. Goddess Braids Into Side Ponytail
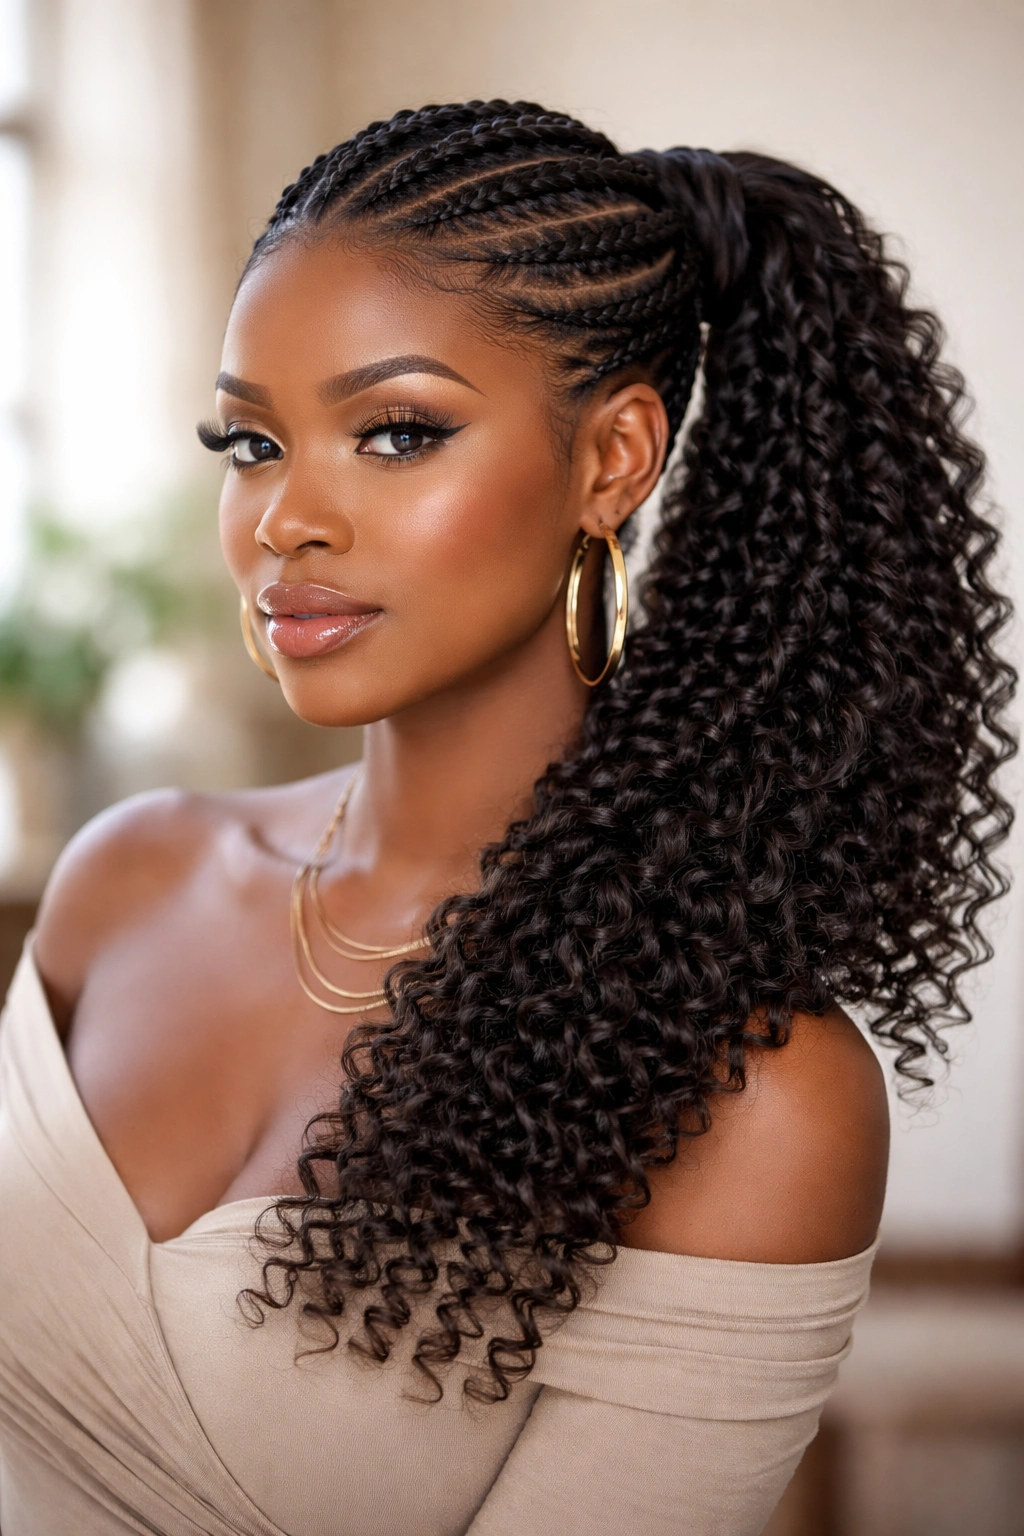
Goddess braids are thicker, fuller versions of traditional braids that sit slightly raised on the scalp. They’re gorgeous on their own but become absolutely show-stopping when they feed into a side ponytail. This style looks intricate and high-effort while actually being quite manageable.
The Goddess Braid Technique
Goddess braids start at the crown and angle across the head. Instead of traditional three-strand braiding, goddess braids often incorporate a subtle lift at the scalp, creating more volume. Create one or two goddess braids on each side of your head, angling them toward your preferred ponytail side.
Flowing Goddess Braids Into a Side Ponytail
- Create two goddess braids, one on each side of your head, angling them toward your preferred ponytail side
- Braid each about halfway down the head, then release and let the remaining hair fall naturally
- Gather all hair into a side ponytail—the released ends of the goddess braids plus all remaining hair
- The braids create an intricate frame for your face while the ponytail keeps everything manageable
- Gently separate sections of the braids to enhance their texture and dimension
Insider note: Goddess braids last longest when you start with hair that has some texture or curl already—straight hair tends to slip out faster. A light texturizing spray before braiding helps with grip.
12. Half-Up, Half-Down Side Ponytail
A half-up, half-down side ponytail gives you the best of both worlds—the polished control of a gathered style with the freedom and length of down hair. It’s soft and romantic while still keeping hair off your face. This style works for occasions ranging from casual hangouts to special events.
Balancing Volume in a Half-Up Style
The key to a flattering half-up side ponytail is gathering enough hair to feel intentional while leaving enough down to create fullness. Typically, you’re gathering the top half to two-thirds of your hair. Position the gathered section to the side rather than at the center back for that side-swept elegance.
Creating Your Half-Up Side Ponytail
- Create a deep side part on whichever side you want your ponytail
- Gather the top section of hair (from the crown area) toward your preferred side
- Secure with a soft elastic positioned at ear-level, creating the half-up shape
- Let the remaining hair fall down your back and around your face
- Gently tease or fluff the gathered section for volume, or leave it smooth depending on your vibe
Pro tip: Curling or waving the down section creates a polished look that works for nicer occasions, while leaving it in your natural texture keeps it casual and everyday-appropriate. Either way, this style is effortlessly chic.
Final Thoughts
Side ponytails are the hairstyle that keeps giving—they work with your natural texture, protect your hair from daily manipulation, and look genuinely polished no matter which version you choose. The beauty of these twelve styles is that they span the full spectrum from casual to formal, from high-maintenance to truly low-manipulation protective styling.
What matters most is choosing the version that fits your life right now. If you’re in a protective styling season, lean into the braided and twisted versions. If you want to celebrate your natural curl pattern, go with the voluminous or layered textures. If you need something polished for work or an event, the sleek and wave versions have you covered.
Your side ponytail is also wonderfully adaptable—what works perfectly on a Monday can be refreshed and re-worn through Friday with just a few bobby pins and five minutes in front of the mirror. That’s the real power of a great side ponytail: it works for you, not the other way around.