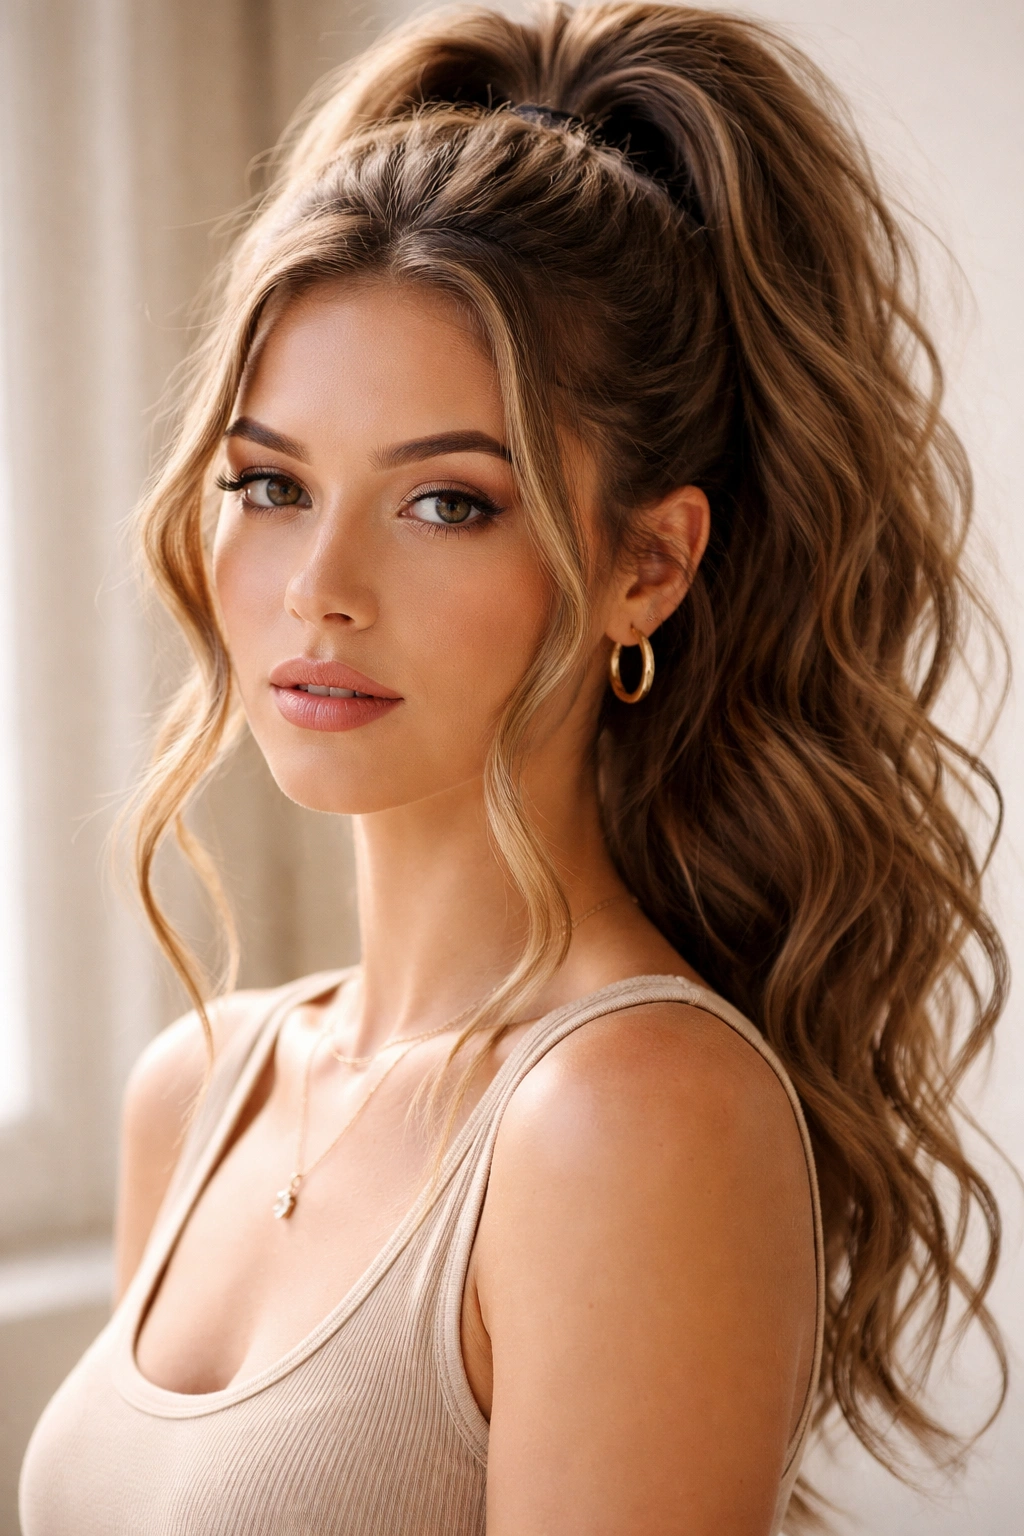
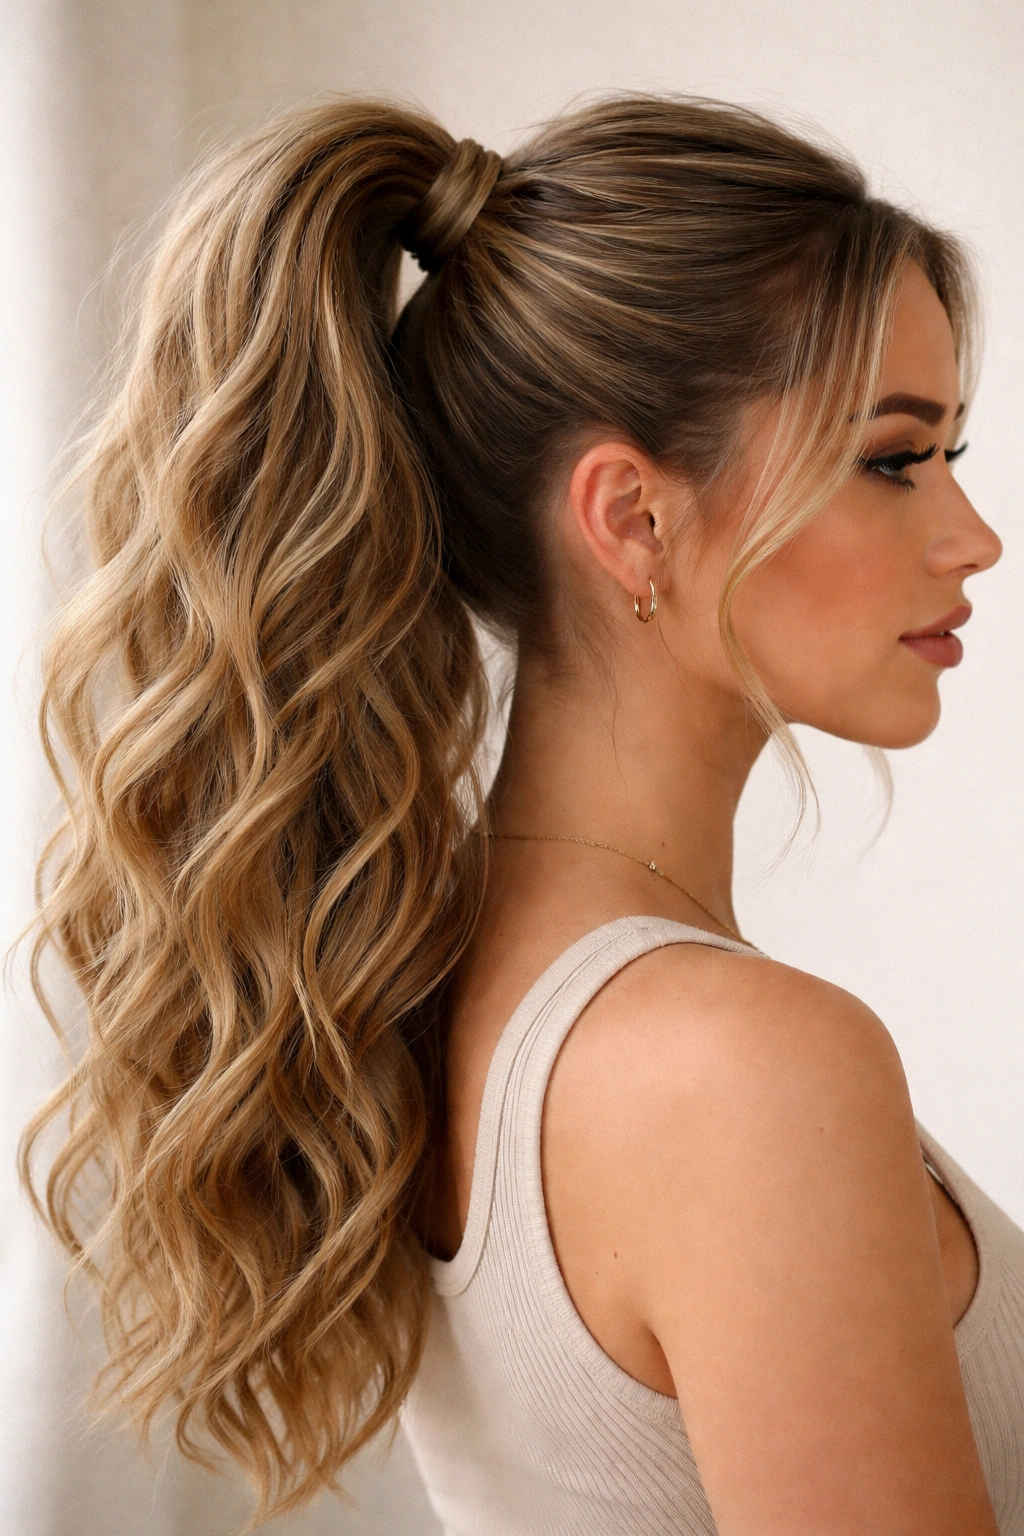
Wavy hair and high ponytails are a match made in styling heaven — but only if you know how to work with your texture instead of against it. A high ponytail that fights your natural waves ends up looking frizzy and flat, while one that embraces and showcases them becomes genuinely stunning. The key is understanding that your waves aren’t an obstacle to a polished ponytail; they’re actually your biggest asset.
Most people with wavy hair default to either slicking everything straight (which takes products and time you might not have) or abandoning the high ponytail altogether. But there’s a whole world of high ponytail styles specifically designed to celebrate wave texture while keeping you looking put-together and intentional. Whether your waves are loose, defined, or somewhere in between, there’s a high ponytail approach that’ll make you feel confident enough to wear it everywhere — from the office to weekend brunch.
The real secret isn’t fighting your waves into submission. It’s choosing ponytail techniques that work with your natural texture, using the right styling products to enhance rather than tame, and understanding which placements and finishes make wavy hair look deliberately styled instead of simply swept up. Once you nail these techniques, you’ll find yourself reaching for high ponytails constantly because they’re genuinely flattering, they keep hair off your face without looking severe, and they take maybe five minutes to create.
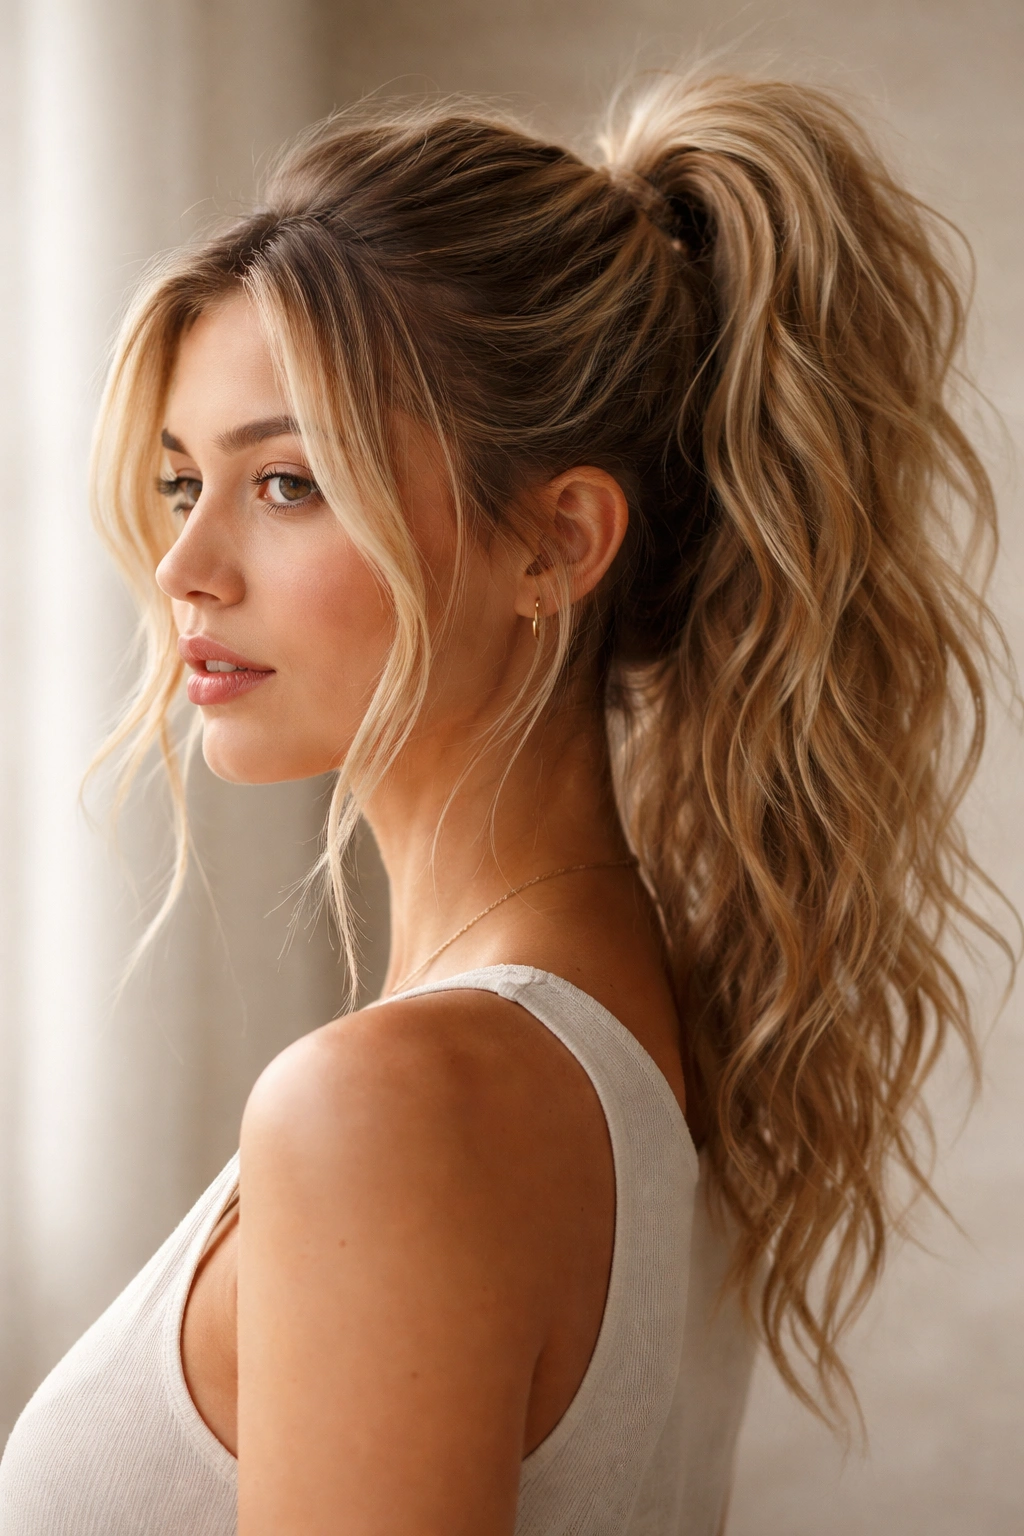
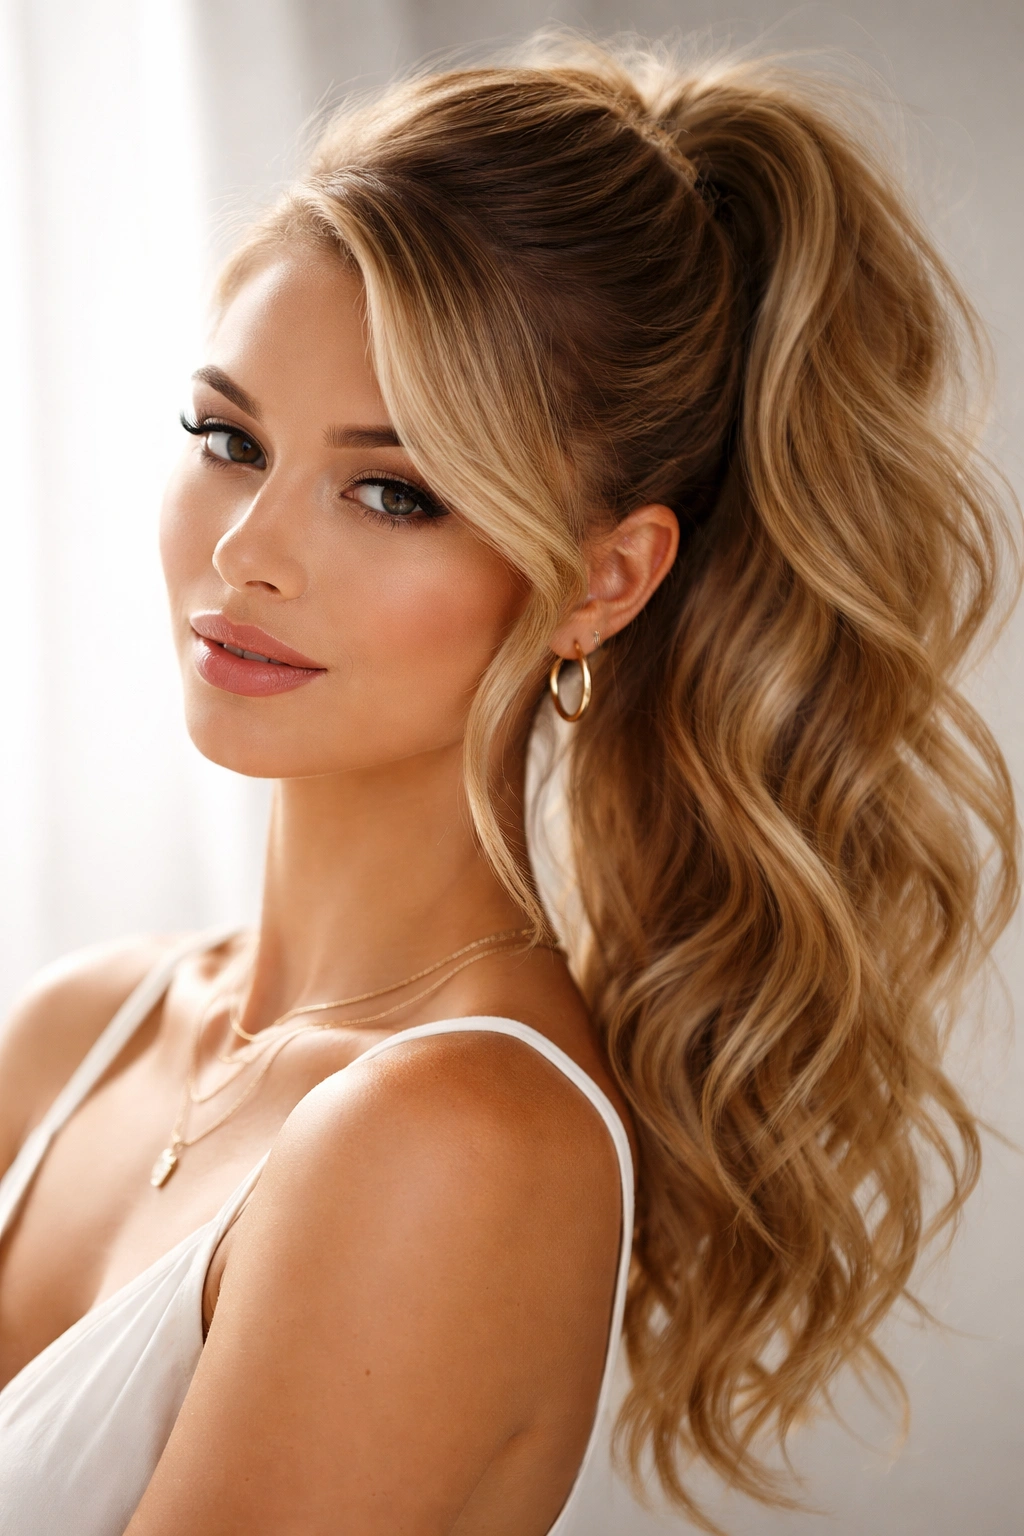
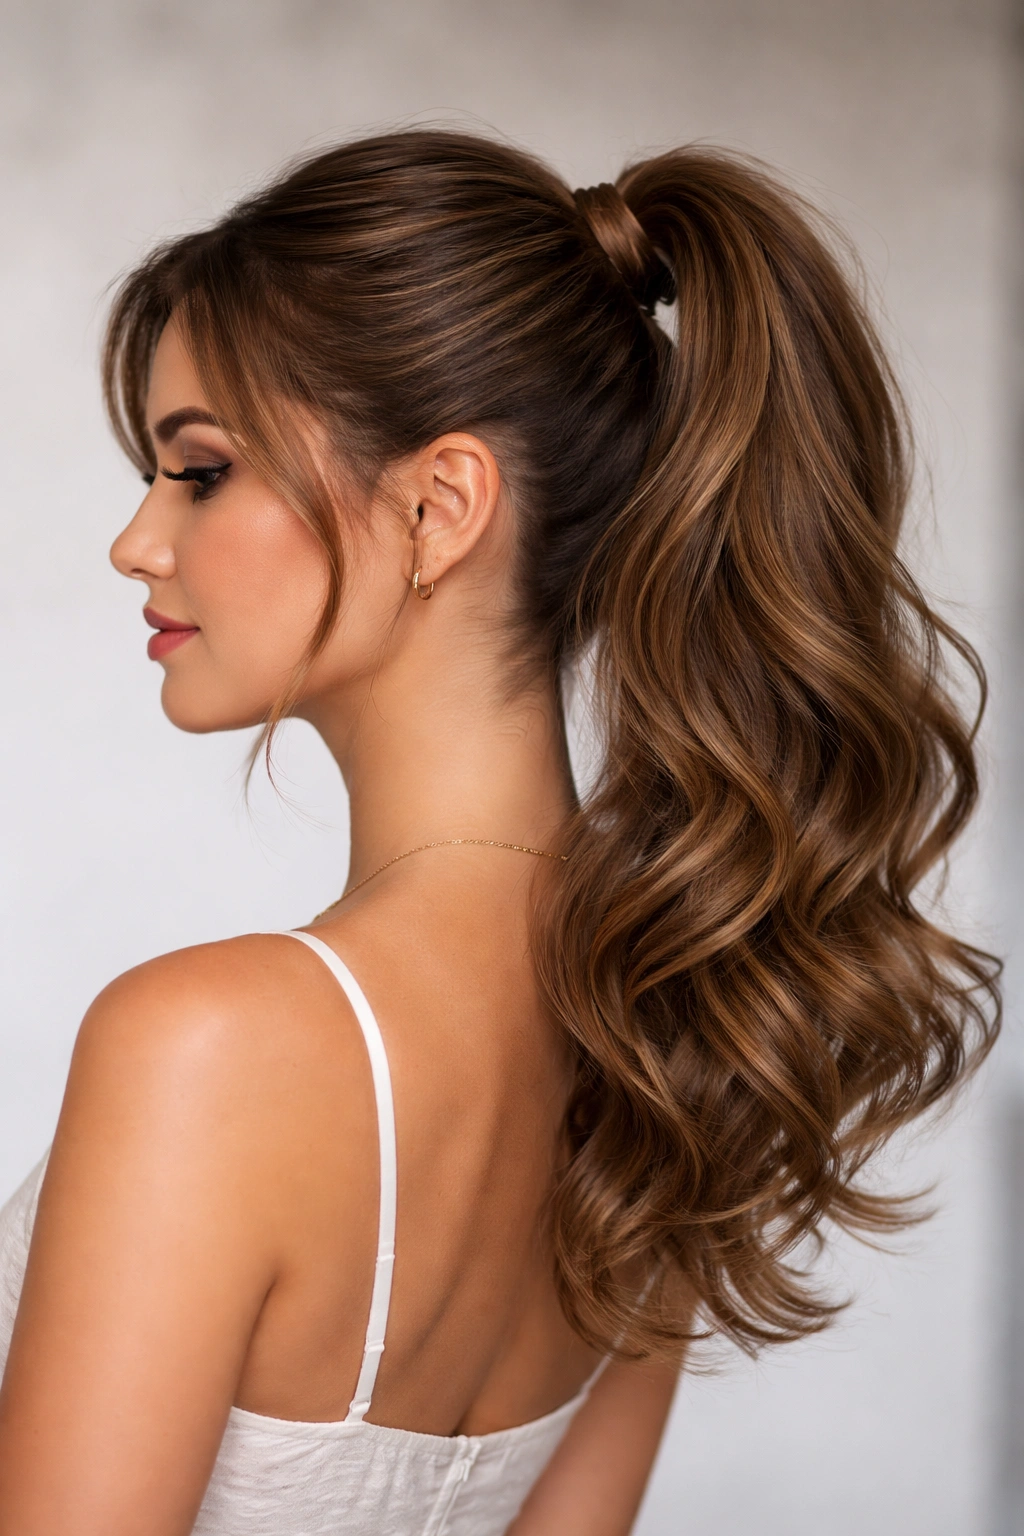
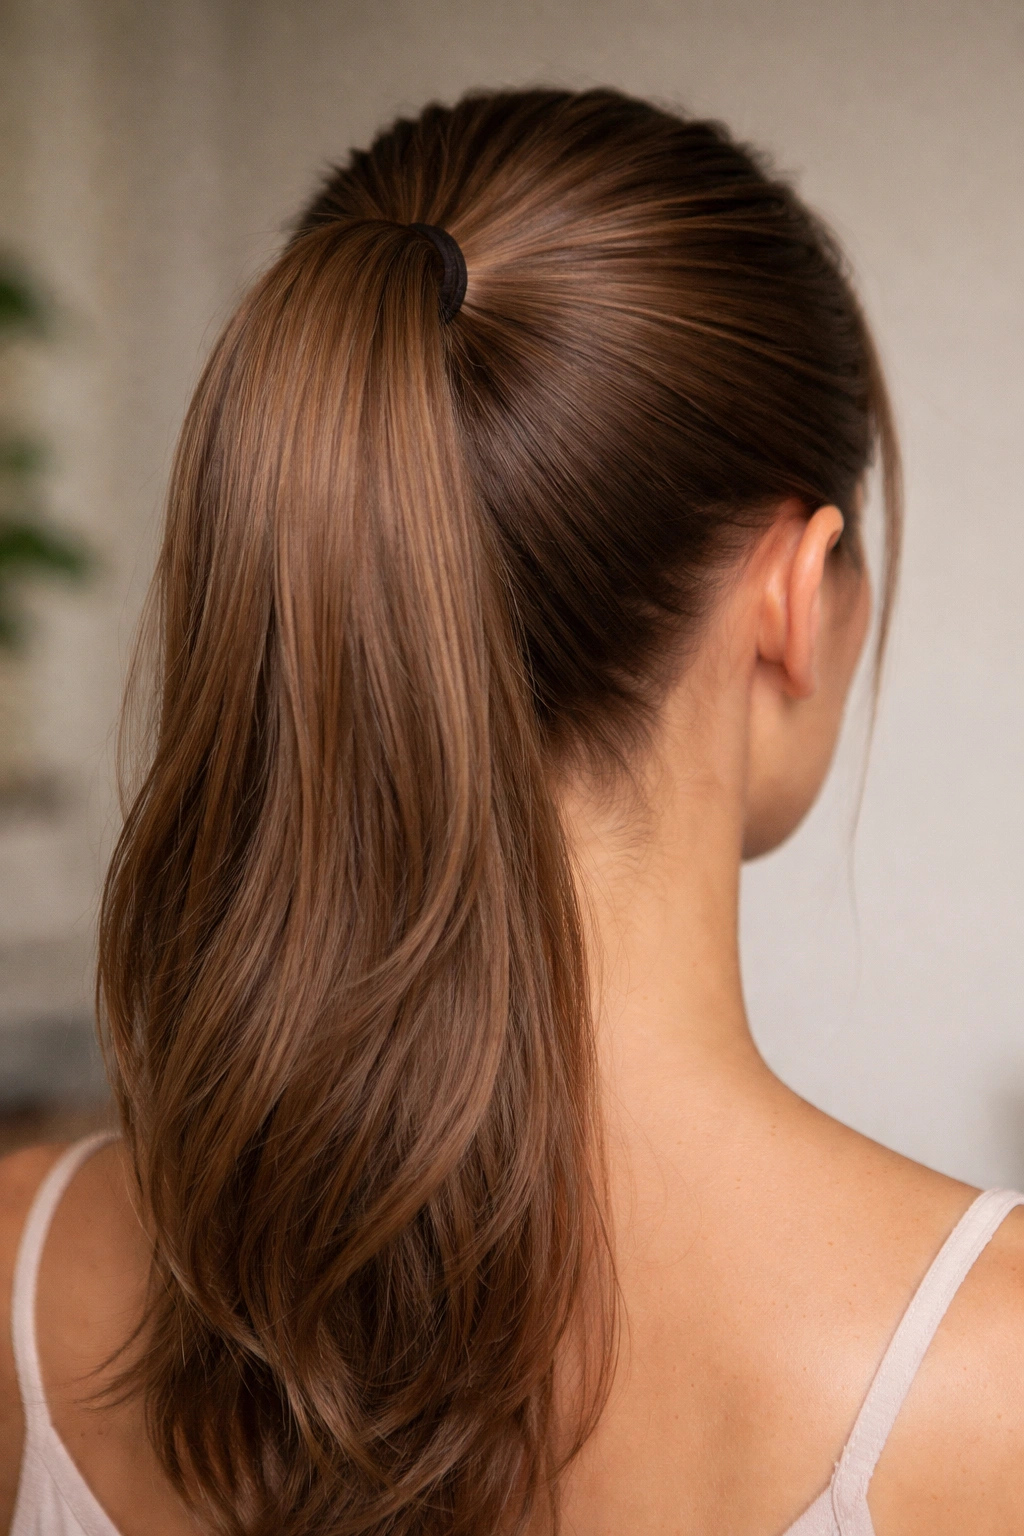
1. The Sleek High Ponytail with Texture
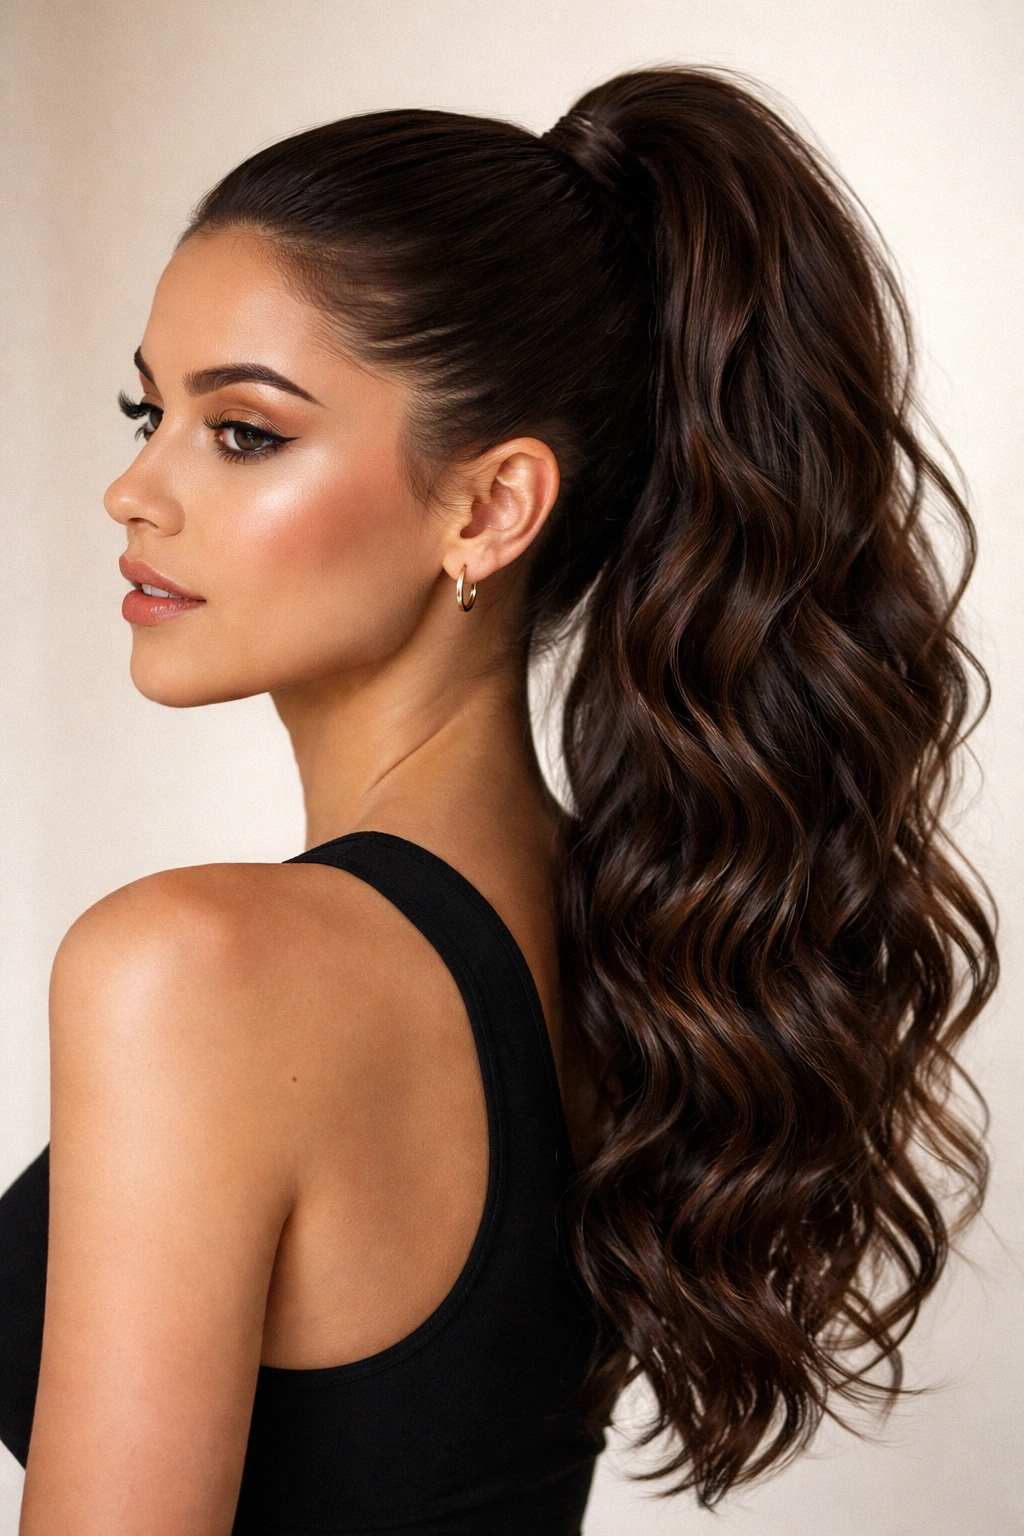
This style walks the perfect line between polished and textured — your waves stay intact and defined while everything is smooth and controlled at the base. It’s the ponytail you wear when you want to look intentional and professional without pretending you have straight hair.
Start by applying a smoothing serum or light gel to your hairline and the crown area only. The goal isn’t to smooth your entire head, just to tame the flyaways and create a clean perimeter around your face. Rough-dry your hair or let it air-dry completely so your waves have their natural definition before you gather them.
How to Execute This Style
Use a medium-hold gel or mousse on just the front sections and crown, working it through with your fingers rather than a brush. This keeps your waves intact while preventing that fuzzy halo. Gather your hair high (roughly two fingers’ width above your ear) and secure with a elastic, then smooth any short pieces around your face with the gel residue on your fingertips. The result is a sleek, controlled base with your full wave texture visible in the ponytail itself.
Why This Works for Wavy Hair
- Waves remain defined and don’t get disrupted by aggressive brushing or teasing
- The smoothed crown creates visual lift without needing to tease or backcomb
- Takes about 4-5 minutes total, including product application
- Holds well throughout the day without requiring multiple touch-ups
- Works equally well with natural waves or waves created with a curling iron
Pro tip: Apply your smoothing product to damp hair and let it dry before gathering the ponytail — the gel will set and hold much better than if you apply it to fully dry hair and immediately secure.
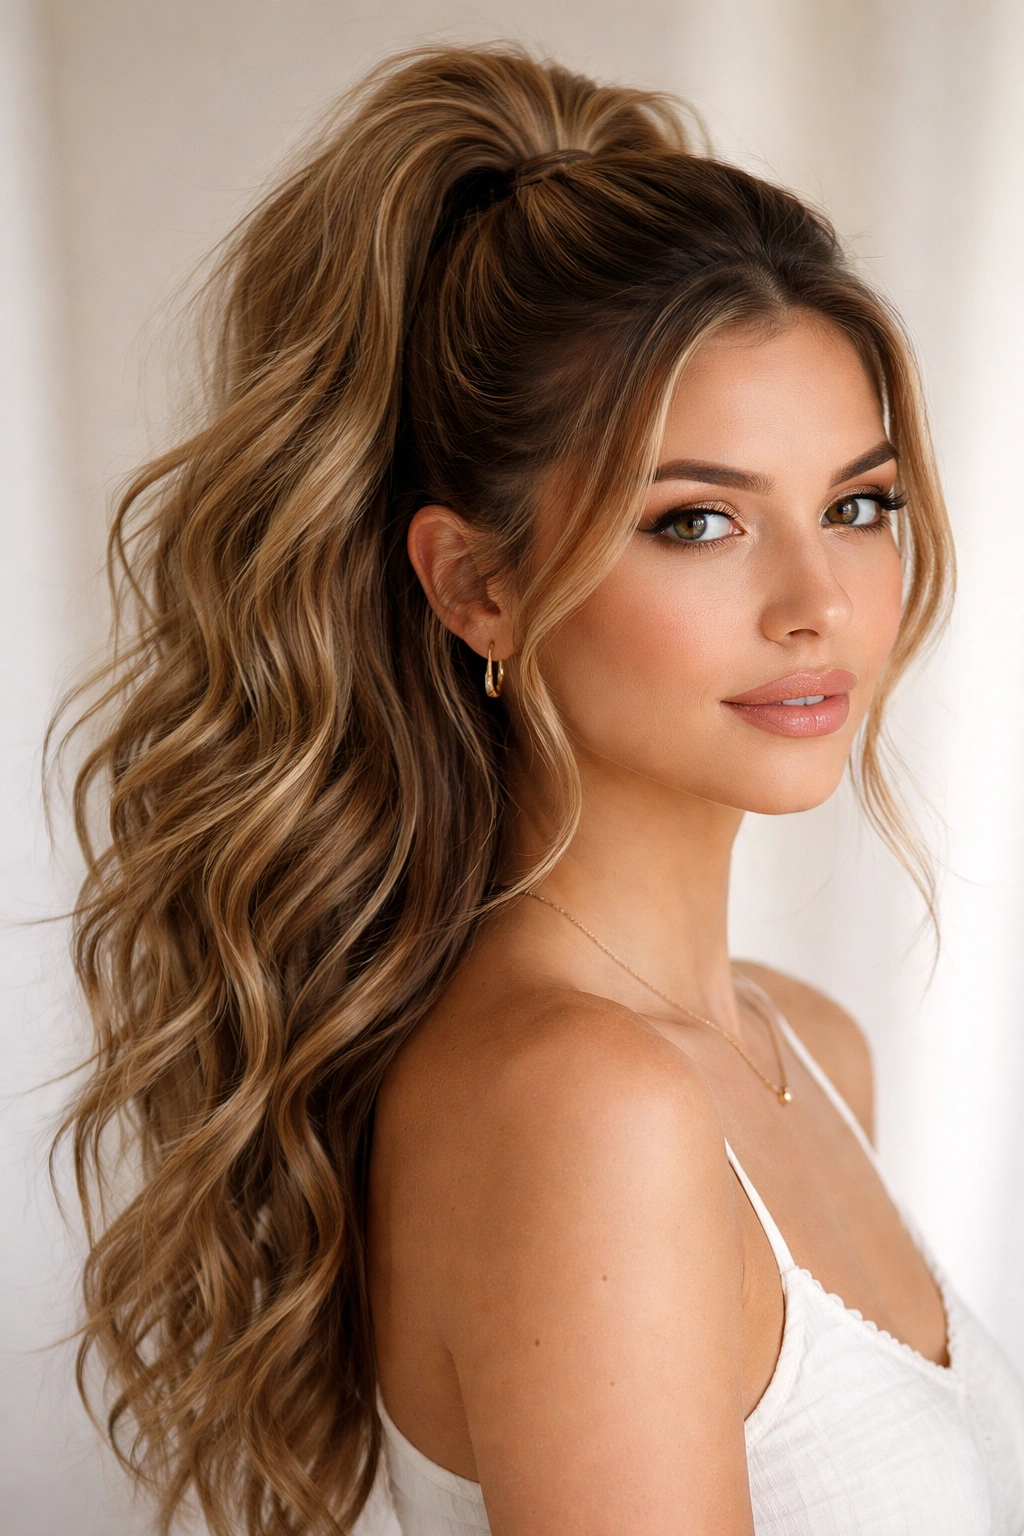
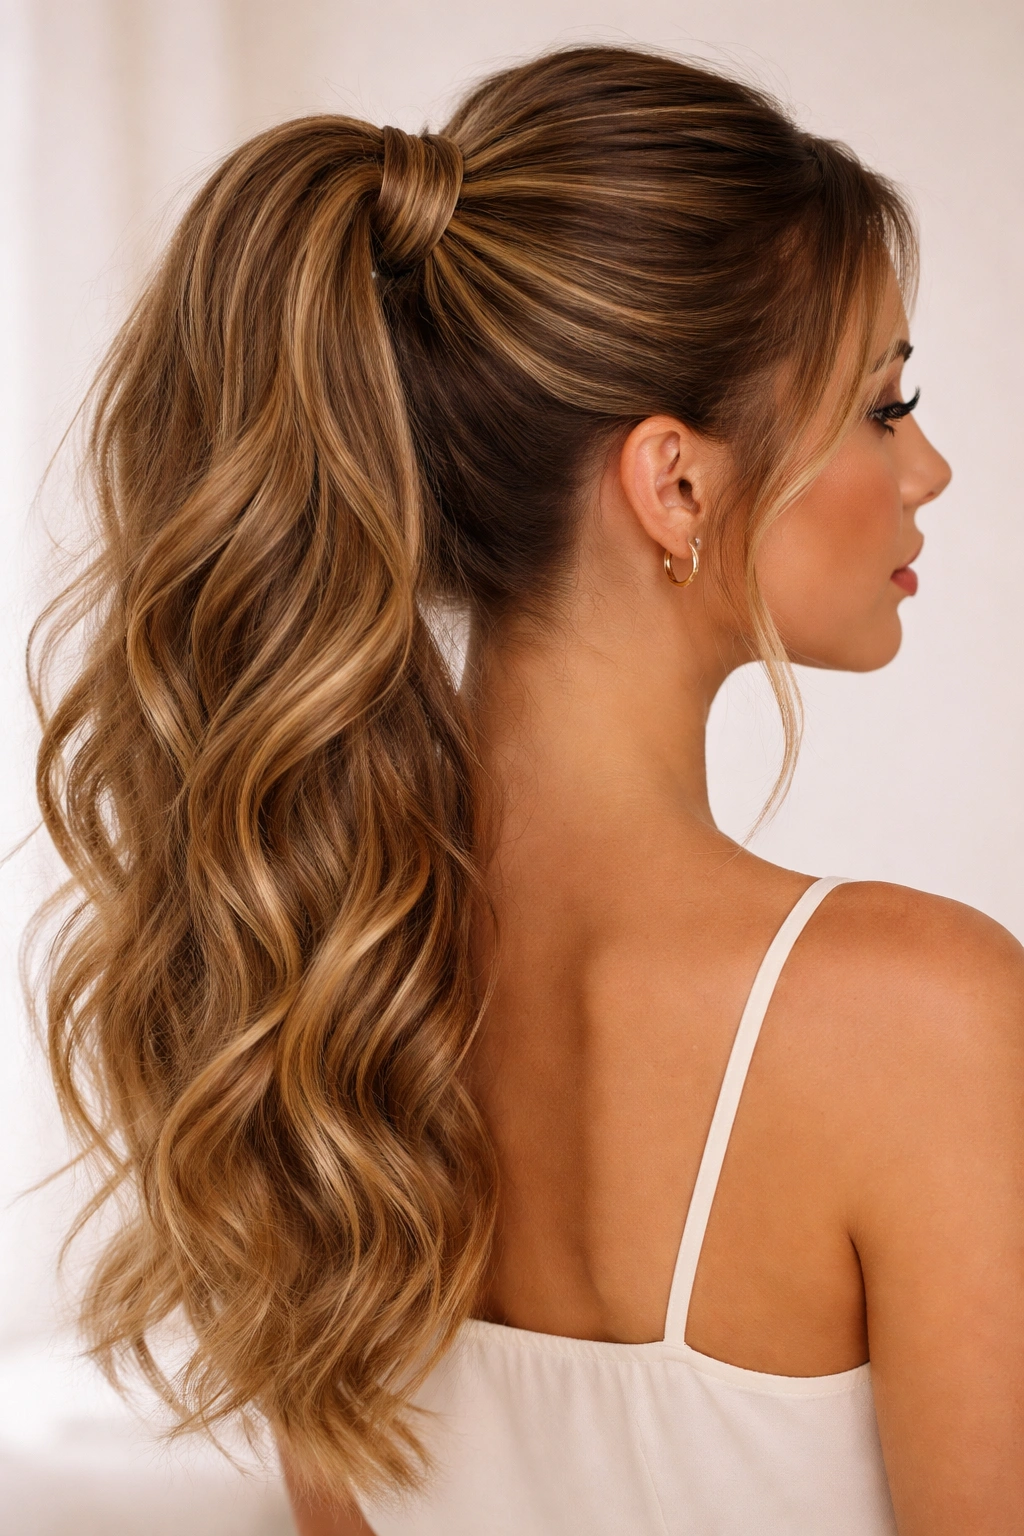
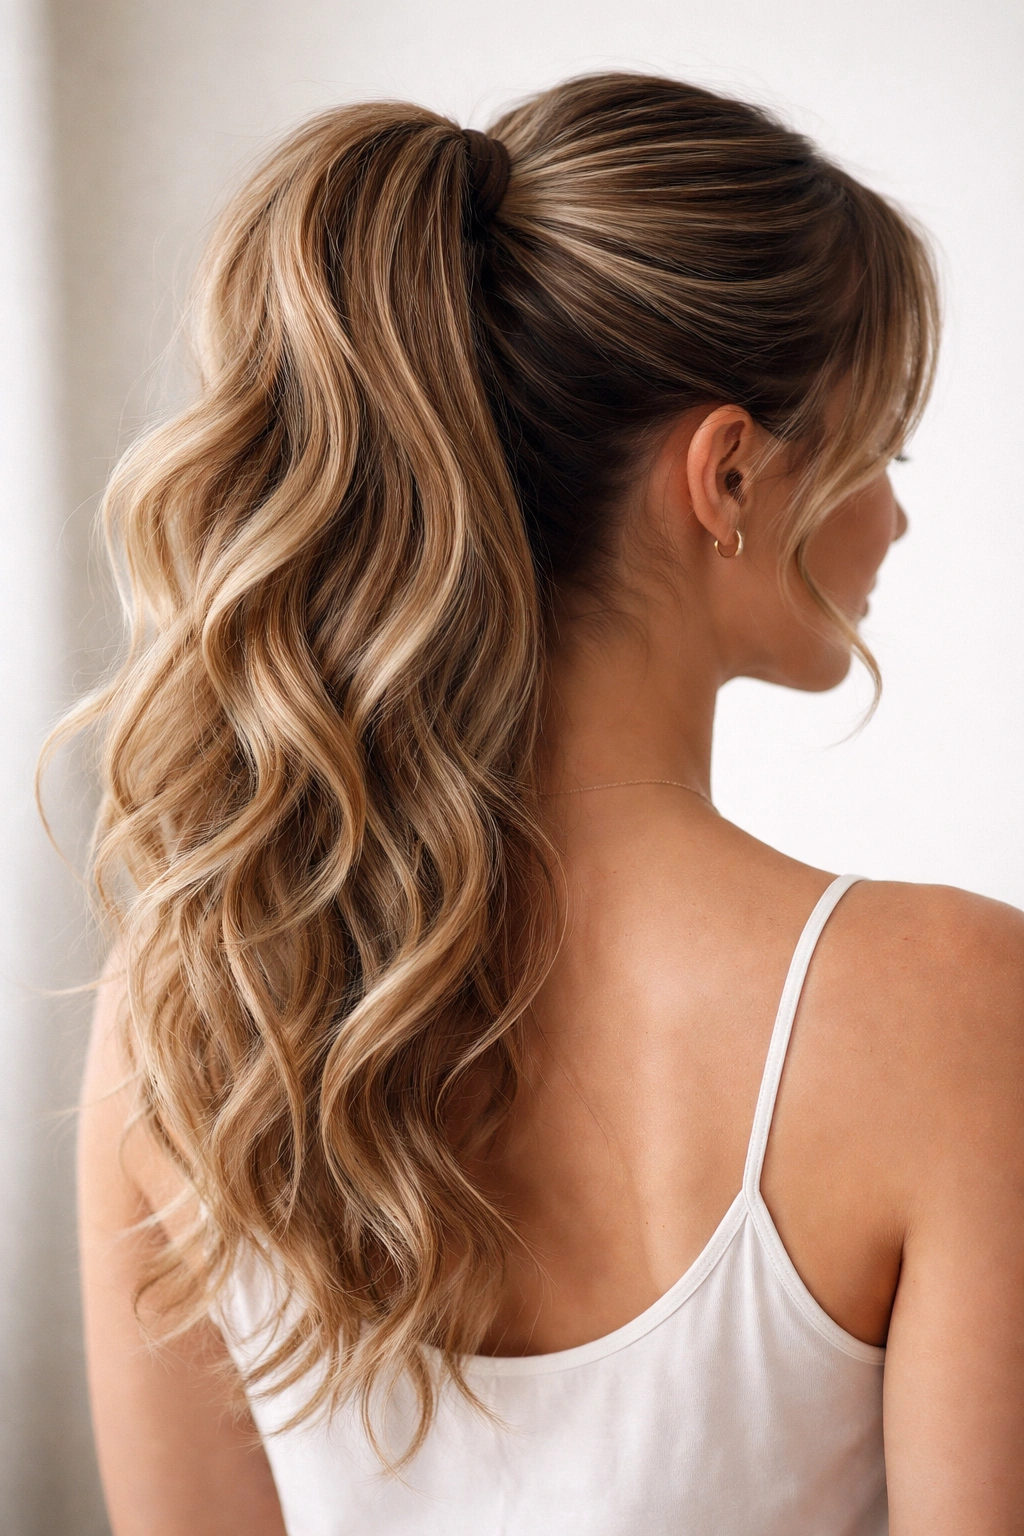
2. The Voluminous High Pony with Wave Emphasis
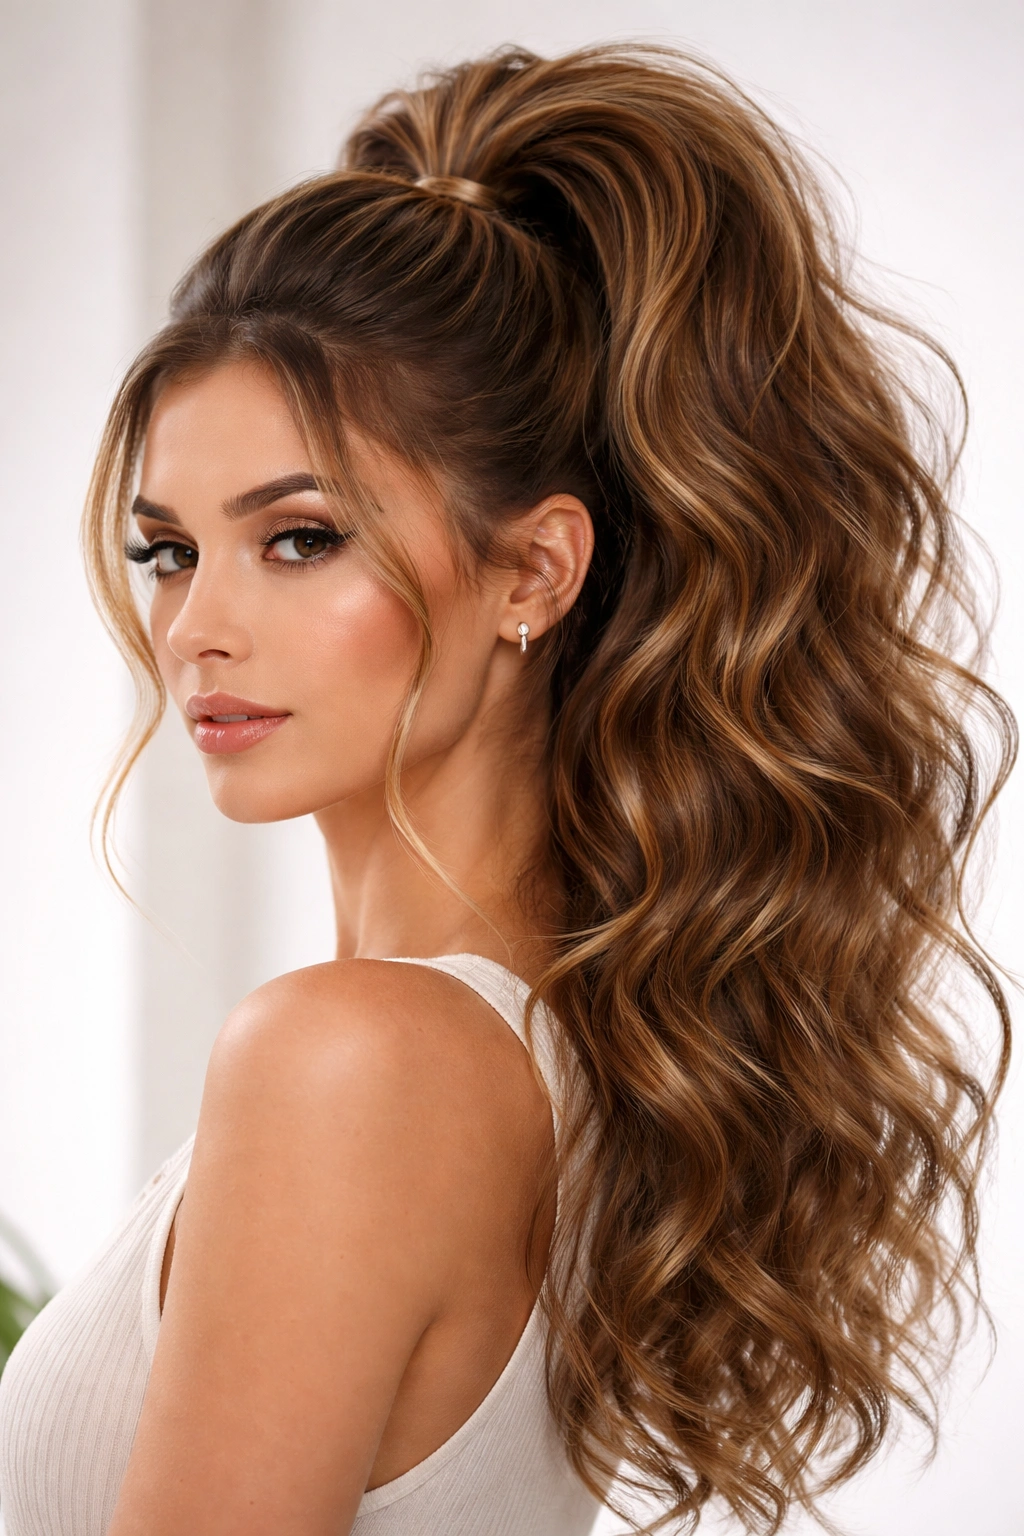
When you want serious height and impact, this style delivers. Instead of minimizing your waves, you’re deliberately amplifying them so the entire ponytail becomes this gorgeous, textured, visibly dimensional shape. It reads as intentional and effortlessly glamorous.
Waves become your volume tool here. Start by adding texture to damp hair with mousse or sea salt spray, then blow-dry while scrunching sections upward. Don’t smooth anything — you want maximum wave definition. Once completely dry, gather at the crown (even higher than you normally would) and secure loosely.
Building the Volume
After securing, gently tease the underside of your ponytail with a fine-tooth comb, focusing on the back third where it’s least visible. This creates internal structure and makes the whole ponytail appear thicker and taller. Then use a texturizing spray directly on the outer surface of the ponytail, scrunching as you spray. The spray gives wave texture extra grip and definition.
Key Success Points
- Blow-dry with movement, not against your natural wave pattern
- Gather loosely at first, then tease internally before tightening the elastic
- Use texturizing spray generously — don’t worry about over-applying
- Keep your ponytail positioned high enough that tousled waves look intentional, not messy
- This style works best on second or third-day hair when texture is established
Worth knowing: The looser you gather initially, the easier it is to tease without creating a frizzy mess. You can always tighten the elastic after teasing if you need it more secure.
3. The Textured High Ponytail with Face-Framing Waves
This style keeps some of your best, most defined waves down to frame your face while gathering the rest into a high ponytail. It’s romantic without being juvenile, polished without being severe. It works on anyone with wavy hair, regardless of wave pattern.
The magic is in intentional placement. Before gathering, identify your two best, most defined waves on each side of your face (usually about 1-2 inches wide per side). Secure these aside with a small clip, then gather everything else into your high ponytail. Once the ponytail is secure, release the framing sections and let them fall naturally.
Styling the Frame
The framing waves should look like they happened naturally, not carved out. If they’re too separate, they’ll read as intentional in a way that feels staged. Let them mingle slightly with the ponytail at the base while still being visibly apart from it. A light texturizing spray or sea salt spray on just the face-frame sections adds definition and ensures they hold their wave shape throughout the day.
Making It Work
- Works best when your side waves are already well-defined before creating the ponytail
- The ponytail itself should sit high and feel full, so the framing sections look deliberate by contrast
- Takes about 6-7 minutes because you’re being selective with which sections to gather
- Pairs beautifully with minimal makeup because the framing waves draw attention to your face
- Holds all day without touching up, though the framing sections may relax slightly
Insider note: If your natural side waves don’t cooperate, lightly curl just the sections you’re framing with a one-inch barrel curling iron before gathering the rest. This ensures they look intentional and defined.
4. The Braided High Ponytail with Waves
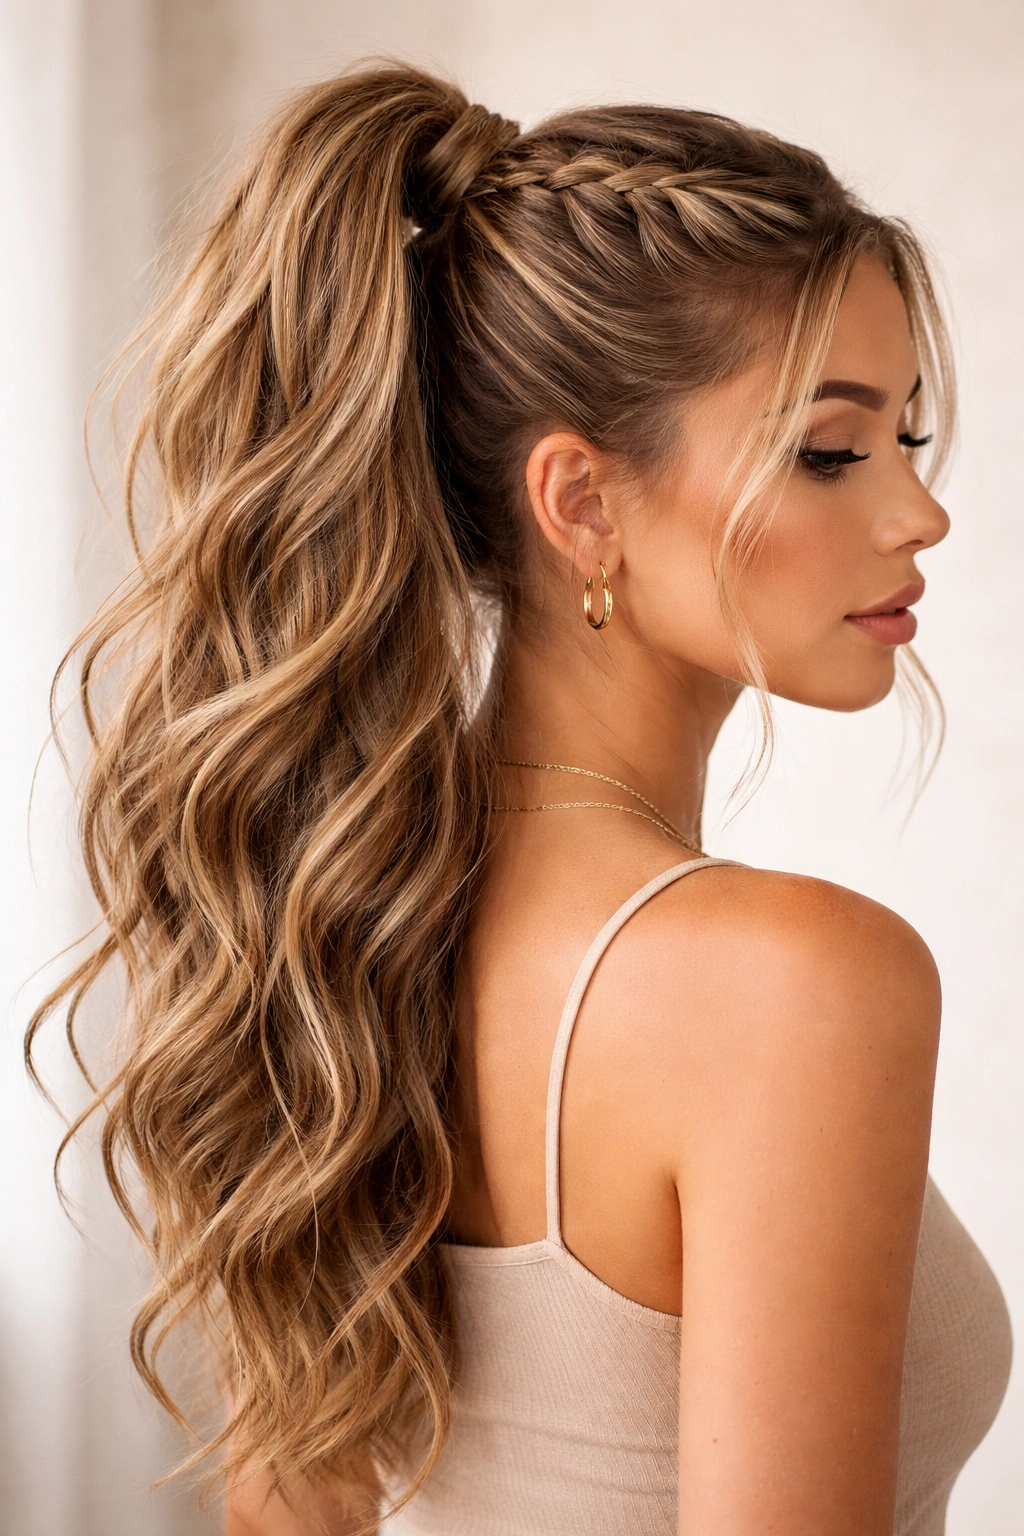
A braid woven into or around your high ponytail adds intricate visual interest that works beautifully with wave texture. The braid and the waves create this dynamic contrast between structured and loose that feels sophisticated.
Gather your hair into a high ponytail and secure loosely. Then, taking a small section from the underside of the ponytail (close to the elastic), create a three-strand braid running down the center of the ponytail. The braid doesn’t need to be tight — actually, a slightly loose, textured braid looks better against wavy hair. Secure the end of the braid with a small elastic or bobby pin tucked into the waves.
Braid Variations
You can braid just one section down the middle, or create multiple thin braids running parallel for a more elaborate look. Alternatively, wrap a thin braid around the base of the ponytail like a crown, securing it with bobby pins and letting the waves fall freely below. This approach is especially striking if your braiding skills are strong and you want maximum visual impact.
Why Waves Enhance This Style
- Braids look less rigid and severe when they’re surrounded by textured waves
- The wave texture helps disguise imperfect braiding because everything has natural variation
- You can braid loosely and it still reads as intentional thanks to your wave texture
- Waves actually grip the braid slightly, making the style hold better throughout the day
- The contrast between the braid’s structure and the waves’ movement is genuinely beautiful
Pro tip: Lightly dampen your ponytail with a spray bottle before braiding — damp hair is easier to work with and produces a tighter, neater braid that still looks lovely with wavy texture.
5. The Messy High Ponytail with Soft Waves
This is the high ponytail for days when you want to look effortlessly beautiful without spending time styling. The key is making it look intentionally messy rather than hastily thrown together — there’s a real difference, and it comes down to where you position it and how you finish it.
Gather your hair into a high ponytail, but leave it intentionally loose and slightly undone. Pull out a few face-framing pieces, then use a texturizing spray on the entire ponytail to enhance your natural wave texture and add some volume. You can also gently tug at sections of the ponytail to loosen it further and create a more relaxed, piecey appearance.
Achieving the Right “Messy”
The distinction between “messy” and “just didn’t try” comes down to intentionality. Your face-framing pieces should be visibly placed, your ponytail should sit at a flattering height rather than randomly placed, and your waves should look enhanced rather than limp. Apply your texturizing spray strategically on the outer sections of your ponytail rather than all over — this creates definition and prevents that undefined, flat look.
Best Practices
- Position the ponytail high enough that loose pieces read as styled, not sloppy
- Leave slightly more hair loose at the base than you think you should
- Texturizing spray is non-negotiable for this style — it’s the difference between intentional and accidental
- Works beautifully on second-day hair when your waves are already defined
- Takes about 3-4 minutes total, making it perfect for rushed mornings
- Pairs well with casual outfits and works for anywhere from brunch to errands
Real talk: The most common mistake is gathering too tightly. A messy high ponytail should feel genuinely loose and relaxed at the base, with pieces framing your face that could almost fall out but are actually secure.
6. The High Ponytail with Side-Swept Waves
Rather than gathering hair straight back from the crown, you’re sweeping everything slightly to one side before gathering — creating an asymmetrical, visually interesting look that’s especially flattering for oval and rectangular face shapes.
Start by blow-drying your waves with more volume on one side of your head than the other. As you gather your ponytail, don’t bring it straight back — instead, sweep it toward whichever side has more volume. Secure it slightly off-center. The result is a high ponytail that has movement and visual interest right from the base, with waves flowing in one direction rather than straight down.
Creating Visual Impact
This style is particularly striking because the side-sweep is visible even from the front — viewers see that your ponytail has intentional direction, which reads as more polished than a centered, straight-back gather. The waves on one side are more visible and prominent, which can actually make your hair appear thicker and fuller. Your face also gets better framing because the swept direction draws the eye in a flattering way.
Styling Considerations
- Works best with loose to medium waves; tight curls can make a side sweep feel too heavy
- The side you sweep toward should match your hair’s natural wave pattern for best hold
- Blow-dry with more volume on the side you’re sweeping toward to make the style easier to create
- A light hairspray on the swept sections helps the ponytail maintain its direction
- Looks especially good paired with side-parted, face-framing waves for a cohesive, intentional appearance
- Takes about 5-6 minutes, including blow-drying time
Styling secret: Before gathering, rough-tease just the crown area to create lift, then smooth the surface gently. This gives you height while maintaining your wave texture and makes the side-sweep appear more deliberate.
7. The Half-Up High Ponytail with Wave Detail
This style splits the difference between a full high ponytail and down waves — taking enough hair from the top half to create a gathered section at the crown while letting the bottom half flow freely in waves. It’s incredibly flattering and works on virtually every face shape.
Gather hair from roughly your temples back, securing just at the crown (not pulling all the way to a full ponytail position). Leave everything below that point down and loose. The key is gathering enough hair that the style reads as intentional — you’re typically taking about 40-50% of your hair, not just a thin section from the very top.
Creating Definition
Lightly texturize the gathered section at the crown with a sea salt spray or texturizing product so it matches the texture of the waves flowing below. This creates visual cohesion and prevents the gathered section from looking separate and stark. You can also tease the underside of the gathered section gently for subtle lift that makes the whole style appear more dimensional.
Why This Works
- The gathered section keeps hair off your face and shoulders without covering up your best wave texture
- Works beautifully for both casual and professional settings
- Takes only about 3-4 minutes to create
- Looks flattering on all face shapes because it provides framing without being too severe
- The wave texture below the gathered section gets to shine while the top stays controlled
- Easier to achieve than a full ponytail because you’re working with less hair in the gathered section
Worth trying: Add a thin braid running through the crown gather, or wrap a small section of hair around the elastic to hide it — these details elevate the style from simple to intentional without significantly increasing styling time.
8. The Twisted High Ponytail with Wavy Texture
Instead of a traditional three-strand braid or a simple elastic gather, you’re creating twists that run up through your ponytail or around its base. Twists offer a sophisticated, polished look that’s easier to execute than braids and works beautifully with wavy hair texture.
Gather your hair into a high ponytail and secure. Then, take two thin sections from the base of the ponytail and twist them around each other, wrapping the twist around the elastic and securing it with bobby pins. Alternatively, you can create the twist first (taking hair from the crown area down) and then gather the remaining hair into the ponytail — both approaches work.
Execution Details
If you’re creating twists before gathering: take two inch-wide sections from your crown (on each side) and twist each section down to about ear level, then bring all hair together into your high ponytail gather. The twists will frame your face and add sophistication to your crown. If you’re twisting after gathering: create two twists from the base of your already-secured ponytail, wrap them around the elastic, and pin securely. This approach is faster and works better when you’re styling on the go.
Advantages for Wavy Hair
- Twists have a softer, less rigid appearance than braids, which pairs beautifully with wave texture
- Wavy hair actually helps disguise slightly imperfect twists because the texture provides natural variation
- Takes less skill to execute neatly than a braid, but looks equally sophisticated
- The twists add visual interest and intentionality without flattening or disrupting your waves
- Extremely secure once pinned — holds all day without touch-ups
- Works for office, events, and casual outings
Pro tip: Lightly dampen your hair before creating twists — damp hair holds twists better and creates a tighter, neater appearance that still looks lovely with wavy texture.
9. The High Ponytail with Wrap Detail and Waves
You’re gathering a high ponytail as usual, then wrapping a thin section of hair (or a complementary accessory) around the base elastic multiple times to hide it and create visual sophistication. This simple detail completely transforms an ordinary ponytail into something polished and intentional.
After securing your ponytail with an elastic, take a thin 1-inch section from underneath the ponytail. Wrap this section around the elastic 2-3 times, covering it completely, then secure the end with a bobby pin tucked underneath so it’s invisible. The wrapped section should be snug enough to stay in place but loose enough that it doesn’t compress or distort the ponytail itself.
Alternative Wrapping Methods
Instead of using hair, you can wrap a thin silk ribbon, a metallic cord, or a velvet ribbon around the elastic several times. This adds a subtle luxury element and allows you to coordinate with your outfit. Wrap it around 2-3 times for a polished look that doesn’t feel overdone. Secure the ribbon end with a bobby pin tucked behind the wrap so it’s completely hidden.
Why This Detail Matters
- Eliminates the visible elastic, which immediately makes any ponytail look more finished and intentional
- Takes literally 30 seconds to execute but creates a significant visual upgrade
- Works with any wave texture — the wrap doesn’t interfere with your waves at all
- Appropriate for professional settings, casual outings, and events
- Allows you to introduce a pop of color or texture without overwhelming your style
- Makes even a simple, straight-back high ponytail look polished and designed
Styling hack: If you’re using a hair wrap, lightly spritz the section with hairspray before wrapping so it stays in place longer and doesn’t slip around the elastic throughout the day.
10. The Curved High Ponytail with Wavy Ends
This style involves gathering your hair slightly off-center and directing it to curve or flow to one side rather than hanging straight down. Combined with wave texture, it creates a beautifully dynamic shape that’s visually interesting and surprisingly flattering.
Instead of pulling your hair straight back to the crown center, gather it slightly to one side — maybe an inch or two off-center. Direct the ponytail itself to curve in that same direction as it falls. You can achieve this by gathering slightly off-center (which naturally encourages the hair to fall that way) and reinforcing it with a light pass of hairspray down one side of the ponytail.
Creating the Curve
Blow-dry your hair with more volume on the side opposite the direction you want the ponytail to curve — this creates weight and natural gravity that encourages the hair to flow in that direction. Alternatively, you can use a large-barrel curling iron on just the outer sections of your dried hair before gathering, curling them in the direction you want them to flow.
Visual Impact
The curve makes your ponytail feel dynamic rather than static. It’s especially flattering for round or square face shapes because the curved direction draws the eye downward and to the side, lengthening the appearance of your face. The wave texture enhances the curve because waves naturally have movement and direction — your straight-haired counterparts would need more effort to achieve what your wavy hair does naturally.
Best Practices
- Position the curve direction based on which side you naturally have more volume
- The curve should feel natural and organic, not forced or dramatically extreme
- Works beautifully with side-parted hair that’s already flowing in one direction
- Takes about 5-6 minutes including blow-dry styling time
- Appropriate for both casual and polished settings
Secret advantage: If you have a face shape you want to lengthen or narrow, choose your curve direction strategically — generally curving away from your face is more flattering than curving toward it.
11. The Sleek-to-Wavy High Ponytail Transition
This style creates intentional visual contrast by keeping the crown and base of your ponytail smooth and controlled while letting the length gradually transition into your full wave texture. It’s sophisticated and modern-looking, with an element of unexpected surprise as it moves from sleek to textured.
The approach requires two product applications. First, use a smoothing serum or light gel to smooth just the crown and the first 2-3 inches of your ponytail (right where you secured it). Blow-dry this section smooth if needed. Then, starting a few inches down from the elastic, gradually introduce more texturizing spray and wave-enhancing product as you move toward the ends. By the time you reach mid-length, your hair should be fully textured with your natural waves on display.
Executing the Transition Smoothly
The key is making the transition from smooth to wavy gradual rather than a sudden change — you want it to feel intentional but not visibly demarcated. Work with your fingers as you apply products rather than a brush, so you’re enhancing texture gradually. The smooth section should feel polished, and the wavy section should feel deliberately textured, with the transition point being somewhat subtle.
Why This Works
- Creates visual interest and complexity that elevates a simple high ponytail style
- The smooth crown and base makes the style feel polished and intentional
- The textured length showcases your wave pattern beautifully
- Works especially well if you have defined waves that are more impressive than your crown volume
- Takes about 6-7 minutes total because you’re using two different product applications
- Appropriate for professional and casual settings
Pro styling tip: This style looks even more polished if you add a subtle braid or twist at the smooth crown section before it transitions to waves — the structured crown detail makes the transition feel even more intentional.
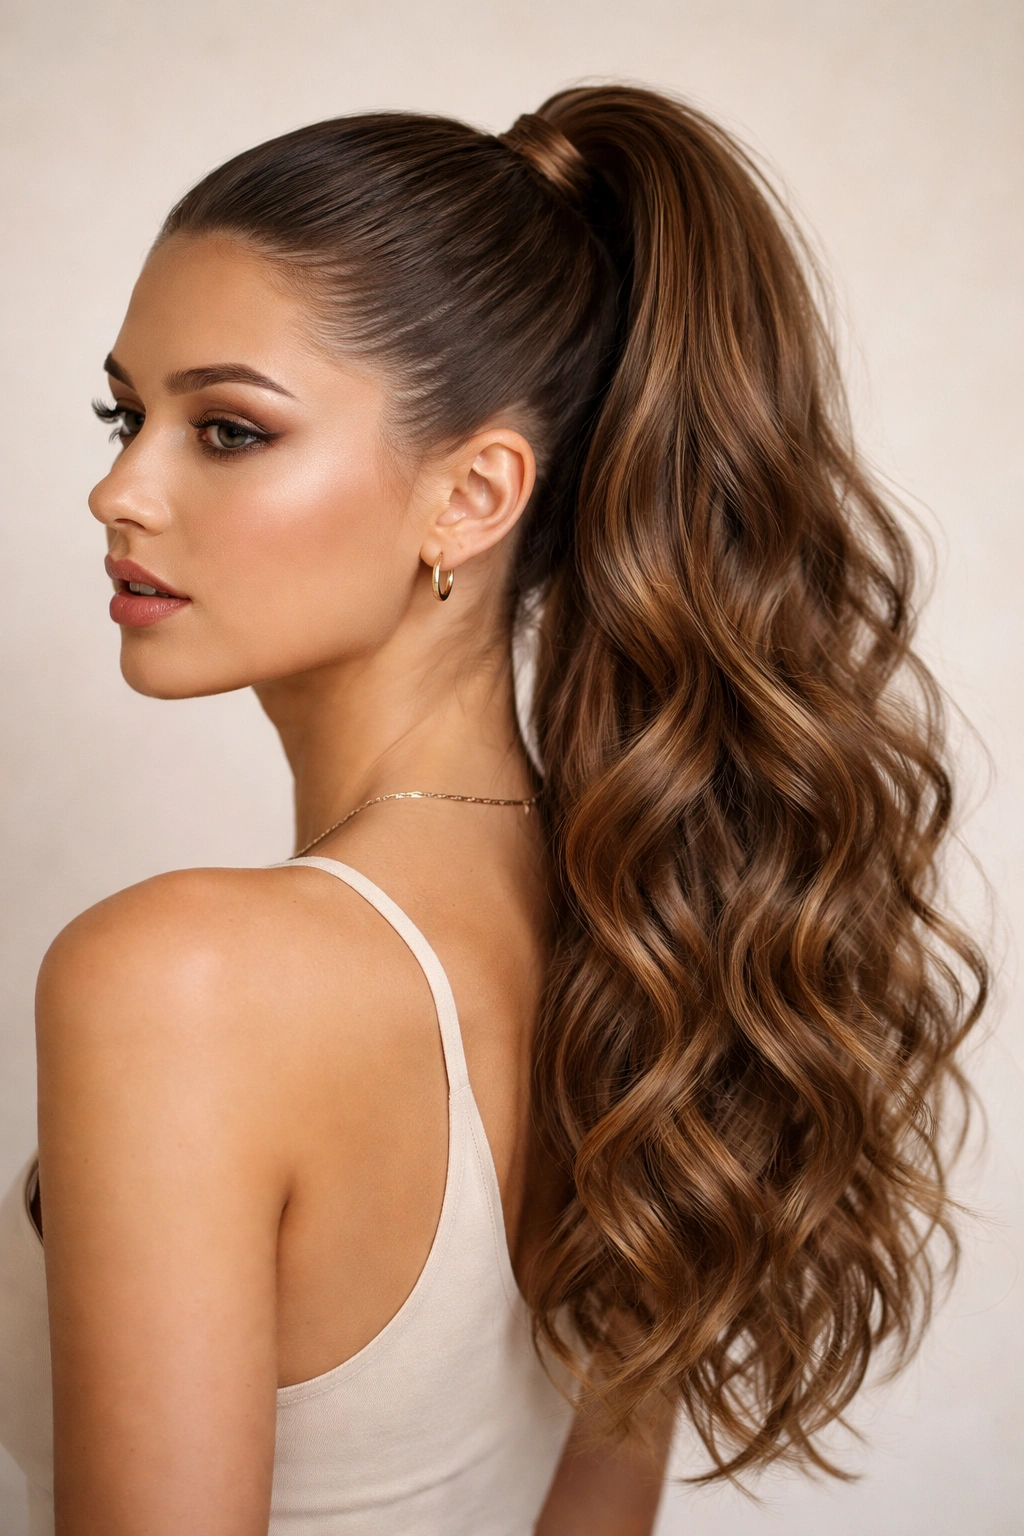
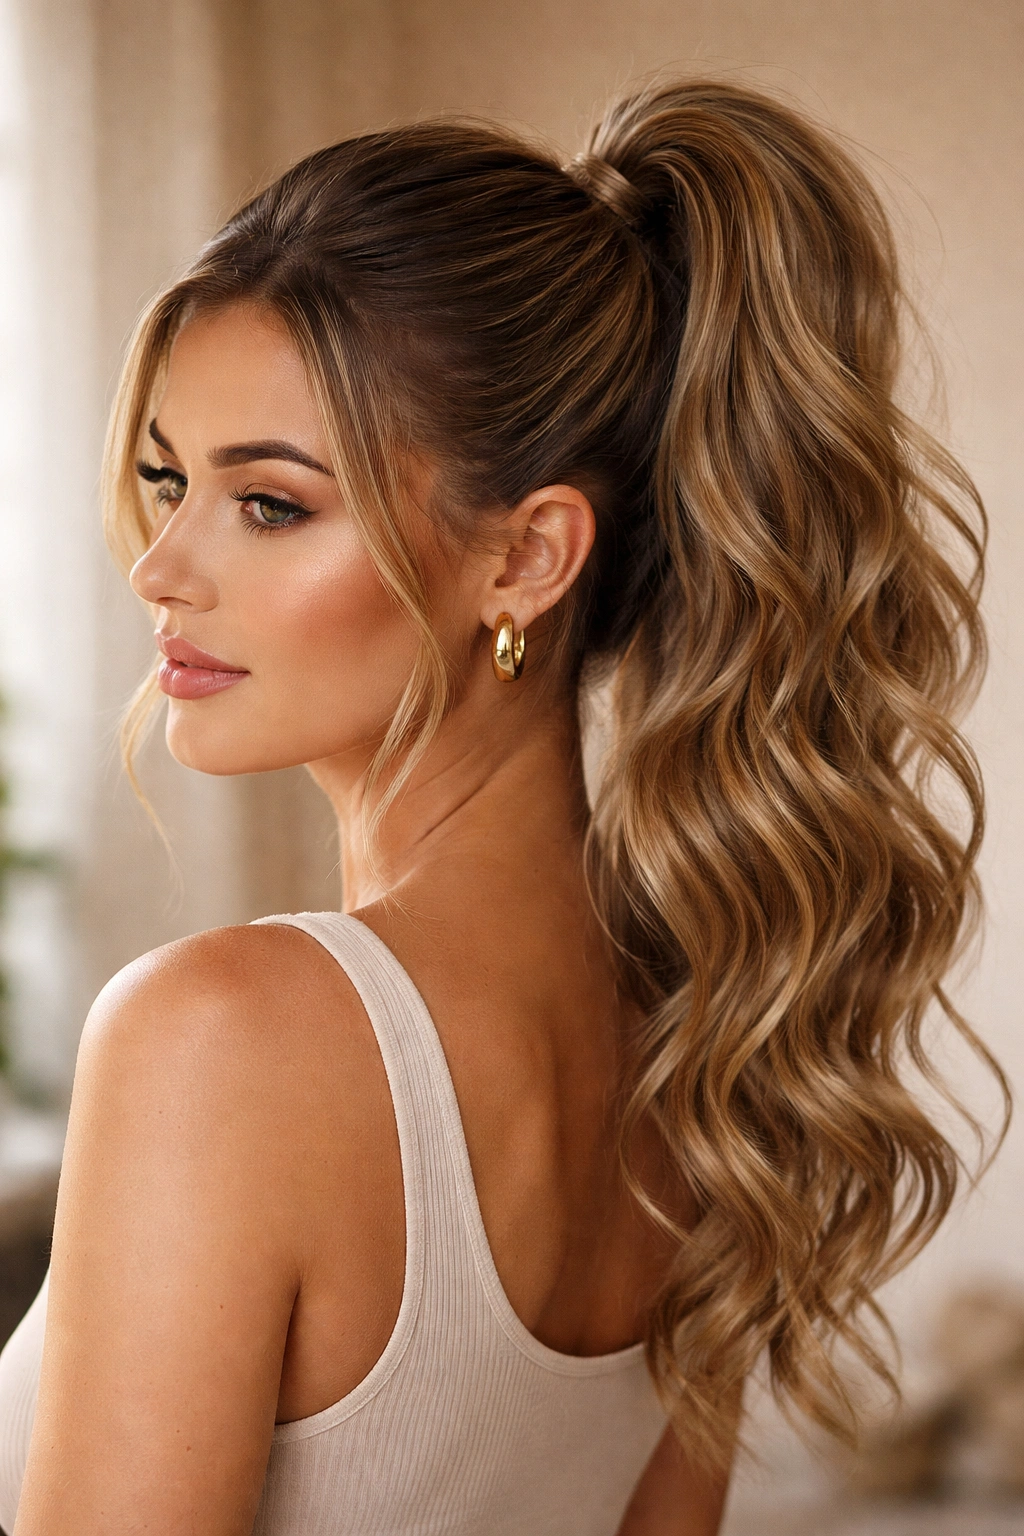
12. The Romantic High Ponytail with Cascading Waves
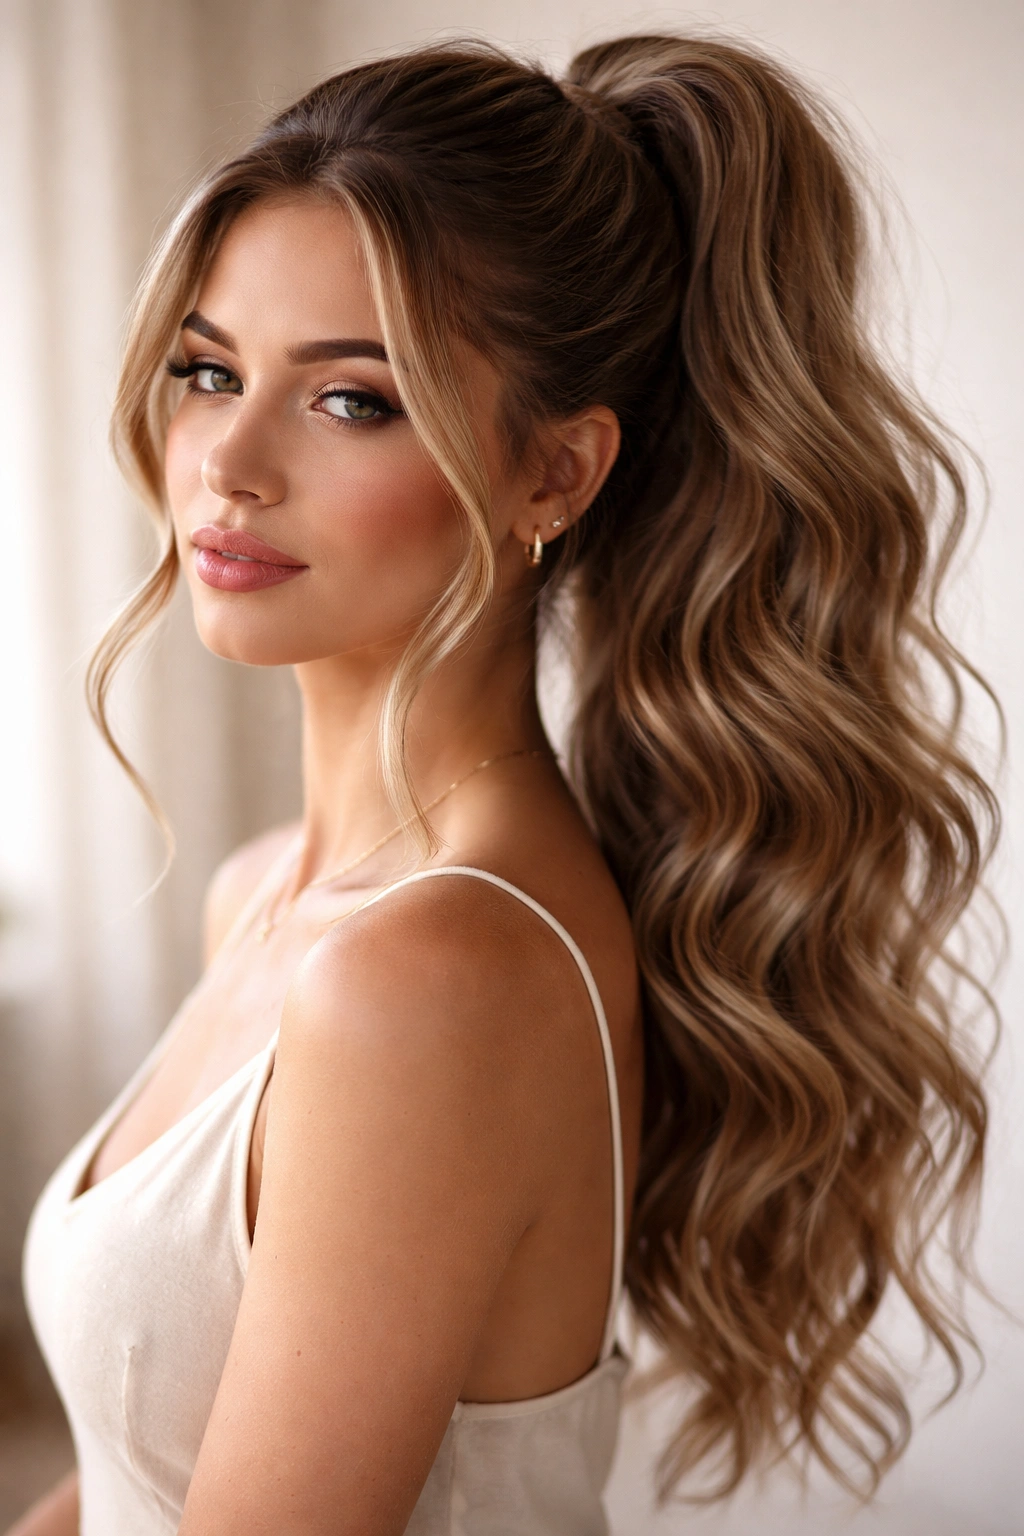
This is the high ponytail for special occasions and moments when you want to feel genuinely beautiful. It combines the polish of a high ponytail with the softness and femininity of beautiful, defined waves — creating something that feels both intentional and effortlessly romantic.
Start by enhancing your natural waves with a curling iron if needed, creating loose, romantic waves that are deliberately defined rather than tousled. Gather these into a high ponytail, but gather it loosely rather than pulled tight. Pull out a few face-framing pieces to cascade around your face, and use a texturizing spray to enhance all the waves so they have dimension and depth.
Creating Romantic Definition
The difference between this and a simple ponytail is intentional wave definition throughout. If your waves aren’t naturally defined, create them: use a 1.5-inch curling iron to wave each section of your ponytail, working in sections and curling away from your face for a flattering direction. Once your waves are defined, release them from the iron and let them cool before gathering into your ponytail.
Finishing Details
Soft, loose face-framing pieces are essential — these should look like they’re cascading naturally rather than carefully placed, even though you actually positioned them strategically. A light hairspray ensures everything stays in place while still feeling soft. Optional but lovely: small pearl bobby pins or delicate hair clips placed around the crown area add an element of subtle elegance.
Making It Work
- Requires about 15-20 minutes of styling time, making it best for occasions where you have that time
- Works beautifully with loose, romantic clothing and minimal, elegant makeup
- Appropriate for weddings, special events, date nights, or any time you want to feel special
- The wave texture is the star here — this style is all about showcasing defined, beautiful waves
- Incredibly flattering on all face shapes because the soft framing and waves are universally complimentary
- Pairs beautifully with loose, flowing pieces around your face and shoulders
Worth investing in: If you wear your hair like this for special occasions, consider getting a silk pillowcase and using a silk hair bonnet at night — these preserve your waves and reduce frizz significantly longer than cotton pillowcases.
Products and Tools That Transform Wavy High Ponytails
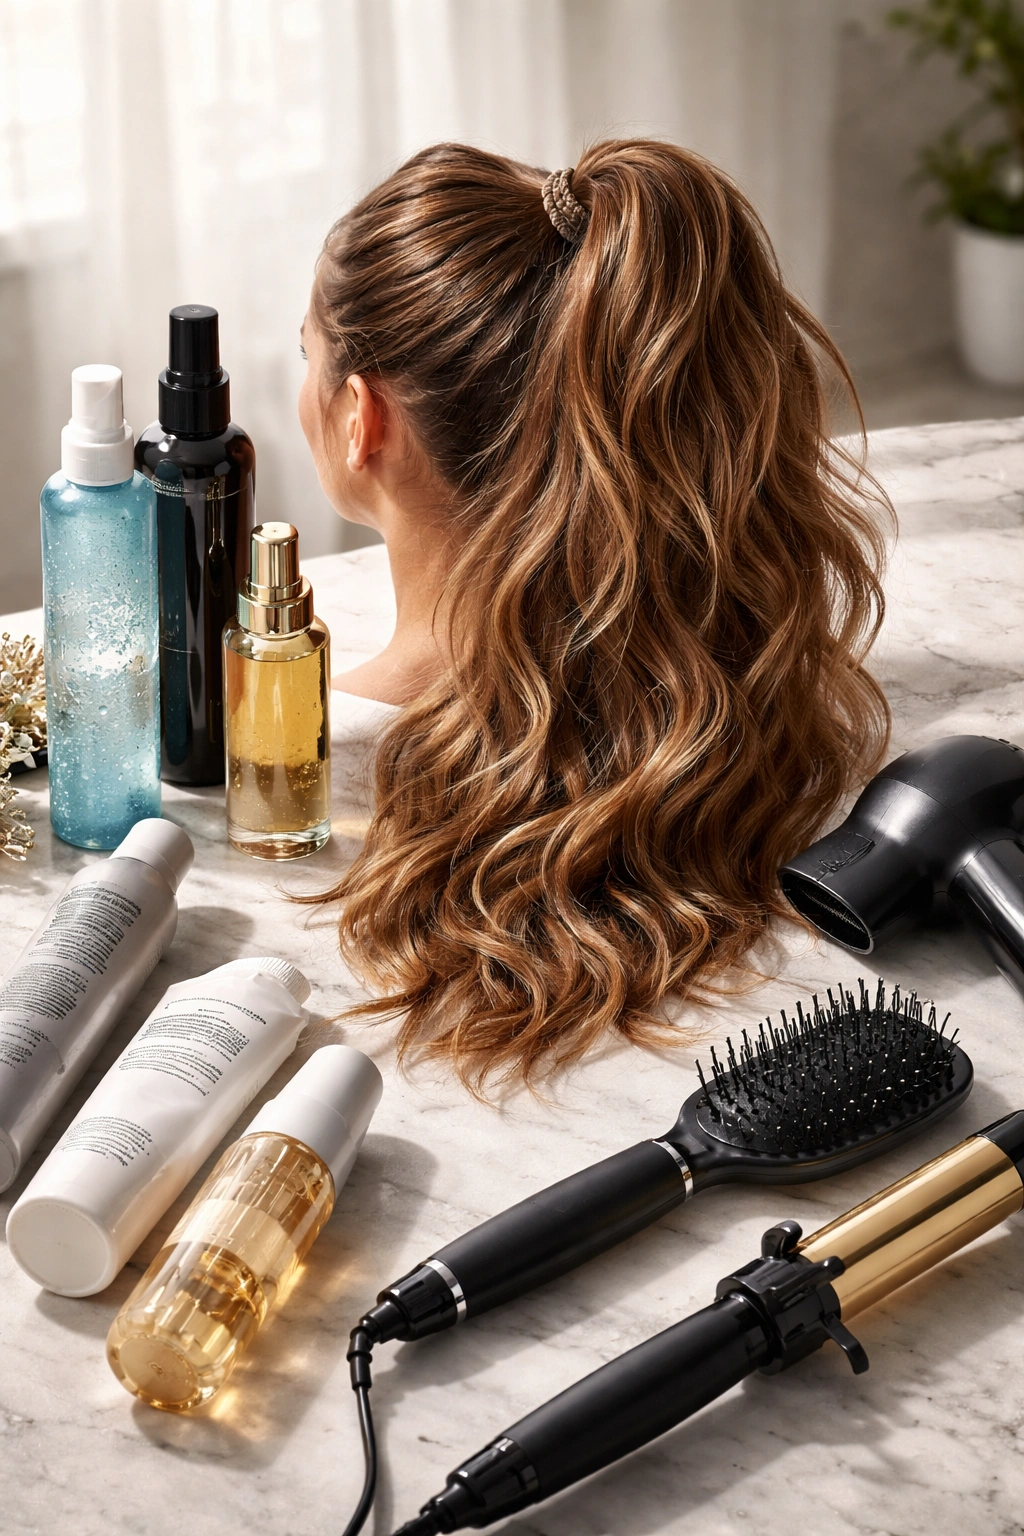
The right products make an enormous difference when you’re styling wavy hair into a high ponytail. A sea salt spray or texturizing spray is non-negotiable — these enhance your natural wave pattern and add grip so your ponytail doesn’t slip or look flat. Look for sprays labeled “texturizing” or “sea salt” that feel light and don’t make your hair crunchy or stiff.
A smoothing serum or lightweight gel helps control flyaways and smooth your crown without adding weight or flattening texture. You want something that feels invisible once applied — if you can feel product in your hair, it’s too heavy. Mousse is excellent for adding volume and texture to wavy hair before you create your ponytail, especially if you’re blow-drying your waves.
For tools, a paddle brush is gentler on wavy hair than a fine-tooth comb (which can disrupt wave pattern), and a blow-dryer with a concentrator nozzle helps you direct your waves as they dry. If you’re creating waves with heat, a 1.5-inch to 2-inch curling iron is ideal for loose, romantic waves. A fine-tooth comb is useful for teasing at the crown for subtle lift, but use it sparingly to avoid frizz.
Adapting These Styles to Your Specific Wave Pattern
Loose, gentle waves respond best to styles that emphasize movement — the side-swept ponytail, the curved ponytail, and the romantic cascading style all work beautifully because they showcase loose waves without disrupting them. Avoid gathering too tightly or teasing excessively, as this can create frizz and flatten your wave pattern.
Medium waves (think beachy texture) are incredibly versatile and look beautiful in nearly all of these styles. The braided ponytail, the twisted ponytail, and the half-up style are especially striking with medium waves because the texture is defined enough to look intentional without being so tight that it reads as curly.
Tighter waves or ringlets benefit from styles that showcase texture rather than trying to minimize it. The voluminous high ponytail, the messy high ponytail, and the romantic cascading style all celebrate textured waves. Use texturizing spray generously and avoid products that might weigh your waves down or make them look frizzy.
Common Mistakes When Creating High Ponytails With Wavy Hair
The most frequent mistake is gathering too tightly in an attempt to control your waves. Tight gathering doesn’t reduce frizz or make your ponytail look more polished — it actually emphasizes that you’re fighting your natural texture. Instead, gather at a medium tightness and use products to enhance your waves rather than fighting them.
Applying smoothing products to your entire head is another common error. You don’t want your entire head to look slicked or smooth — that works against the whole point of showcasing your wave texture. Apply smoothing products only to your hairline, crown, and the first few inches of your ponytail where you need control, then let your natural waves take over for the rest of the length.
Waiting too long to secure your ponytail after blow-drying is a subtle but significant mistake. Waves fall and relax as they cool after blow-drying, and every minute you wait, your waves are becoming less defined. Secure your ponytail while your waves are still holding their shape from the blow-dryer. You can always use texturizing spray afterward to enhance and redefine.
Finally, skipping texture-enhancing products altogether is a missed opportunity. Sea salt spray and texturizing spray aren’t optional for wavy-haired people creating ponytails — they’re essential. These products make the difference between a limp ponytail and a gorgeous, dimensional one. The spray adds grip, enhances your wave definition, and gives your ponytail visual interest and movement.
Final Thoughts
A high ponytail works beautifully with wavy hair when you stop trying to minimize your texture and start deliberately showcasing it. The best style for you depends on your specific wave pattern, your face shape, and the occasion — but genuinely, any of these twelve approaches will look better on you than struggling to make your wavy hair behave like straight hair would.
The secret is choosing products and techniques that enhance your waves, gathering at a height and tightness that feels intentional and flattering, and taking time to add small details that elevate a simple ponytail into something polished. Whether you’re aiming for casual, professional, or genuinely romantic, your wavy hair is an asset, not an obstacle.
Spend a few minutes experimenting with these styles and notice which ones make you feel most confident and beautiful. That’s the one you’ll reach for again and again, and it’ll become your signature high ponytail that people start asking you how you create.