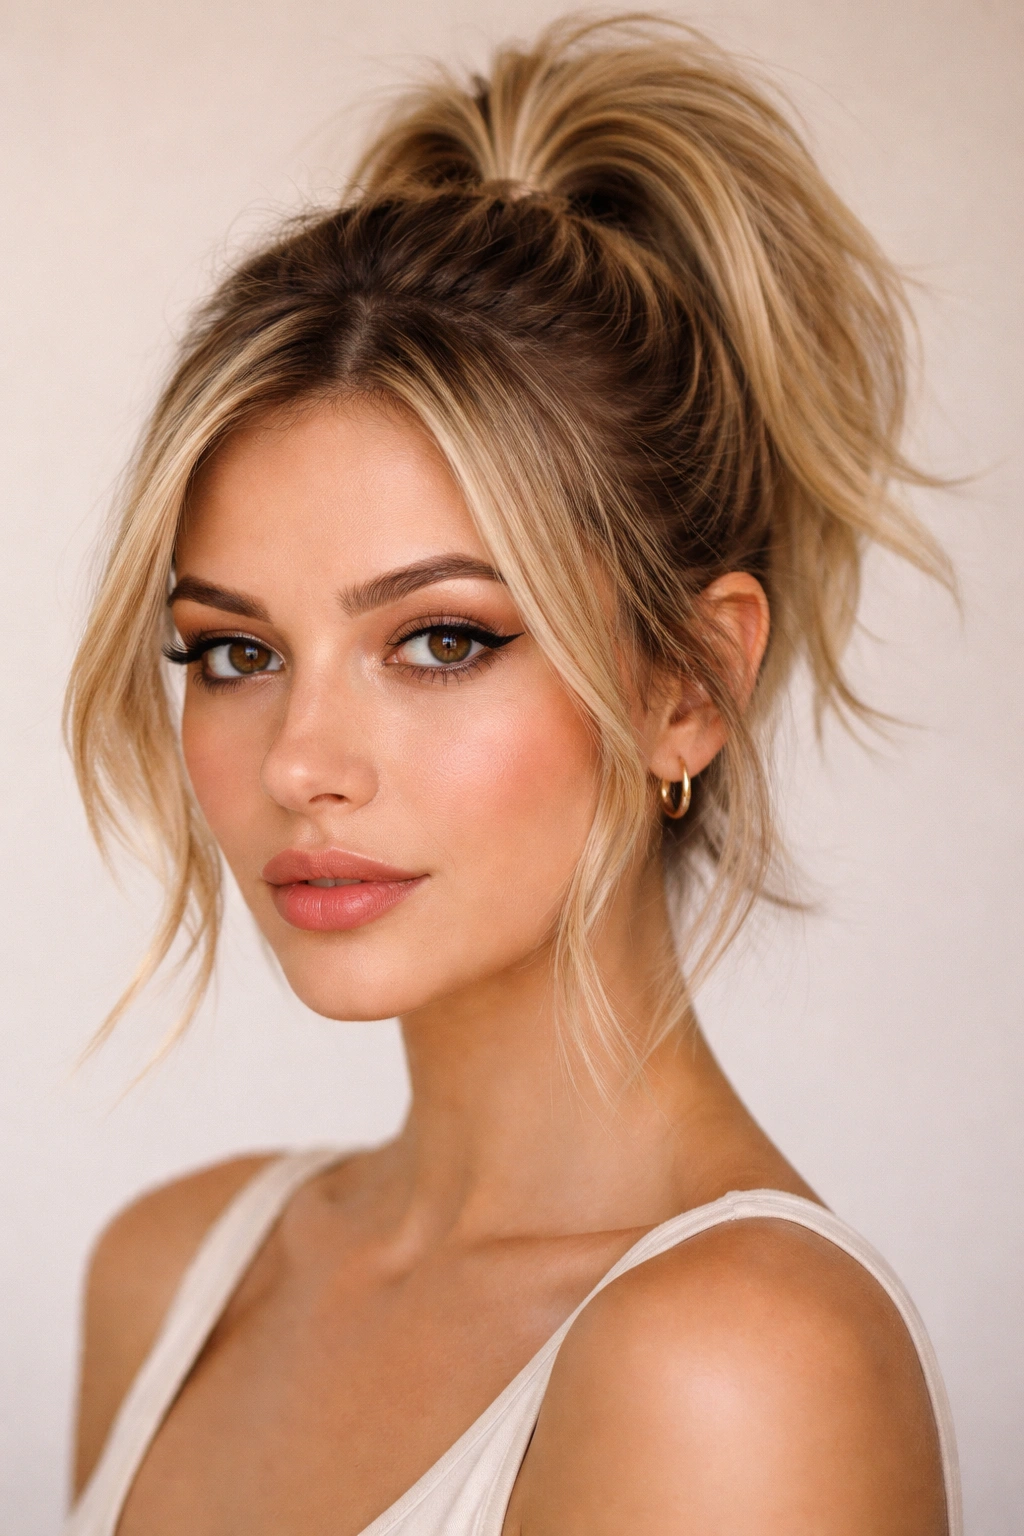
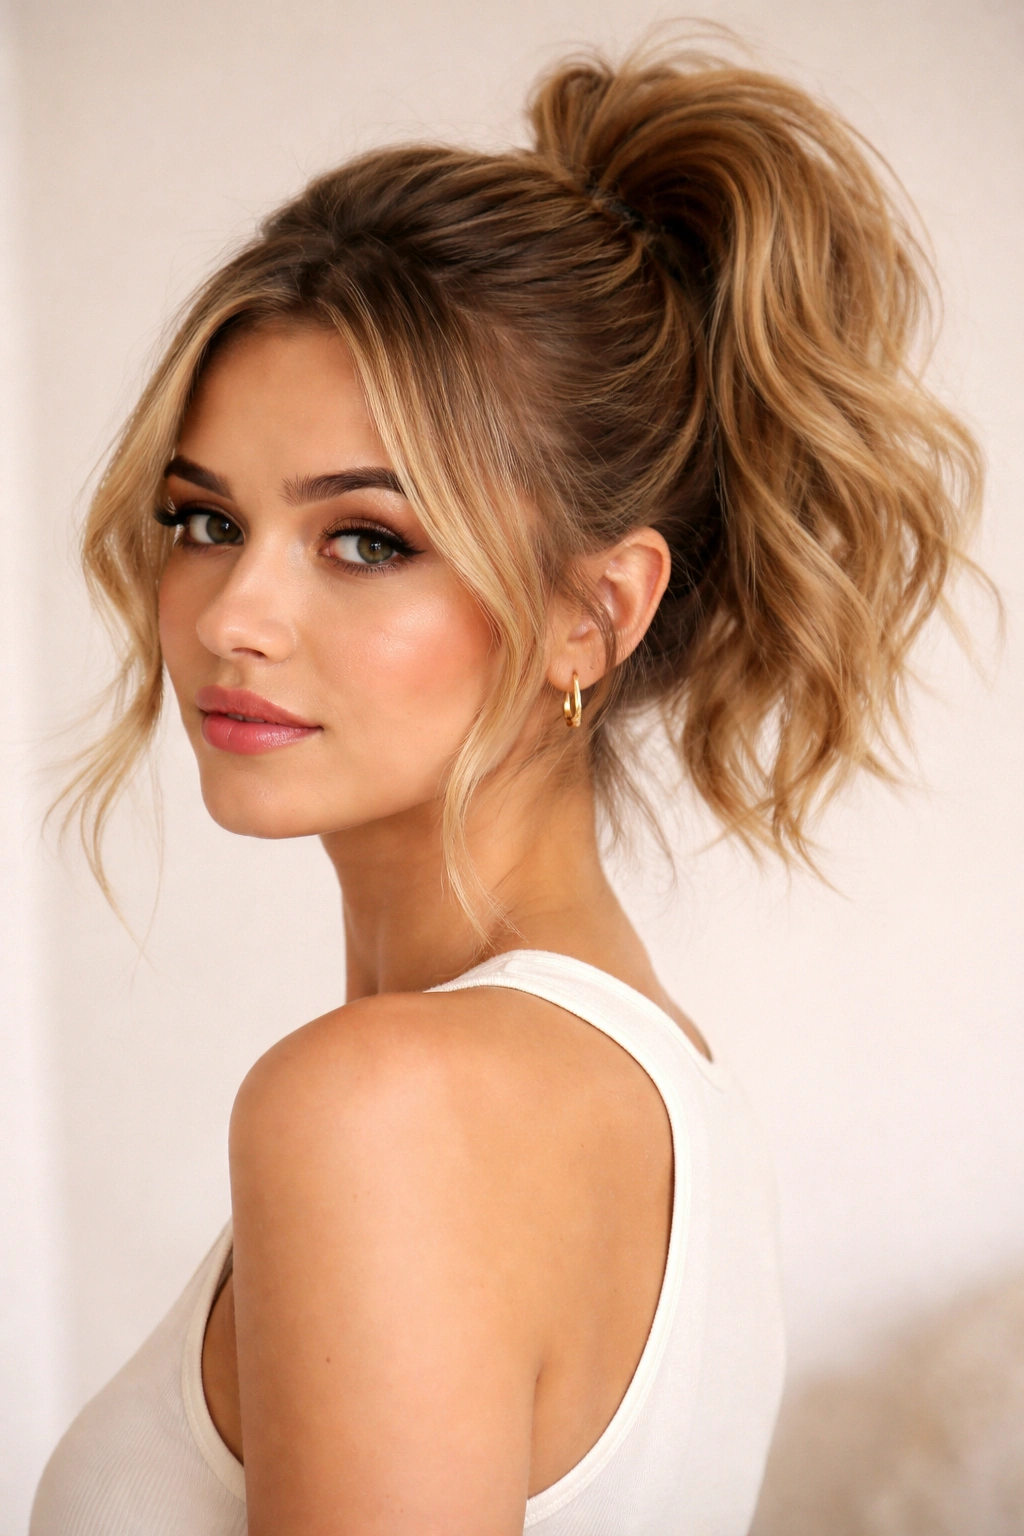
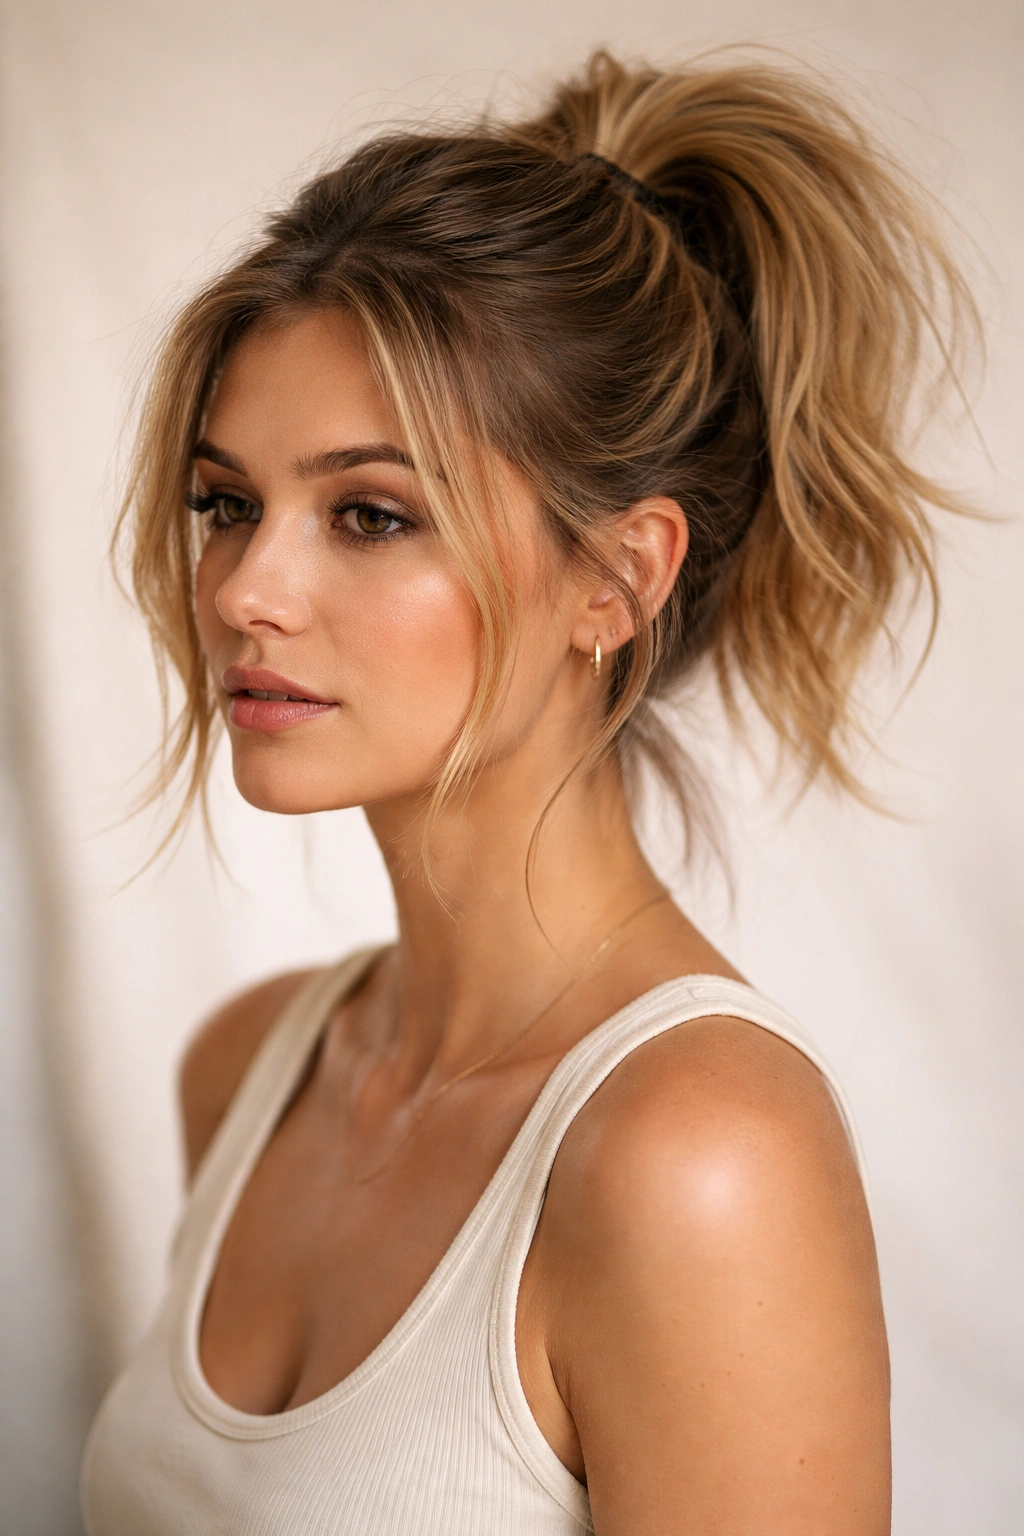
Short hair and high ponytails might seem like an unlikely pairing, but they’re actually a match made in styling heaven. A high ponytail draws attention upward, elongates the neck, and creates instant polish—which is exactly what works beautifully when you’re working with shorter lengths. The key is choosing styles that work with your hair’s natural volume and texture rather than fighting against it, and learning the techniques that make even a short ponytail look intentional and chic rather than scraggly or incomplete.
The truth is, short-haired ponytails have been having a major moment, and there’s a reason for it. They’re impossibly practical—you can go from bedhead to polished in 30 seconds—but they also look fashion-forward and deliberate when styled with even a tiny bit of intention. Whether your hair is a pixie cut that’s grown out slightly, a chin-length bob with texture, or a textured short shag, there are high ponytail techniques that’ll work for your specific length and hair type. The styles in this guide range from sleek and minimalist to textured and voluminous, so you’ll find versions that match both your hair and your vibe.
What makes a high ponytail work on short hair? It’s all about strategic teasing at the crown to create volume, choosing the right elastic or clip to anchor the style, and understanding whether you’re going for a “barely-there” wispy ponytail or a fuller, bouncier version. You’ll also learn which techniques hide the fact that your ponytail isn’t densely packed, and which products actually make short-hair ponytails look fuller and more intentional without creating that thin, sad-ponytail look.
Let’s walk through 12 styles that prove short hair and high ponytails are absolutely meant to be together.
1. The Barely-There High Ponytail
This is the TikTok-approved minimal ponytail that’s taken over—it’s less of a traditional ponytail and more of a strategic gathering of your shorter strands at the crown, creating the suggestion of a ponytail rather than a full, dense one. It works brilliantly on pixie-grown-out cuts and shorter bobs because it doesn’t try to pretend you have long hair; instead, it celebrates the actual texture and length you’ve got.
How to Create This Delicate Style
Start with textured, preferably second-day hair (fresh washes can be slippery). Flip your head upside down and rough up the crown area with your fingers or a teasing brush to create a cushion of volume at the very top of your head. Once you flip back up, use a small clear elastic or a thin claw clip positioned at the crown—not at the nape of your neck, but genuinely high—and gather just the shortest strands that naturally sit there. The goal is to have wispy pieces framing your face and the back sections left completely loose. This works because you’re not trying to wrangle everything into one ponytail; you’re creating a focal point that makes people notice your styling choice.
Making It Work With Different Hair Types
- Fine or thin hair: Use a tiny elastic and gather only the absolute crown section; less hair actually looks more intentional here
- Thick or curly hair: You can gather slightly more, but still leave the majority loose; tease aggressively at the crown for anchor points
- Straight hair: A texturizing spray applied to damp roots before styling creates the grip you need; otherwise slippery strands slide right out
- Short textured cuts (pixie-grown-out): This style is made for you; your natural texture will do half the work
- Pro tip: Use a claw clip in a fun color or tortoiseshell finish rather than a regular elastic—it becomes a design element rather than just a hair tool
2. The Sleek Gel High Ponytail
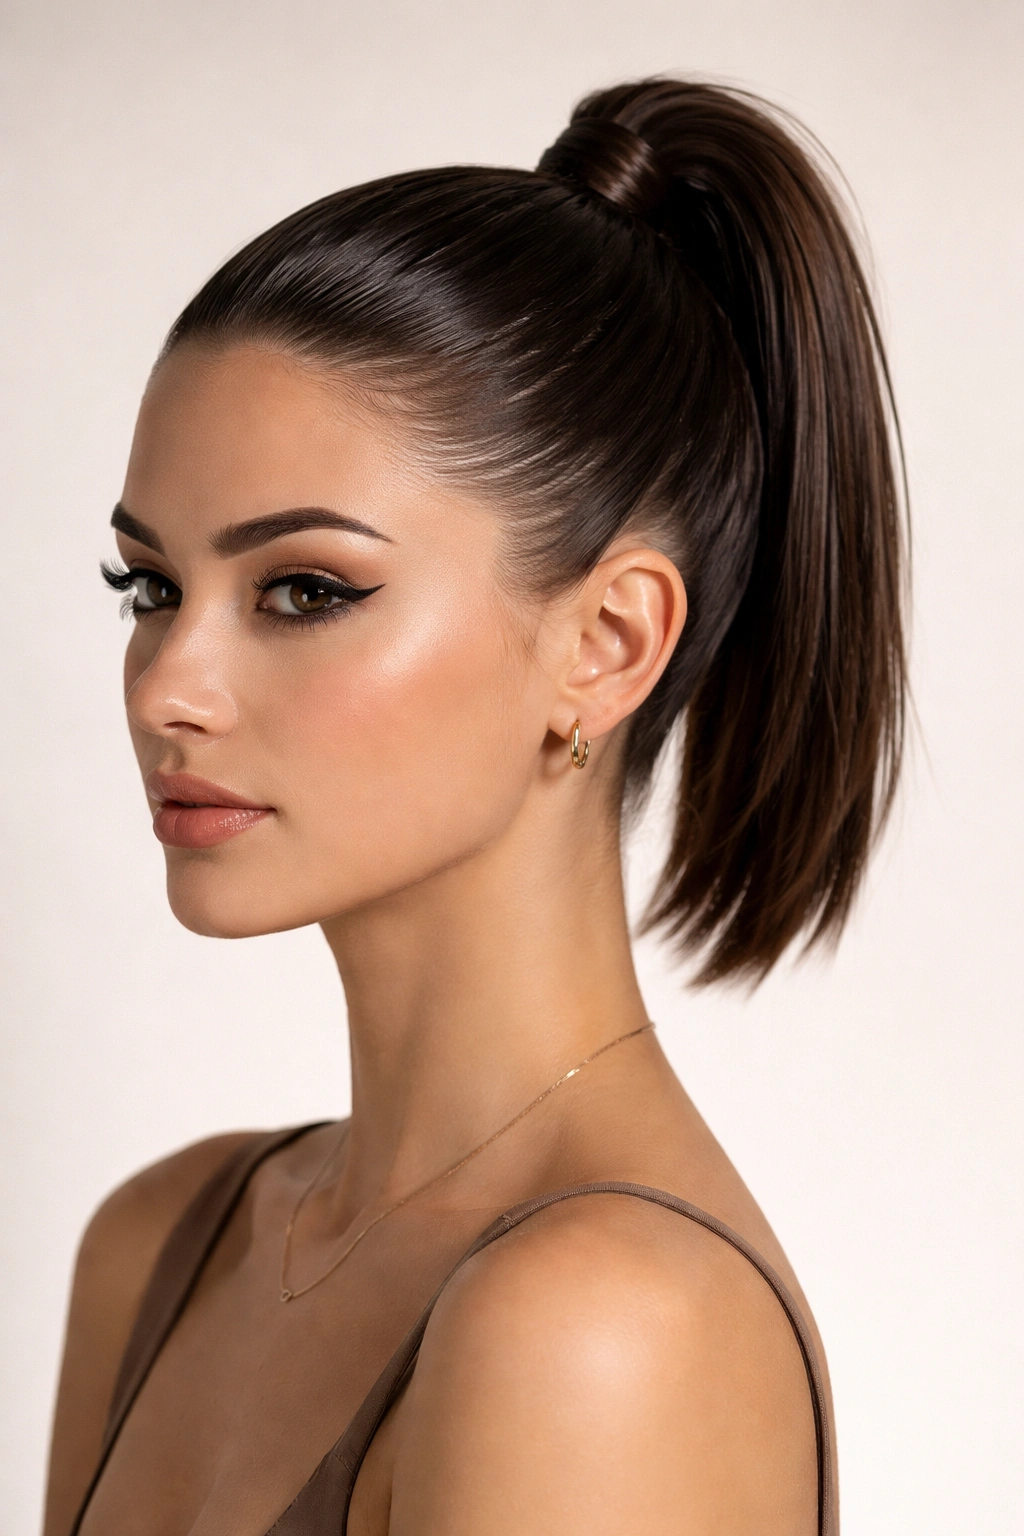
This is the opposite of the barely-there ponytail: it’s sharp, intentional, and fully committed. Every strand is smoothed back to the crown with a strong-hold gel, creating clean lines and a polished finish that reads expensive and effort-aware. On short hair, this style works because it emphasizes bone structure and doesn’t require you to create the illusion of length—the sleekness is the statement.
Technique for Maximum Smoothness
Brush your hair back from your face in one smooth motion while applying a strong-hold gel (not a mousse, which won’t provide enough control) from roots to ends. Use a fine-tooth comb or a gel brush to smooth every flyaway and baby hair into submission. Gather at the crown with a matching elastic or a metal hair cuff that coordinates with your skin tone. The key is not being gentle here—rough, quick strokes with the comb create more tension and smoothness than gentle ones. Once the ponytail is secured, smooth a tiny bit more gel over the top and sides to lock everything in place, then finish with a light hairspray to combat humidity throughout the day.
Why This Works on Short Hair
- Short hair can’t rely on length for visual impact, so texture becomes the feature—and sleekness is a textural choice
- The ponytail looks intentional and editorial rather than like you’re just pulling your hair up to get it out of your face
- It actually looks fuller and more substantial than it probably is, because the smoothness creates the illusion of density
- Works on every hair type as long as you use the right gel; curly hair gels give more hold than standard ones
- Important note: This style demands low-humidity conditions or regular touch-ups; humidity will cause frizziness that defeats the whole purpose
3. The Faux Pony With a Hair Clip
This isn’t technically a ponytail—it’s a hair clip positioned to look like one while leaving most of your hair down. It’s the closest thing to “cheat code styling” for short hair, and it works beautifully if you want the high-ponytail aesthetic without the commitment or the tight pulling feeling. It’s also genius for days when your hair isn’t cooperating but you still want to look intentional.
The Setup That Actually Works
Tease the crown area firmly to create a base with texture and grip. Position a vintage claw clip, a geometric metal clip, or a decorative barrette right at the highest point of your crown—not back toward the nape, but forward enough that it’s clearly a statement piece. Twist or loosely gather just the hair directly around the clip, leaving the sides and back completely down and loose. The clip becomes the focal point, so choose one with personality: tortoiseshell, gold metal, a colorful vintage piece, or even a minimalist geometric design. This works on every hair length and type because the clip does most of the visual work.
Styling Variations That Extend the Look
- With waves: Add loose waves to the down portion for movement and softness that contrasts with the clipped crown
- With braids: Braid one small section from your temple toward the back; it adds intentionality and craft to what could otherwise look minimal
- With texture: Use a texturizing spray on the crown section before clipping; it creates volume and keeps everything from looking flat
- With layers: If your short cut has lots of layers, this style showcases them because the layers flow freely below the clip
- Clip choice matters: A statement clip does heavy lifting here; a boring clear elastic won’t sell the look
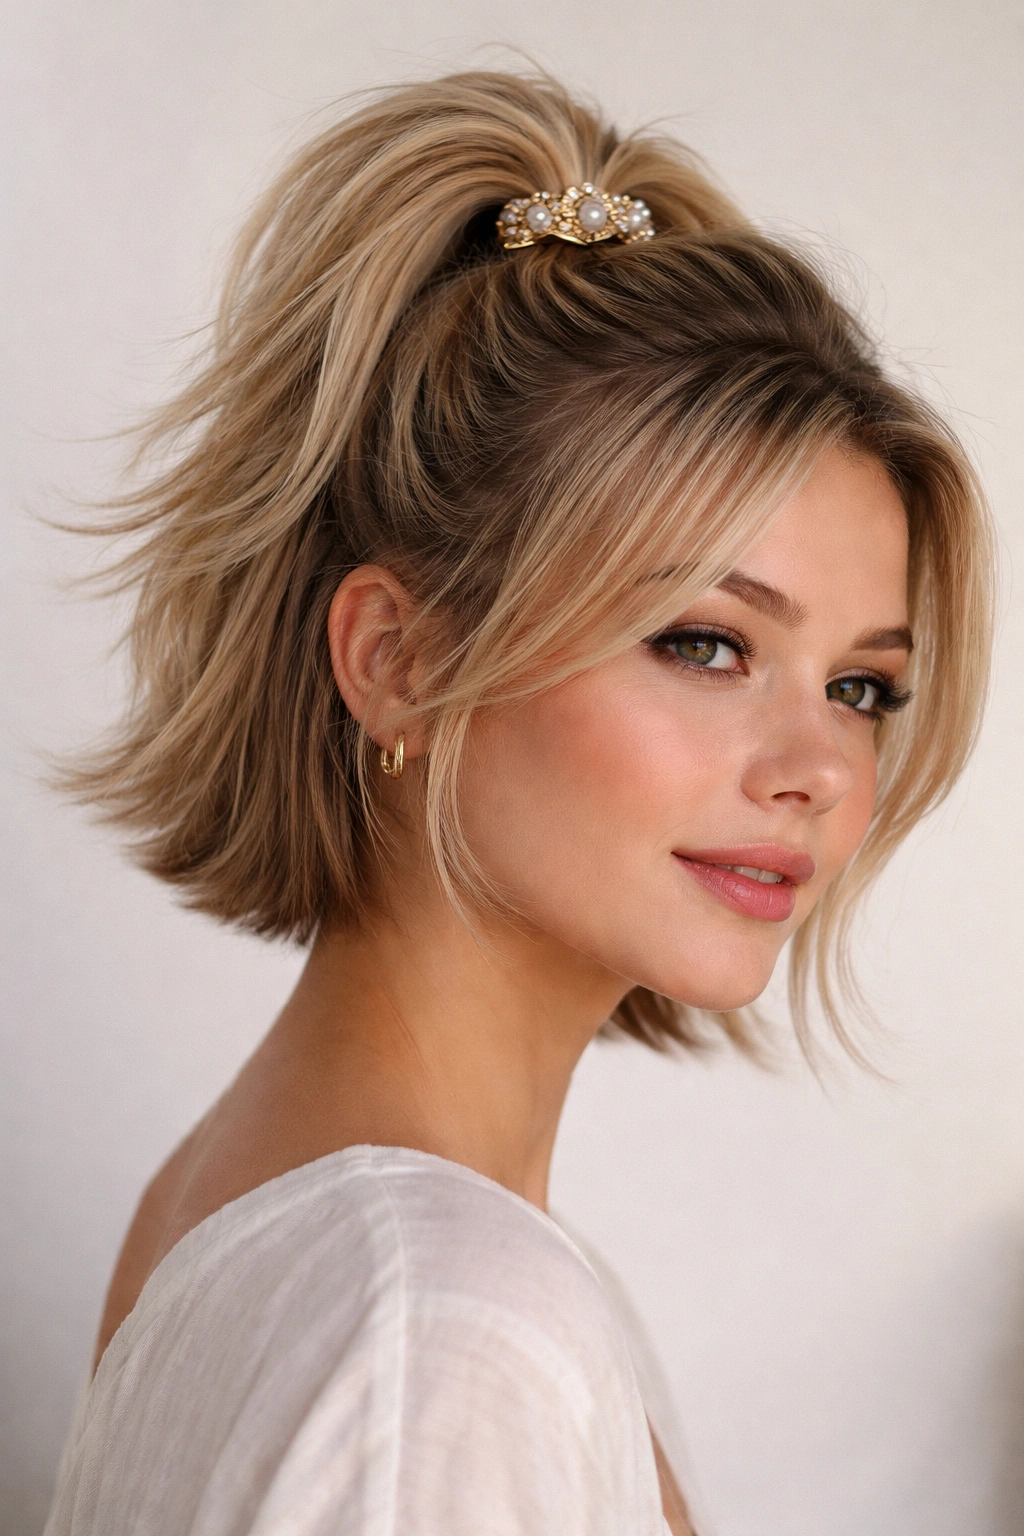
4. The Half-Up High Ponytail
This is the hybrid: a traditional half-up, half-down style positioned high on your head rather than at the back of the crown. It’s romantic, practical, and works particularly well on short hair because you get the benefit of a “put-together” look while keeping a significant portion of your hair down and framing your face.
How to Build Volume at the Crown
Start by teasing a section of hair at the very top of your head—not just at the crown, but the absolute apex where you’d crown a tiara. Use a fine-tooth comb and rough up the roots aggressively; this cushion is what prevents the half-up from sliding down on short hair. Once you have a good teased base, smooth the top layer gently with the comb so it looks polished on top while staying textured underneath. Gather the teased section along with a small amount of hair from each temple into an elastic positioned as high as possible. Leave the bottom section of hair—roughly from ear-level down—completely down. The contrast between the high, structured ponytail and the loose lower section is what makes this style visually interesting.
Styling to Enhance the Look
- Add waves: Curl the down portion with a curling iron; the waves create volume and softness
- Use a decorative elastic: A pearl-adorned elastic, a velvet scrunchie, or a metal cuff elevates the style instantly
- Braid the ponytail: Take the half-up section and loosely braid it for texture and interest
- Side part: A deep side part makes the half-up more dramatic and asymmetrical
- Face-framing pieces: Leave one or two strands out around your face for a softer, less structured feel
- Works best on: Bobs and short cuts with some length; pixie-cut lengths make this style harder to execute
5. The Sleek Side High Ponytail

Instead of gathering your hair directly at the top-center of your head, this ponytail is positioned at the top-back of your skull but slightly off to one side. It’s a subtle shift that creates visual interest and movement, and it’s particularly flattering on round or wide face shapes because the slight asymmetry creates dimension.
The Positioning That Creates the Look
Part your hair slightly off-center (either side works; choose based on which side of your face you prefer to show). Gather at the crown-back area, but angle the ponytail slightly toward one side rather than perfectly center. On short hair, this means you can position the elastic slightly behind your left ear or right ear rather than at the back midline. The effect is sophisticated and less “just-pulled-my-hair-up” than a centered ponytail. Add gel and smooth everything back, then secure with a sleek elastic that matches your hair color.
Why the Angle Matters
- Creates the illusion of more length because the angle adds verticality
- Looks intentional and editorial rather than utilitarian
- Flatters faces with width because the off-center gathering creates a slimming effect
- Easier to achieve on short hair than on longer lengths because you’re not fighting with dense, heavy ponytail weight
- Pairs well with minimal makeup and a strong lip color; the asymmetry looks artistic
- Best for: Oval, round, or square face shapes; less ideal for heart-shaped faces where a centered high ponytail is more flattering
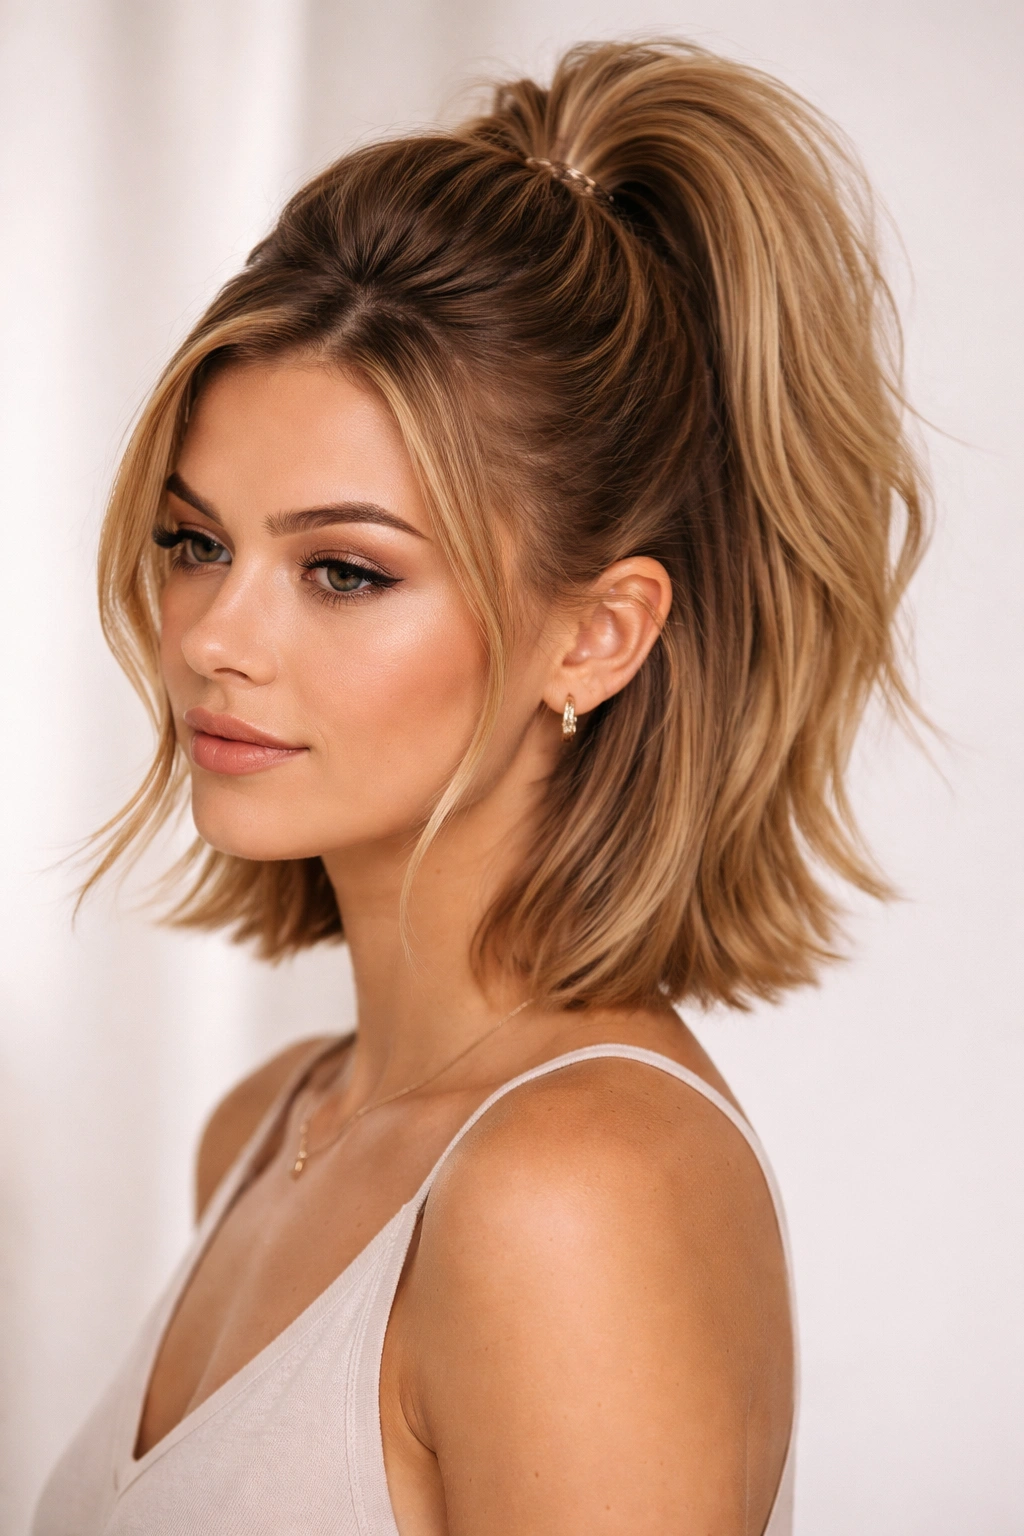
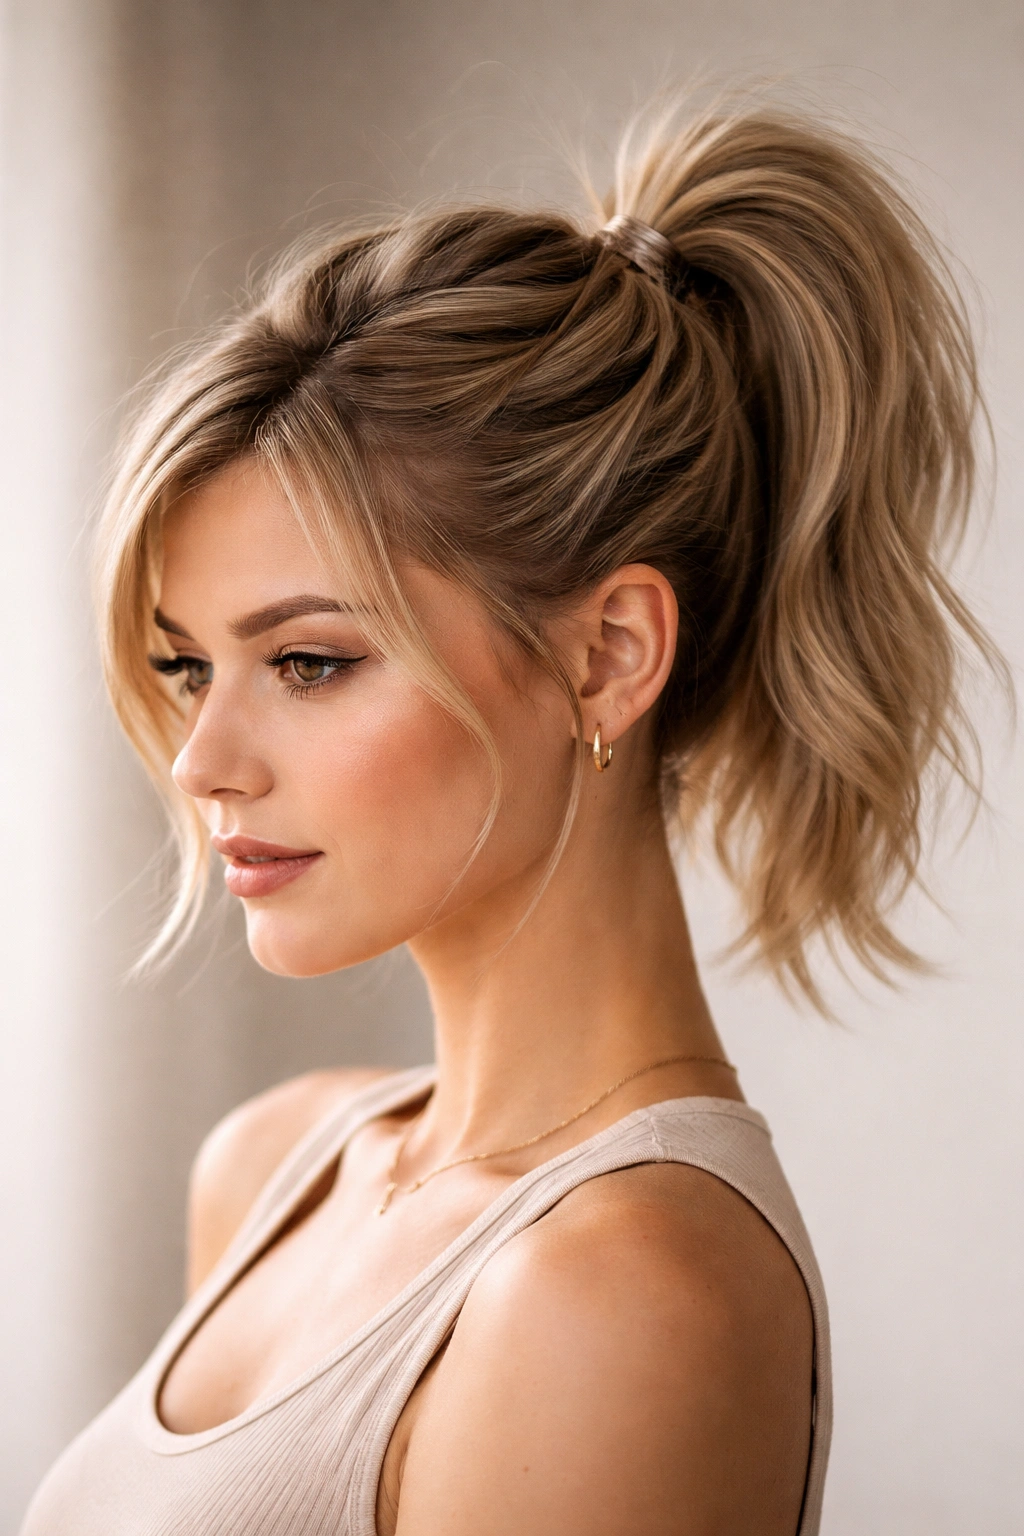
6. The Textured Puff High Ponytail
This style celebrates texture rather than smoothness. Instead of sleek gel, you’re creating volume and movement at the crown, gathering it high, and letting pieces fall out around the face. It’s effortlessly chic, works on every hair type (especially textured and curly hair), and doesn’t require blow-drying or heavy product to look intentional.
Building the Textured Volume
Start with towel-dried or damp hair, or add texture to clean dry hair with a texturizing spray. Tease gently at the crown using a paddle brush or your fingers—you’re not going for extreme volume, just enough to create a cushion. Gather at the high crown point and secure with a slightly thicker elastic that matches your hair color. The ponytail itself will look smaller and less dense than a sleek version, but that’s intentional; the texture is the point. Let a few pieces fall around your face, especially around your temples and ears. You can finish with a light touch of sea salt spray or texturizing spray to emphasize the texture and prevent flyaways from looking messy rather than intentional.
Texture-Building Techniques
- For waves: Braid damp hair overnight, release in the morning, tease gently at the crown, and gather
- For curls: Apply a curl cream to damp hair, scrunch while drying, tease at crown, and gather
- For straight hair with texture spray: Apply texturizing spray to dry hair, tease at roots, spray again for grip, then gather
- For naturally textured hair: Your texture is already there; just tease gently at the crown and gather high
- For fine hair: Use a lightweight texture spray rather than heavy mousse; tease minimally to avoid damage
- Pro tip: This style looks better when it’s not perfect; a few wispy pieces and some volume variation is the whole point
7. The Wrapped High Ponytail

This version takes your gathered ponytail and wraps a small section of hair around the elastic, creating a polished, finished look that hides the elastic completely. It’s a styling trick that instantly elevates any ponytail and makes it look professionally done rather than quickly thrown together.
The Wrapping Technique
After you’ve gathered your high ponytail, take a thin section of hair from the ponytail itself and wrap it around the base where the elastic is. Use a bobby pin to secure the wrapped section underneath, hiding the pin completely. On short hair, you might only get one full wrap around, and that’s perfect—you don’t need multiple wraps to achieve the polished effect. The wrapped section should be smooth and sleek, which means either using a tiny bit of gel or working with freshly-dried, smooth hair. This one detail transforms an ordinary ponytail into something that looks intentional and finished.
Variations That Enhance the Wrap
- Metallic wrap: Use a thin metallic ribbon or cord instead of hair for a modern, statement-making detail
- Braid wrap: Braid the wrapped section instead of leaving it smooth for a textured detail
- Contrasting wrap: If your hair has highlights or balayage, choose a lighter or darker section to wrap for visual contrast
- Jeweled wrap: Weave a thin chain or delicate jewelry through the wrapped section
- Color-matched elastic: Use an elastic that exactly matches your hair color underneath the wrap for seamlessness
- Works on: All hair types and lengths; particularly effective on fine hair because it creates the illusion of a fuller ponytail
8. The Twisted High Ponytail
Instead of gathering strands straight back, you twist sections of hair as you gather them toward the crown. The twist creates texture, visual interest, and actually helps secure the ponytail better on short hair because the twisted strands grip each other and the elastic. It’s a small technique shift that creates significant visual impact.
How to Execute the Twist
Start at the front hairline and take a small section of hair. Twist it back toward the crown with tension. As you reach the crown, add another small section from the side and continue twisting, incorporating more hair as you go. The goal is one continuous, spiraling twist that gathers all your hair toward the high crown point. Secure tightly with an elastic. The twist prevents the ponytail from looking thin or wispy because the twisted structure creates the appearance of more volume than you actually have. This technique works particularly well on fine or thin hair because the twist multiplies visual volume.
Why This Technique Elevates Short-Hair Ponytails
- The twist creates texture and dimension that a straight gathering doesn’t
- It’s more secure on short hair because the twisted structure grips the elastic firmly
- The spiral looks intentional and crafted, not like you just threw your hair up
- Works on every hair type, including straight hair
- Pairs beautifully with a decorative elastic or clip that complements the twisted texture
- Can be styled sleek (smooth the twist with gel) or textured (emphasize the twist with texture spray)
- Pro tip: Practice the twist a few times to get the tension consistent; too loose and it falls out, too tight and it looks strained
9. The Braided High Ponytail
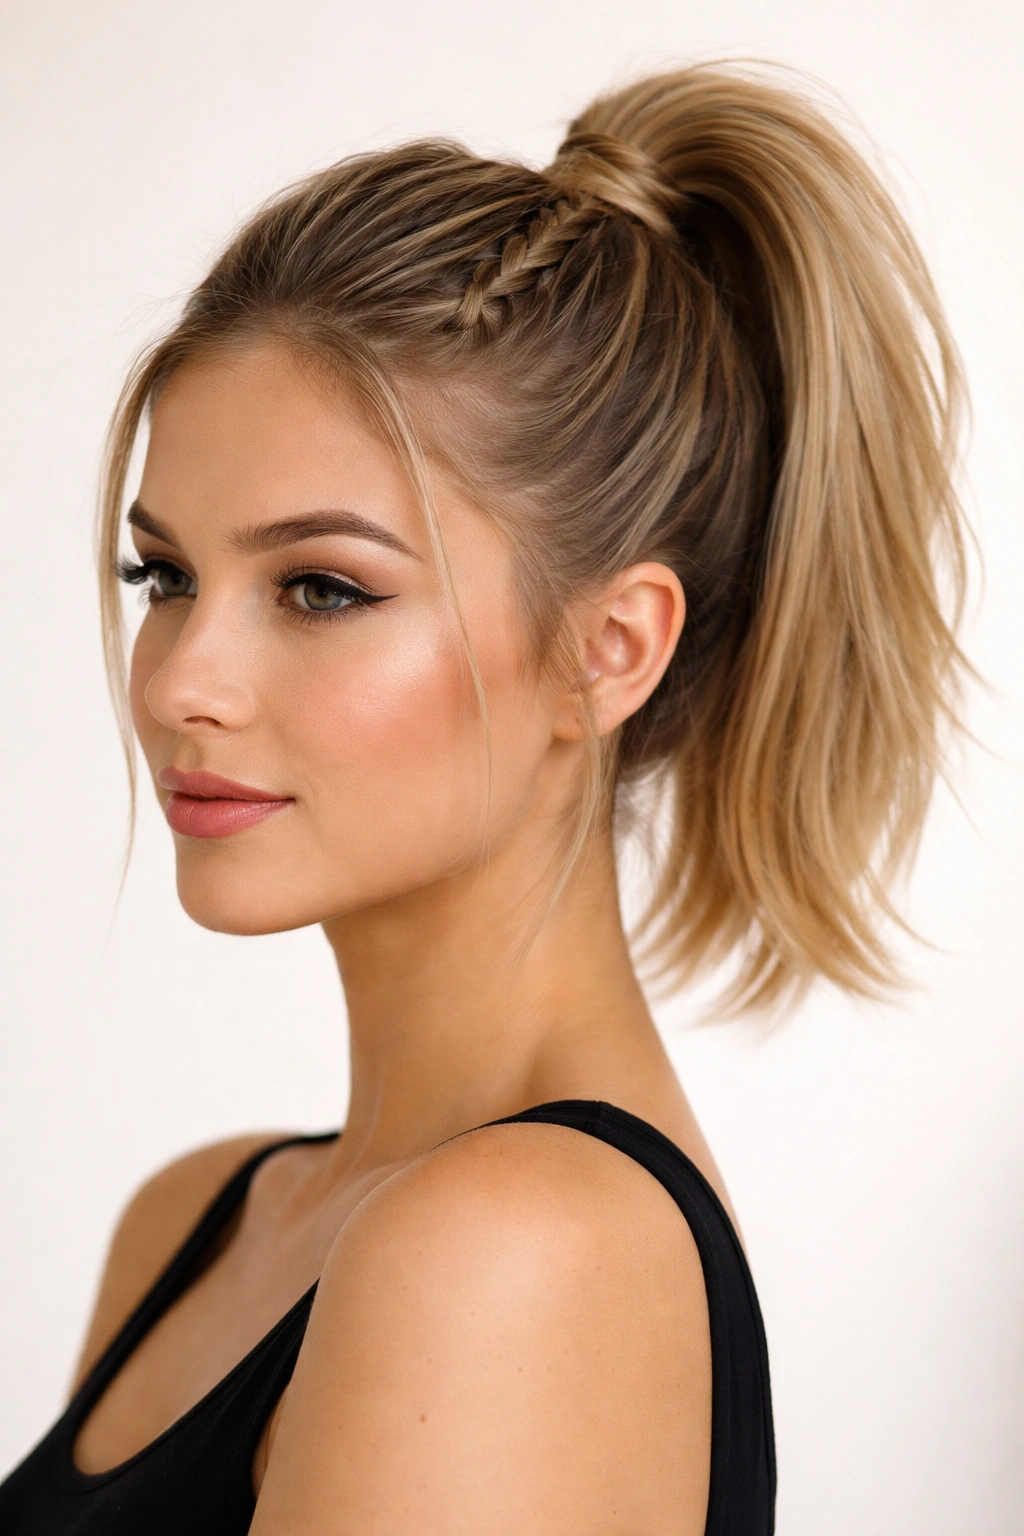
Braid a small section or sections of hair, then gather everything—including the braids—into a high ponytail. The braid adds texture, detail, and intentionality that transforms a simple ponytail into a more complex, interesting style. It’s particularly effective on short hair because the braid becomes a focal point rather than getting lost in dense length.
Different Braiding Approaches
Single side braid approach: Braid one section from your temple back toward the crown, then gather that braid along with the rest of your hair into a high ponytail. This creates asymmetry and visual interest.
Twin braid approach: Create two small braids, one on each side from your temple toward the crown, then gather everything into the ponytail. This is more balanced and romantic.
Crown braid approach: Braid a small section at the very crown, then wrap that braid around the base of your ponytail (like the wrapped ponytail technique) for a detailed, finished look.
Reverse braid approach: Braid away from the face (underhand reverse braid) rather than toward it; this creates a different texture and look.
Making This Work on Short Hair
- Small braids work better than thick ones on short hair; they’re more proportional and easier to manage
- The braid should incorporate only a small section of your hair, not your entire head
- Looser braids look more intentional and modern than tight, perfect ones
- Add texture spray before braiding to give the braid more grip and dimension
- The braid can be the main event (visible and featured) or subtle (incorporated into the ponytail and partially hidden)
- Works best on: Textured hair that grips easily; smoother hair benefits from texture spray before braiding
10. The Spiky High Ponytail
This is an editorial, fashion-forward style where the short ponytail is teased or backcombed to create extreme volume and texture, then gathered high with pieces allowed to stick out at varied angles. It’s bold, it’s statement-making, and it absolutely works on short hair because you’re not trying to hide the length—you’re celebrating the texture and movement.
Creating the Spike Effect
Tease your entire crown area aggressively using a paddle brush or specialized teasing brush. Don’t smooth the top layer like you might for other styles; keep the texture rough and visible. Gather everything high at the crown, then selectively smooth just the very top layer slightly so it doesn’t look completely chaotic, but leave the sides, back, and bottom layers textured and voluminous. Use a strong-hold hairspray to lock the texture in place and prevent pieces from smoothing out throughout the day. You can also use a texturizing spray for extra grip. The goal is texture and movement, not sleekness.
When This Style Works Best
- For editorial or fashion-forward occasions: This is a statement style, not an everyday look
- On textured or curly hair: Your natural texture is doing half the work
- With bold makeup or fashion: The ponytail style should match the boldness of your overall look
- For shorter cuts (pixie-grown-out, textured bobs): Longer short hair doesn’t have the structure for this
- With confidence: This is a “yes, I meant to do this” style; commit to it fully
- Not ideal for: Professional or conservative settings; best reserved for creative fields, fashion events, or nights out
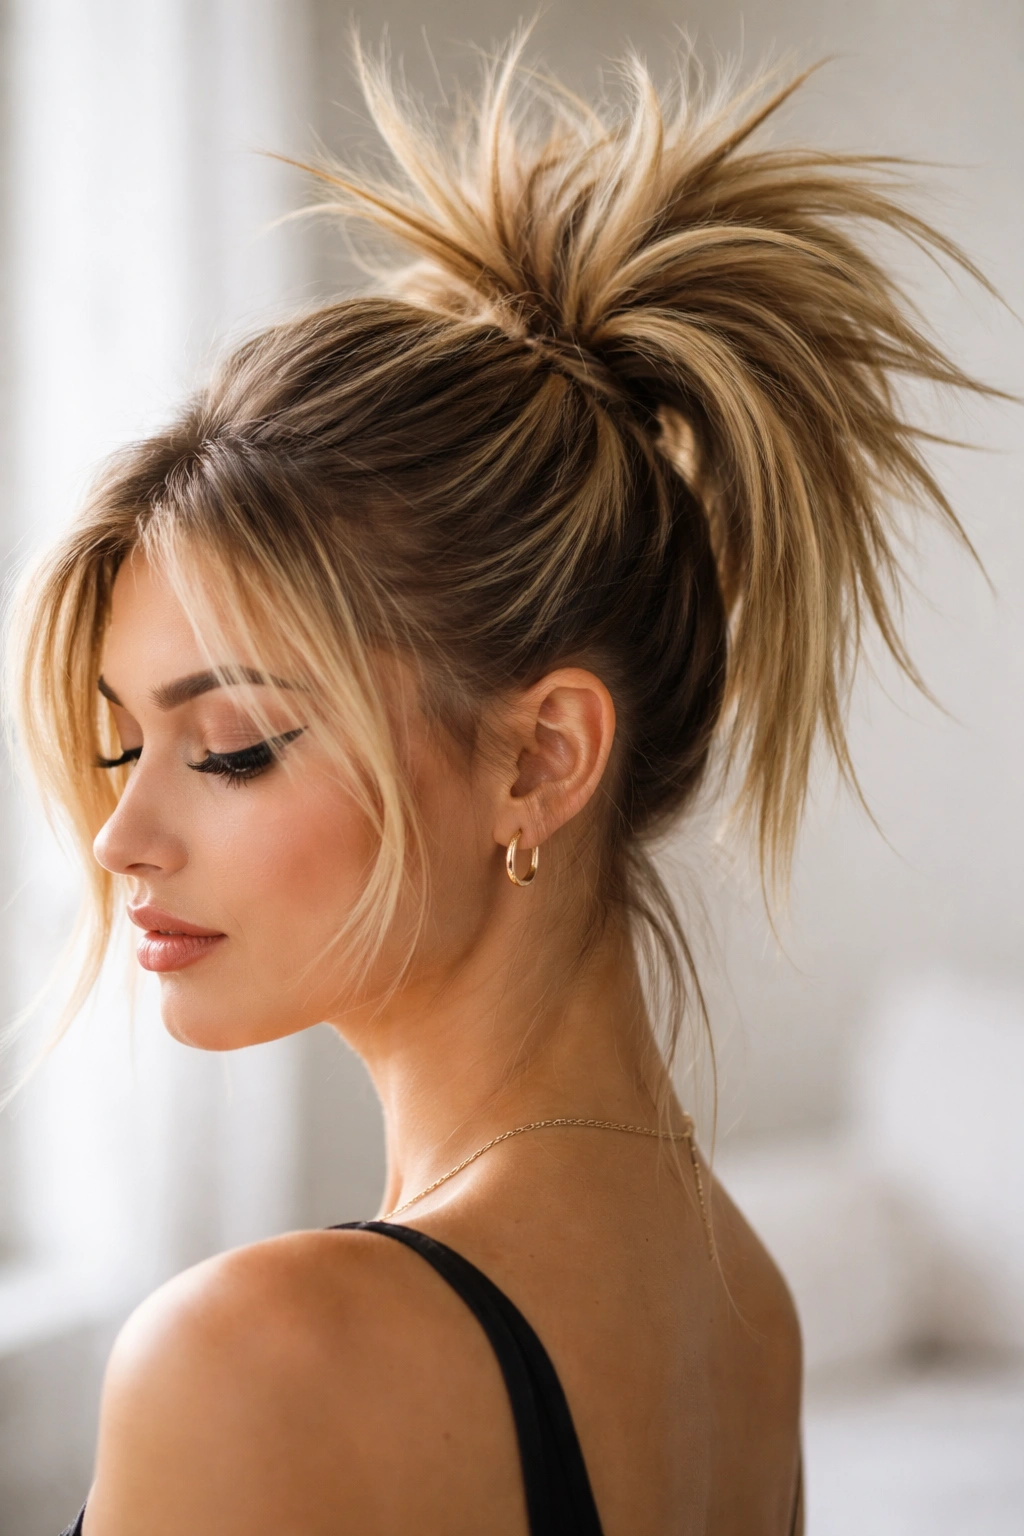
11. The Low-Key Messy High Ponytail
This style looks effortlessly undone, like you grabbed your hair in a second and didn’t bother with perfection. It’s actually more intentional than it appears, but the key is making it look careless rather than carefully constructed. On short hair, this style reads as modern and low-maintenance rather than sloppy.
How to Create “Intentional Messy”
Start with slightly textured hair (second-day hair is ideal; texture spray works if it’s fresh). Don’t tease aggressively; just rough up the crown gently with your fingers. Gather loosely at the crown with a slightly thicker elastic, and let random pieces fall out naturally around your face and neck. Don’t attempt to smooth anything; the texture and pieces falling out are the whole point. You can twist or partially braid a few sections on your way to the crown for added texture, but it should look accidental. Finish with a minimal amount of texturizing spray to prevent true flyaways while emphasizing the intentional pieces.
The Fine Line Between Messy and Unkempt
- Looks intentional: Pieces fall out in a pattern; a few twisted sections visible; overall texture is consistent
- Looks unkempt: Hair sticking in every direction randomly; visible tangles; texture looks accidental and unfinished
- Make it work: Start with clean, detangled hair; rough texture is intentional, but tangles are not
- Product matters: A light texturizing spray defines the style without making it look greasy
- Face-framing pieces: Leave at least one piece out on each side of your face for softness
- Works on: All hair types, especially textured hair that naturally wants to escape a ponytail
- Perfect for: Casual days, creative workplaces, or when you want to look polished but not overdone
12. The Velvet Scrunchie High Ponytail
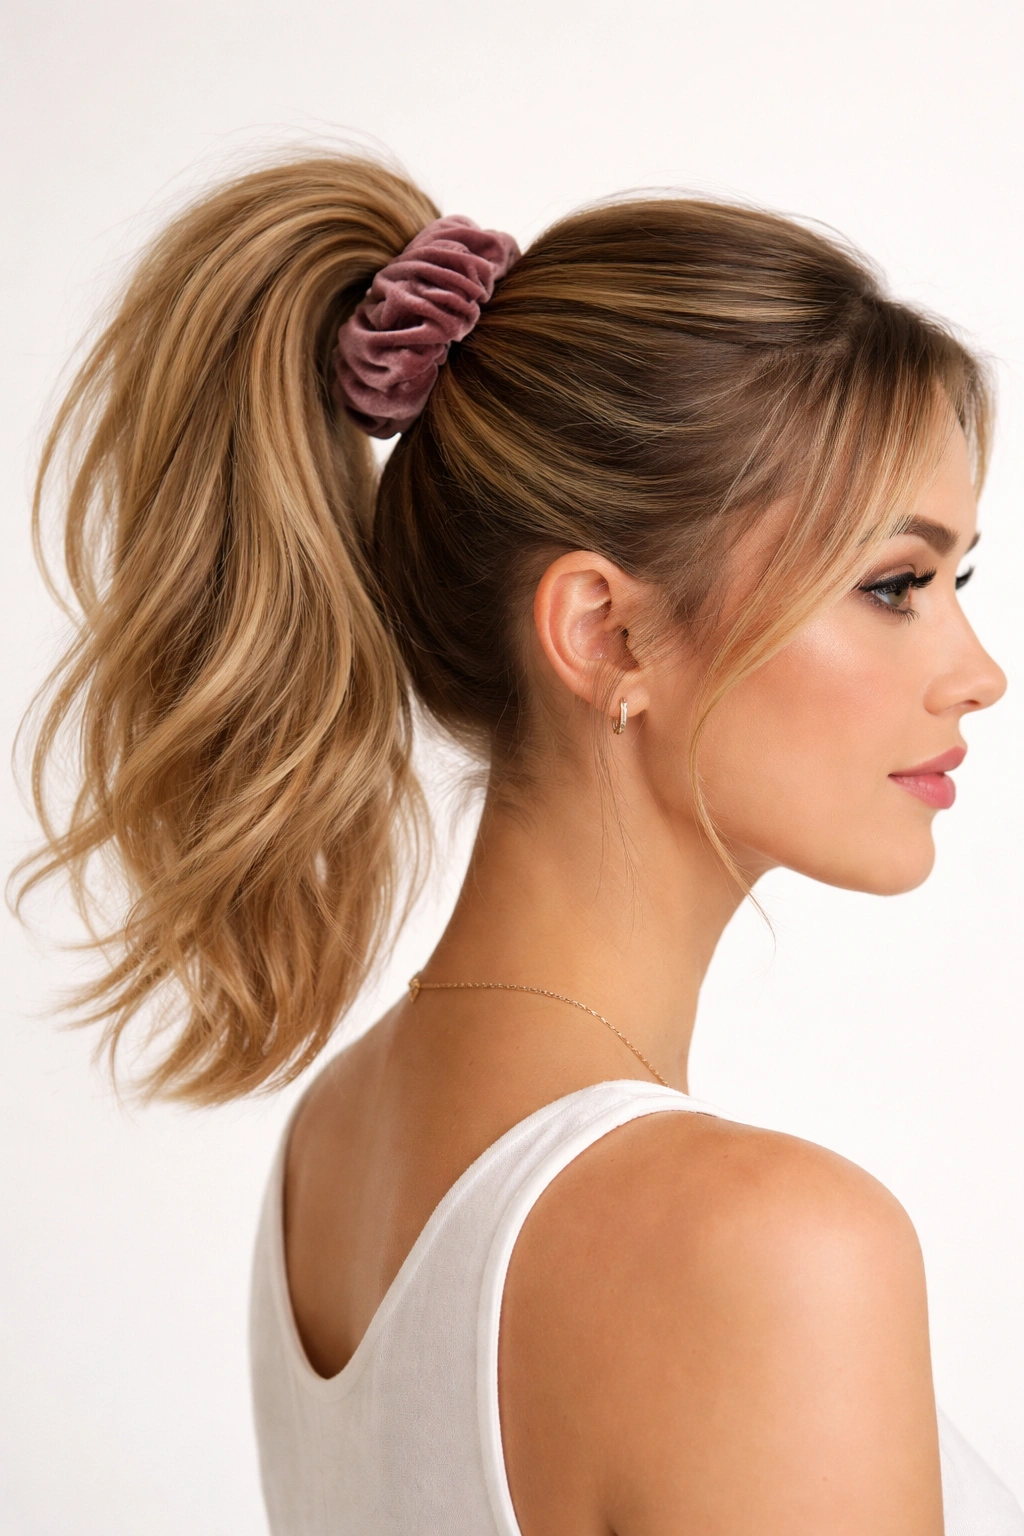
The elastic itself becomes a design element in this style. Instead of a standard hair elastic, you use a velvet scrunchie, a pearl-adorned elastic, a metal cuff, or any decorative hair tie that adds color, texture, or visual interest. On short hair, the elastic is more visible, so making it a feature rather than hiding it elevates the entire look.
Making the Scrunchie the Star
Gather your hair high at the crown—you can use any technique (sleek, textured, twisted) to create the ponytail itself. The focus then shifts to the scrunchie or elastic you choose. A jewel-toned velvet scrunchie against blonde hair is a color statement. A pearl-adorned elastic adds understated luxury. A chunky metal cuff makes things modern and edgy. The scrunchie should complement your skin tone, outfit, or hair color; it’s not an afterthought but an intentional styling choice. This is one of the easiest ways to make a simple high ponytail look expensive and put-together.
Scrunchie Choices for Different Aesthetics
- Velvet: Creates softness and luxury; jewel tones (burgundy, emerald, sapphire) work on most skin tones
- Pearl or beaded: Adds understated elegance; pairs beautifully with minimalist or classic styles
- Metal cuff: Creates an edgy, modern look; rose gold or brass works universally
- Silk or satin: Reduces friction on hair and looks polished; neutral tones work with everything
- Colorful: Match to your outfit’s accent color or choose a contrasting shade for visual pop
- Textured (macramé, woven): Adds bohemian or artisanal vibes
- Hairline considerations: A pretty scrunchie draws attention to that area, so make sure your hairline and edges are groomed
- Proportions matter: A chunky scrunchie on a tiny ponytail looks imbalanced; match the weight of the scrunchie to your ponytail volume
Final Thoughts
High ponytails absolutely work on short hair—you just need to understand the specific techniques that create the fullness, security, and intentionality that longer ponytails get naturally from their length. Whether you’re drawn to sleek gel versions, textured and lived-in styles, braided details, or decorative scrunchies, there’s a high ponytail approach that’ll work for your hair type and the vibe you’re going for.
The game-changer for short-hair ponytails is investing in the right products: a texturizing spray for grip, a strong-hold gel or mousse, and a selection of pretty elastics or clips that double as design elements. Tease at the crown more than you might think necessary—that cushion of texture is what prevents short ponytails from sliding down and disappearing. And remember that on short hair, the ponytail doesn’t have to be dense or full to look intentional; sometimes the smallest gathering positioned high and styled with confidence reads as more sophisticated than a thick, long ponytail ever could.
The beauty of short hair and high ponytails is that you can change your style daily without damage or effort. Master a couple of these techniques, keep your tools accessible, and you’ll have polished, salon-worthy ponytails ready in under two minutes whenever you need them.