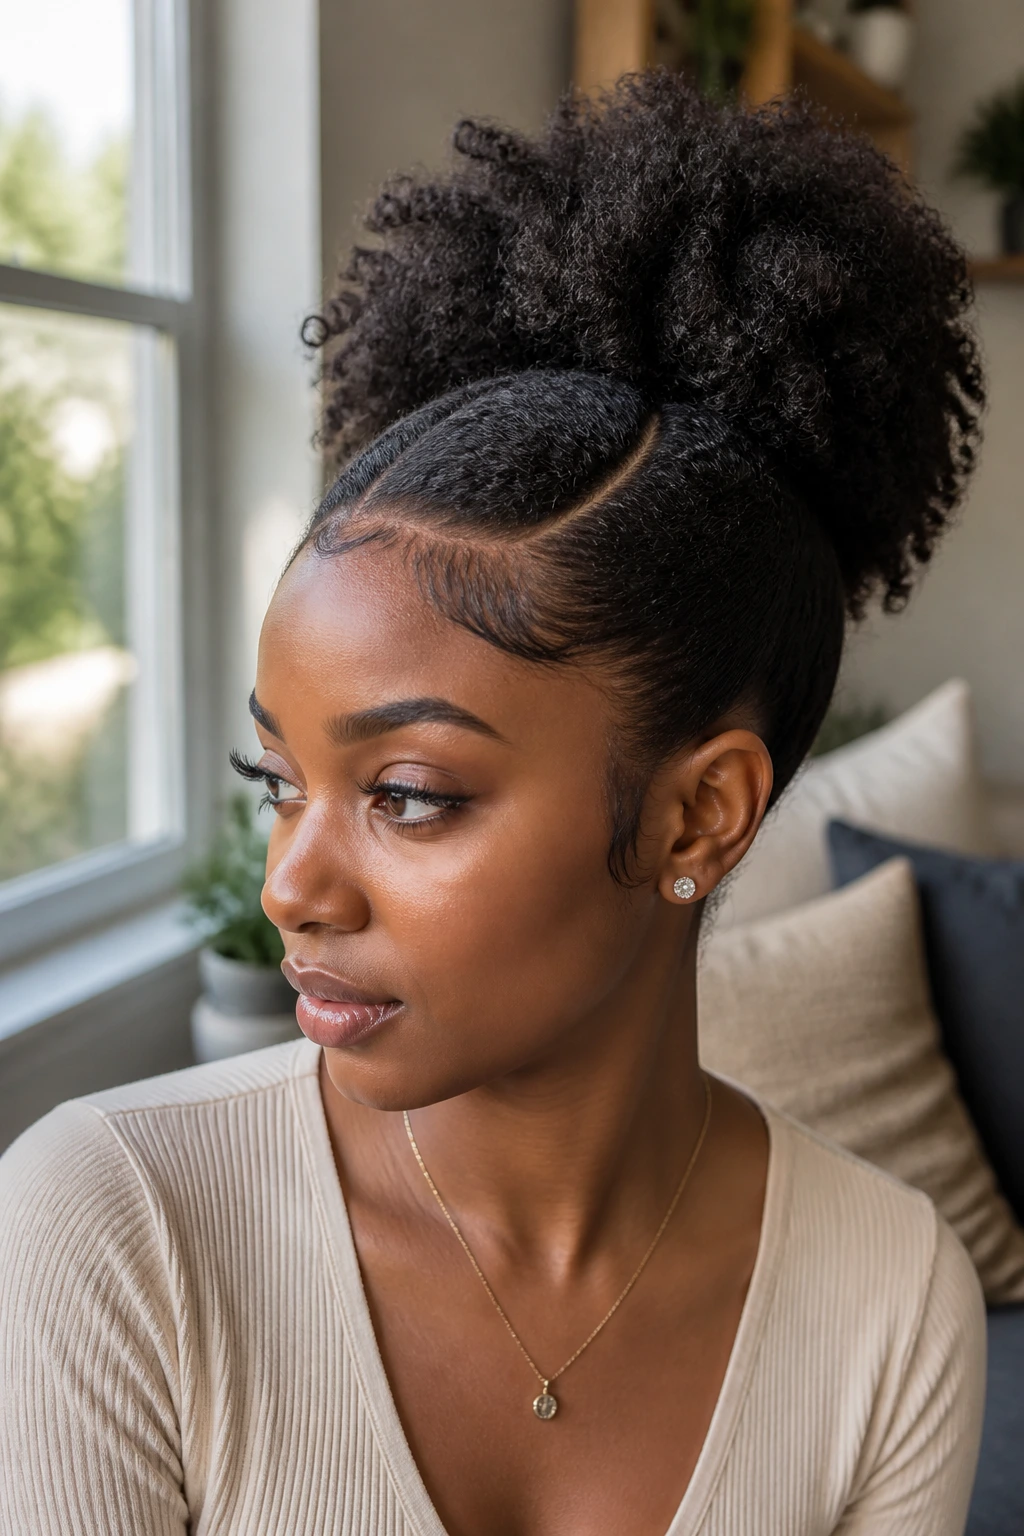
An Afro puff can look easy from a distance, but Afro puff styles for Black women live or die by one thing: how you treat the roots. If the base is rushed, the whole style feels flimsy. If the base is clean, moisturized, and shaped with a little intent, even a five-minute puff can look polished enough for work, dinner, or a last-minute photo that somehow becomes the photo.
Height changes everything.
A puff sitting at the crown reads playful and bold. One tucked low at the nape feels softer and a little more controlled. Add a side part, a braid, a scarf, or two puffs instead of one, and the same natural hair can move in a completely different direction without needing extensions or a complicated install. That’s the beauty of this style family. It gives you range, but it also tells on you fast if your hair is dry, over-gelled, or pulled too tight.
The good news is that a strong puff doesn’t need to be perfect. It needs shape, balance, and enough moisture to keep the coils from looking thirsty by lunchtime. Start with the version that matches your hair’s mood, not just your mood, because those two things are not always the same.
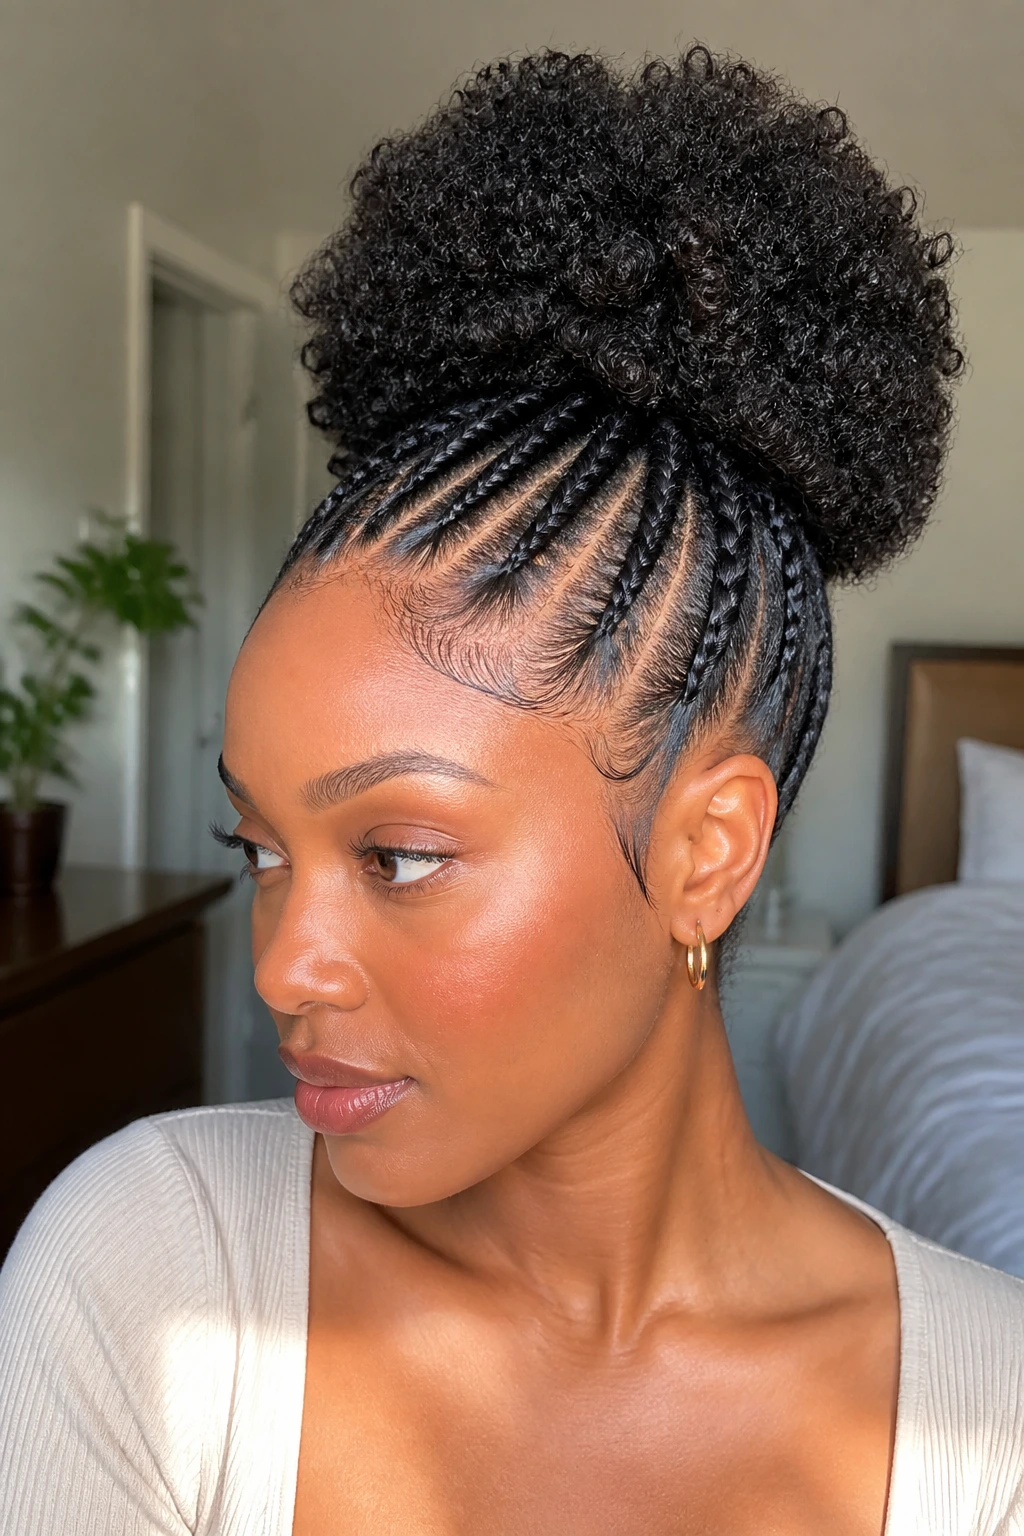
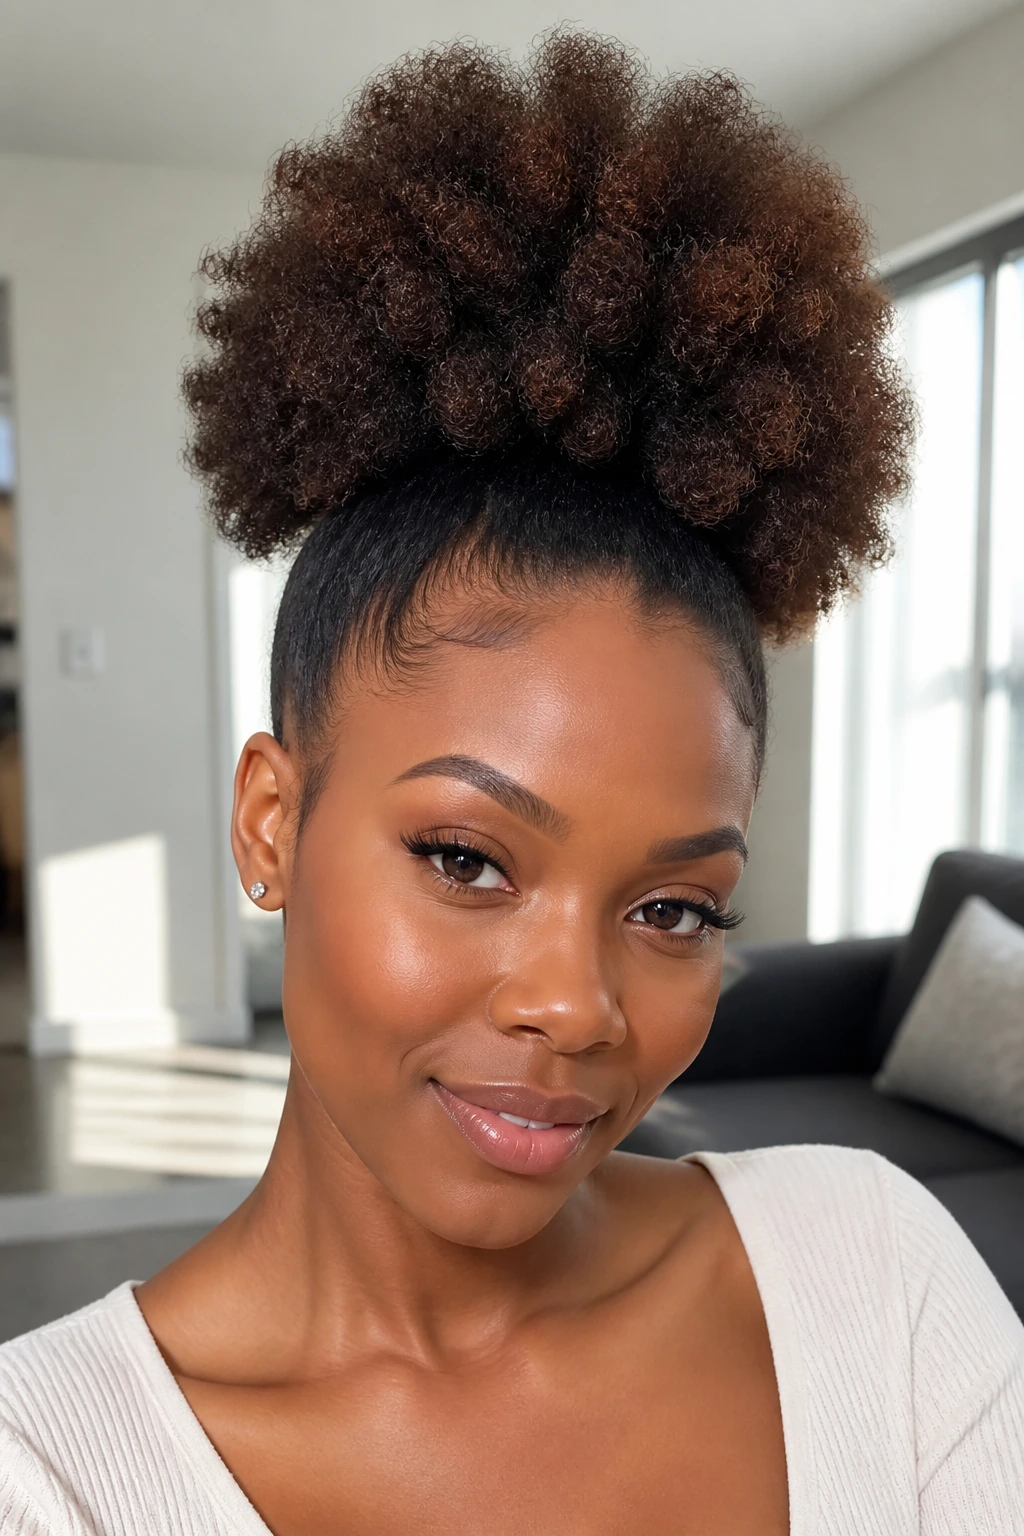
1. The High Crown Puff
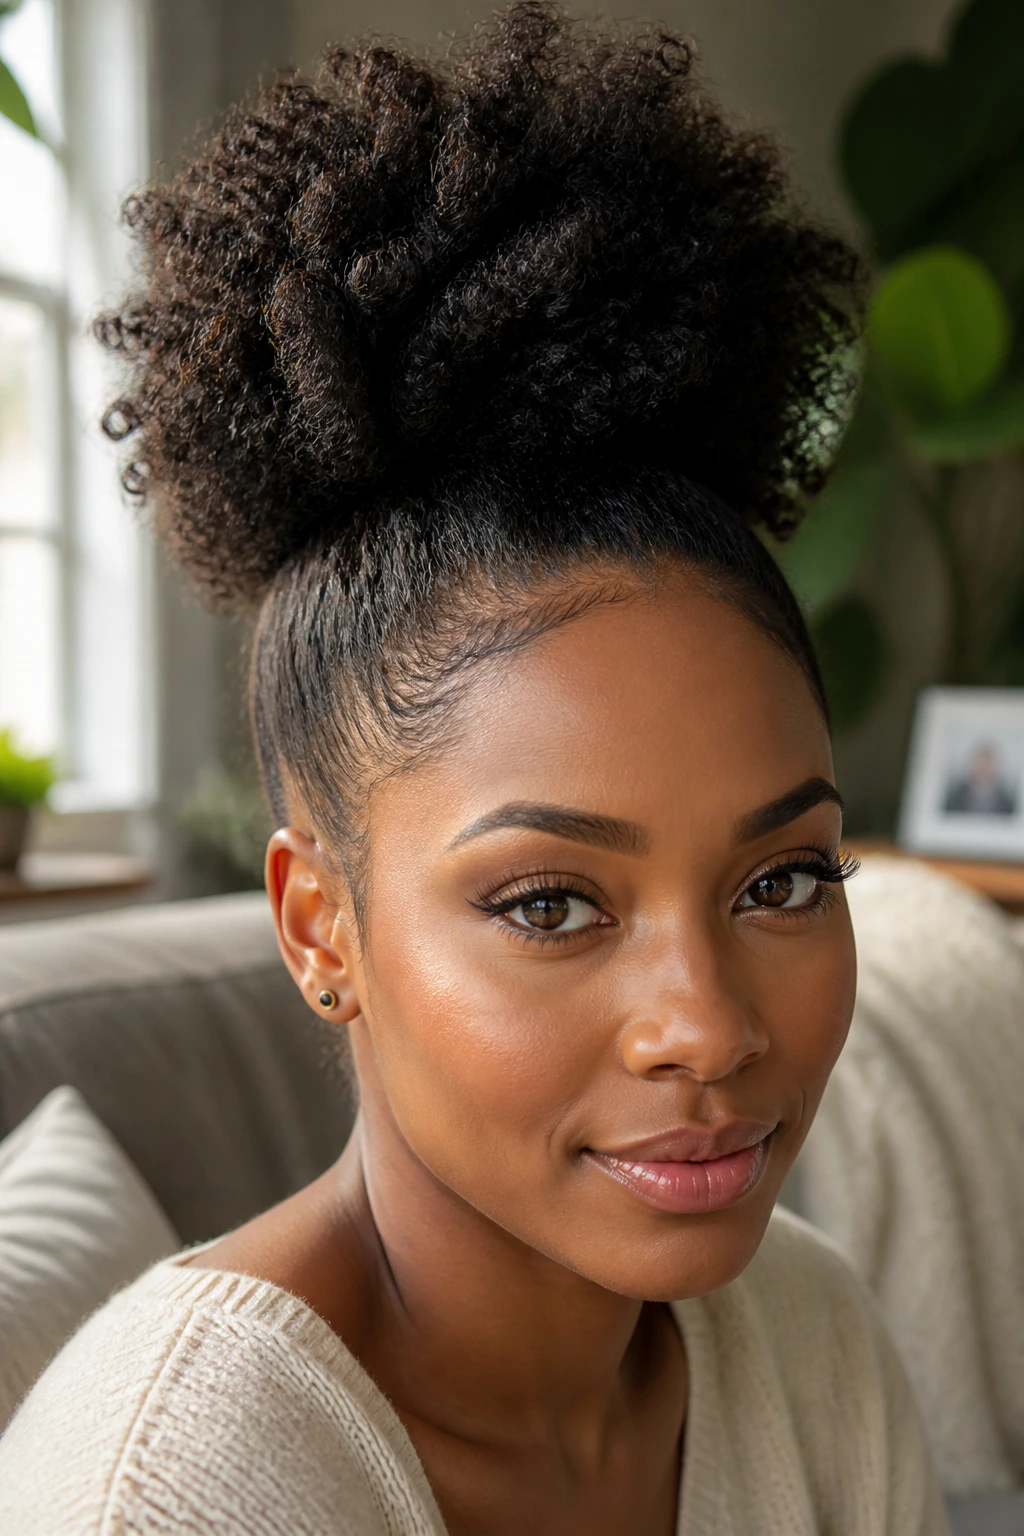
The high crown puff is the one people reach for when they want lift without losing the natural texture. It sits up top, shows off cheekbones, and makes the whole face look more open. I like it because it gives structure to dense coils without asking for much more than a brush, a strong elastic, and a little patience at the front hairline.
Why the height works
A high puff draws the eye upward, which is useful if your hair is short, heavily shrunken, or cut in layers that refuse to sit still. It also makes a plain outfit look more finished. One clean puff at the crown can do more work than a pile of accessories ever could.
The trick is not to yank the hair straight back from every direction. That makes the front look flat and the puff itself too tight. Gather the hair upward in sections, smooth each section gently with a firm brush, and stop once the shape feels secure. The puff should feel full, not painful.
- Use a water-based leave-in on the roots before styling.
- Brush upward in small sections instead of one hard sweep.
- Secure with a snag-free elastic, then wrap a second elastic if the hair is thick.
- Fluff the puff with your fingers, not a comb, so the coils keep their body.
Do not flatten the crown too hard. A little lift near the front makes the whole style look better.
2. The Low Nape Puff
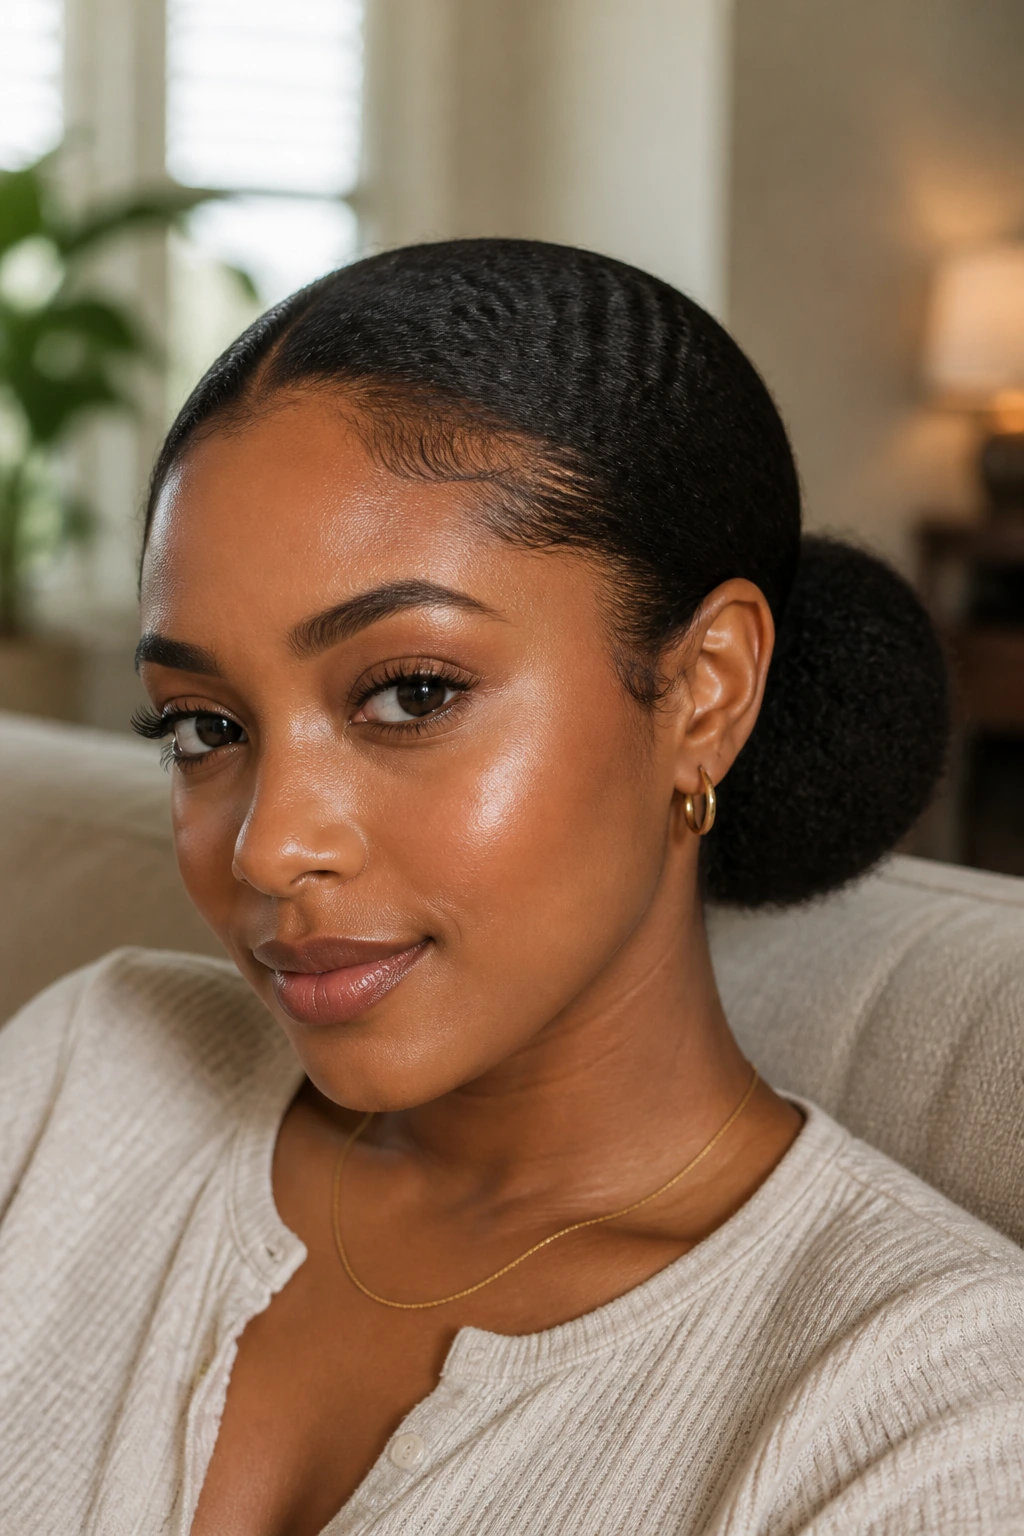
A low nape puff is calm in a way a high puff never is. It sits closer to the neck, keeps the profile neat, and works beautifully on days when you want your hair to behave without looking stiff. This is the style I’d pick if the scalp feels tender or if you simply want something that stays out of the way.
It’s also one of the easiest puff styles for Black women to wear with hoops, collared shirts, or a turtleneck. The hair rests lower, so the shape doesn’t fight your clothing. That sounds small, but it matters. A lot.
The base should be smooth, but not scraped tight. Brush the hair down and back toward the nape, then secure it where the head starts to curve. If you place the elastic too low, the puff can droop. Too high, and it starts acting like a half-high puff with commitment issues.
It looks deliberate.
A low puff works especially well on day-three or day-four curls because it can hide frizz at the back while keeping the front clean. If the ends are dry, mist them lightly with water and a leave-in mix before fluffing. Dry coils can look fuzzy in a nice way, but brittle fuzz is a different story.
3. The Deep Side Puff
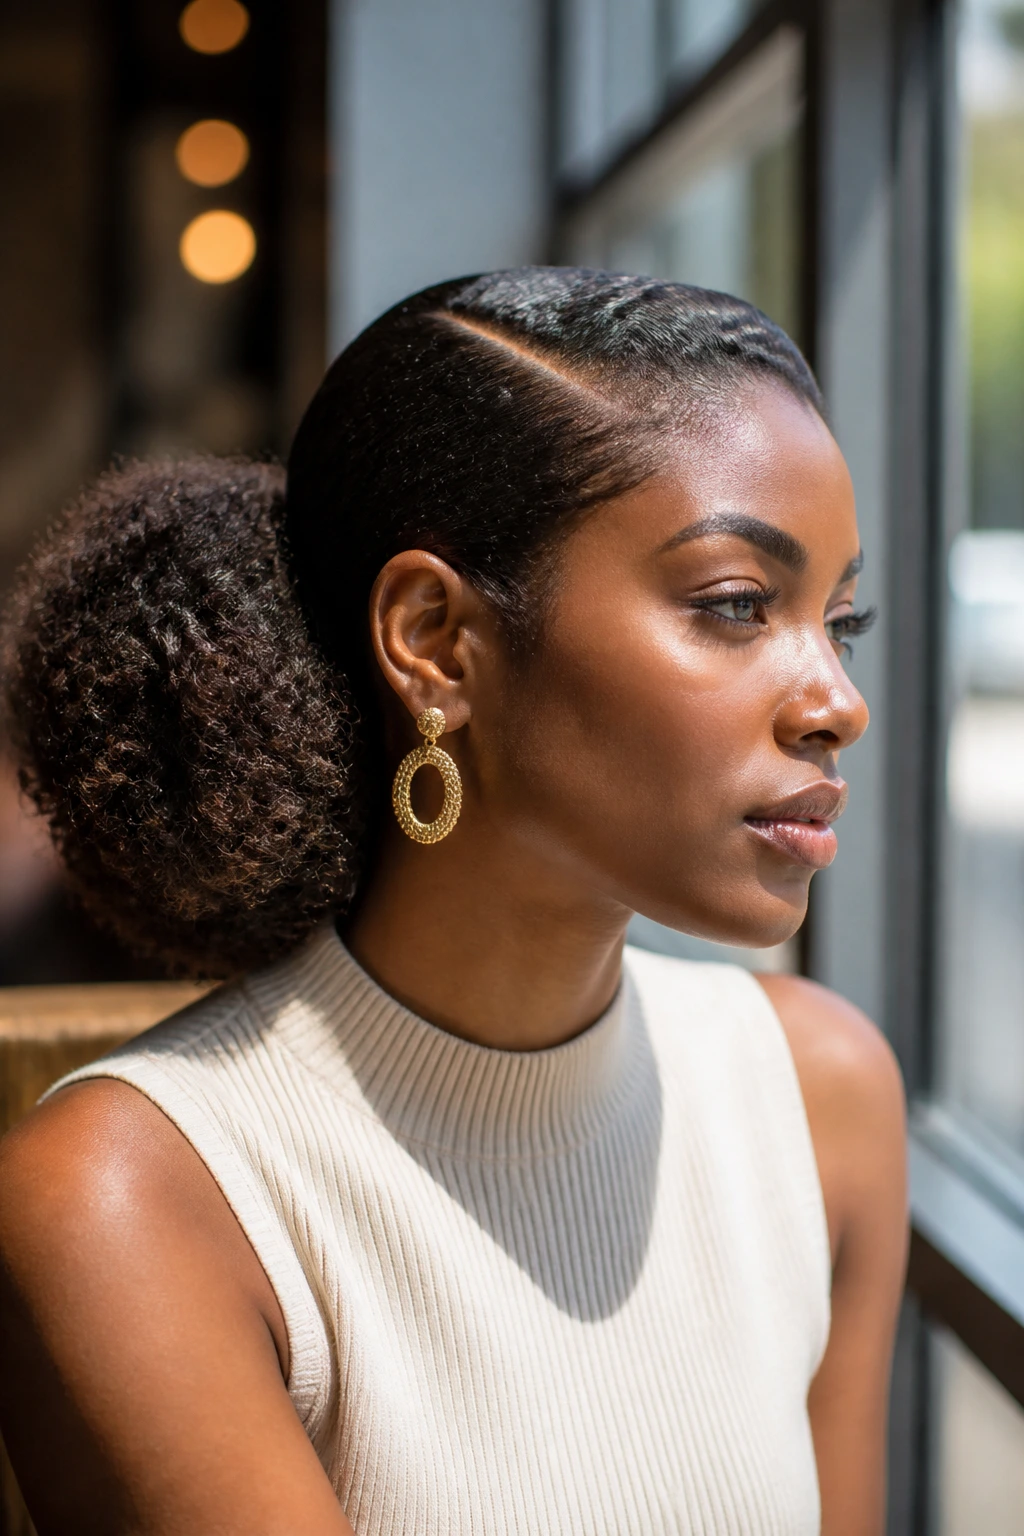
If your part is off-center and your earrings are loud, the side puff already knows what it’s doing. It has a little drama built in, but not the kind that needs a special occasion. The puff lands to one side, which gives the face a softer line and makes the whole style feel less predictable than the straight-back version.
What keeps it from collapsing
The part matters more here than people think. A shallow side part can disappear once the hair is gathered, so I prefer one that starts near the arch of the eyebrow and angles back clearly. That gives the style a visible direction. After that, brush the hair toward the chosen side and secure it just behind the ear or slightly above it, depending on how full you want the puff to sit.
A side puff is also where a good edge brush earns its keep. You do not need slicked-down baby hairs in thick rings unless that’s your thing. A simple, clean sweep along the front is enough.
- Place the part before adding product.
- Keep the opposite side smooth so the shape reads on purpose.
- Use bobby pins if one side keeps sagging toward the center.
- Pair it with one statement earring, not three competing things.
The best side puffs feel a little asymmetrical and a little confident. They never look like you were trying to hide a bad part. They look like you picked the angle and meant it.
4. The Two-Puff Look
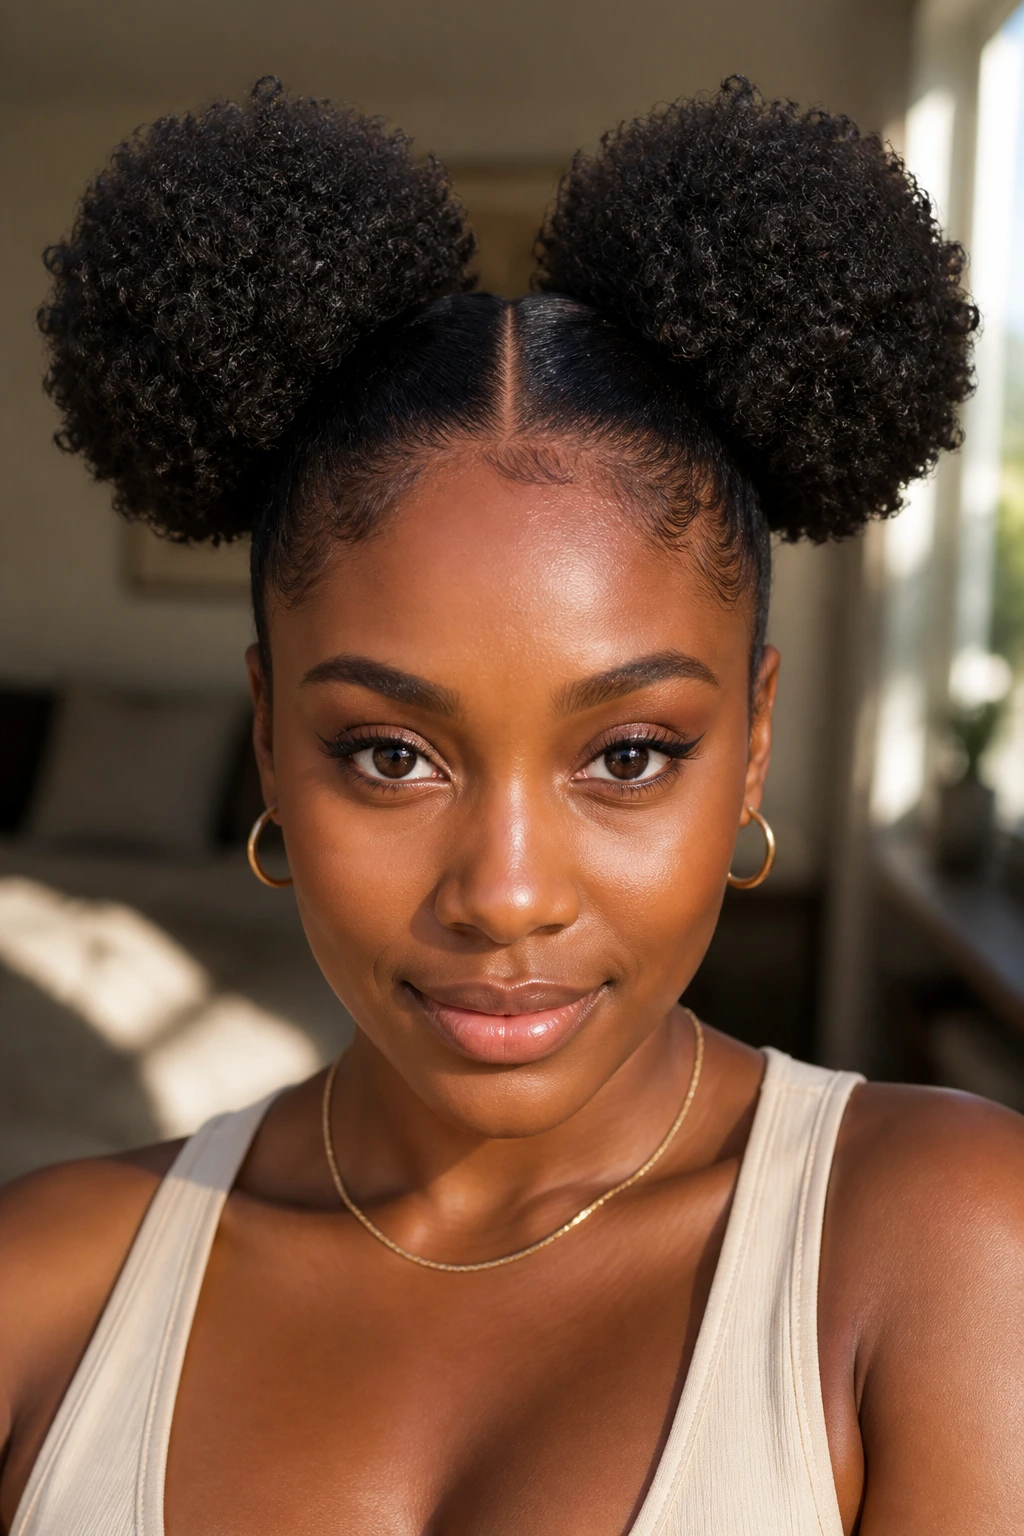
Two puffs can look sweet, sharp, or grown, depending on how clean the parts are. That’s the part people miss. The style is not childish unless you make it childish. On an adult head, with neat parts and enough volume, two puffs can look deliberate and surprisingly chic.
A center part is the usual route, but the quality of that part matters. If the line wavers, the whole look starts to feel unsteady. Use the tip of a rat-tail comb and trace the part while the hair is slightly damp, then clip each side away before gathering. That keeps the sections from mixing and helps the puffs sit at the same height.
I like two puffs on medium-length natural hair because each side needs less length to look full. One giant puff can swallow shorter coils. Two smaller ones give balance instead.
A few details that save the style
- Keep both puffs at the same level unless you want a playful, uneven look.
- Use matching accessories on each side if you want symmetry.
- If the sides puff out too much, smooth only the base and leave the ends fluffy.
- A little gel at the roots goes farther than a heavy layer all over the head.
This style is happiest when the sections are clean and the tension is even. Messy parts make it look rushed. Clean parts make it look intentional.
5. The Cornrow-Base Puff
Sleek front. Full back. That’s the appeal here. A cornrow-base puff keeps the hairline neat while letting the puff itself stay soft and big, which is a useful combination if you want a style that feels controlled without losing the natural shape.
The braid map that holds the puff
You do not need a whole head of cornrows for this. Two to four straight-back braids from the front hairline to the crown can do the job, especially if the rest of the hair is left free at the back. Some people prefer side braids that feed into a low puff. Both work. The difference is in the mood: straight-back braids feel cleaner, while side braids soften the line a little.
This style is one of the better choices when you want your hair to last through a busy stretch. The front stays neat longer because it is braided down, not brushed and re-brushed all day.
What to avoid
- Do not braid on dry, tangled hair.
- Do not pull the front rows so tight that the scalp feels hot or tense.
- Do not bury the puff under too much gel; you want hold, not flakes.
- Do not forget to oil the scalp lightly after braiding if your skin runs dry.
A cornrow base gives the puff a frame. That frame is the point. Without it, the style can look like a regular puff with extra work. With it, the whole thing feels cleaner and more structured.
6. The Twist-Out Puff
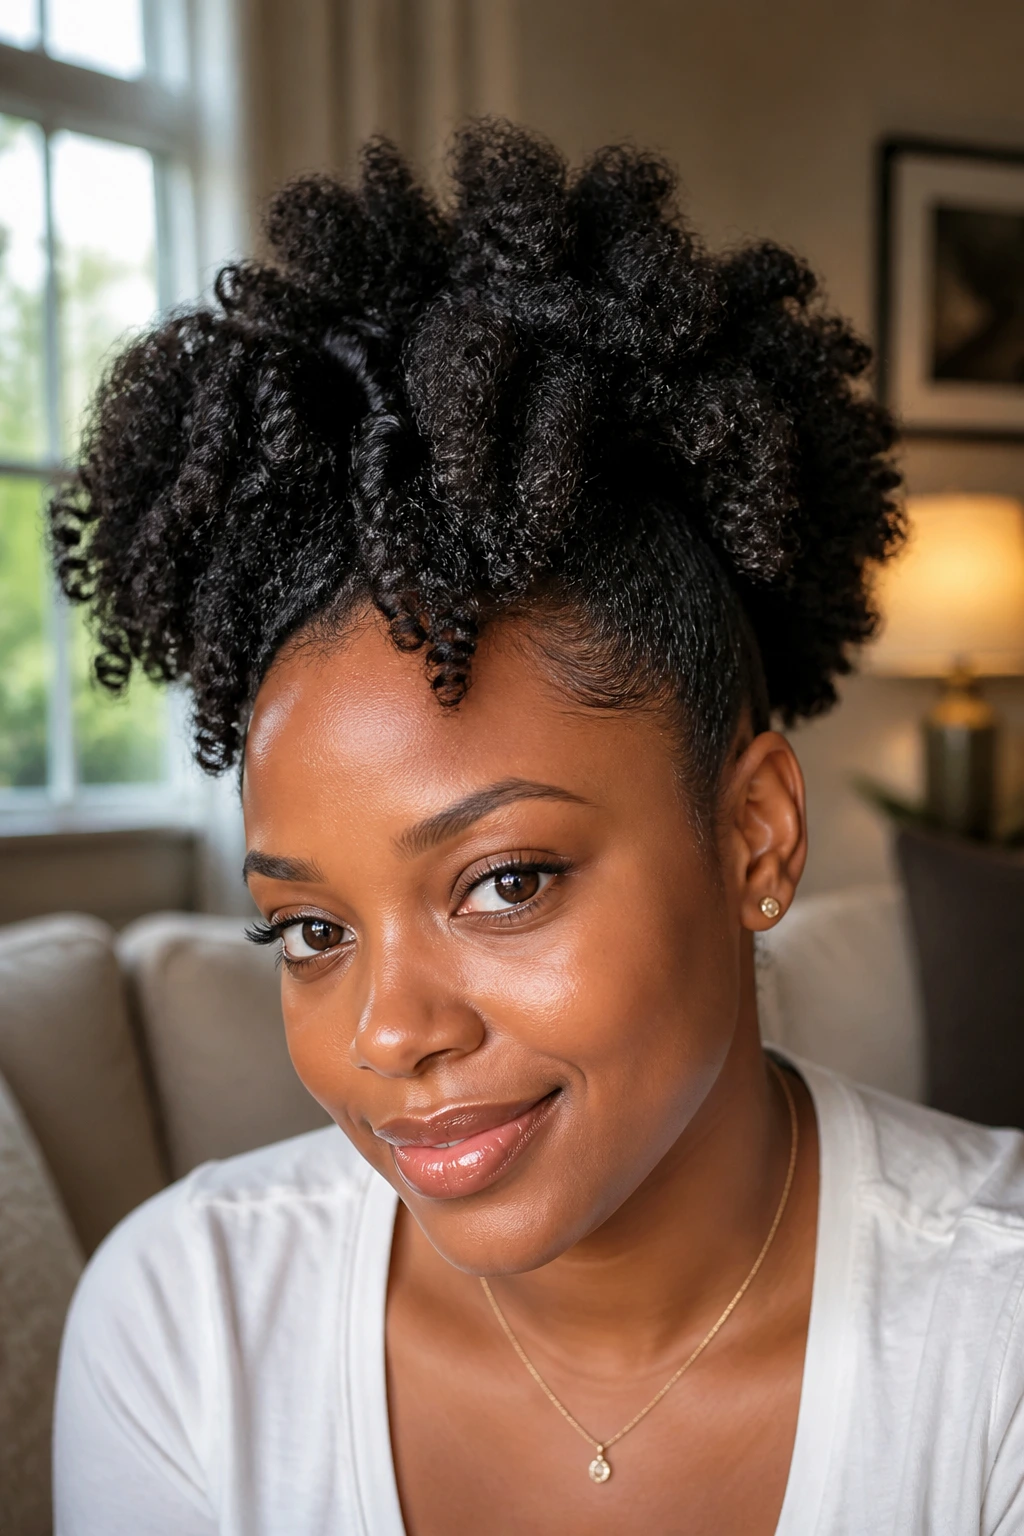
A twist-out puff has a softer, more textured look than a straight brushed puff, and the difference is obvious the second you fluff it. The surface has more definition, the puff reads fuller, and the style keeps a bit of the twist pattern even after you gather it. That makes it one of my favorites when I want volume that still feels touched by definition.
The best version starts with fully dry twist-out hair. Not damp. Not mostly dry. Fully dry. If the twists are still holding moisture, the puff can collapse faster and the shape turns fuzzy in a less useful way. Once the twists are out, separate them gently with oiled fingers, then gather the hair without smoothing every coil into submission.
How to keep the texture soft
A cream with light hold usually works better here than a heavy butter. Heavy products can weigh the puff down and make the ends stick together in clumps. You want movement. You want airy fullness. A pick can lift the roots, but use it sparingly and only near the base.
This style is good for anyone who likes texture that looks lived in rather than shellacked. It also survives a little humidity better than a polished, slick puff because the shape already expects some frizz.
The trick is restraint. If you separate too much, the definition disappears. If you don’t separate enough, the puff can look narrow. There’s a narrow middle lane, and that lane is where the style looks its best.
7. The Puff Hawk
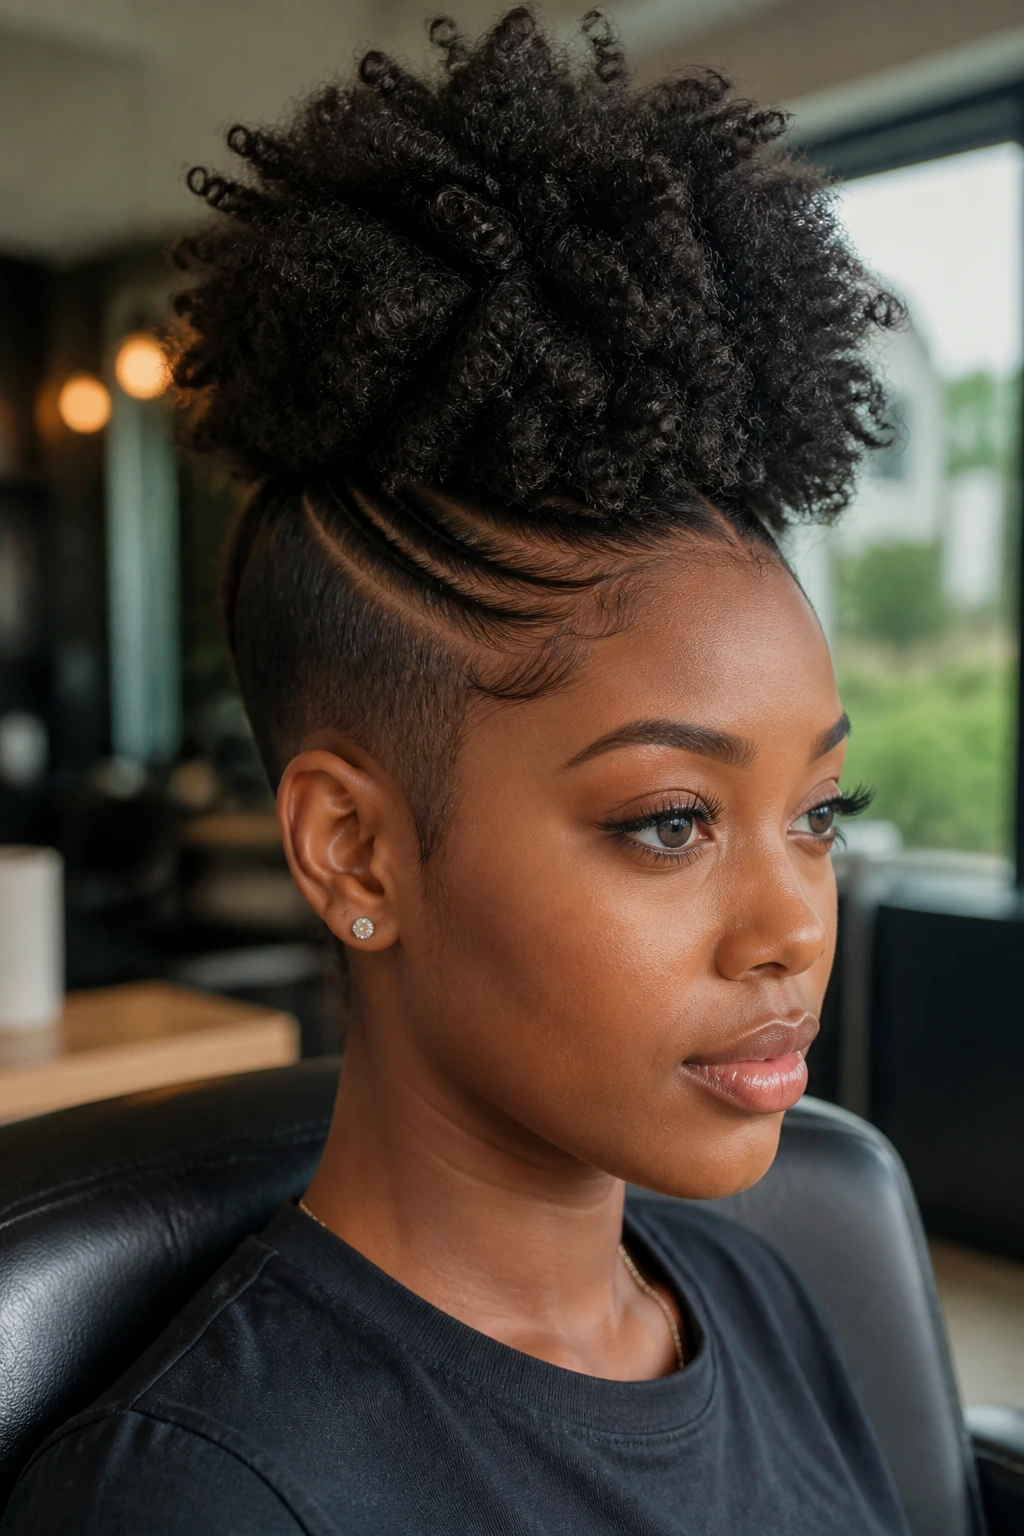
I like a puff hawk more than a standard high puff when I want shape, not just size. The sides are tightened, braided, or slicked down, and the center carries the volume. That creates a strong line through the middle of the head and gives the style a little edge without turning it into a full braided mohawk.
This style is all about clean sectioning.
If the side sections wander, the whole look loses its shape. Start by deciding how wide the center strip should be. On some heads, a narrow strip works best because it makes the puff look taller. On others, a wider strip gives enough room for a fuller, rounder finish. Pull the side sections back first, then work on the center.
- Use gel only where you need hold.
- Keep the center section fluffy and the sides smooth.
- Braid the sides if you want the style to last longer.
- Secure the puff at the crown or middle-back, depending on how dramatic you want the silhouette.
A puff hawk is a good pick when you want something sharper than a basic puff but still rooted in natural texture. It has attitude. Not the loud kind. The useful kind.
And that’s the difference between a puff hawk that works and one that just looks busy. The shape needs to read fast.
8. The Half-Up Puff
What do you do when your hair is too short for a dramatic high puff and too long to leave loose all day? The half-up puff solves that problem fast. It takes the top section and turns it into the focal point, while the rest of the hair stays down, twisted, or stretched.
Why it works on shoulder-length hair
The half-up shape gives shorter natural hair a way to look styled without forcing all of it into one tiny elastic. That is a relief for anyone whose curls shrink up hard the minute they touch air. The top puff adds height, while the lower section keeps some length visible.
This version also works well if your hair has different textures in different zones. The top can be brushed neatly into a puff, and the back can stay looser, which keeps the style from fighting itself.
Best ways to balance the bottom section
- Leave the bottom loose if you want softness.
- Twist the bottom into chunky flat twists if you want more control.
- Add a few cuffs or barrettes near the ends, not near the puff base.
- Keep the top section slightly stretched so the puff doesn’t shrink too much by midday.
A half-up puff is a good compromise style, and I mean that in the best way. It gives you the lift of a puff without asking the whole head to cooperate at once.
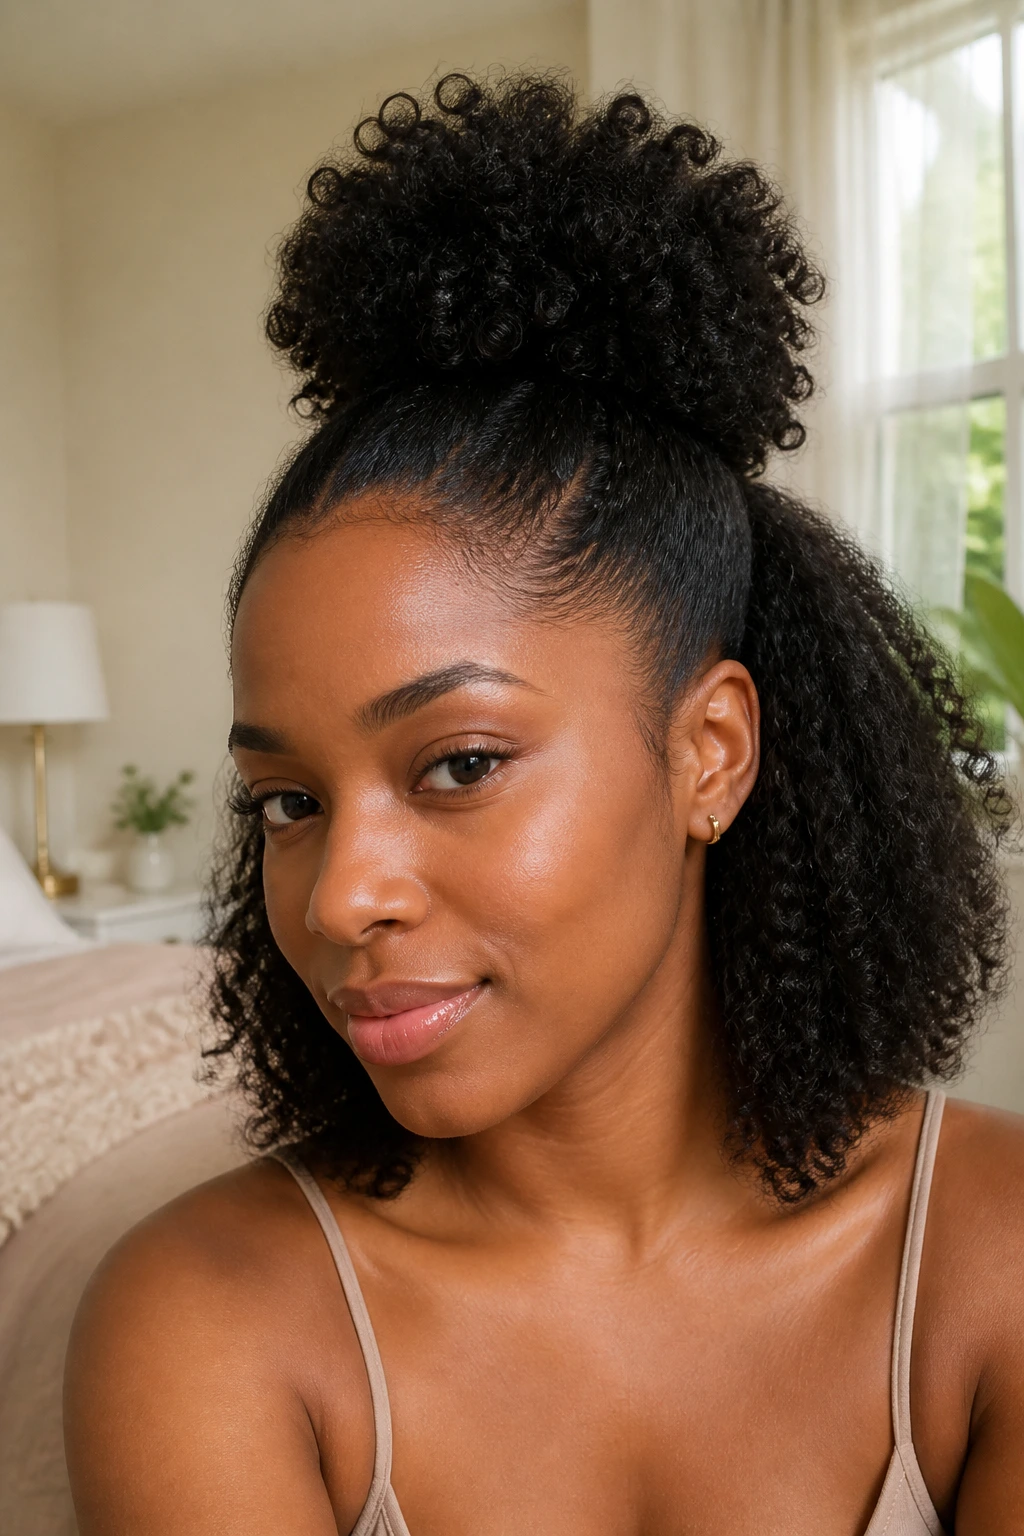
9. The Stretched Puff
Shrinkage is real. It can be charming, and it can also eat half your length before you’ve finished brushing. A stretched puff solves that by keeping more of the hair elongated before you gather it. The result is a puff that looks fuller, longer, and less compact.
The easiest way to stretch is with banding or gentle blow-drying on low heat. If you band overnight, keep the sections even and don’t over-tighten the bands. If you blow-dry, use a heat protectant and keep the nozzle moving. You want stretch, not heat damage. The hair should feel soft and pliable, not rough and hot.
A stretched puff tends to look cleaner on layered cuts because the length differences show less. It also makes dense coils easier to gather without creating a tiny knot of hair at the base. That knot is annoying. It pulls, it bunches, and it makes the puff sit crooked.
One-sentence truth: stretched hair gives you more shape to work with.
I reach for this style when I want the puff to look big without needing fake volume. It’s a practical move, not a fancy one, and that’s part of why it works so well. The hair keeps some length, the puff stays fluffy, and the whole style feels less compact by the end of the day.
10. The Braided Crown Puff
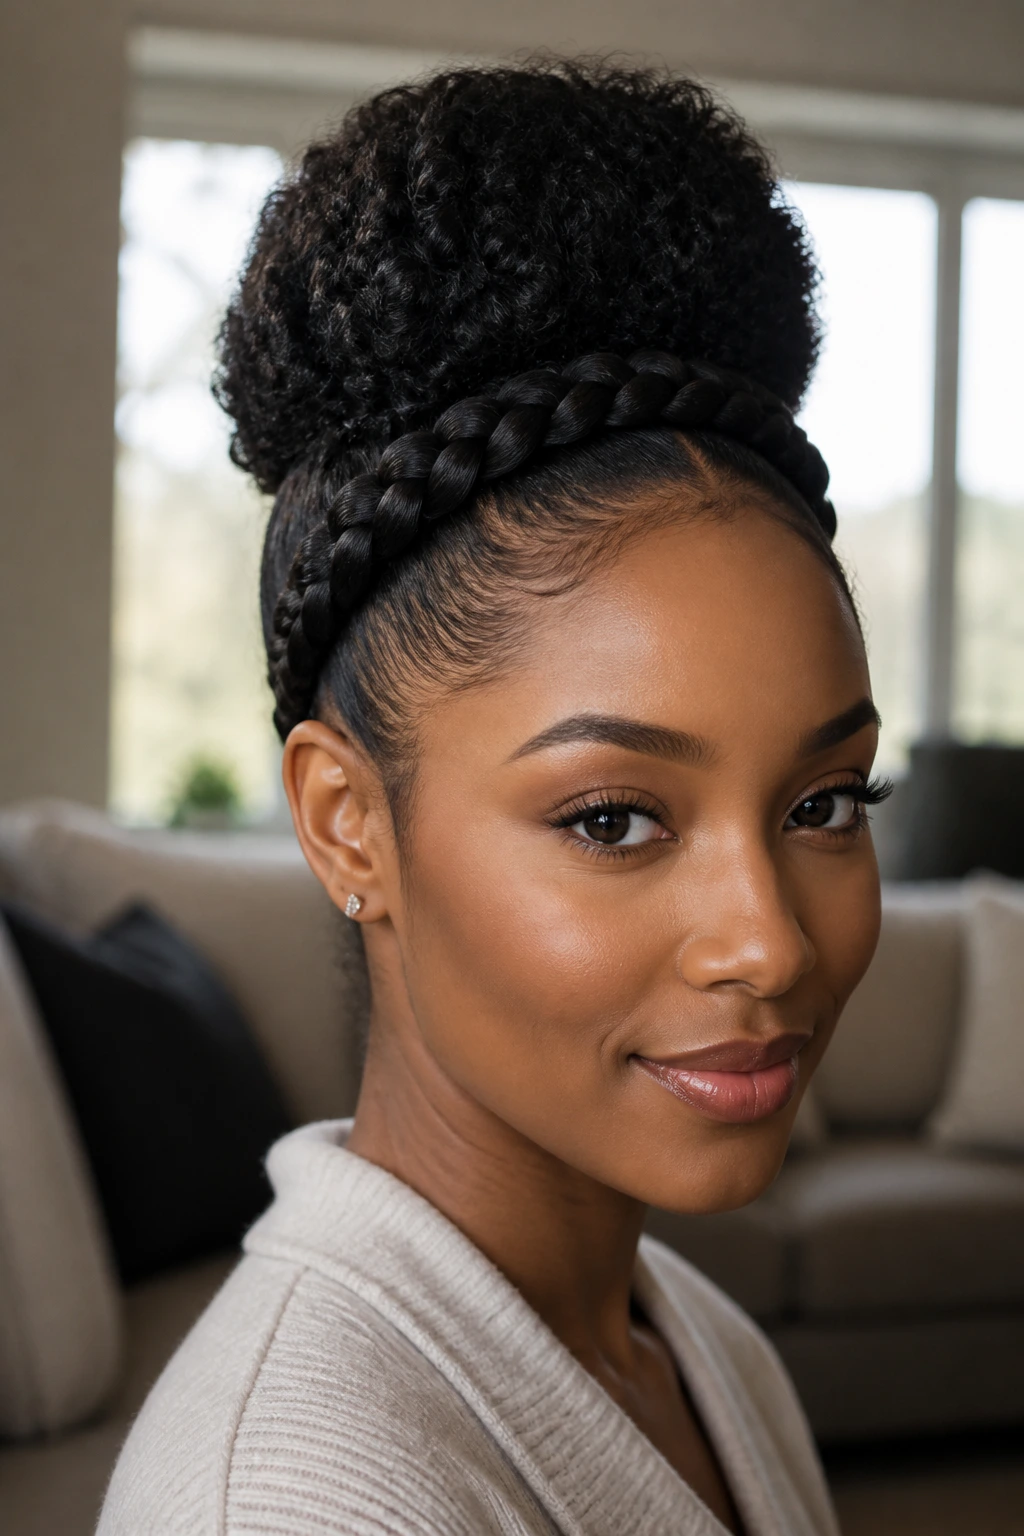
A braided crown changes the whole mood. It frames the face, lifts the eye line, and makes the puff feel dressed up without needing a lot of extra pieces. The braid line can be thin and delicate or thick and obvious; either way, it gives the style a finished edge.
Tiny details that keep the braid line neat
The crown braid should sit cleanly along the hairline or just behind it. If it drifts too far back, the style starts to look like a half-up braid instead of a crown. If it sits too low, it can crowd the puff and make the top feel heavy. The sweet spot is usually just above the eyebrows and around the temples, then feeding into the puff near the crown or back.
This is one of those puff styles that benefits from a little accessory restraint. A single gold cuff, a small clip, or a pair of subtle pins can be enough. Too much, and the braid loses its shape.
Best moments for it
- Dressier outings.
- Photos where you want the hairline to look tidy.
- Days when you want a puff but need the front to stay put.
- Times when your ends need to stay tucked away and protected.
The braided crown puff looks more involved than it is. That’s part of the appeal. It gives you the feeling of a styled updo while keeping the natural puff center stage.
11. The Scarf-Wrapped Puff
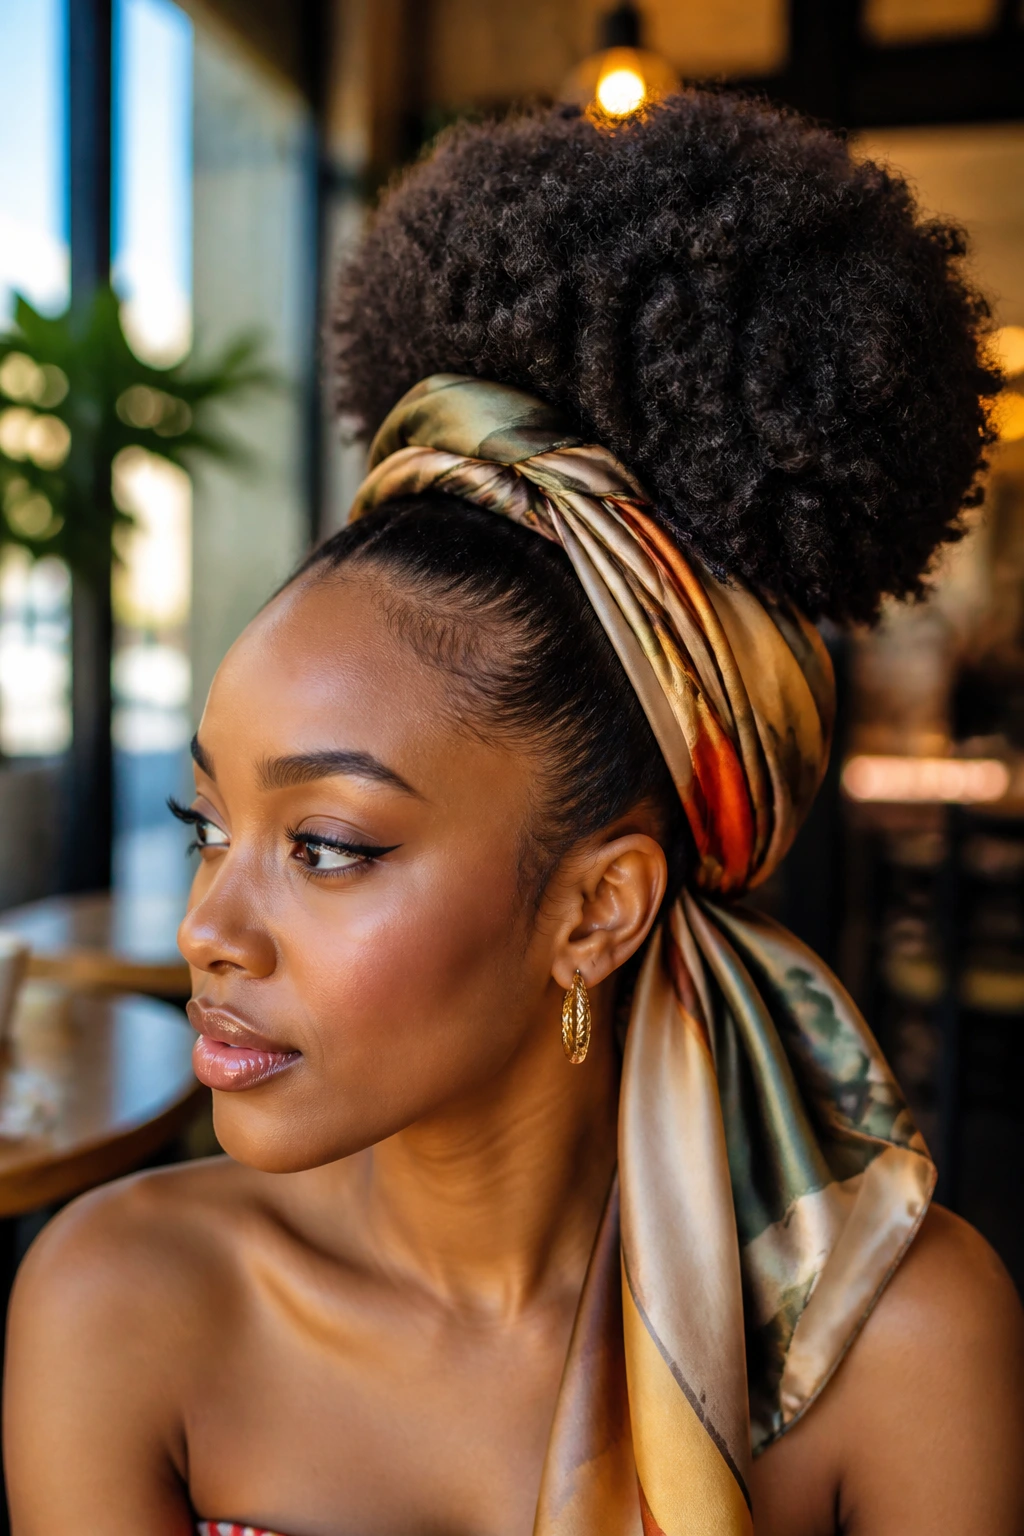
Second-day hair often needs a friend, and a scarf is the cheapest one. A scarf-wrapped puff hides a frizzy base, gives the style more personality, and makes the whole thing look intentional even when the hair underneath is doing its own thing. I love this option on days when the puff itself is fine but the perimeter needs a little help.
Three easy ways to tie it
- Wrap a satin scarf around the base of the puff and knot it at the back for a clean, tidy look.
- Fold the scarf into a narrow band and tie it across the front hairline to frame the face.
- Let one end drape to one side if you want the style to feel softer and less rigid.
Use satin or silk, not rough cotton. Cotton steals moisture and can rough up the edges by lunchtime. A smooth scarf keeps the puff from looking fuzzy before you’re ready for it.
This style is also useful when your puff is not fresh enough to wear plain but not dirty enough to wash. That middle space is where scarves earn their keep. They let you buy time without pretending the hair is something it’s not.
A scarf-wrapped puff has range. It can feel playful, polished, or a little retro depending on the print and how high you place the knot.
12. The Side-Part Puff with Laid Edges
If you want one puff that can move from daytime errands to dinner without a full reset, the side-part version is the one I’d reach for first. It gives the hair a shape that feels finished, and the side part keeps the front from looking too symmetrical or too stiff. A puff on a clean side part has a bit of polish built in.
How to keep the finish soft
The part should be visible, but not carved so hard that the scalp shows every detail. Brush the hair in the direction of the puff, then use a small amount of gel or cream at the roots to smooth the front. The edges can be laid lightly, but they should still look like hair, not lacquer.
This is where people often overdo it. A puff with stiff edges and a hard part can look neat in the mirror and unforgiving everywhere else. A softer finish ages better through the day. It moves a little. Good.
If your hairline is tender, skip heavy edge control and use a light touch with a soft brush instead. The style does not need a helmet shell to look clean. It needs direction.
The side-part puff is the one I think about when someone wants a style that feels grown, simple, and not at all fussy. It works with natural texture, lets the coils stay visible, and avoids the trap of trying too hard. That matters more than people admit.
A good puff should feel like a style, not a tug-of-war. Rotate the height, the parting, the braid base, and the accessories so your scalp gets a break from the same pressure point every time. That one habit keeps Afro puff styles for Black women looking fresh for longer, and it helps the hair stay happier while you wear them.