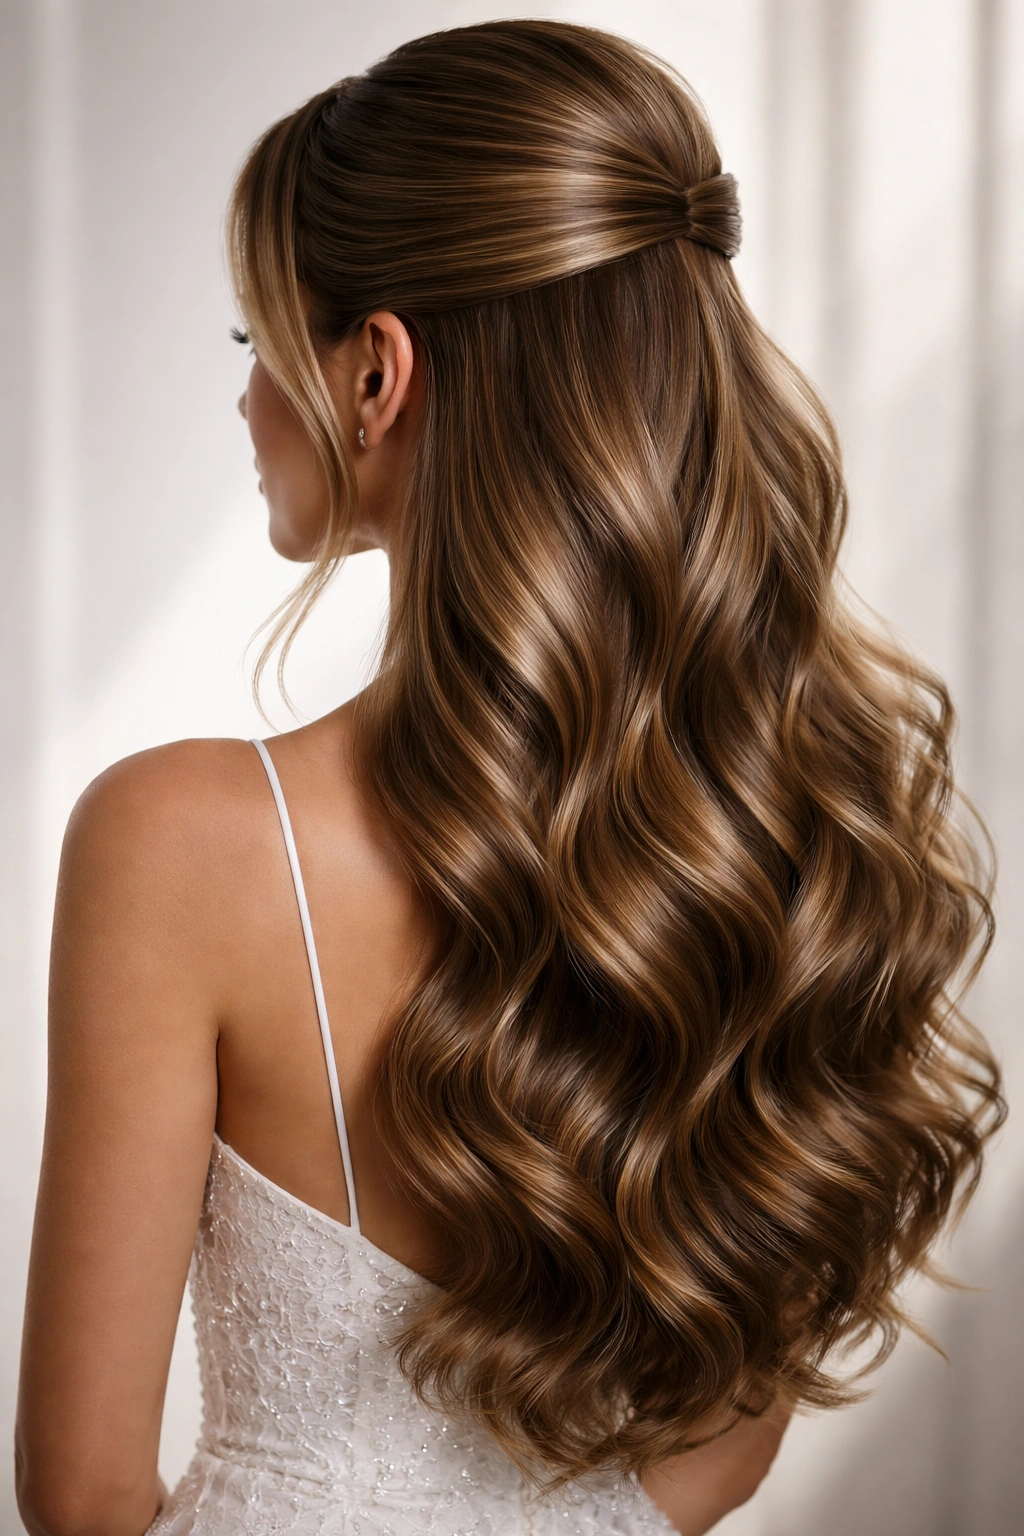
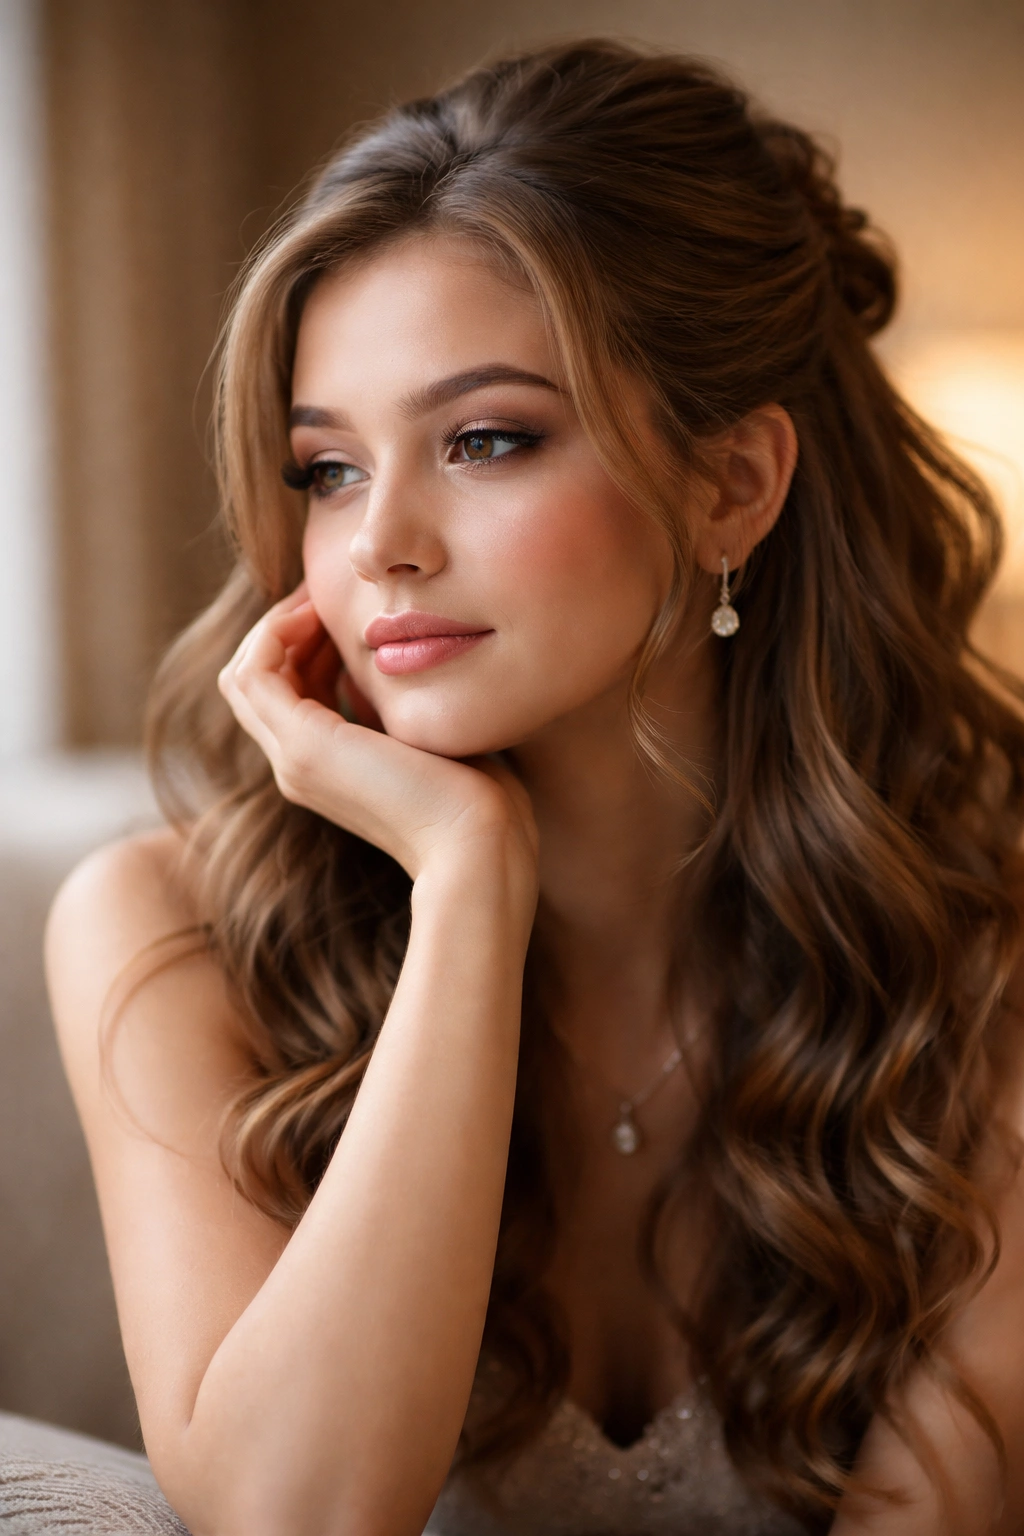
A wavy half-up hairstyle strikes that perfect balance for prom—romantic and put-together, but not so formal that you feel like you’re wearing a crown all night. You get the best of both worlds: the softness and movement of waves framing your face, combined with the elegance of an updo that keeps hair off your shoulders when you’re dancing. The half-up style has become a go-to for prom because it photographs beautifully, stays relatively secure through hours of movement, and works with virtually every dress, skin tone, and hair type. Whether you’re going for ethereal and dreamy, sleek and sophisticated, or playful and textured, there’s a wavy half-up variation that matches your vibe.
What makes wavy half-ups so versatile is how they can be adapted to fit your personal style and prom theme. The waves can be loose and beachy, tight and defined, or anything in between. The upswept portion can be low and loose, high and dramatic, gathered with a delicate clip, woven with ribbon or jewelry, or even studded with pins and pearls for extra glam. You can incorporate braids, twists, or simple sections pulled back. The real magic happens when you combine the movement of waves with intentional styling choices—the way you twist the back section, where you position the accent piece, how you arrange the face-framing pieces—all of these details transform a simple half-up into a statement-making prom style.
The foundation of every beautiful wavy half-up starts with the right wave texture. Before you even think about pinning anything back, your waves need to be defined, hold their shape, and look intentional rather than accidental. This means either curling your hair before the style appointment, or discussing with your stylist exactly what kind of wave pattern you want—loose and romantic, tight and defined, or somewhere in between. Product matters here too; the right texturizing spray, sea salt spray, or lightweight holding mousse can make waves last through an entire evening of photos and dancing without looking stiff or crunchy.
1. The Delicate Ribbon Weave Half-Up
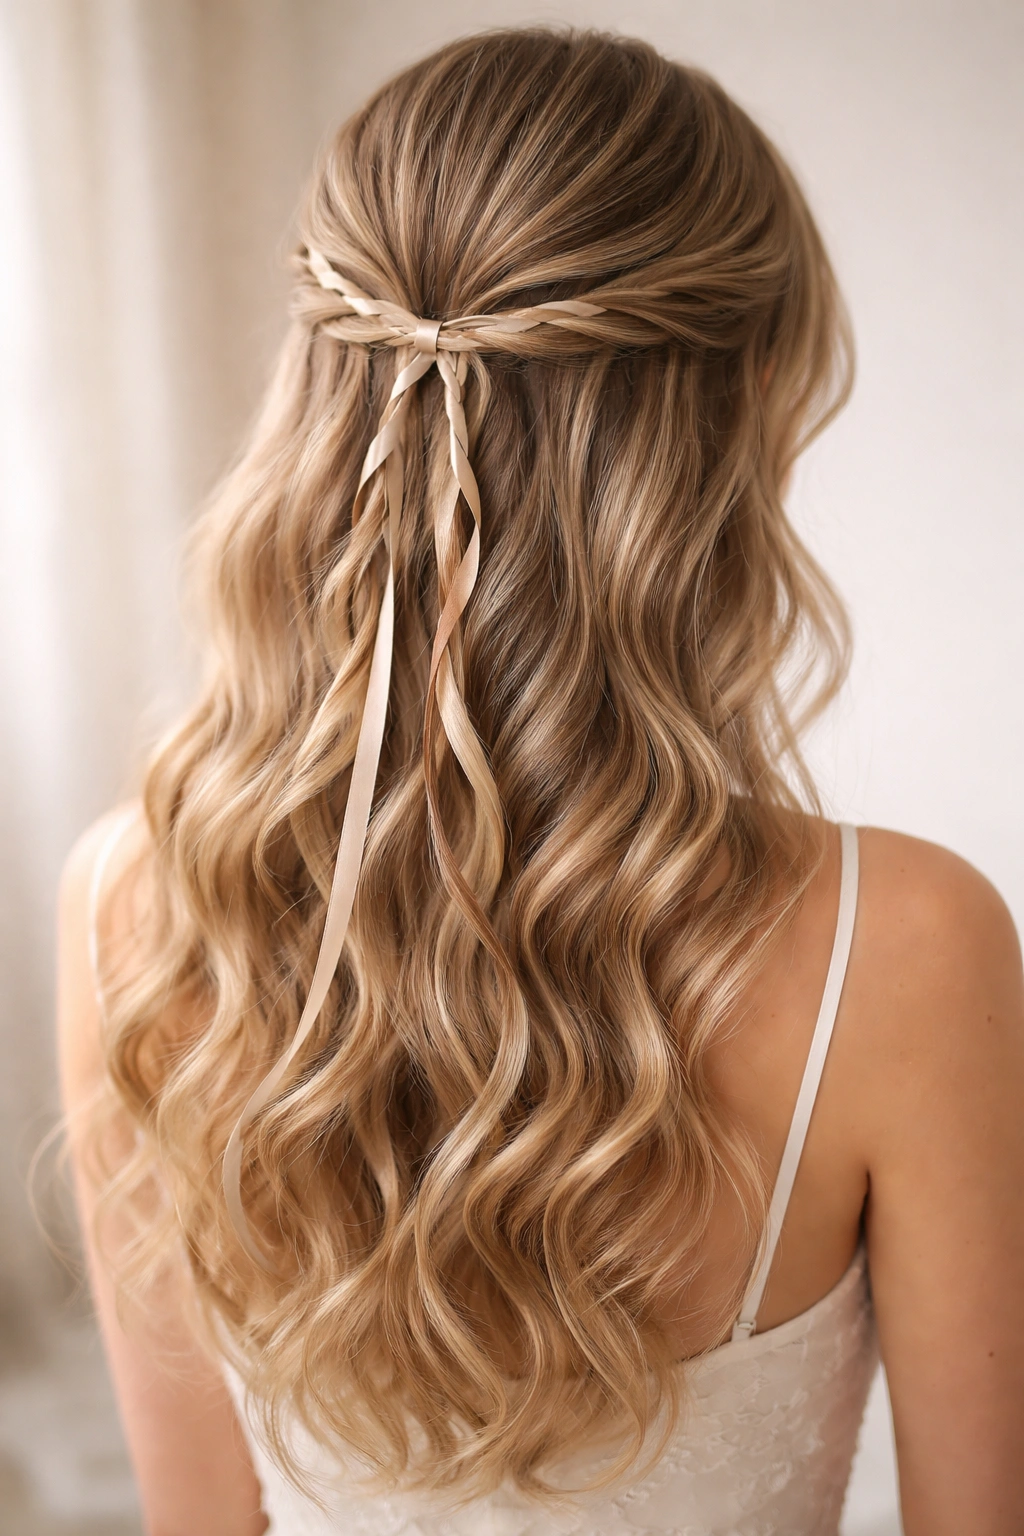
This style combines waves with a thin ribbon or silk thread woven through the back section, creating an ethereal, almost vintage-inspired look that feels both romantic and modern. The ribbon winds through the twist or braid that forms the base of your half-up, catching light as you move and adding an element of texture that photographs like a dream. It works beautifully with straight-across or curved necklines and looks equally stunning at an indoor formal event or outdoor garden prom.
Why This Works for Prom
The ribbon weave adds instant sophistication without requiring tons of product or intricate technical skills—your stylist can execute this in about thirty minutes. The thin ribbon guides the eye down the back of your head while the waves frame your face with softness. You can coordinate the ribbon color to your dress (match it exactly or choose a complementary metallic shade), and it catches light in photos, creating visual depth.
How to Execute It
- Start with full-body waves curled with a 1.5-inch barrel for soft, romantic texture
- Section off the back portion of hair from ear to ear, keeping face-framing sections loose
- Gently twist the back section (not too tightly—you want movement) and secure with a clear elastic at the base
- Thread a delicate ribbon (silk is gentler on hair) through the twist, weaving it in and out every inch or so
- Tie the ribbon ends at the base elastic into a small bow or knot
- Release the base elastic and re-pin the section with bobby pins for security
- Smooth the face-framing waves with a light texturizing spray
Pro tip: Use a silk ribbon instead of traditional fabric ribbon—it won’t snag your hair and feels more luxurious against the waves.
2. The High Drama Voluminous Half-Up
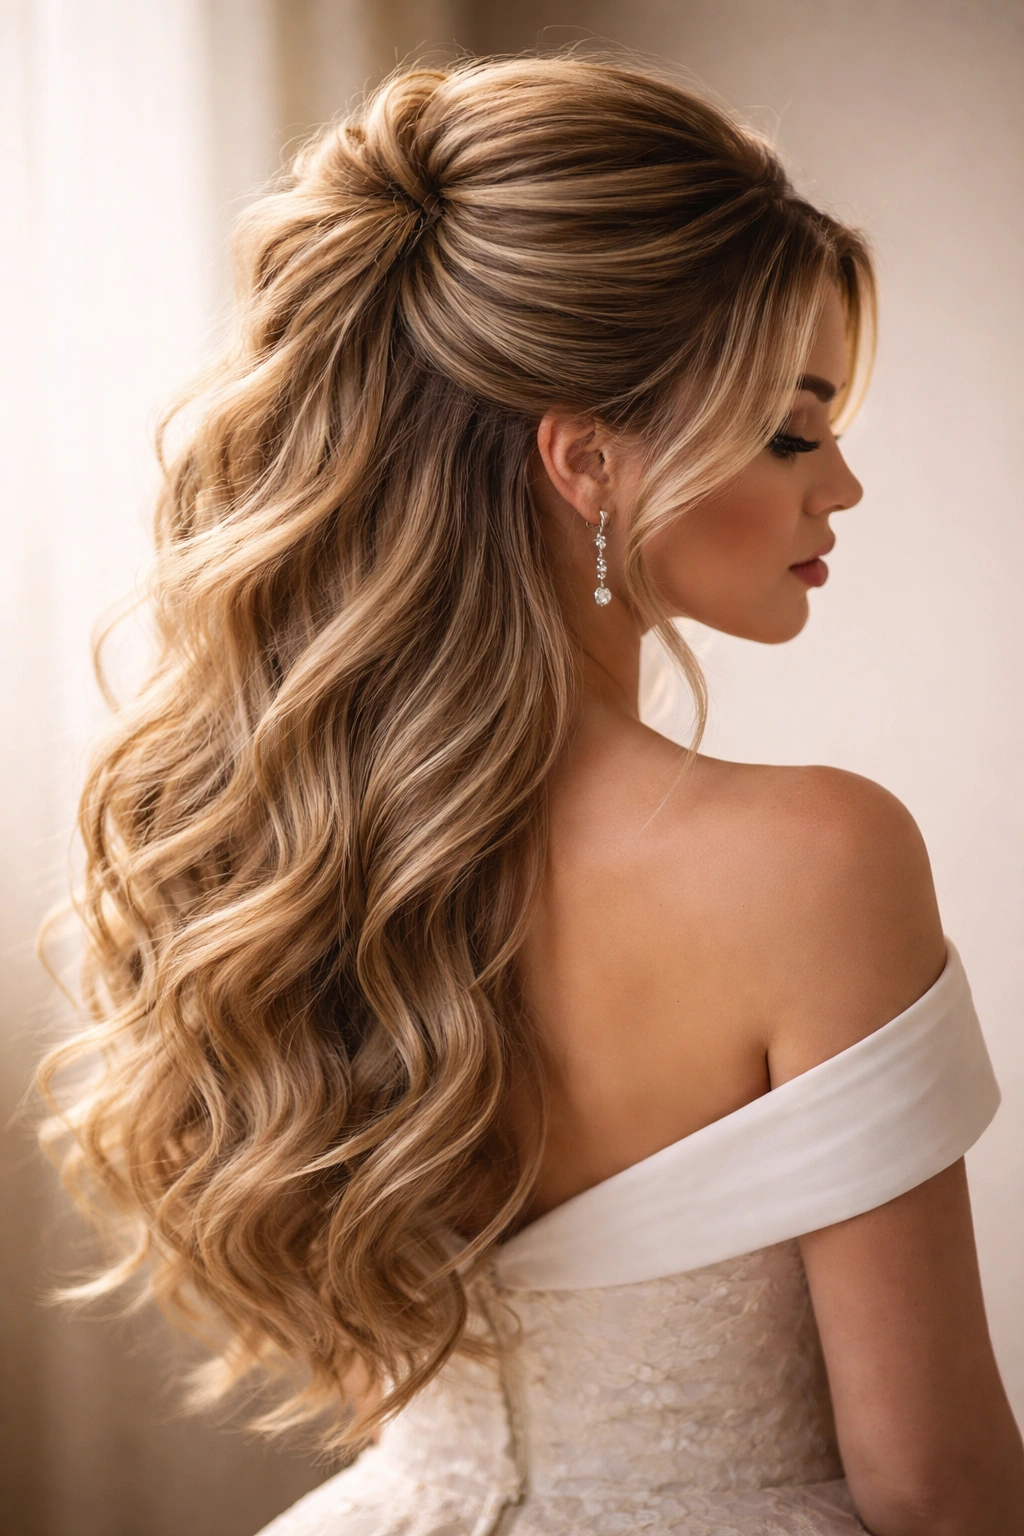
If you want your hairstyle to make a statement the moment you walk into the venue, this high-volume half-up is your answer. The section pulled back is teased and fluffed dramatically at the crown, creating visible height and glamour, while the remaining waves cascade down your back with serious movement and bounce. This style demands attention and works especially well with off-shoulder or strapless dresses where your neck and shoulders are on full display.
What Makes It Stand Out
The volume at the crown creates instant elegance and makes you feel like the main character of prom. The contrast between the lifted, textured back section and the soft waves flowing down creates a dynamic, three-dimensional silhouette that photographs from every angle. This style works particularly well with heavier, more luxurious wave patterns and looks best on hair with some thickness or length to work with.
How to Build the Volume
- Curl the entire head with a 1.25-inch barrel for tighter, bouncier waves
- Section the back portion from ear to ear, keeping face-framing pieces very loose
- Backcomb or tease the section at the crown heavily for serious lift
- Gently smooth the top layer of the teased section (not the underneath—keep that textured)
- Gather the section and twist or braid it, then pin and secure at the crown
- Mist with a medium-hold hairspray to lock in the volume without weighing it down
- Shake out the lower waves and adjust face-framing pieces for softness
Worth knowing: The higher you position this style and the more teasing you do underneath, the more dramatic the effect. This works best with hair that’s at least shoulder-length or longer.
3. The Twisted and Pinned Minimalist Half-Up
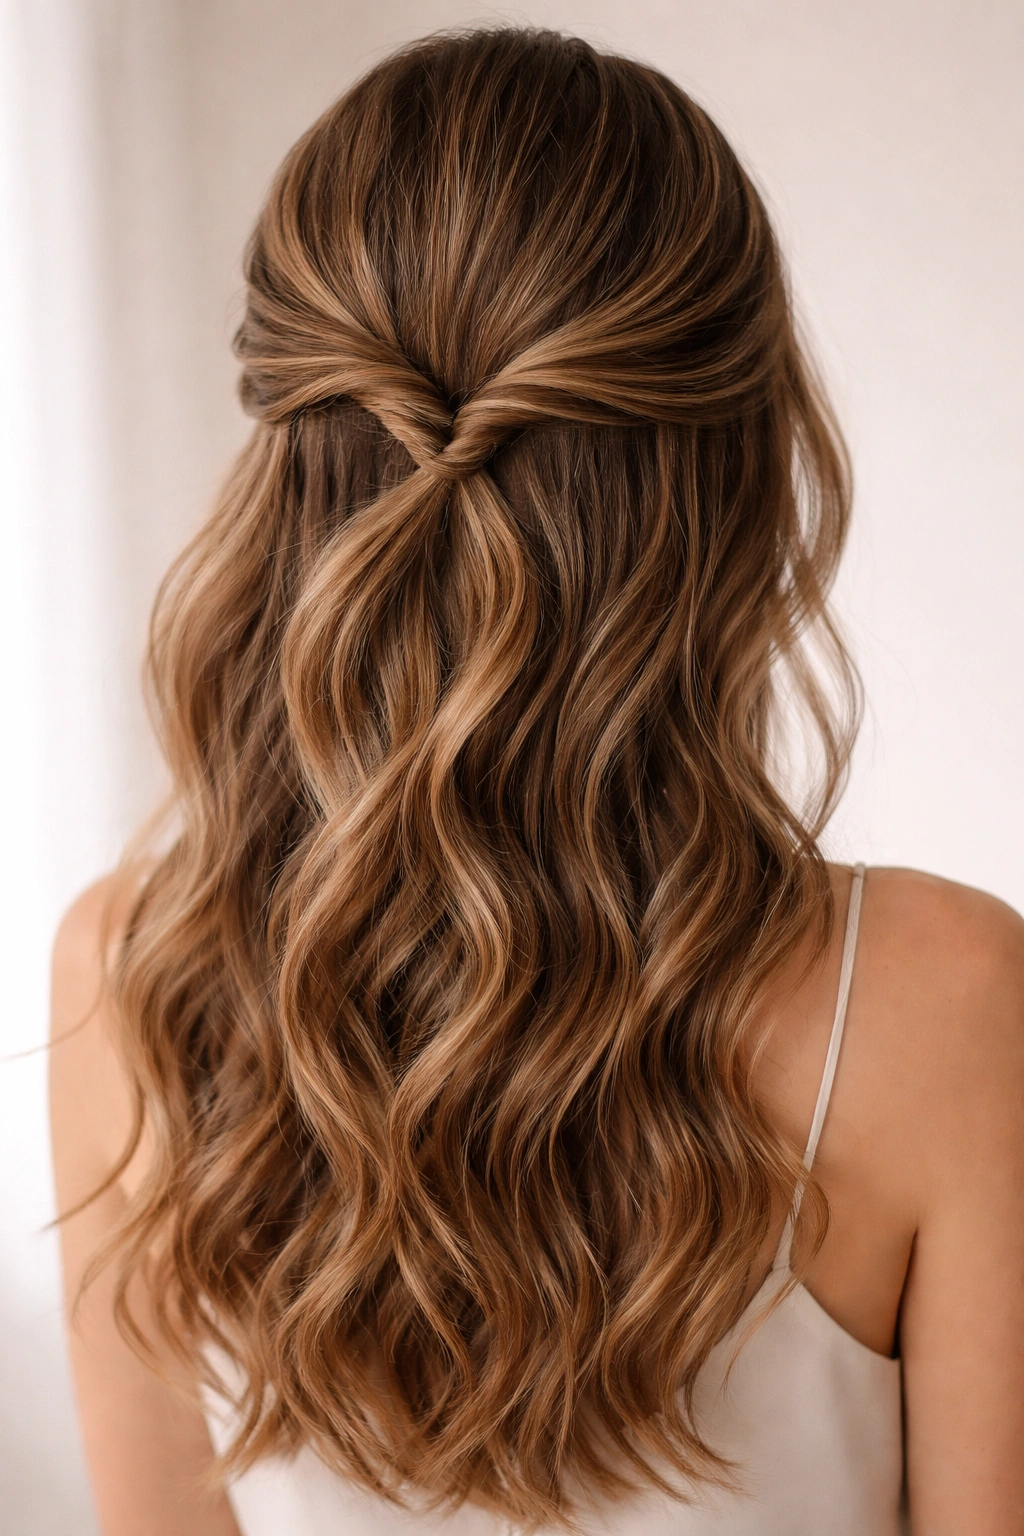
For those preferring understated elegance, this style keeps things simple with two soft twists pulled back and secured with just a few bobby pins—no elastic, no clip, no extra hardware. The twists themselves become the styling element, creating subtle definition without looking overly done. This pairs beautifully with soft, natural-looking waves and works for every dress style imaginable.
Why It’s Timelessly Elegant
This style proves that complexity doesn’t equal beauty. The twin twists create just enough movement and visual interest to elevate simple waves into a styled look, while the overall effect remains soft and romantic. It takes five minutes to recreate and looks equally good on your bestie or your mom—it’s genuinely flattering on all face shapes and hair types. The lack of visible hardware means nothing competes with your makeup, dress, or jewelry.
Steps to Achieve It
- Wear your waves natural or very lightly waved for a soft, undone appearance
- Section off a 2-inch piece from each side (roughly at ear level) and leave the rest down
- Twist each section loosely, maintaining the wave pattern within the twist
- Bring the twists back to the center and cross them over each other
- Secure both twists with bobby pins inserted underneath so they’re hidden
- Leave some face-framing pieces intentionally loose and wavey
- Finish with a light hairspray that won’t stiffen the waves
Insider note: The key to this style is not making the twists too tight—you want them to still look loose and romantic, not structured and controlled.
4. The Pearl-Pinned Romantic Half-Up
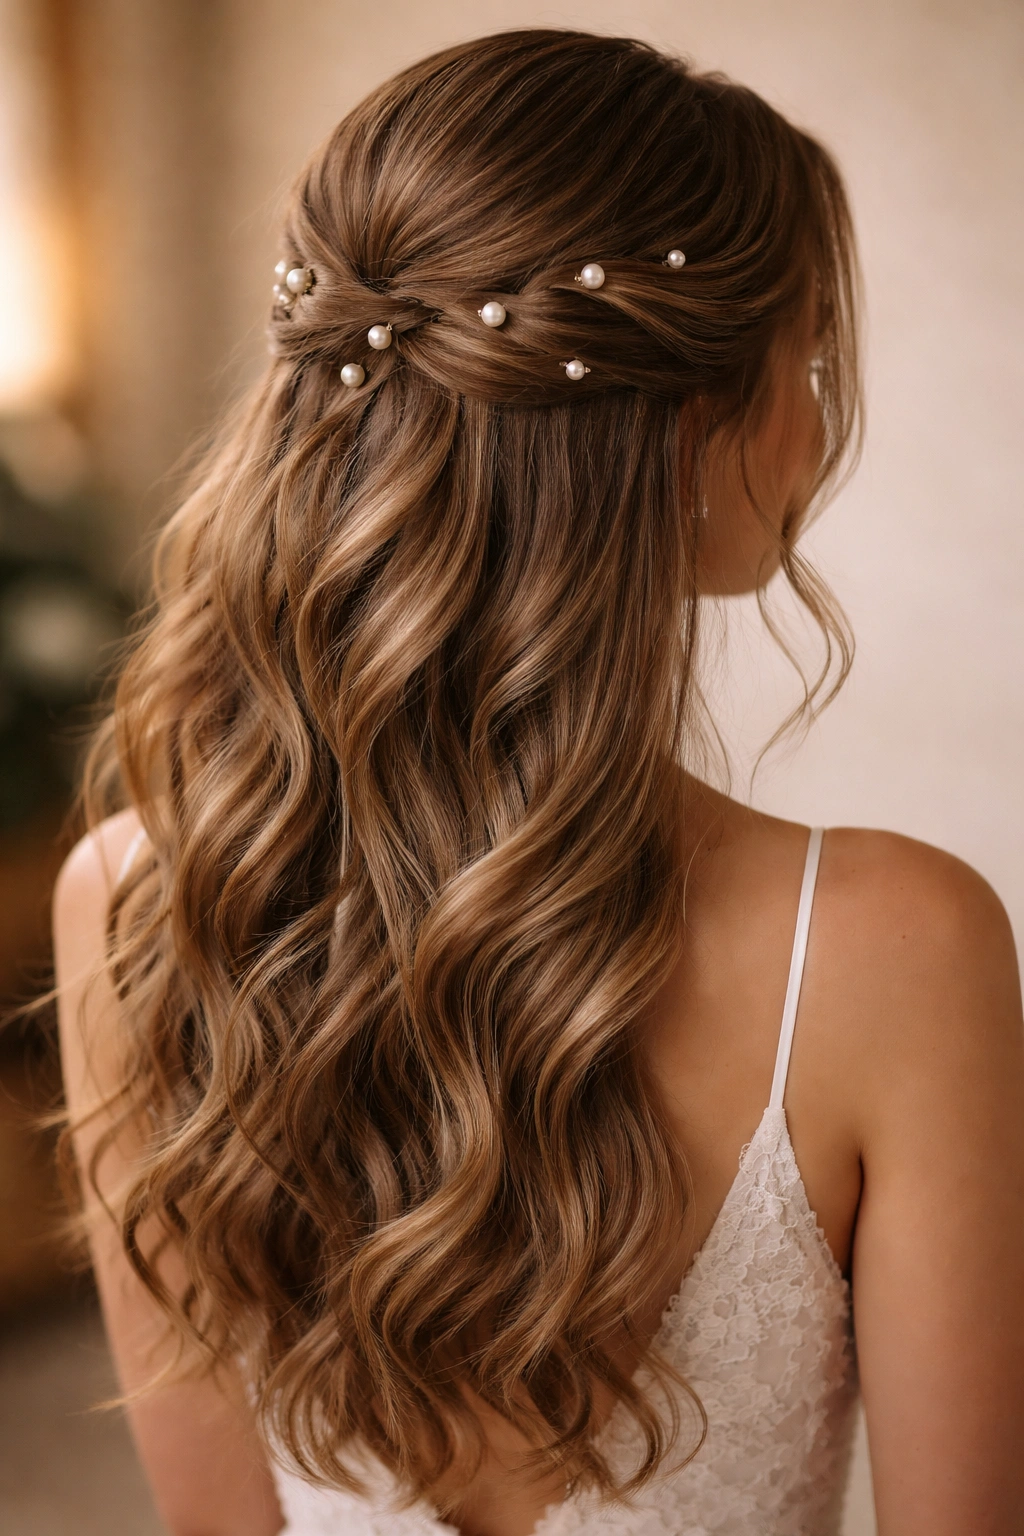
This style features waves pulled halfway back and secured with small pearl pins or hair sticks scattered through the section, creating a look that’s equal parts bohemian and bridal. The pearls catch light as you move and dance, adding sparkle without the heaviness of a traditional ornament. It’s perfect for those who want a touch of glam mixed with soft, romantic vibes.
What Makes It Special for Prom
Pearl pins are having a major moment and work beautifully with any prom aesthetic—classic, trendy, romantic, or adventurous. The scattered placement creates visual interest and texture while keeping the overall look feminine and refined. Because the pins are small and distributed throughout the section, they don’t weigh your hair down or create an uncomfortable feeling against your scalp even after hours of wear.
How to Create This Look
- Create loose waves throughout your entire head using a 1.5-inch curling iron
- Section off the back portion of hair from temple to temple
- Gather this section and create a loose, low ponytail at the base of your skull
- Remove the elastic and instead secure the section with 4-6 pearl pins inserted at different angles through the gathered hair
- Let some waves fall naturally in front of and around the pins for movement
- Gently tease the section at the crown for added dimension without making it too structured
- Use clear bobby pins behind the pearl pins to lock everything in place
- Set with a flexible hairspray that allows movement
Pro tip: Mix different sizes of pearl pins—small, medium, and slightly larger—to create more visual interest than using identical pins.
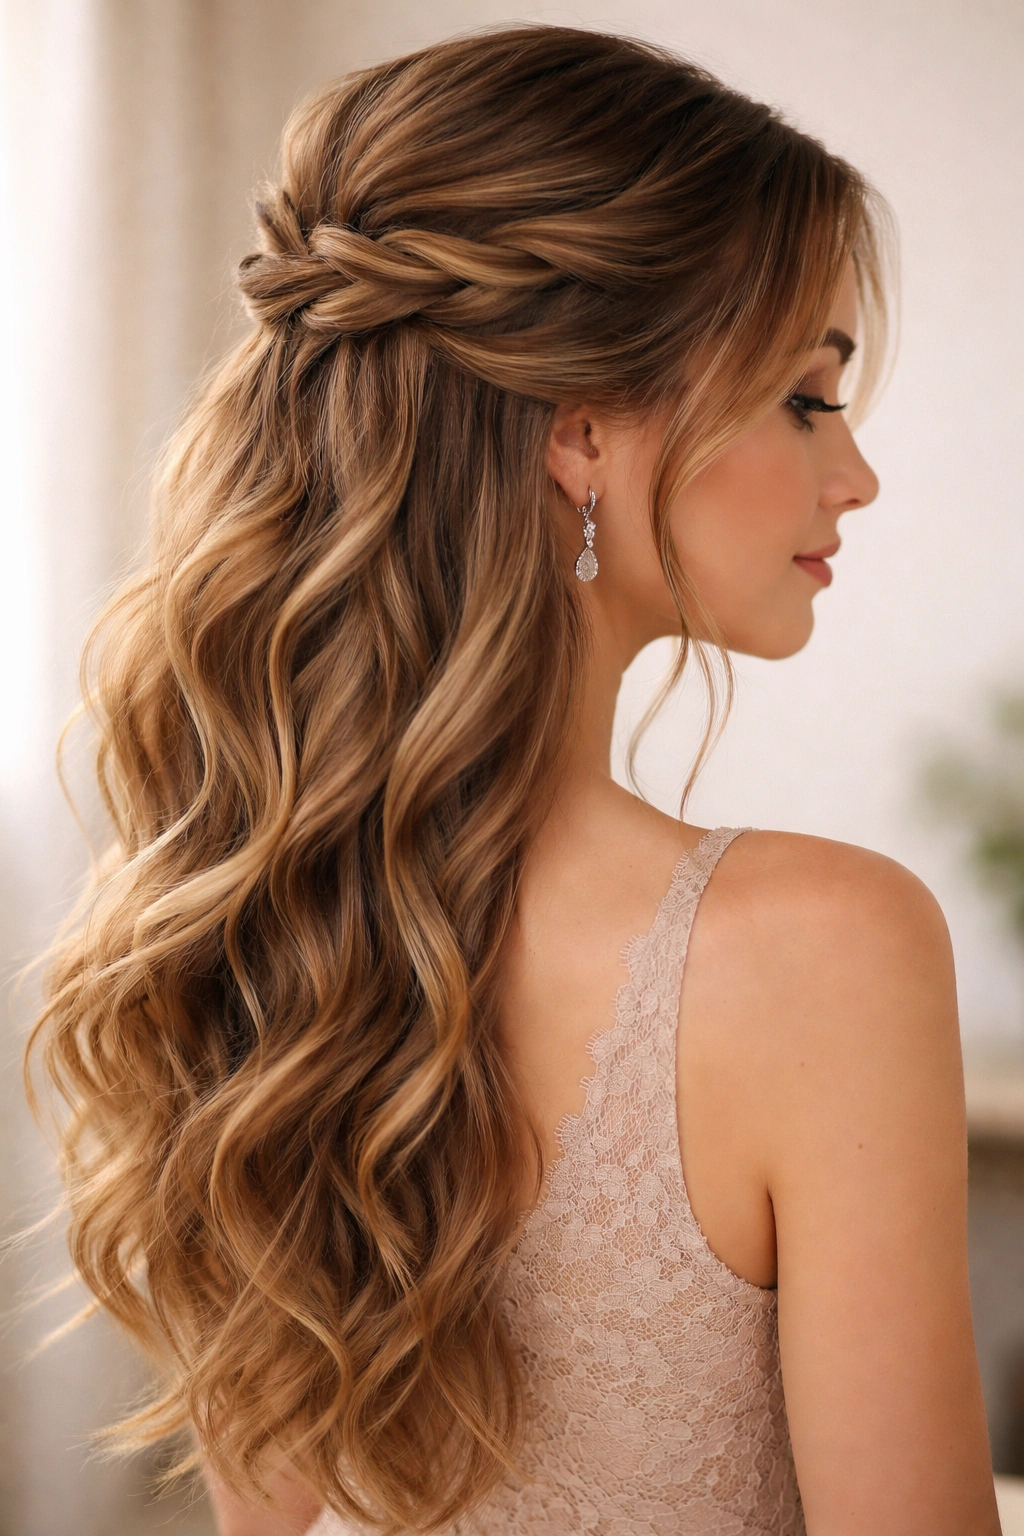
5. The Braided Crown Half-Up
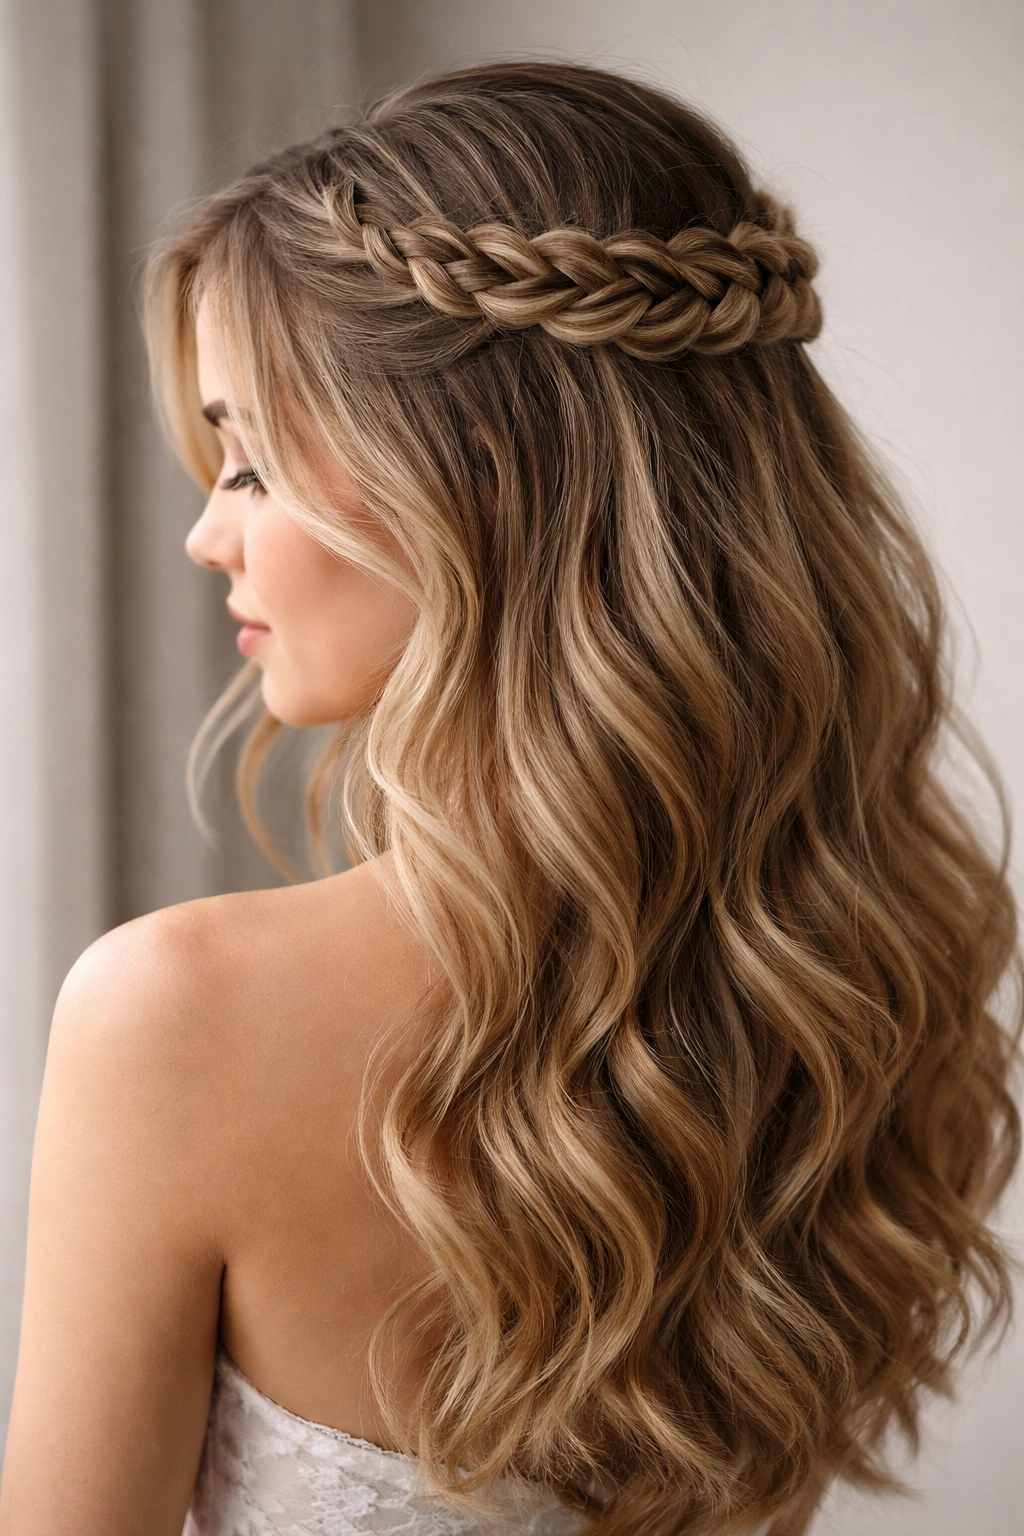
This style features a Dutch or French braid that curves around the back of the head, incorporating only the back half of your hair while leaving the front sections as soft waves framing your face. The braid becomes architectural detail, while the waves remain soft and romantic. It’s more intricate than some other half-up styles but absolutely worth the effort for those wanting something a little different.
Why It Stands Out
The braid adds texture and dimension that plain twists or gathered sections can’t match. Because it’s an actual braid rather than just a section pulled back, it has visible structure and definition that photographs beautifully. The combination of the defined braid with the soft waves creates a compelling contrast—you get both polish and romance in one style.
Steps to Execute the Braid
- Curl your entire head with loose waves using a 1.5-inch barrel
- Section off the back half of hair from ear to ear, leaving face-framing pieces very loose
- Begin a three-strand Dutch or French braid at the nape of your neck, braiding upward and incorporating hair as you go
- Braid toward the crown, following a gentle curve that flatters your head shape
- Secure the braid end at the crown with a small elastic or bobby pins
- Gently pull the braid strands slightly to create texture and loosen it just enough
- Leave the face-framing waves loose and soft, curling them away from your face
- Finish with a light-hold hairspray that maintains the braid texture
Worth knowing: If you haven’t braided your own hair before, practice this a few times beforehand or have your stylist walk you through it. It’s easier than it looks once you get the hand placement down.
6. The Low Gathered Half-Up with Jeweled Clip
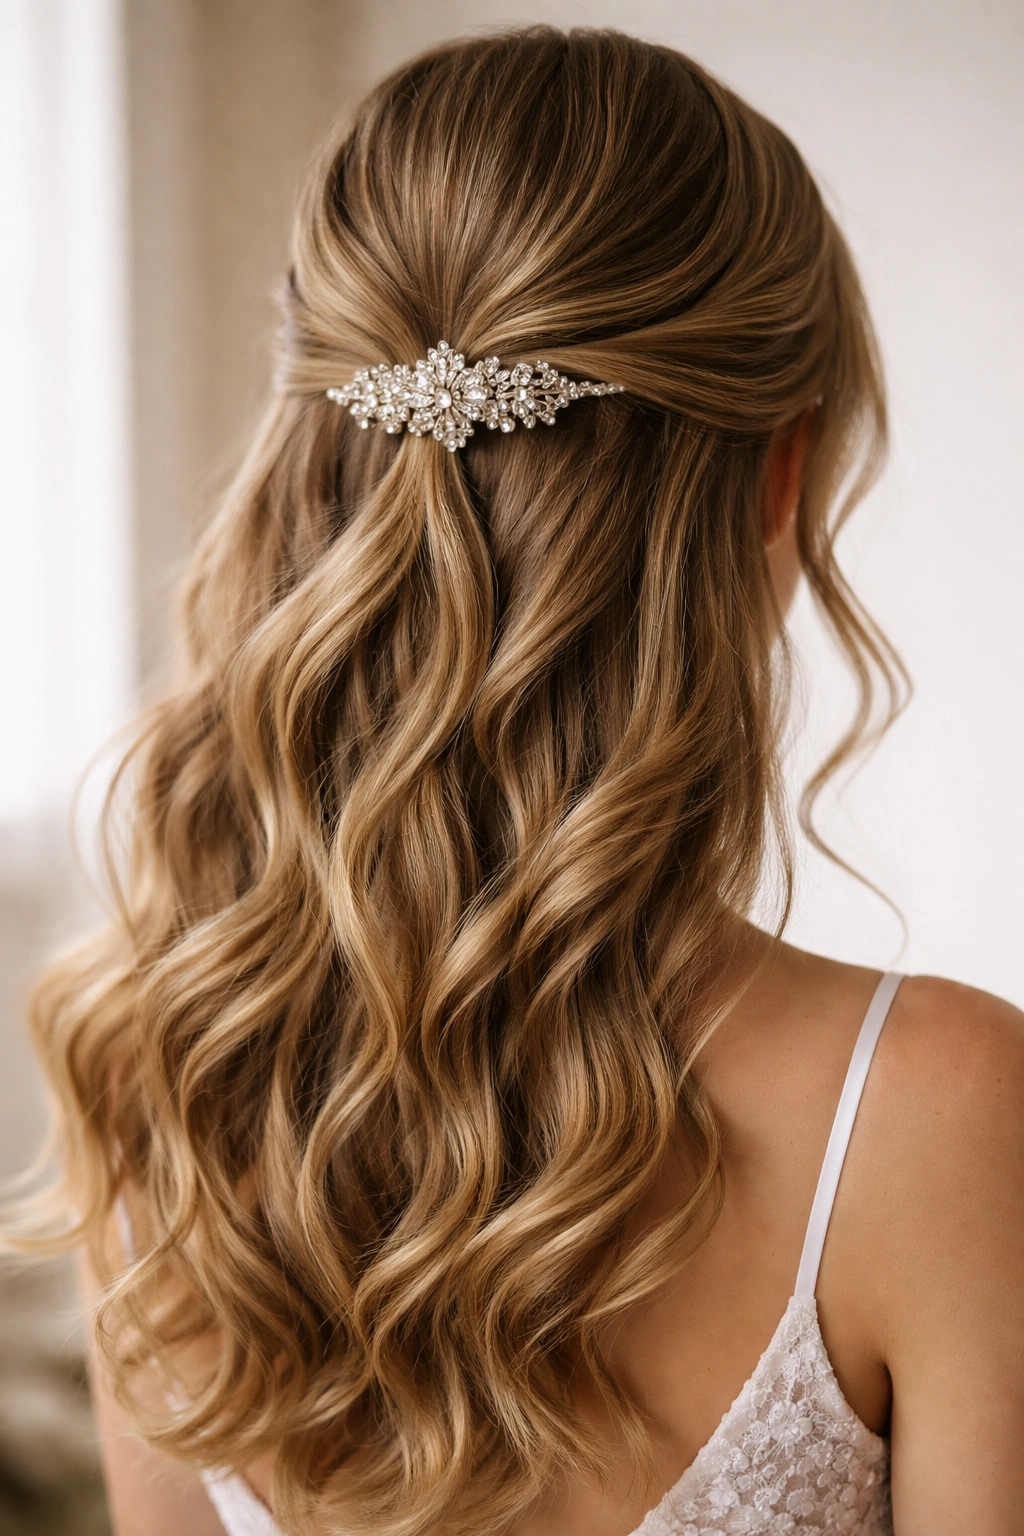
This style sweeps hair back into a low, gathered half-up secured with a statement jeweled clip or decorative hair comb—think delicate vintage comb or modern crystal clip. The effect is polished and intentional, perfect for those whose dress or jewelry already makes a statement and who want their hair to complement rather than compete. The waves stay the focal point while the clip adds just a touch of glamour.
What Makes It Work for Prom
A beautiful clip becomes functional jewelry for your hair—it serves a practical purpose while looking intentionally styled. The low placement keeps the style sophisticated rather than overly cute, and the simplicity means all eyes stay on your face, dress, and overall beauty rather than getting distracted by complicated hair mechanics. This works with every dress style and every prom venue aesthetic.
How to Build This Style
- Create soft waves throughout using a 1.5-inch barrel, focusing on loose, romantic texture rather than defined curls
- Section off hair from ear to ear at the back
- Gather this section into a low ponytail at the nape of your neck, but don’t secure with elastic
- Hold the gathered section and smooth it gently with your hands
- Secure the section with your jeweled clip inserted horizontally through the gathered hair
- Make sure the clip is positioned low enough that it sits at or slightly above your shoulders
- Let some smaller waves fall in front and frame your face naturally
- Leave the gathered section itself slightly textured and imperfect-looking—not a sleek ponytail
- Set everything with a light hairspray
Pro tip: If your clip feels unstable, use bobby pins underneath it to anchor the gathered section before inserting the clip—the clip becomes the visible detail while the bobby pins do the security work.
7. The Soft Bubble Half-Up
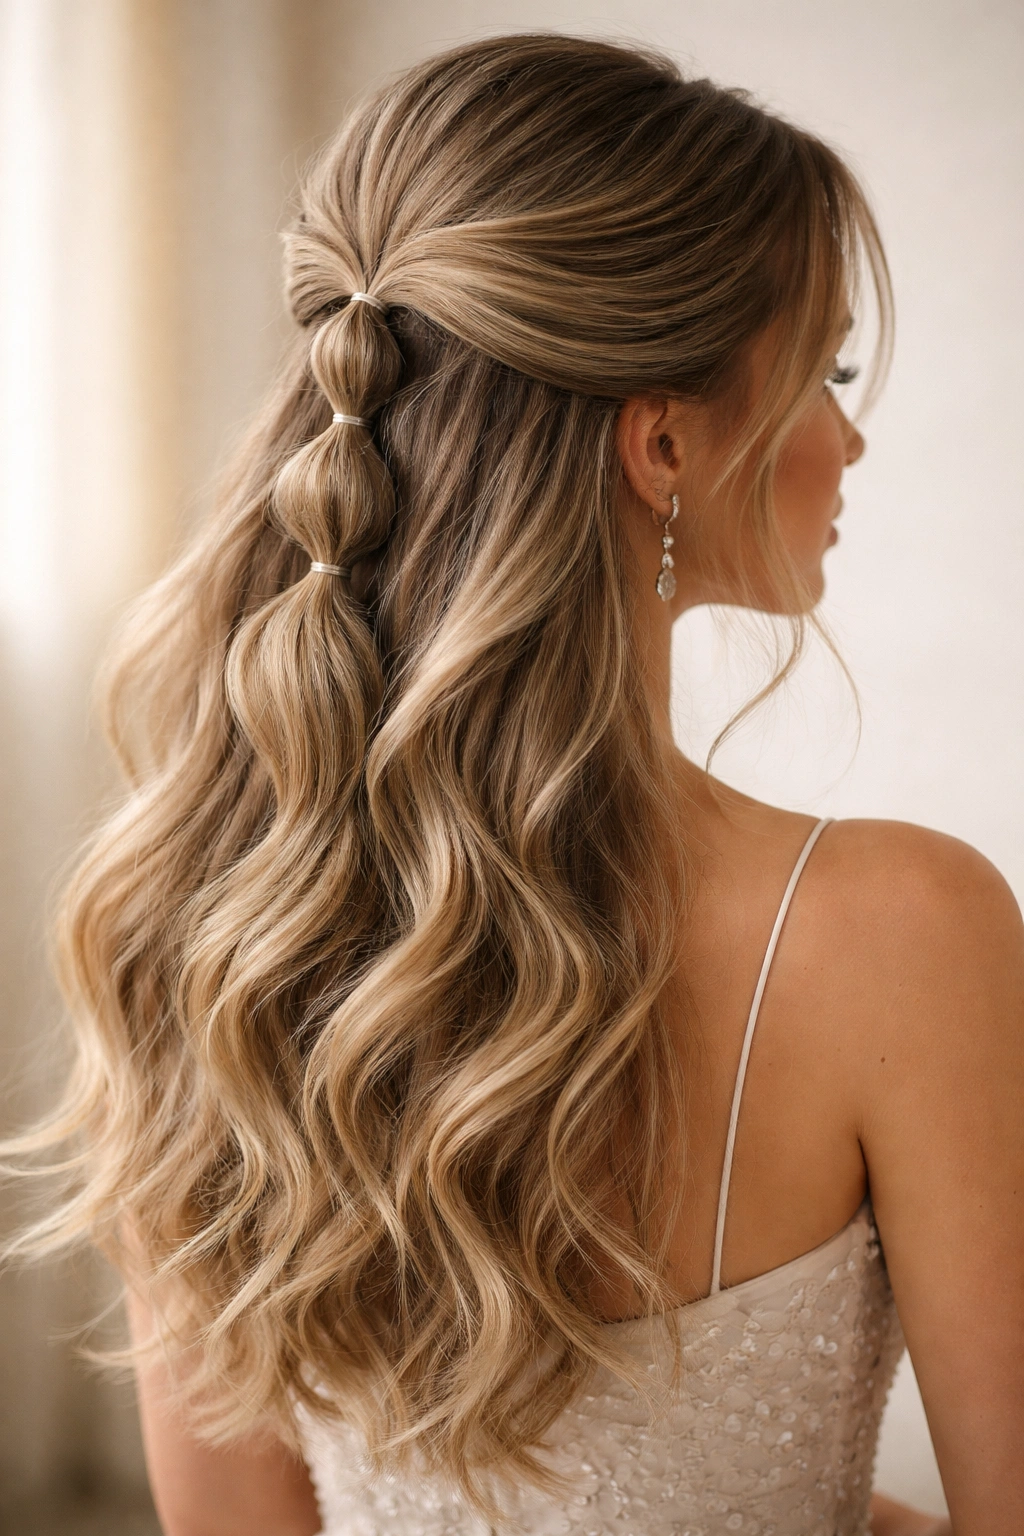
This modern, playful style creates a half-up with strategic elastics spaced along the back section, creating bubble-like texture and dimension. It’s fun and youthful without being childish, especially when done with soft waves and kept to a low or mid-height position. This style works beautifully with current prom trends and looks stunning with bold, eye-catching makeup.
Why It Works for Prom
The bubbles add immediate visual interest and texture without requiring you to sit through complicated braiding or teasing. It’s quick to create, comfortable to wear for hours, and absolutely unique—not every girl walking into prom will have this style, which makes it perfect for those wanting to stand out. The bubble effect photographs beautifully with movement, making it ideal for dance floor photos.
How to Create the Bubbles
- Curl your entire head with a 1.5-inch barrel for soft, bouncy waves
- Section off the back portion of hair from ear to ear
- Gather this section into a low ponytail at the base of your neck and secure with a small elastic
- About 2 inches up from that elastic, place another elastic around the ponytail, gathering it snugly
- Gently pull at the hair between the two elastics to puff it out, creating the first bubble
- Continue placing elastics every 2-3 inches up the section, puffing each bubble out as you go
- Stop when you reach near the crown, leaving 4-5 clear inches of gathered hair at the top
- Use clear elastics so they’re less visible against your hair color
- Tease or gently puff the crown section for added volume
- Let face-framing pieces fall naturally and soften the overall look
Worth knowing: The more bubbles you create, the more playful and trendy the style looks. Aim for at least 3-4 bubbles for a noticeable effect.
8. The Half-Up Half-Down with Velvet Ribbon Accent
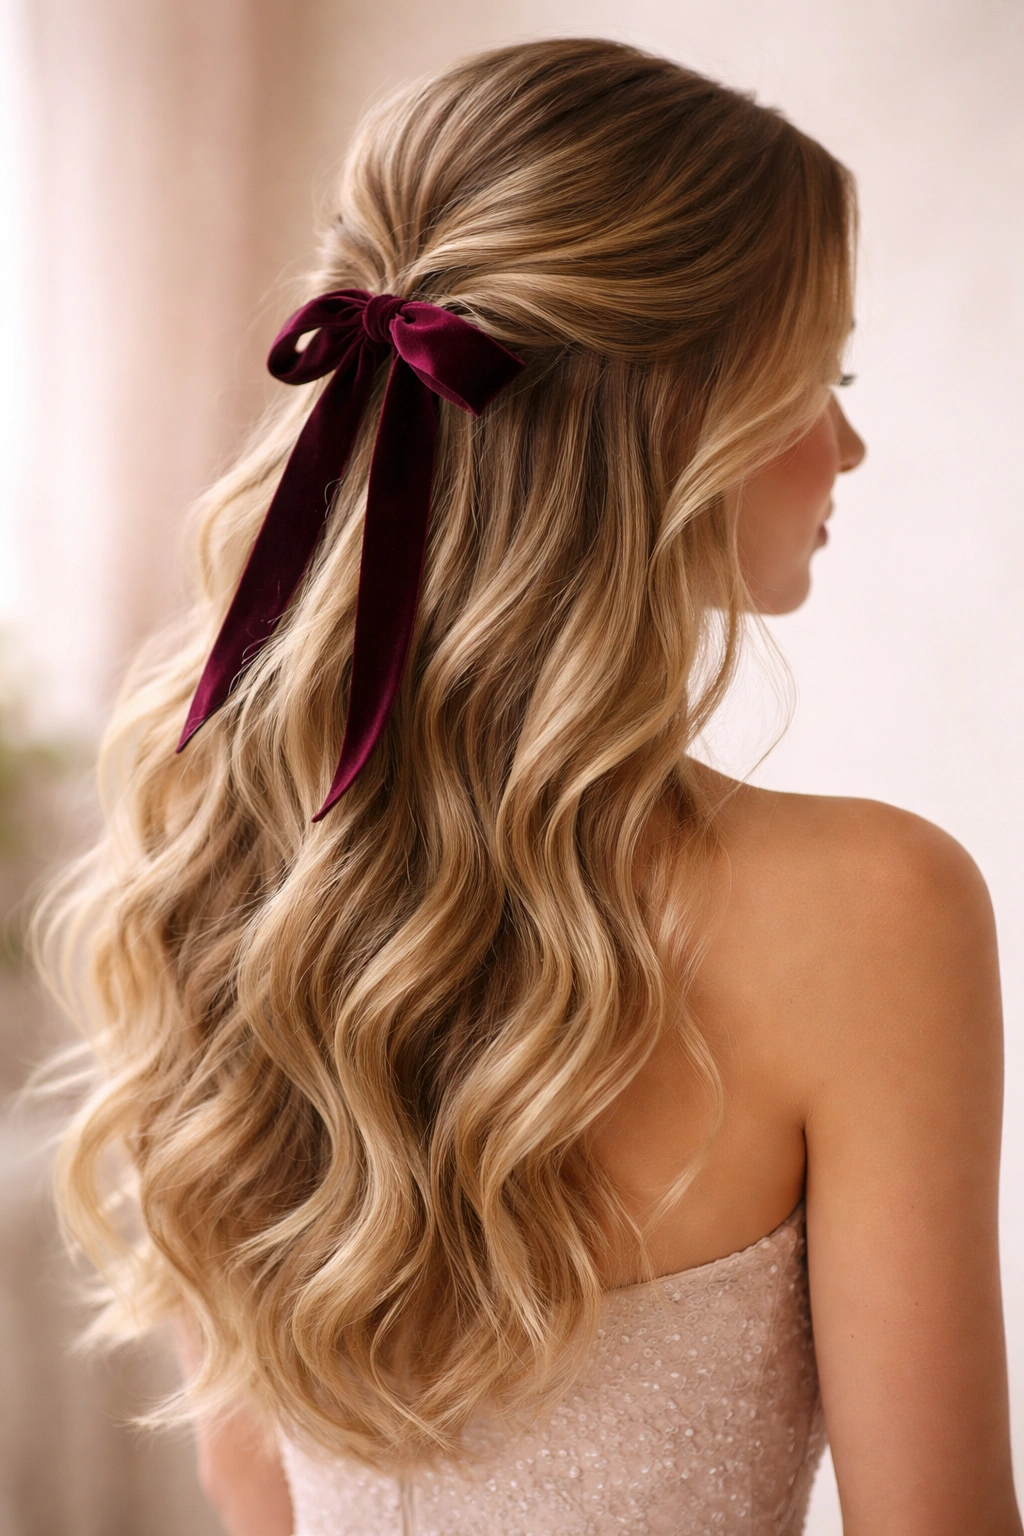
This style is barely-there elegance—hair is gathered and pulled back just enough to show intention, then secured with a soft velvet ribbon tied in a bow at the base. The velvet adds luxury and texture without weight, and the color can coordinate with your dress, shoes, or overall color palette. The effect is effortlessly beautiful, like you didn’t try too hard but somehow still look absolutely perfect.
What Makes It Special
Velvet ribbon has a sumptuous, luxe quality that elevates even the simplest hairstyle. The softness of the texture pairs beautifully with waves, and the way ribbon moves with your hair creates a feminine, elegant effect. This style suits everyone from minimal-glam to fully-embellished aesthetic—it’s that versatile. The ribbon can be the exact same color as your hair, a pop of your dress color, or a contrasting jewel tone for drama.
How to Execute It
- Create soft, loose waves using a 1.5-inch barrel, focusing on natural movement rather than defined curls
- Section off a small to medium section of hair from temple to temple at the back
- Gather this section gently at the base of your skull, but keep it loose and imperfect
- Instead of an elastic, tie a length of 0.75-inch to 1-inch velvet ribbon around the gathered section, securing it with a bow
- Adjust the bow until it sits perfectly at the base of where you’ve gathered the hair
- Leave the face-framing waves soft and loose, possibly curling a few pieces around your face for extra romance
- Let some smaller waves escape from the gathered section for an undone, effortless appearance
- Set lightly with hairspray to maintain the soft wave texture
Pro tip: Use a ribbon color that either matches your hair exactly or choose a jewel tone (emerald, sapphire, burgundy) for subtle drama—avoid colors that create too much contrast unless your dress already has that color.
9. The Sculpted Sleek Half-Up with Dramatic Waves
This style plays with contrast: the back section pulled into a smooth, sculpted half-up with zero texture or frizz, while the remaining hair features dramatic, voluminous waves that cascade over your shoulders. It’s modern, editorial, and creates a striking before-and-after effect. This works particularly well with bold, structural dress silhouettes and speaks to those who love a more fashion-forward prom look.
Why It Stands Out
The stark contrast between the polished back section and the textured waves creates dynamic visual interest and photographs incredibly well. This style reads as intentional and fashion-forward rather than romantic or traditional, making it perfect for trendsetters. The sculpted portion is secure and won’t fall apart through hours of dancing, while the waves remain the focal point and can be as big and dramatic as you want them to be.
How to Achieve This Look
- Blow-dry your entire head smooth with a flat paddle brush for a polished base
- Create very dramatic, defined waves in the bottom two-thirds of your hair using a 1.25-inch barrel
- These waves should be tight, springy, and clearly defined—not soft or subtle
- Curl away from your face with the face-framing pieces
- Section off the top portion of hair (from ear to ear, above where your waves begin)
- Using a smoothing serum and a paddle brush, brush this section back smoothly and apply a lightweight finishing spray as you go
- Gather the smoothed section into a low or mid-height half-up and secure with bobby pins inserted flat against your head for a sleek appearance
- Polish the top section with a flat iron if needed for maximum smoothness
- Let the dramatic waves cascade freely, shaking them out so they’re not compressed
Insider note: The contrast is what makes this style work—the smoother the back section, the more dramatic the waves need to be. Don’t go half-measures with either element.
10. The Twisted Double Half-Up
This style features two separate half-up sections pulled back at different heights, each one twisted and pinned independently. It’s more intricate than a simple single half-up but still approachable, creating a layered, romantic effect that photographs from every angle. The two-tier approach adds dimension and sophistication without requiring braids or complicated technique.
What Makes It Unique
The two-section approach creates visual depth that a single half-up can’t match. It’s particularly flattering on those with longer hair or those who want a half-up but prefer to keep more hair down around their face. The two twists can be identical or slightly different in thickness or direction—either way, the layered effect creates a polished, intentional look that feels special.
How to Create This Style
- Curl your entire head with a 1.5-inch barrel for soft, romantic waves
- Section off a smaller piece of hair from temple to temple, higher than a typical half-up—roughly at the crown area
- Twist this section gently and pin it at the crown with bobby pins
- Section off a second, slightly thicker piece of hair from ear to ear, positioned about 2 inches lower than your first section
- Twist this section as well and pin it just above the nape of your neck
- The second twist should sit directly below the first one, creating a stacked effect
- Leave face-framing pieces very loose and soft, curling them slightly away from your face
- Gently tease or texture the hair at the crown for added volume
- Make sure both twists are loose enough to show the wave pattern within them
- Finish with a light, flexible hairspray that allows the waves to move
Pro tip: If you find the two-section approach overwhelming, have your stylist create it for you—they can ensure both sections are balanced and positioned perfectly before you leave the appointment.
Final Thoughts
Choosing your prom hairstyle is about more than just what looks pretty—it’s about what makes you feel confident and comfortable enough to enjoy one of the biggest nights of your high school experience. A wavy half-up is the ideal choice because it bridges the gap between glam and wearable, between trendy and timeless, between bold and understated. You can incorporate your personal style through ribbon, pins, clips, or simple twists, and you can adjust the technique to work with your hair type, dress, and overall aesthetic.
The most important thing to remember is that your hair will look best if you feel good in it. When you’re choosing a style, try to work with a stylist who specializes in prom hair and who gets what you’re going for—this is the moment to splurge on professional help if you can, because having someone who knows how to work with your specific hair texture and who can execute the style perfectly makes an enormous difference. Most importantly, choose a style you’re genuinely excited about wearing, practice the basic technique ahead of time if you’re doing it yourself, and don’t stress if it’s not absolutely perfect—the slight imperfections are what make it look real, romantic, and utterly beautiful in photographs.