Red weave ponytails have become a go-to style for anyone looking to add instant glamour while keeping hair neatly pulled back and controlled. Whether you’re heading to the office, a special event, or just want to refresh your everyday look, a sleek red weave ponytail offers versatility, confidence, and that polished aesthetic that turns heads. The deep, vibrant tones of red weave blend beautifully with various skin tones, creating a striking contrast that feels both bold and put-together. The key to nailing the sleek look isn’t just about the ponytail itself — it’s about how you construct it, the texture of the hair you’re using, and the finishing touches that transform a basic style into something truly stunning.
What makes red weave ponytails so appealing is their ability to give you multiple style options without committing to permanent color or putting stress on your natural hair. You control the length, the volume, and exactly how long you want to wear it. A sleek red weave ponytail works for every season, every occasion, and fits seamlessly into your rotation whether you’re switching styles weekly or settling into one look for several weeks. The sleekness factor — that smooth, refined finish — requires a specific approach with styling products, tools, and techniques that we’ll explore throughout this guide.
The shades of red you choose matter more than you might think. Burgundy reads as sophisticated and earthy, cherry red feels playful and vibrant, brick red offers a warm, terracotta-inspired tone, and bright crimson makes a statement that’s impossible to miss. Each shade creates a completely different vibe even when the ponytail construction is identical. Let’s walk through ten distinct red weave ponytail styles that range from minimalist and refined to bold and statement-making — each one delivers that sleek, put-together polish that makes the style work across multiple settings.
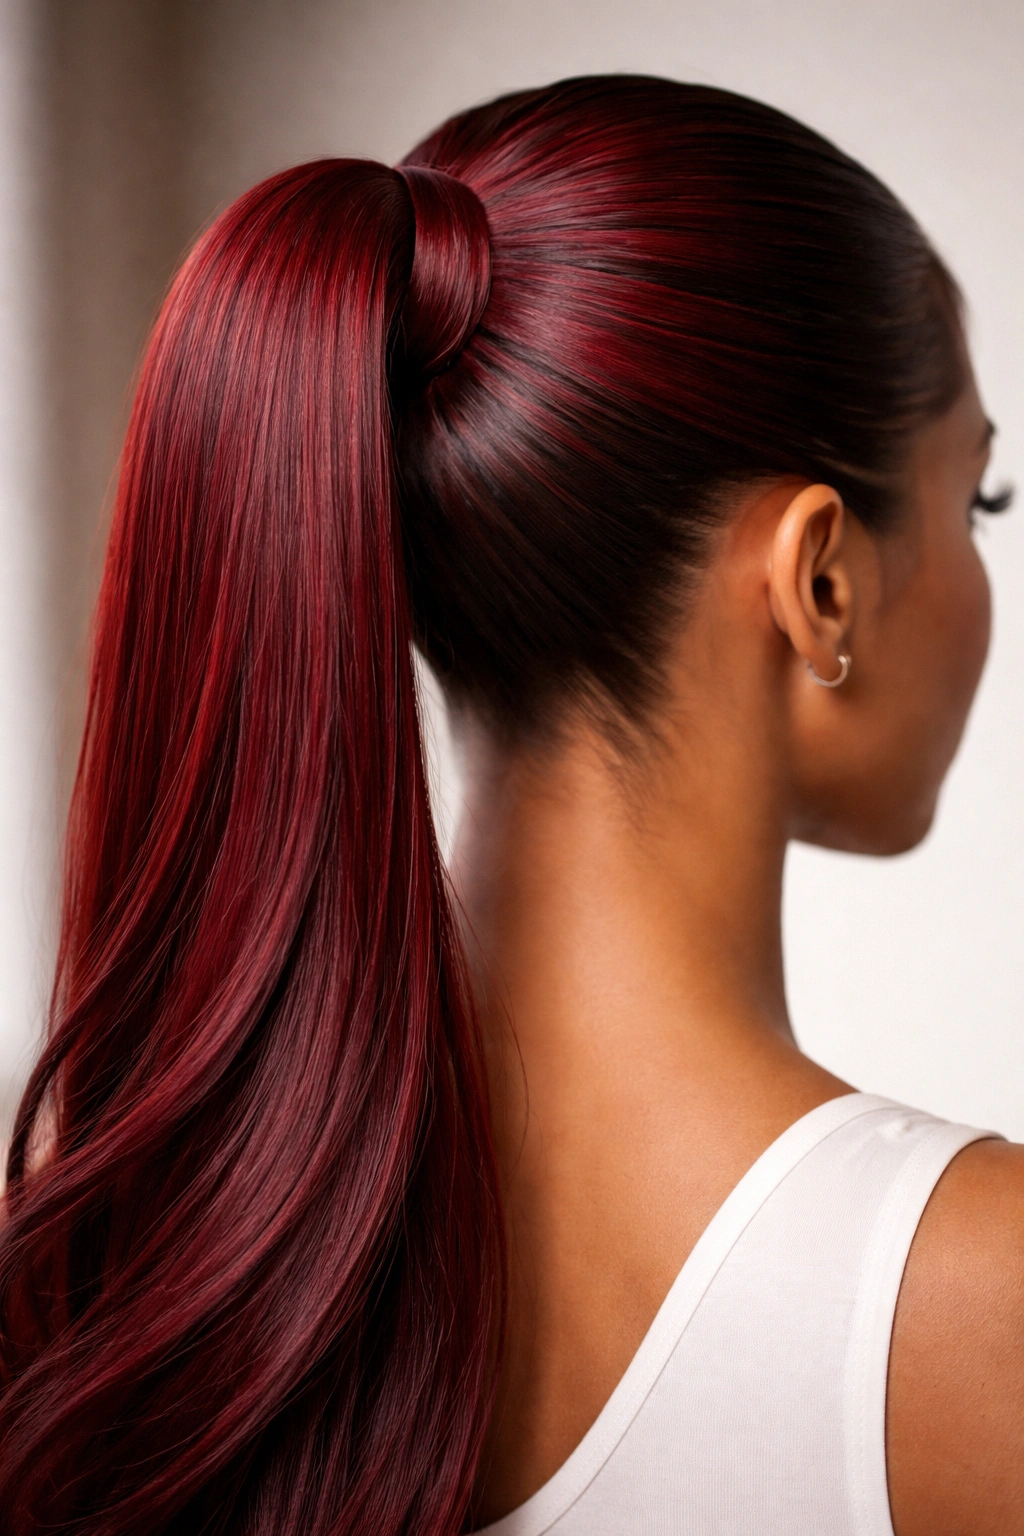
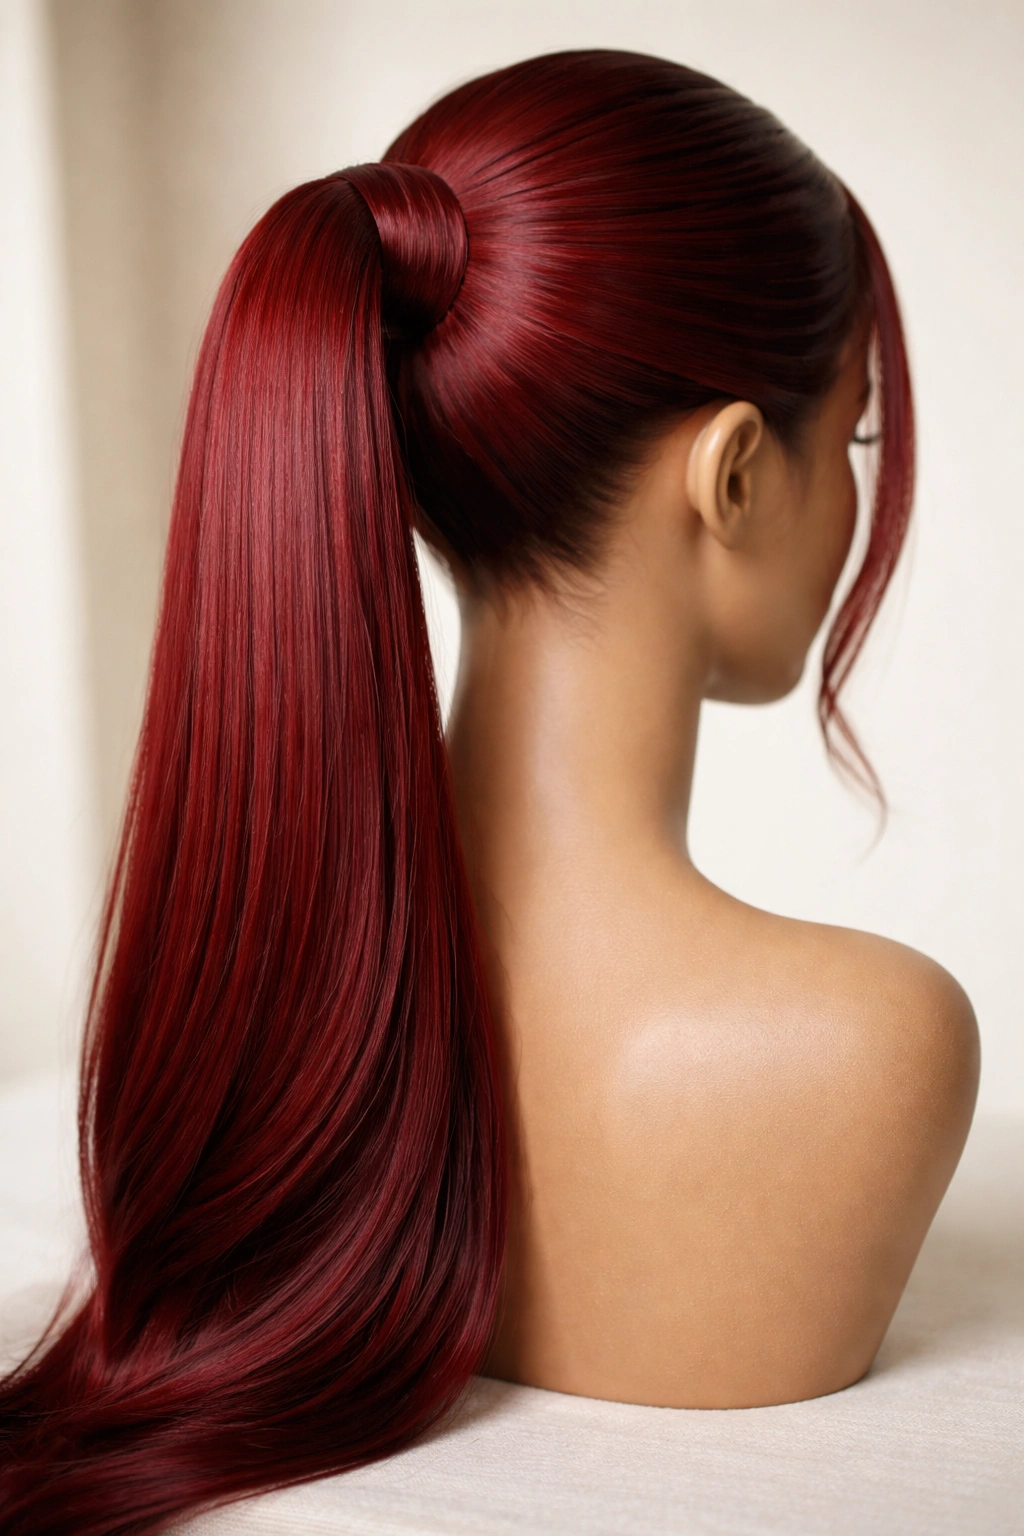
1. The High Sleek Ponytail with Razor-Sharp Edges
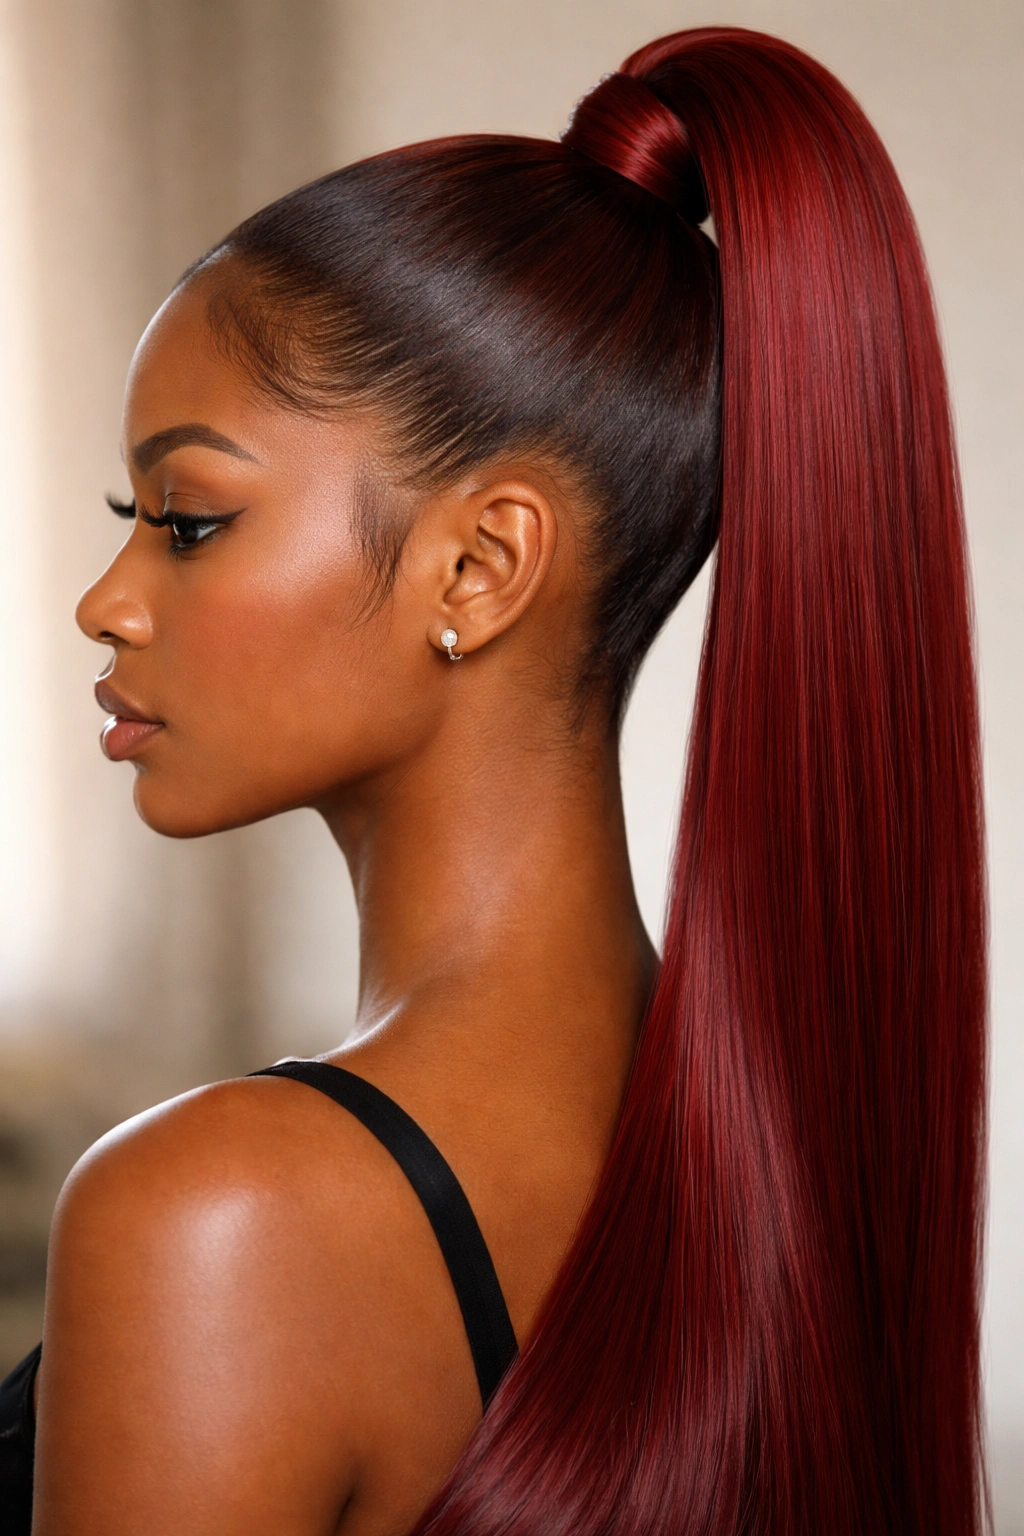
A high ponytail positioned right at the crown creates instant lift and flatters virtually every face shape, especially when you’re aiming for that polished, no-nonsense aesthetic. This style pulls all the hair straight up and away from the face, landing at the back of the head with the tail cascading down the back. The red weave creates a striking visual focal point at this high placement, drawing the eye upward and creating the illusion of length and elegance. This is the style you’d wear when you want people to know you mean business, whether that’s a professional presentation or a night out where you want to look absolutely immaculate.
Why It Commands Attention
The high placement of this ponytail instantly transforms your overall appearance by opening up your face and showcasing your features without any hair framing or softening the look. The sleek finish means every strand lies perfectly flat against the head, with absolutely zero flyaways or wispy pieces — this requires smoothing gel, edge control, and often a fine-tooth comb during construction. Red weave at this height catches light beautifully, and the color becomes almost a crown atop your head. The style works especially well if you have a strong jawline or cheekbones you want to highlight.
Construction and Product Details
- Use a smoothing cream or gel on damp hair before blow-drying to create a base that holds flat against the scalp
- Blow-dry your hair completely straight and smooth using a paddle brush, directing all strands upward toward the crown
- Create a ultra-fine parting line using a rat-tail comb if desired — this crisp definition adds to the sleek aesthetic
- Secure with a strong-hold elastic that matches your weave tone, or use a clear elastic hidden underneath
- Wrap a small section of weave around the elastic base and secure with bobby pins to conceal it completely
- Use edge control on your edges and any baby hairs, smoothing them back with a soft brush or toothbrush
- Finish with a light hairspray (not heavy) to set everything in place without creating crunchiness
Pro tip: A high ponytail works best when your edges are clean and defined — if you’re not comfortable doing this yourself, a quick visit to a stylist specifically for edge control can make all the difference in how polished the final result looks.
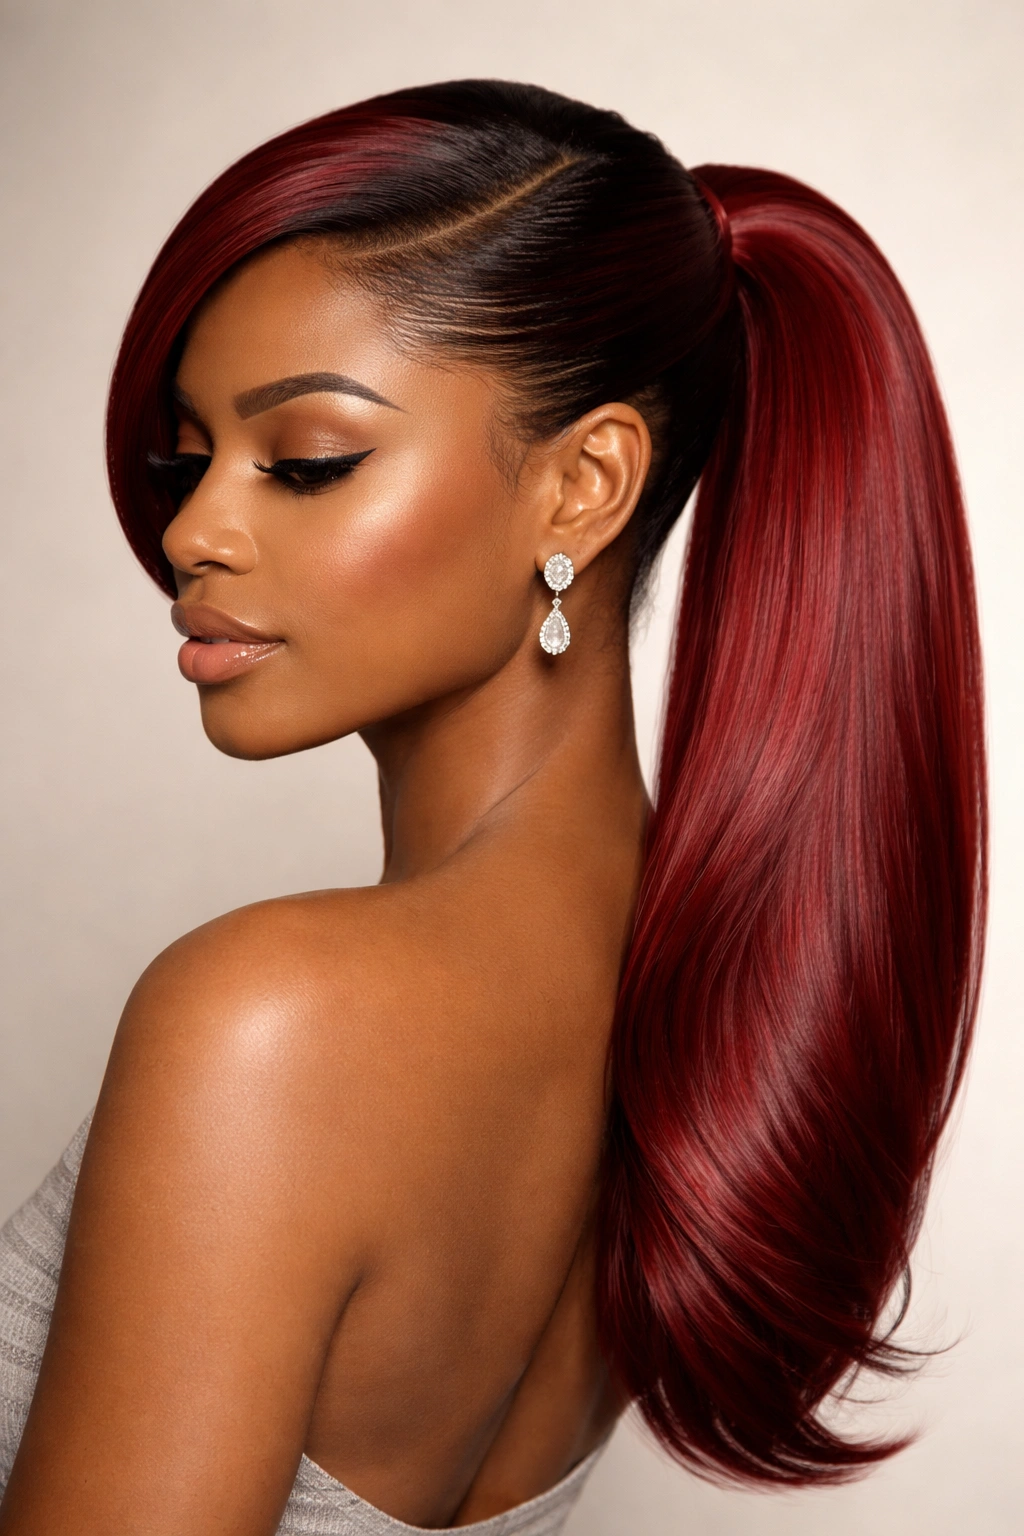
2. The Slicked-Back Low Pony with Voluminous Tail
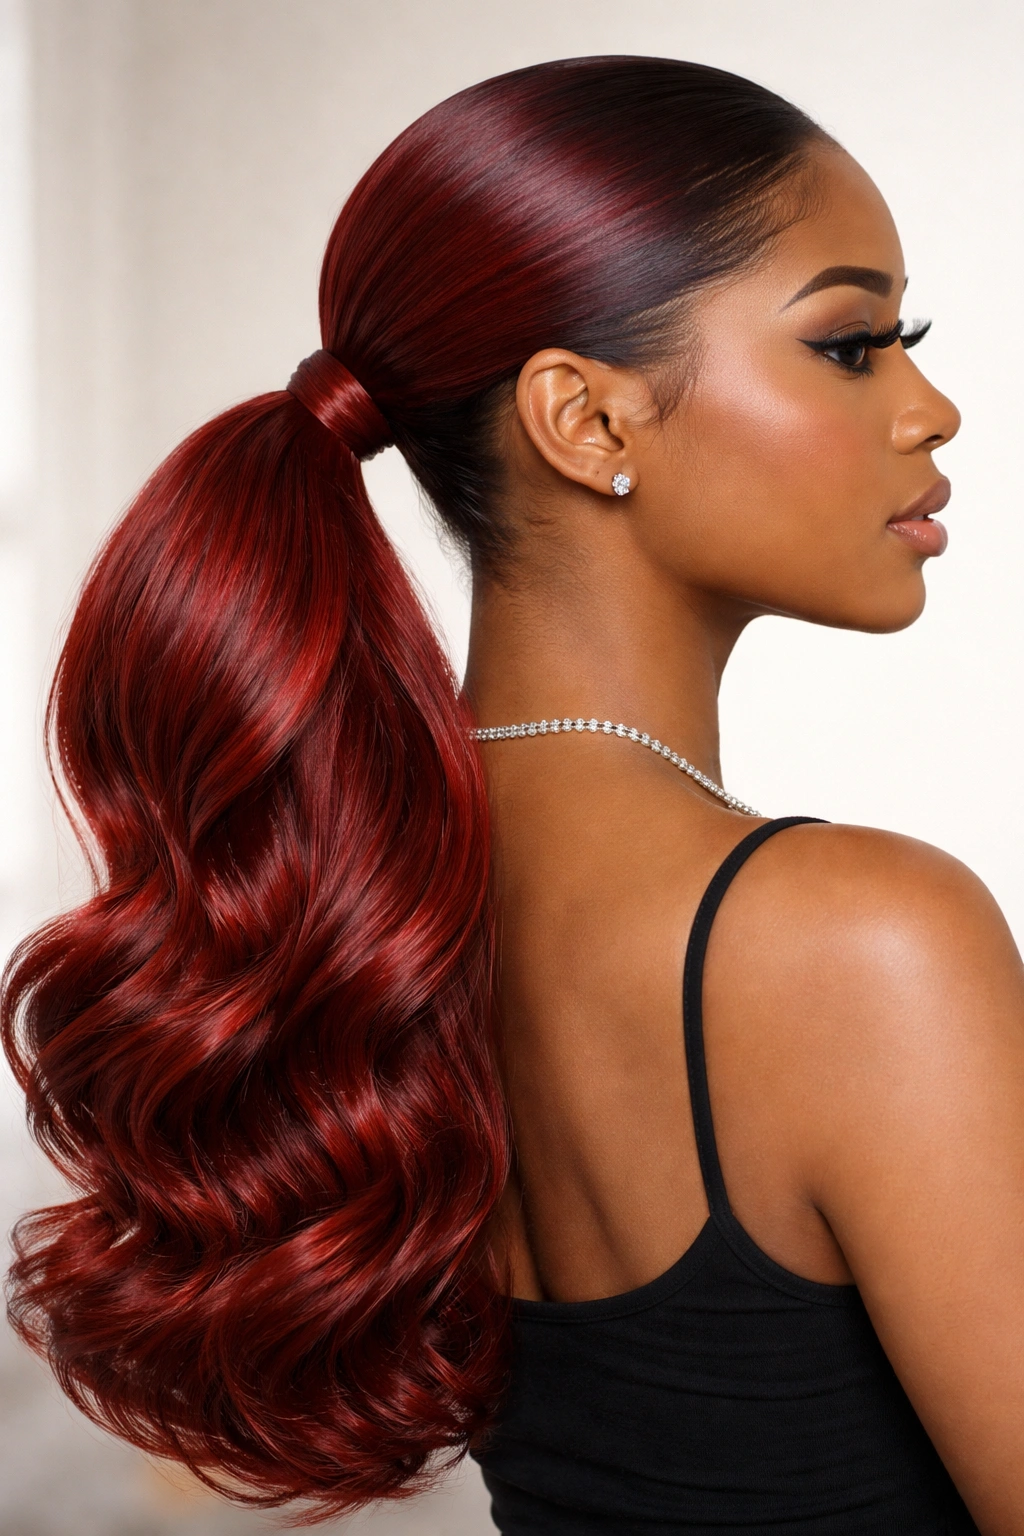
This style starts sleek and controlled at the base but allows the actual ponytail itself to have serious volume and movement, creating an interesting contrast between refined and dramatic. Your hair is pulled back smoothly and tightly at the nape of the neck, sitting low and close to the back of the head, while the tail itself has been pouffed out and styled with curl, wave, or simply left thick and full. The red weave’s color really pops when it’s in this voluminous tail section, especially if you use multiple clips or add extensions specifically to the tail to maximize fullness.
What Makes It Visually Striking
The low placement feels modern and fashion-forward, offering sophistication without severity. This style manages to feel both controlled and carefree simultaneously — the tight, slicked-back base shows refinement and attention to detail, while the full tail gives you movement and presence. The contrast between the sleek back and the volume in front creates visual interest and dimension. This works beautifully for events where you want an elegant base but still want your hair to make a statement with movement and bounce.
How to Achieve This Look
- Apply smoothing serum to damp hair and blow-dry completely straight with a paddle brush
- Use a fine-tooth comb and smoothing gel to comb all hair straight back and down the back of your head
- Secure the ponytail low at the nape with a clear or matching elastic, pulling it tight and keeping everything extremely flat
- For volume in the tail: tease the ponytail section with a fine-tooth comb, working in small sections from root to tip
- Smooth the outer layer gently with the comb to create that polished teased look without frizz
- If adding curl to the tail: wrap sections around a 1.25-inch curling iron, holding for 8-10 seconds
- Flip your head and shake out the curls gently to create that voluminous, piece-y effect
- Wrap a thin section of weave around the elastic base and pin to hide it completely
- Apply edge control to your hairline and smooth everything with a fine brush
Worth knowing: The tighter and more firmly you secure the base, the better the contrast will be with a voluminous tail — don’t go light on the gel or elastic tension here.
3. The Center-Parted Sleek Pony with Mirror-Image Smoothness
A clean center part creates immediate symmetry and visual balance, perfect if you want a style that photographs well and feels intentional. This ponytail divides your hair straight down the middle of your scalp, creating two equal sections that are both smoothed back and combined into a single tail at the back of the head. The center part naturally draws attention to the center of your face, which works beautifully for symmetrical features and creates a focused, editorial aesthetic. The red weave appears on both sides of the center part equally, creating a balanced, almost mathematical precision to the style.
Why This Approach Feels So Refined
The center part is inherently balanced and creates visual harmony that feels polished and intentional. This isn’t a style that happens by accident — it requires deliberate styling and careful attention to creating a perfectly straight parting line. The mirror-image smoothness on both sides of your head creates an almost sculptural quality. This style works best with straight, sleek hair because the clean lines are the entire point — any texture or wave would disrupt the refined aesthetic you’re going for.
Step-by-Step Styling Guide
- Start with damp hair and apply a lightweight smoothing cream or serum throughout
- Blow-dry your hair completely straight using a paddle brush, making sure every section is smooth and free of waves
- Using a rat-tail comb, create a perfectly straight center part from your hairline down to the nape of your neck
- Take time with this step — your part is literally the visual anchor of the entire style
- Apply smoothing gel to both sides, combing each section back and down toward the back of your head
- Keep both sides perfectly even and balanced as you comb
- Secure at the nape with a clear elastic, pulling firmly to keep everything in place
- Wrap a small section of weave around the elastic base and secure with bobby pins
- Use a fine-tooth comb to smooth any flyaways and create a pristine finish
- Apply edge control and a light hairspray as the final step
Pro tip: A thin, crisp center part is easier to achieve if you dampen just that parting line before blow-drying — the moisture helps the division set in more cleanly.
4. The Twisted Side Ponytail with Dimensional Detailing

Rather than a simple straight-back ponytail, this style incorporates one or two twists that wrap around the head before meeting at the base of the ponytail, adding movement and visual interest while maintaining the sleek overall aesthetic. One or both sides of your hair are twisted as they travel back toward the back of your head, creating a spiral effect that catches light beautifully. The twists add dimension and sophistication — this is a style that shows you’ve put thought into your hair rather than simply pulling it back quickly. The red weave is especially striking when twisted because the light hits it from different angles as the twist spirals.
The Visual Impact of Twisted Texture
Twists add a sculptural quality to a sleek style by introducing movement and line without sacrificing the polished overall aesthetic. The twist itself creates visual interest — your eye naturally follows the spiral pattern, which makes the style feel more dynamic and fashion-forward. This is an excellent middle ground if you want something more interesting than a basic ponytail but less dramatic than a fully textured or braided style. The twists are still sleek, but they’re sleek with intention.
Executing the Twisted Side Ponytail
- Apply smoothing product to damp hair and blow-dry completely straight
- Create a side parting by combing your hair to one side and securing it temporarily with a clip
- Take a 2-3 inch section of hair from near your temple on the fuller side of the part
- Divide this section into two subsections and twist them around each other tightly, working toward the back of your head
- As you twist, gradually incorporate more hair from the section you’re working with, similar to a rope braid
- Twist all the way to the back of your head, keeping the twist tight and smooth
- Secure the twist temporarily with a bobby pin while you work on the other side (if doing two twists)
- If doing a second twist: repeat on the other side of your head
- Gather both twists and all remaining hair into a ponytail at the back of your head
- Secure firmly with an elastic that matches your weave
- Wrap a thin section of weave around the base and pin to hide the elastic
- Smooth any flyaways and apply light hairspray to keep the twists in place
Insider note: Twists hold better if your hair is completely dry and you’ve used a lightweight smoothing cream — overly wet hair won’t twist as crisply.
5. The Bubble Ponytail with Red Weave Stacked Sections
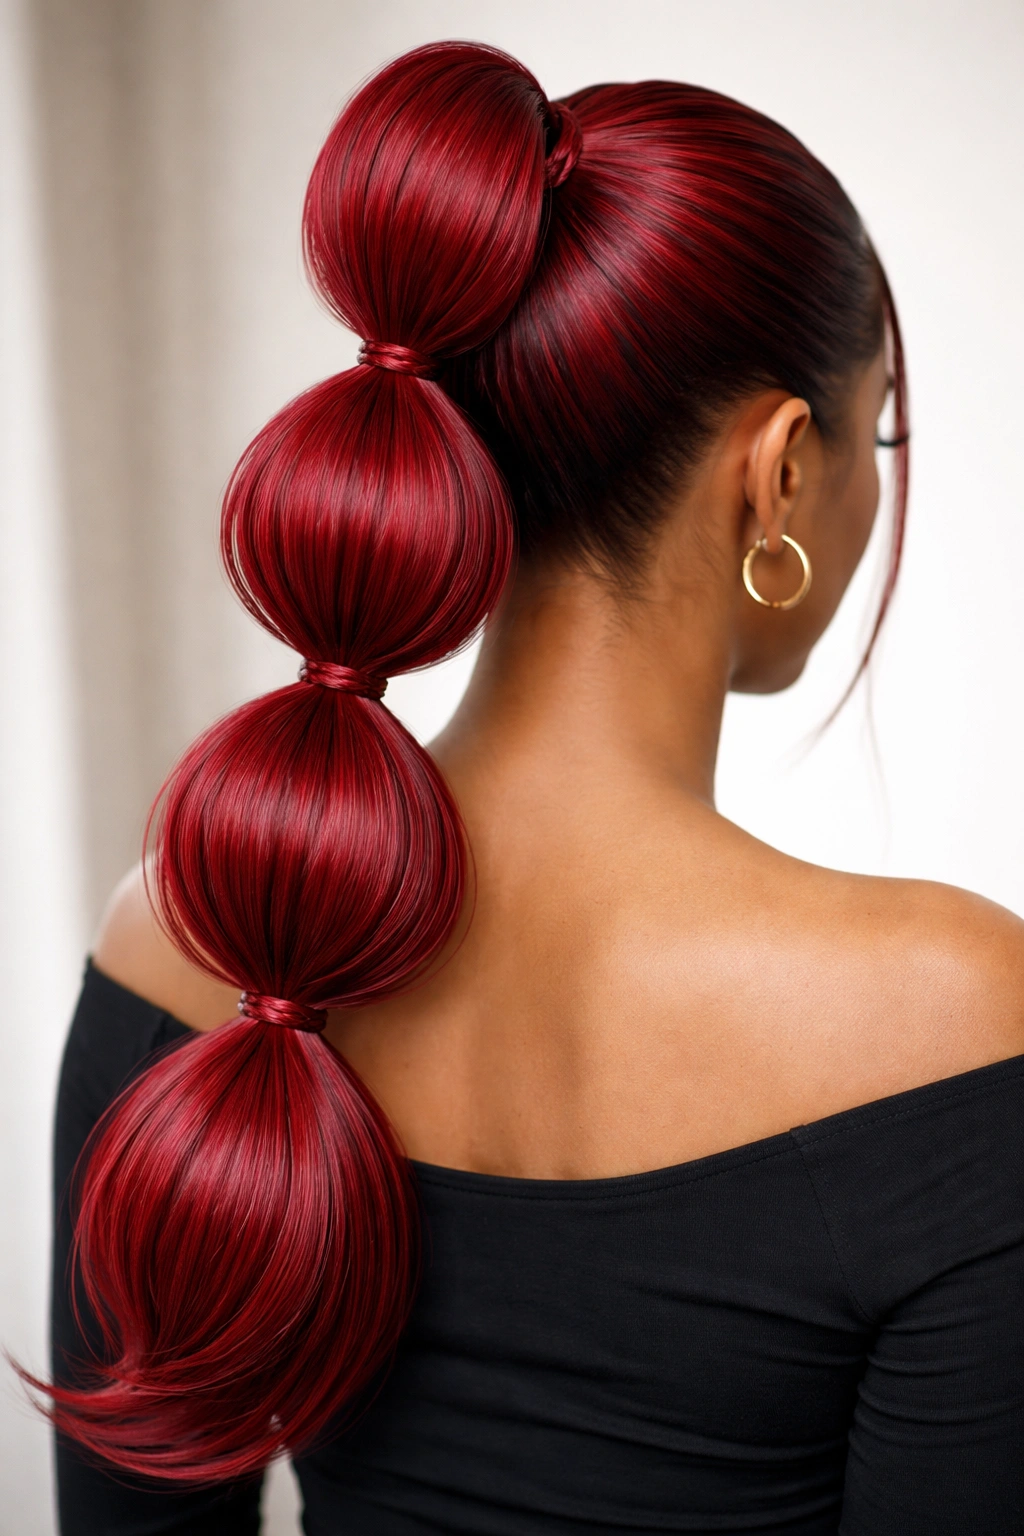
This playful yet polished style divides your ponytail into 3-5 distinct sections using elastics spaced about an inch apart, creating a “bubble” effect that’s both architectural and eye-catching. Each bubble puffs out slightly between the elastics, and the red weave’s color is showcased in distinct segments rather than as one continuous flow. This style feels youthful and creative while still reading as intentional and put-together — it’s not messy, but it’s not severe either. The sleekness comes from how smooth each bubble is and how precisely aligned the elastics are down the length of the ponytail.
Why Bubbles Create Dimension and Interest
Bubble ponytails break up the visual line of a standard ponytail, creating multiple focal points instead of just one. The segmented approach makes your ponytail appear thicker and fuller because each bubble is slightly puffed out. This style works especially well with red weave because the color gets interrupted and reframed in different sections, creating rhythm and visual movement down the length of your hair. The bubbles also serve a practical purpose — they keep your ponytail secure and prevent it from sliding down throughout the day.
Creating Perfectly Proportioned Bubbles
- Create a tight, sleek base ponytail at your desired height (high, mid, or low)
- Secure with a clear elastic that matches your weave tone
- Measure approximately 1 to 1.5 inches down from the base elastic
- Place a second elastic at this point, pulling it snugly but not so tight that it creates a crease
- Gently puff out the hair between the first and second elastic by carefully teasing it slightly and smoothing the outer layer
- Measure the same distance down and place a third elastic
- Repeat the puffing process for each bubble as you work down the ponytail
- Continue this pattern for 3-5 bubbles depending on your ponytail length
- Make sure each bubble is proportional and symmetrical — uneven bubbles read as accidental rather than intentional
- Smooth each bubble’s outer layer to keep it polished, then move to the next one
- Finish with a light hairspray to hold the shape without making it crunchy
Pro tip: Smaller elastics work better than larger ones for bubble ponytails — they create more defined separation between each bubble and look more intentional.
6. The Sleek Wrap-Around Pony with Concealed Base
This style features hair wrapped around the base elastic in multiple layers, completely hiding the elastic and creating a seamless, polished appearance where the ponytail seems to simply emerge from the back of your head. Instead of using a standard elastic, you create a minimal base and wrap sections of hair around it repeatedly until the elastic is completely concealed. The red weave becomes part of this wrapped detail, and the color and texture create visual interest right at the base where a standard ponytail looks plain.
The Refined Details of a Wrapped Base
The wrapped-around base is what separates a basic ponytail from a polished one — it’s a small detail that signals attention and care. This approach works beautifully with red weave because the color becomes a design element rather than just background hair. The wrapping creates a finished, professional appearance that looks like you’ve either had professional styling or spent significant time on your hair. This is the detail that takes a ponytail from casual to intentional.
Technique for a Flawless Wrapped Base
- Create your base ponytail at your desired height with a small, clear elastic
- The elastic should be pulled as tight as comfortably possible to create a small, compact base
- Take a thin 1-2 inch section of hair from the ponytail itself
- Wrap this section around the base elastic, covering it completely
- Secure the wrapped section with 2-3 bobby pins inserted into the base of the ponytail, hidden by the wrapping
- Take a second thin section of hair and wrap it around the base again, overlapping with the first wrapped section slightly
- Pin this second wrap in place with bobby pins
- If needed, add a third wrap for complete coverage and a fuller appearance at the base
- Use a fine-tooth comb to smooth the wrapped sections so they look intentional and neat
- Apply smoothing serum or light hairspray to the wrapped area to keep it in place
- Make sure all bobby pins are completely hidden — none should be visible
Worth knowing: This technique requires patience, but the time you invest is worth it because the final result looks significantly more professional and refined than a standard elastic-only ponytail.
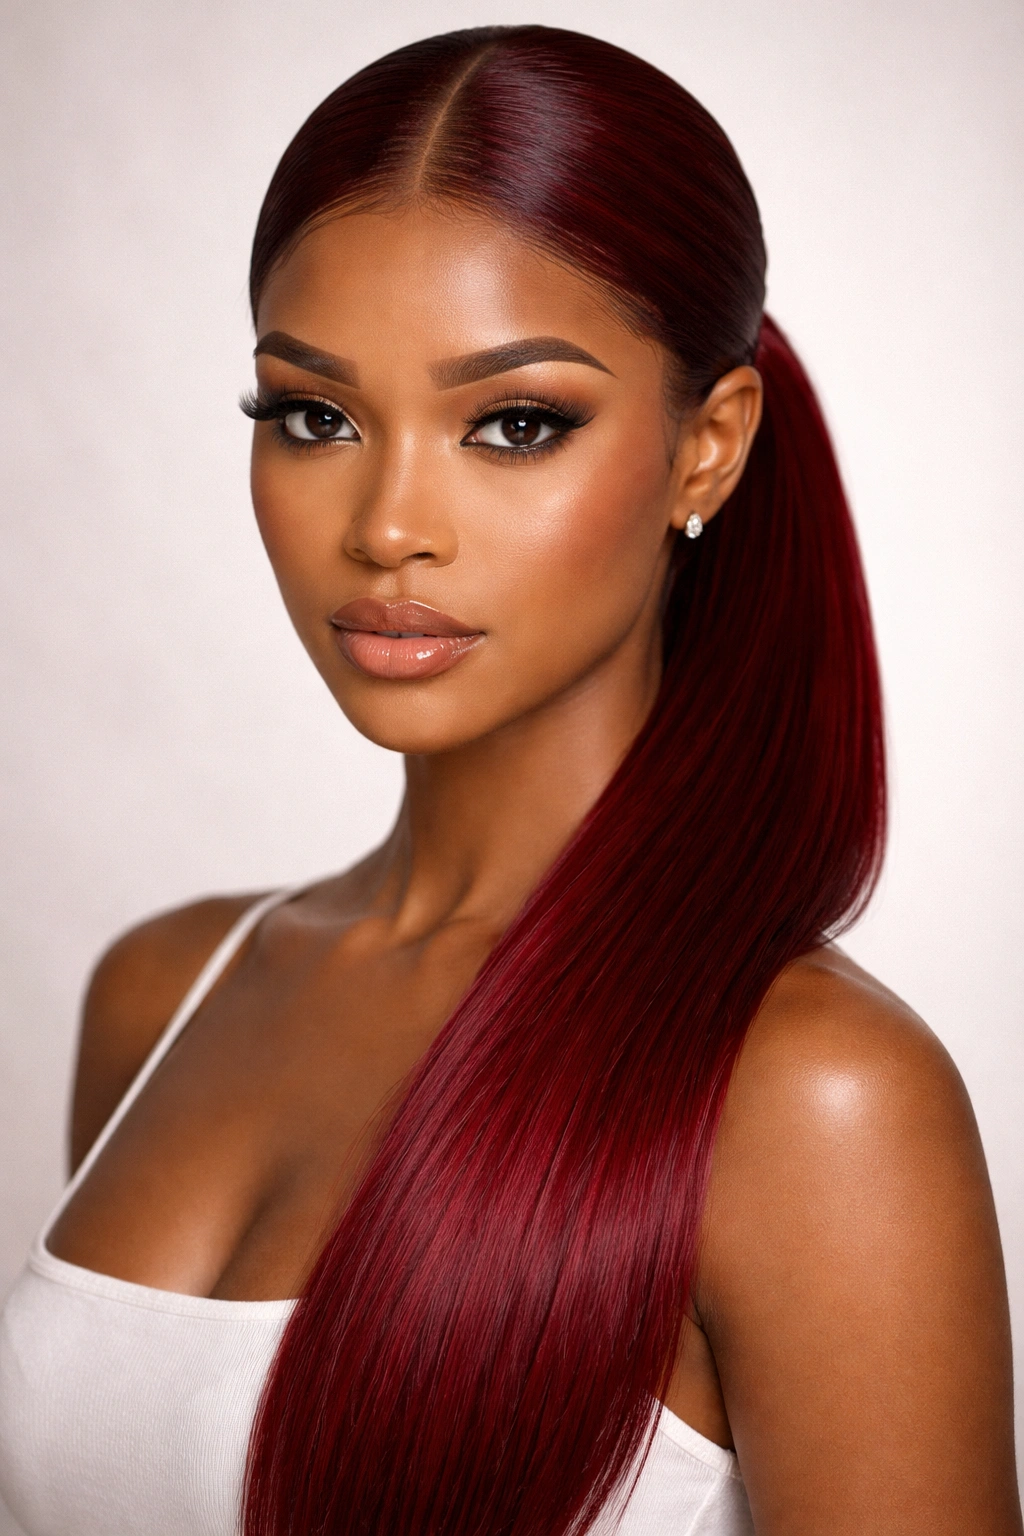
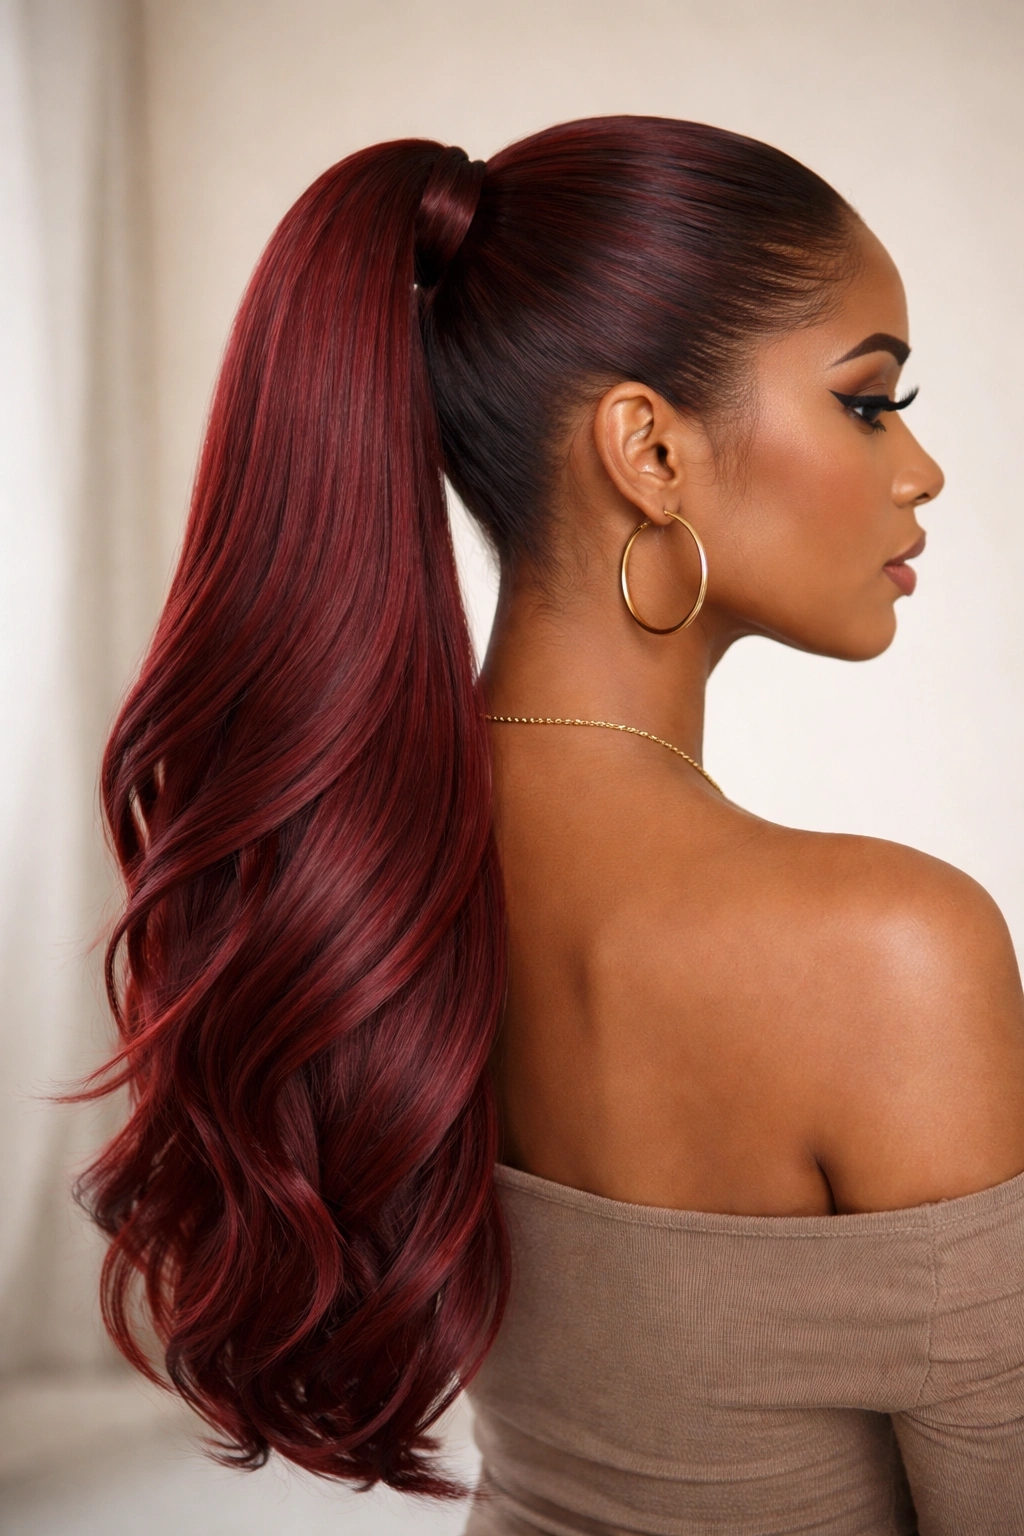
7. The Side-Swept Sleek Ponytail with Asymmetrical Placement
This style shifts the entire ponytail to one side of your head, creating an asymmetrical, fashion-forward aesthetic while maintaining the sleek, controlled finish you want. Your hair is combed smoothly toward one side and gathered into a ponytail positioned at the back corner of your head rather than at the center. The side-swept placement creates an elegant, dramatic line and works beautifully with red weave because the color pools on one side of your head, creating asymmetrical visual interest.
Why Asymmetry Reads as Modern and Intentional
An asymmetrical ponytail is never accidental — it’s clearly a deliberate choice, which is exactly what makes it feel intentional and polished. The side placement elongates your neck and draws attention to the opposite side of your face, which can be strategically flattering depending on your features. This style works especially well for events, date nights, or anytime you want to feel glamorous without looking overdone. The asymmetry also allows you to show off your face on one side while keeping your hair controlled and sleek on the other.
Building Your Side-Swept Ponytail
- Apply smoothing cream to damp hair and blow-dry everything in the direction you want it to sweep (to the right or left)
- Use a paddle brush to direct all hair toward your chosen side, creating a smooth, diagonal line across your head
- Keep one side completely smooth with no flyaways
- Gather all the hair at the back corner of your head where it naturally wants to collect
- The ponytail should sit approximately at the back corner of your head, not centered
- Secure with an elastic that matches your weave, pulling firmly so nothing slips
- Take a thin section of weave from the ponytail and wrap it around the elastic base
- Secure the wrap with bobby pins hidden within the ponytail
- Use edge control and a fine-tooth comb to smooth the side that’s being swept back
- Apply light hairspray to keep the swept direction locked in place
- Check that the asymmetry is balanced — your ponytail should feel deliberately off-center, not like it slipped
Pro tip: The side-swept look works best when you blow-dry your hair in the swept direction initially — trying to sweep hair that was blow-dried straight will result in it wanting to return to center.
8. The Sleek Pony with Braided or Twisted Tail Section

This style features a straight, smooth ponytail that transitions into a braid or twist about halfway down its length, adding texture and dimension to the lower portion while keeping the upper portion completely sleek. The sleekness of the base makes the texture of the braided or twisted tail section stand out more dramatically. Red weave in a braid or twist catches light differently than straight hair, creating visual interest and movement in a style that’s still fundamentally polished and controlled.
The Impact of Texture Placement
Adding texture only to the lower portion of your ponytail creates intentional visual contrast — the sleekness isn’t disrupted, but it’s enhanced by the textured detail. This approach works beautifully for someone who wants more visual interest than a plain ponytail but prefers to keep the top portion sleek and controlled. The texture adds movement and catches light, while the sleek base maintains the polished aesthetic. This is a style that photographs beautifully because the contrast between smooth and textured creates dimension.
Constructing the Braided Tail Section
- Create a sleek base ponytail at your desired height
- Smooth it as much as possible and secure with a clear elastic
- Divide the ponytail into 3 equal sections approximately 2-3 inches below the base elastic
- Begin a standard three-strand braid with these three sections
- Keep the braid taut and consistent as you work down the length of your ponytail
- Secure the braid at the very end with a small clear elastic
- Gently tease the braid slightly for a fuller, more textured appearance (optional)
- Smooth the outer layer of the braid with a fine-tooth comb to keep it refined
- Use edge control and hairspray to set the entire style in place
Alternative with twists: Instead of a traditional braid, divide the ponytail into two sections and twist them around each other tightly for a different texture. The twisted version reads as slightly more modern and less traditional.
9. The Sleek Pony with Layered Height and Invisible Clips
This style uses layered clip-in extensions added only to the actual ponytail section to create dramatic volume and length without bulking up your base, creating a sleek, compact base with a statement-making, full tail. The clips are hidden within the ponytail itself, so from the back it appears completely natural — like that volume is all your own hair. Red weave works beautifully for this because the added clips can be exactly the same shade as your base weave or intentionally slightly different to create dimensional color.
Why Invisible Clips Create Instant Drama
Clip-in extensions allow you to add volume and length to your ponytail without adding bulk to your base, which means you can have a compact, sleek look at the back of your head and a dramatic, full tail that flows down your back. This is the solution if you want drama without sacrificing the sleek base aesthetic. The clips are completely undetectable when placed correctly, and they allow you to adjust your style throughout the day if needed. This approach also protects your natural hair because you’re not adding weight or stress directly to your scalp.
How to Secure Clips Invisibly
- Create your sleek base ponytail as usual and secure tightly with a clear elastic
- Wrap the base with weave as normal and secure with bobby pins
- Section your ponytail into 3-4 subsections
- Attach clip-in extensions to each subsection using the clips provided — typically these slide into the hair
- Make sure clips are positioned at least 2 inches below the base elastic so they’re completely hidden
- For a natural look, clip extensions into different subsections rather than all in one section
- Gently blend the clips by combing through the ponytail so the transition is seamless
- The final result should look like one complete, very full ponytail with no visible clips
- You can add subtle waves or curls to the tail to create further dimension
- Hairspray helps keep the clips secure and everything in place
Pro tip: Buy clip-in extensions specifically in red tones that match your weave — this ensures seamless blending and makes the added volume look completely natural.
10. The Sleek Low Pony with Statement Drop Length and Blunt Ends
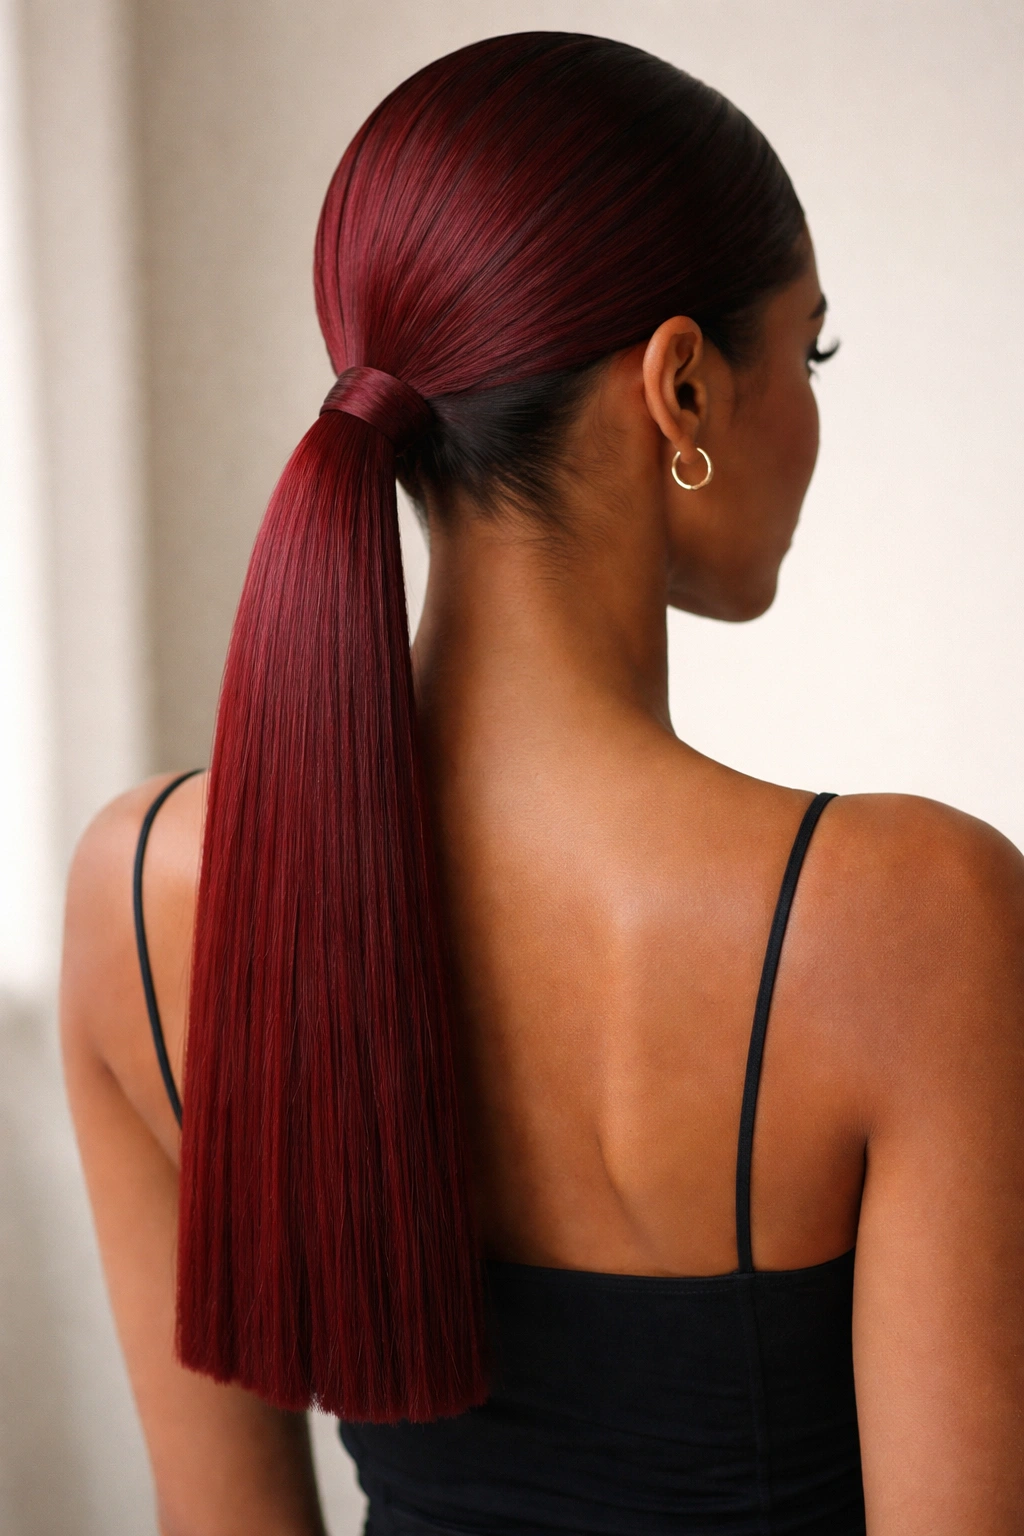
This style positions the ponytail low at the nape of your neck, pulls it extremely tight and smooth, and finishes with a blunt bottom edge that creates a crisp, architectural endpoint. The blunt ends are key to the sleek aesthetic — they feel intentional and refined, like you’ve just come from a professional salon visit. The low position combined with blunt ends creates a minimalist, almost corporate elegance. Red weave at this length and with blunt ends creates a striking visual impact that reads as polished and put-together.
The Precision of Blunt Ends and Low Placement
Blunt ends create visual weight and definition — they feel intentional and precise in a way that tapered or layered ends don’t. The low placement keeps everything controlled and professional while the red color adds personality and visual interest. This is the style you’d wear if you want to look absolutely flawless and don’t need movement or volume — just pure, sleek elegance. The simplicity is the sophistication here.
Achieving Perfectly Blunt Ends
- Create your low base ponytail and smooth it completely, securing tightly with a clear elastic
- Wrap the base with weave and conceal all bobby pins
- Decide on your desired length — measure from the base elastic down to where you want your blunt line to be
- Using sharp hair shears, cut straight across the bottom of your ponytail in one smooth motion
- Don’t saw back and forth; make one clean cut to create that crisp blunt edge
- If you’re nervous, have a stylist do this trim for you — the quality of the cut matters
- Check that your blunt line is perfectly level before finalizing
- Use a razor or thinning shears slightly on the very ends if you want to soften them just slightly (optional)
- Apply edge control to your hairline and smooth everything with a fine-tooth comb
- Finish with hairspray for hold
Worth knowing: If you’re using weave extensions, you can trim them to length before installing them, or you can wait and trim after. Trimming after installation is riskier but allows you to see the exact length as it sits in your ponytail.
Styling Products and Techniques for Sleek Red Weave Ponytails
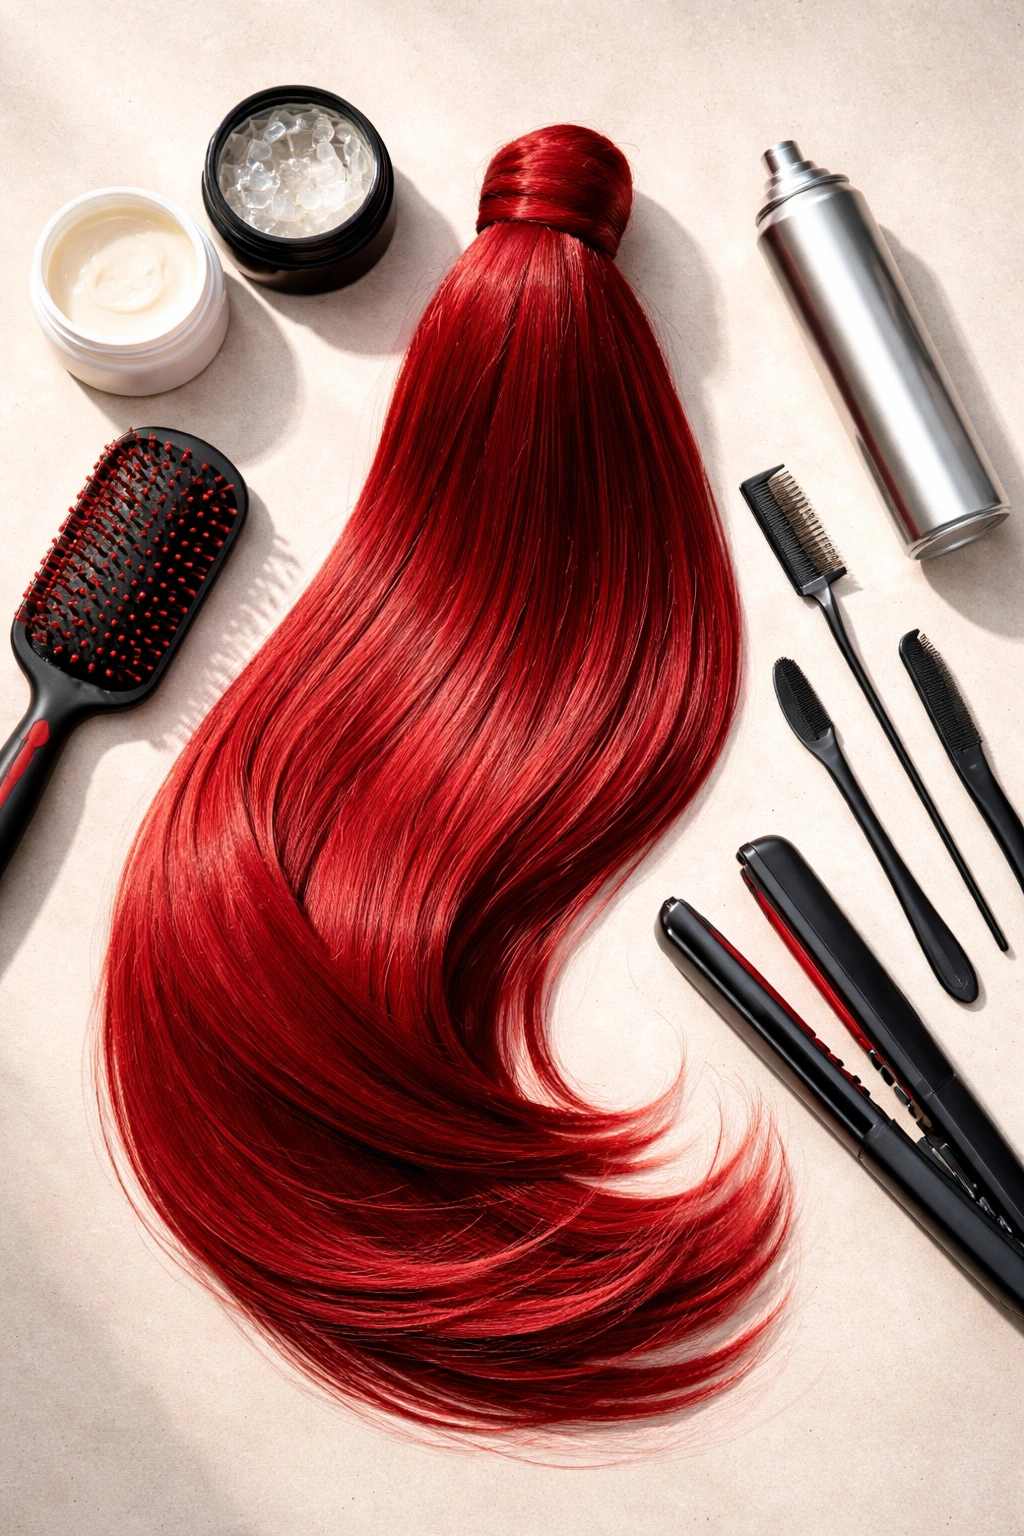
The difference between a basic ponytail and a truly sleek one comes down to product selection and application technique. Smoothing cream, edge control, and light hairspray are the holy trinity of sleek styling — each one plays a specific role in creating that polished, controlled aesthetic. Smoothing creams work best applied to damp hair before blow-drying because they coat each strand and create a smooth foundation. Edge control needs to be applied last, after your ponytail is constructed, so you can precisely smooth and define your edges and any flyaways.
Blow-drying is non-negotiable for achieving true sleekness — air-dried hair, no matter how smooth your products are, won’t give you the flat, refined finish you’re going for. A paddle brush is your best tool here because it’s wide enough to smooth large sections and flat enough to direct hair smoothly. Always blow-dry in the direction you want your hair to go, whether that’s straight back, to one side, or upward for a high ponytail. Finish blow-drying with a blast of cool air to seal the cuticle and lock in that smoothness.
Hairspray choice matters more than people realize — a heavy hairspray will weigh down your ponytail and make it look stiff and crunchy, while a light hairspray will hold everything in place with a more natural appearance. Apply hairspray in thin, even mist rather than spraying heavily in one spot. A fine-tooth comb should be your constant companion when styling — use it to smooth flyaways, blend elements together, and refine edges. Keep it nearby even after your style is complete so you can touch up any pieces that shift throughout the day.
Maintaining Your Red Weave Ponytail Throughout Wear

How you care for your ponytail during the weeks you’re wearing it determines whether it stays looking sleek or gradually becomes frizzy and dull. Sleep is one of the biggest challenges — your pillow creates friction that causes frizz and can loosen your style. Sleeping in a silk or satin bonnet or pillowcase minimizes this friction and helps your ponytail maintain its sleek finish. Alternatively, you can loosely wrap your ponytail around your head like a crown before bed and secure it with a clip, keeping it away from the friction of your pillow.
Humidity is the enemy of sleek styles — moisture in the air causes frizz and can make flyaways appear. If you’re styling in a humid climate, you may need to use a stronger hold hairspray and touch up your edges more frequently. A frizz-control serum applied very lightly to the surface of your ponytail can help combat humidity without making your hair look wet or greasy. You can also keep a small bottle of edge control with you to touch up throughout the day.
Washing your weave requires care if you want to maintain the sleek aesthetic. If you’re wearing your weave for several weeks, you don’t need to wash it frequently — once every two weeks is sufficient. When you do wash, use cool water and a sulfate-free shampoo, focusing on your scalp and roots rather than scrubbing the weave itself. Gently squeeze water through the hair rather than aggressively rubbing or wringing it. Deep conditioning treatments help keep your weave soft and shiny; apply conditioner to the mid-lengths and ends, not the roots. After washing, gently squeeze out excess water and allow your hair to air-dry completely before styling — blow-drying after washing can disrupt your style.
Touch-ups between washes are part of maintaining sleekness. A light misting with water and a small amount of smoothing serum, followed by a gentle combing, can revive your style if it’s starting to look frizzy. If your ponytail is pulled too loose after several days of wear, carefully comb out the elastic and resecure it more tightly — this takes just a few minutes and makes a huge difference in how polished it looks. Trim any flyaways that develop with small scissors for a refined appearance, or keep them smoothed down with edge control.
Final Thoughts
Red weave ponytails offer versatility, drama, and the ability to express yourself while maintaining a polished, controlled aesthetic that works across every setting and occasion. Whether you choose a minimalist high ponytail with razor-sharp edges or a low ponytail with bubble sections and textured details, the key to achieving that sleek look lies in product selection, blow-drying technique, and attention to the small details that signal refinement. The red color itself adds personality and visual interest to any of these styles — it’s bold enough to make a statement but versatile enough to work with different skin tones and personal styles.
The real magic of these ten styles is that they’re not one-size-fits-all — they’re a menu of options that you can mix, match, and adapt based on your preferences, hair type, and what occasion you’re dressing for. A high ponytail works for professional settings; a side-swept style feels glamorous and date-ready; bubble ponytails bring playfulness while maintaining polish. You can even combine techniques — add a wrap-around base to the braided tail style, or create bubbles on a twisted side ponytail. The sleekness is the constant that ties them all together.
Taking time to master your ponytail technique pays dividends every time you style your hair. Once you understand how smoothing products work, how to properly blow-dry, and how to create a secure base, you can execute any of these styles confidently. Red weave ponytails are an investment in your appearance and your confidence — they make you feel put-together and intentional. Whether you’re wearing your weave for two weeks or eight weeks, maintaining that sleek aesthetic through proper care and strategic touch-ups keeps your style looking fresh and refined from day one through the final day you wear it.