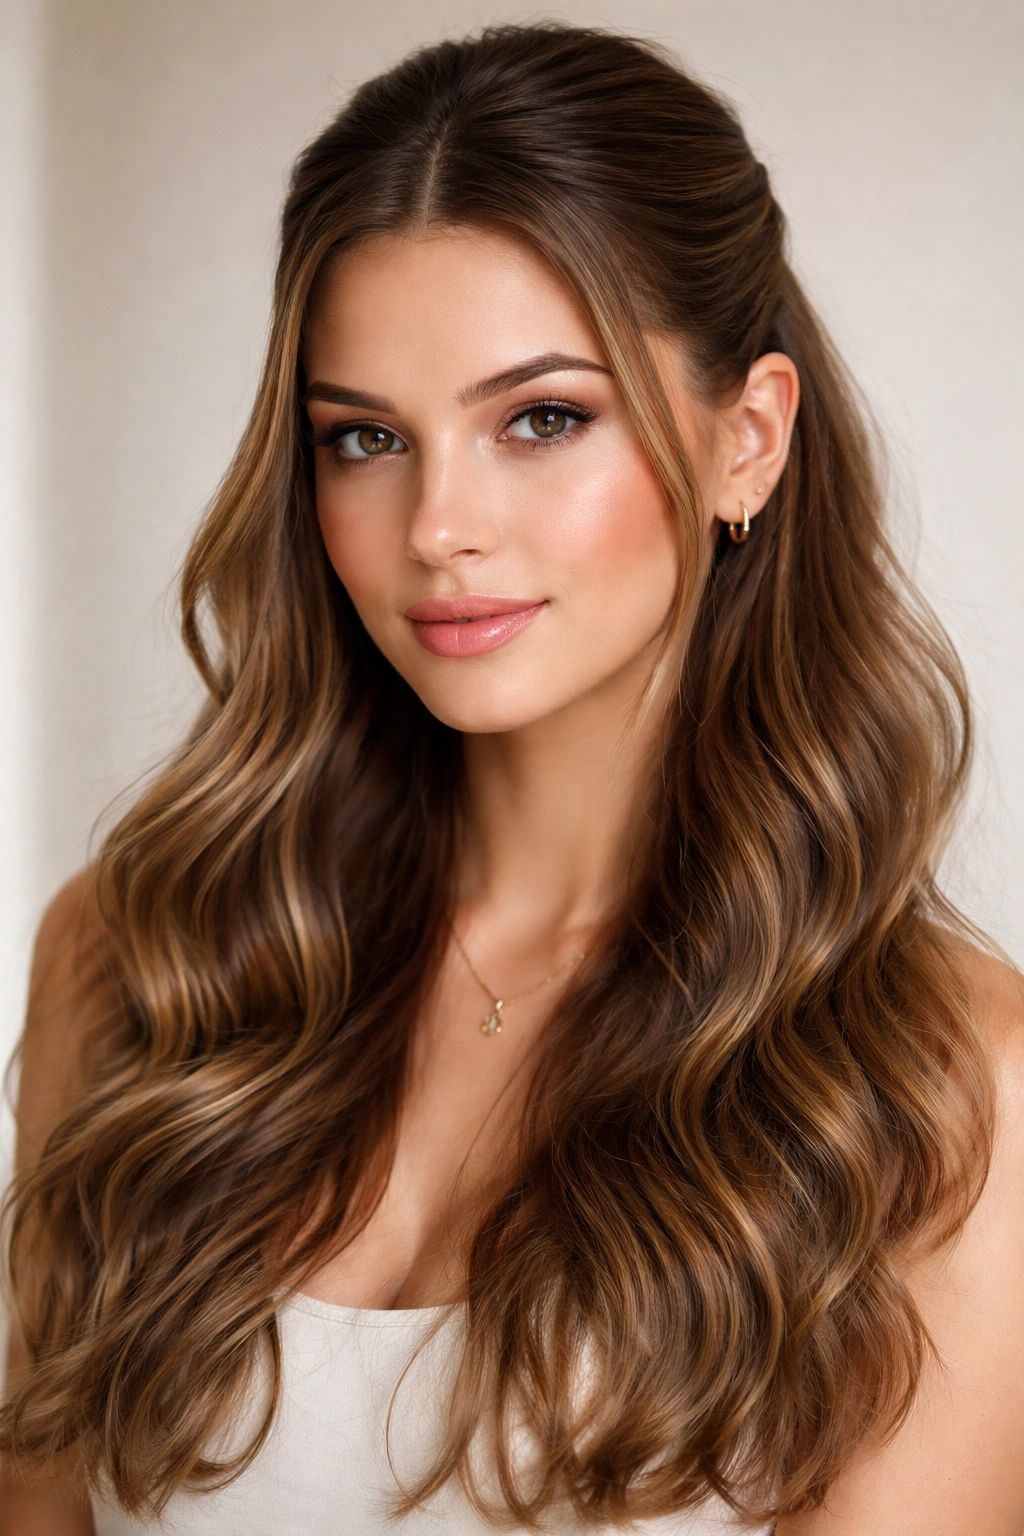
Wavy hair has this natural texture that half-up styles seem to love. There’s something about the way waves flow when you pull back just the right amount of hair — it looks intentional without feeling overdone, effortless without looking accidental. But here’s what most tutorials miss: not every half-up works the same way on wavy hair. The texture, the weight distribution, how the waves sit at your crown — it all changes how a style actually holds up through your day and whether it actually looks good on you specifically.
The challenge with wavy hair and half-up styles is that you’re working with texture that wants to move. A style that looks pristine on straight hair might feel limp or unbalanced on waves, or conversely, waves can make a simple half-up feel way more interesting than you’d expect. The key is understanding which half-up styles embrace your wave pattern instead of fighting it, and how to actually secure them so they stay put without needing a pound of bobby pins.
Whether you’re trying to get hair off your face during the day, looking for something between fully down and fully up, or wanting an excuse to show off your wave texture without it being completely loose, half-up styles are the sweet spot. Here are ten different approaches to the half-up that work especially well for wavy hair — each one brings its own vibe and requires its own specific technique to look polished.
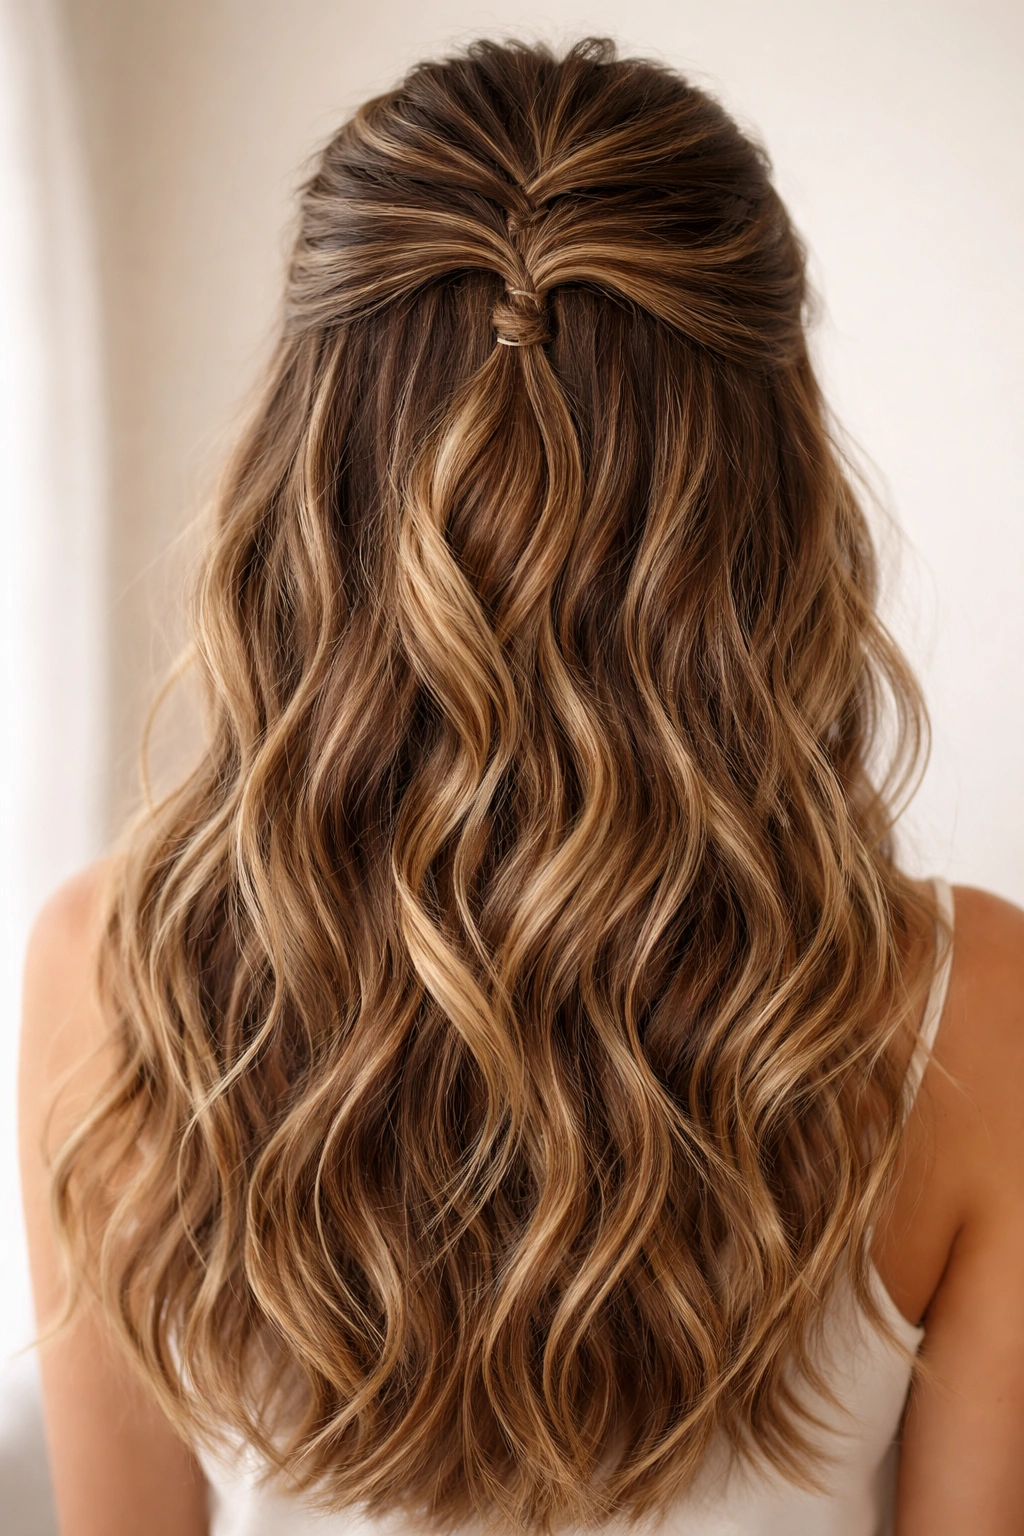
1. Twisted Half-Up Half-Down
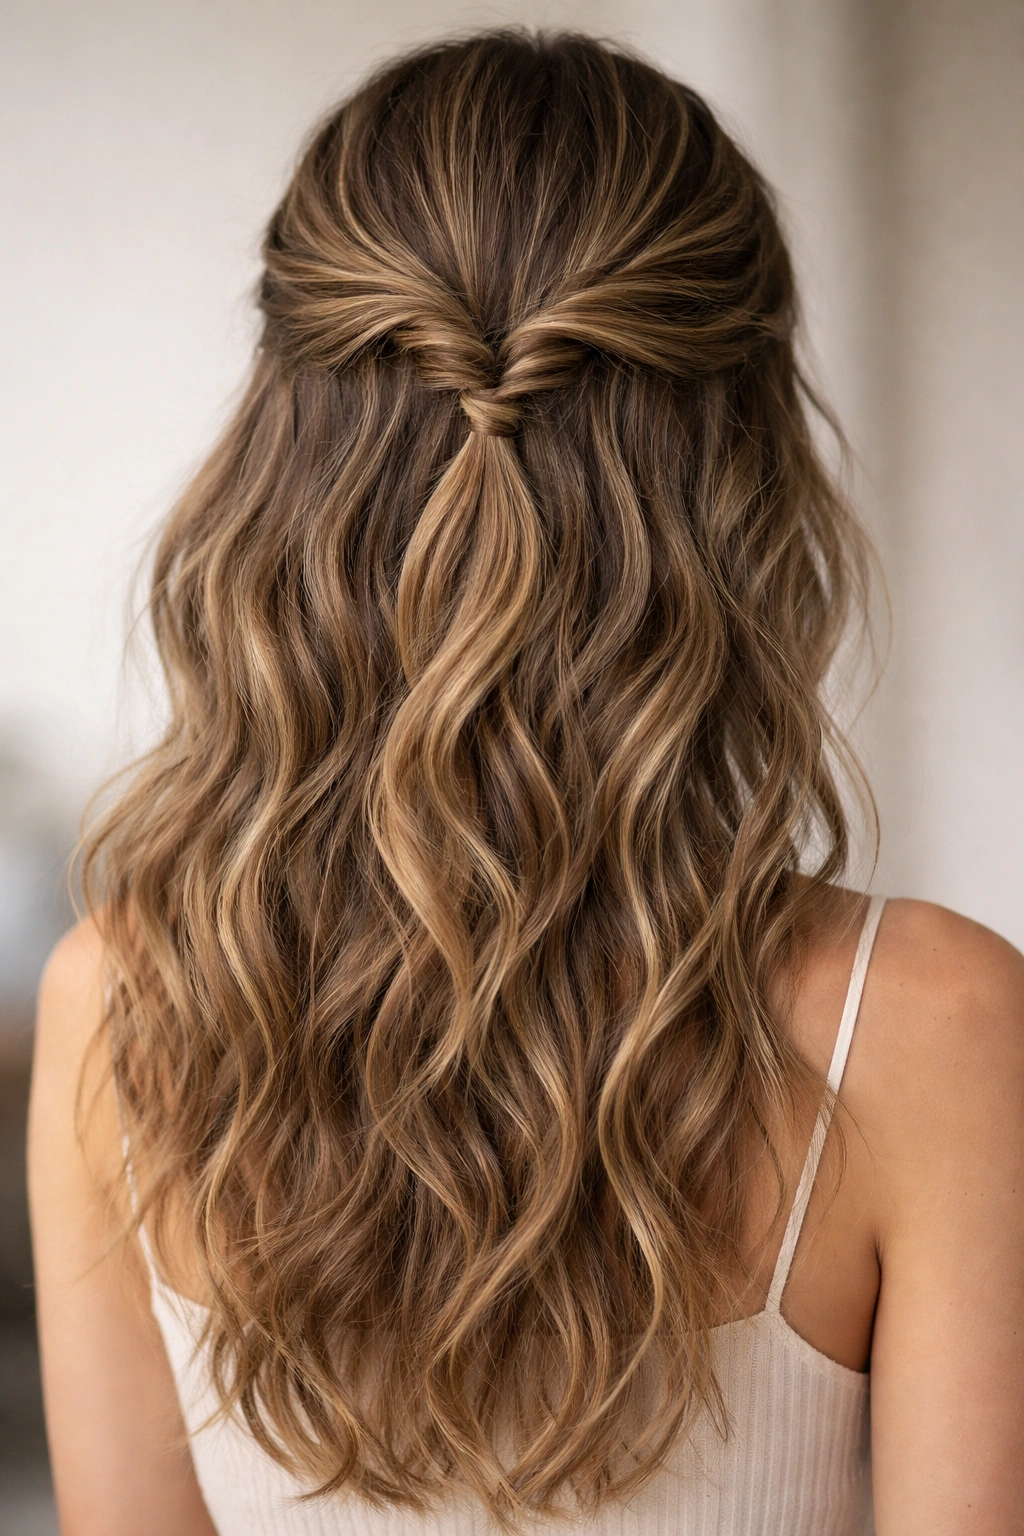
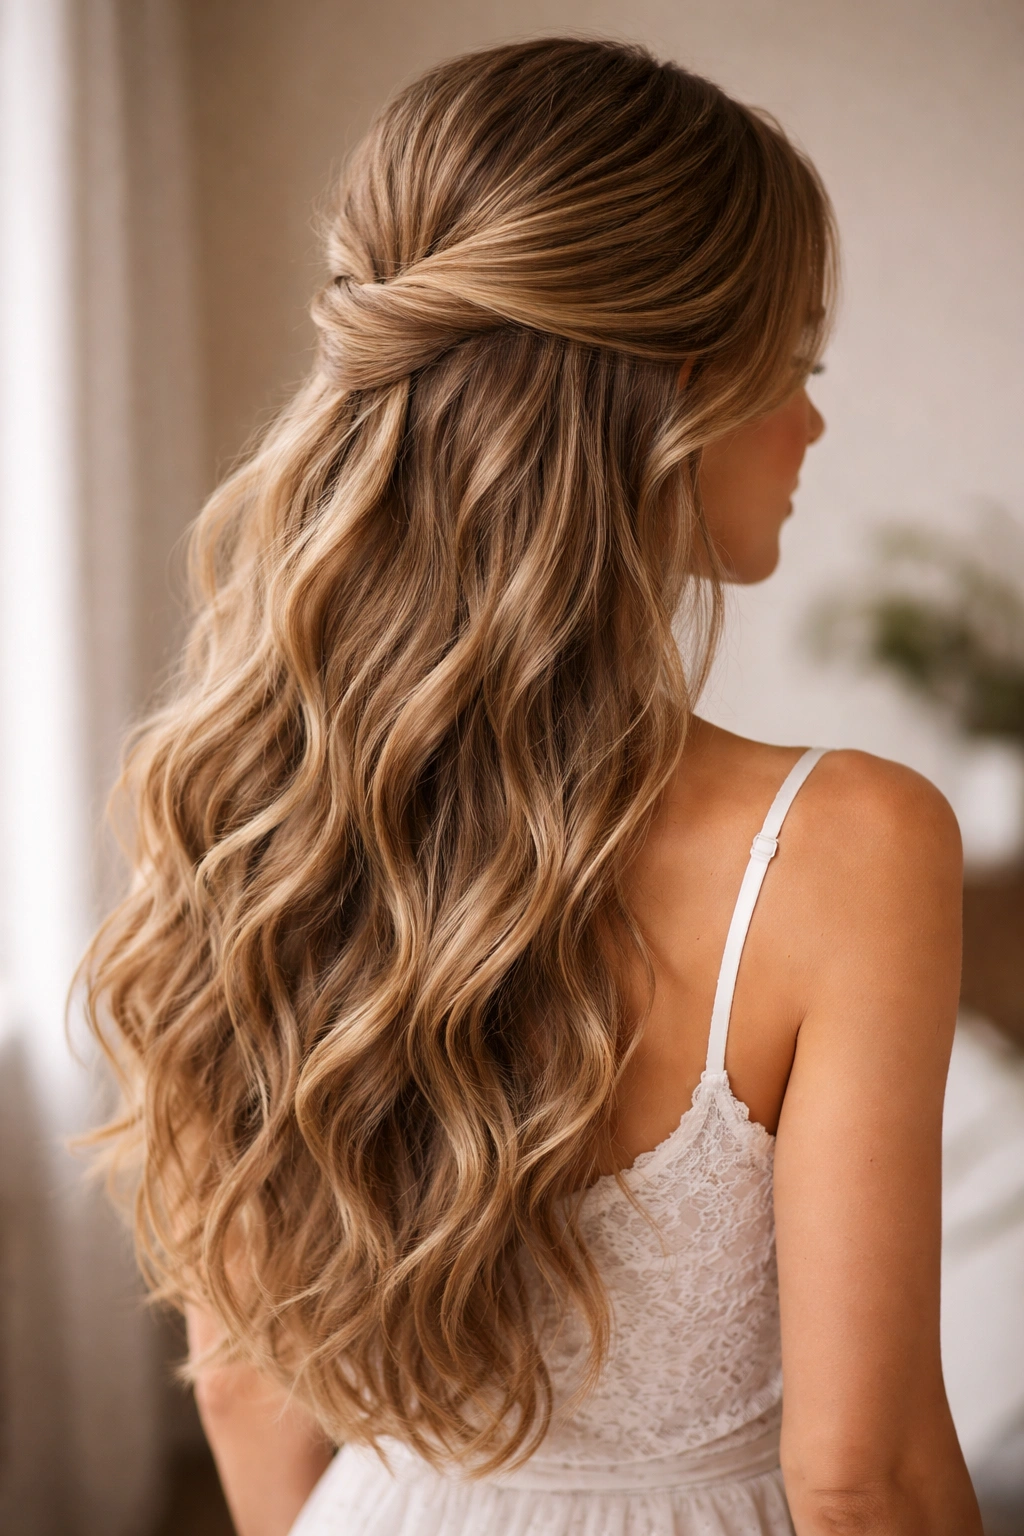
The twisted half-up is one of the most forgiving styles for wavy hair because the twist actually helps contain and define your waves rather than fighting against them. Start by taking a generous section from each side of your head, roughly from your temple area. Don’t make your sections too thin — you want enough hair to actually create texture and interest with the twist.
How Twists Enhance Natural Waves
Twists work beautifully with wavy texture because they don’t require any smoothing or straightening to look intentional. Your waves naturally catch and highlight the twisted spiral, creating dimension that would look flat on straight hair. The twist also loosens slightly as the day goes on, which actually makes this style better over time — it develops more texture and movement rather than falling flat.
How to Build the Twist
- Start with dry or lightly textured-sprayed hair — completely flat hair won’t hold a twist as well
- Take the right section and twist it loosely away from your face, going back toward the crown
- Do the same with the left section, twisting in the opposite direction so they mirror each other
- Pin both twists where they meet at the back, but don’t fully secure them — let a few loose pieces escape around your face
- Use a flat, decorative clip or hair tie that matches your hair color to avoid that severe look
- Gently tug the twist slightly to add dimension and loosen it just enough that pieces can escape
The beauty of this style is that escaped pieces and flyaways actually look intentional. If you have lots of baby hairs or shorter layers, they’ll frame your face naturally rather than making you look unkempt.
Pro tip: This style holds best when you twist toward the back rather than upward — gravity helps keep everything in place, and you’re working with your waves instead of against them.
2. Layered Braided Half-Up
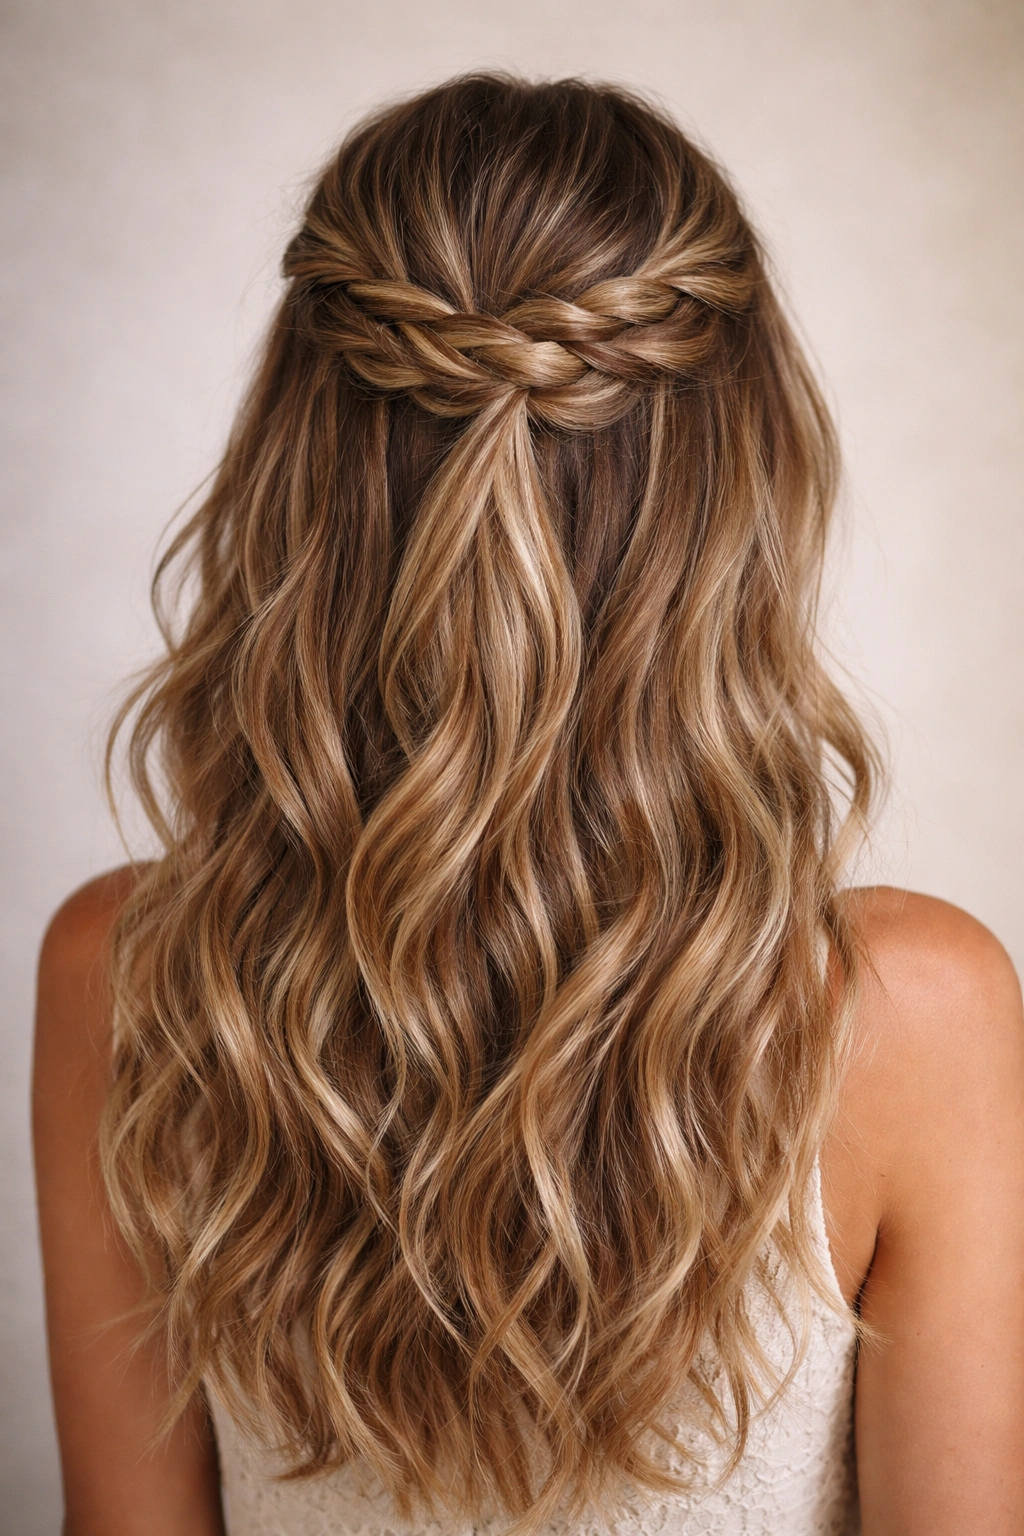
A braided half-up takes the half-up concept and adds serious texture, which plays perfectly to wavy hair’s strengths. The key difference between a braided half-up that looks polished and one that looks sloppy is understanding how to braid hair with natural texture.
Why Braids Love Wavy Texture
Braids on straight hair can look thin and small, requiring tight pulling to create visual interest. On wavy hair, braids naturally have more dimension and body. The waves fill the braids out, making them look fuller and more intentional with way less effort. Plus, your existing wave pattern adds hidden texture that makes the braid look far more sophisticated than a simple three-strand actually is.
Building a Textured Braid Half-Up
- Take a section from your crown area — about two inches wide, running from above one ear to the other
- Divide into three strands and begin a standard three-strand braid, but don’t pull too tightly
- As you braid, deliberately let a few pieces escape from each strand — this isn’t a mistake, it’s the design
- Braid down past your crown toward the back, then secure the end of the braid roughly at your back-center
- Gently tug and loosen the braid by pulling small sections outward, working from bottom to top
- Use a hair tie or clip that disappears into the braided section rather than showing
What Not to Do
- Don’t use products that slick your hair down tight — this kills the dimension you’ve built
- Don’t braid too tightly at the crown; you want texture to show, not a thin tight line
- Don’t try this style on completely wet hair; you need some structure from your waves to work with
Worth knowing: This style actually looks better the next day when your braid has softened and more texture has developed. It’s one of the rare styles that improves over a 24-hour period.
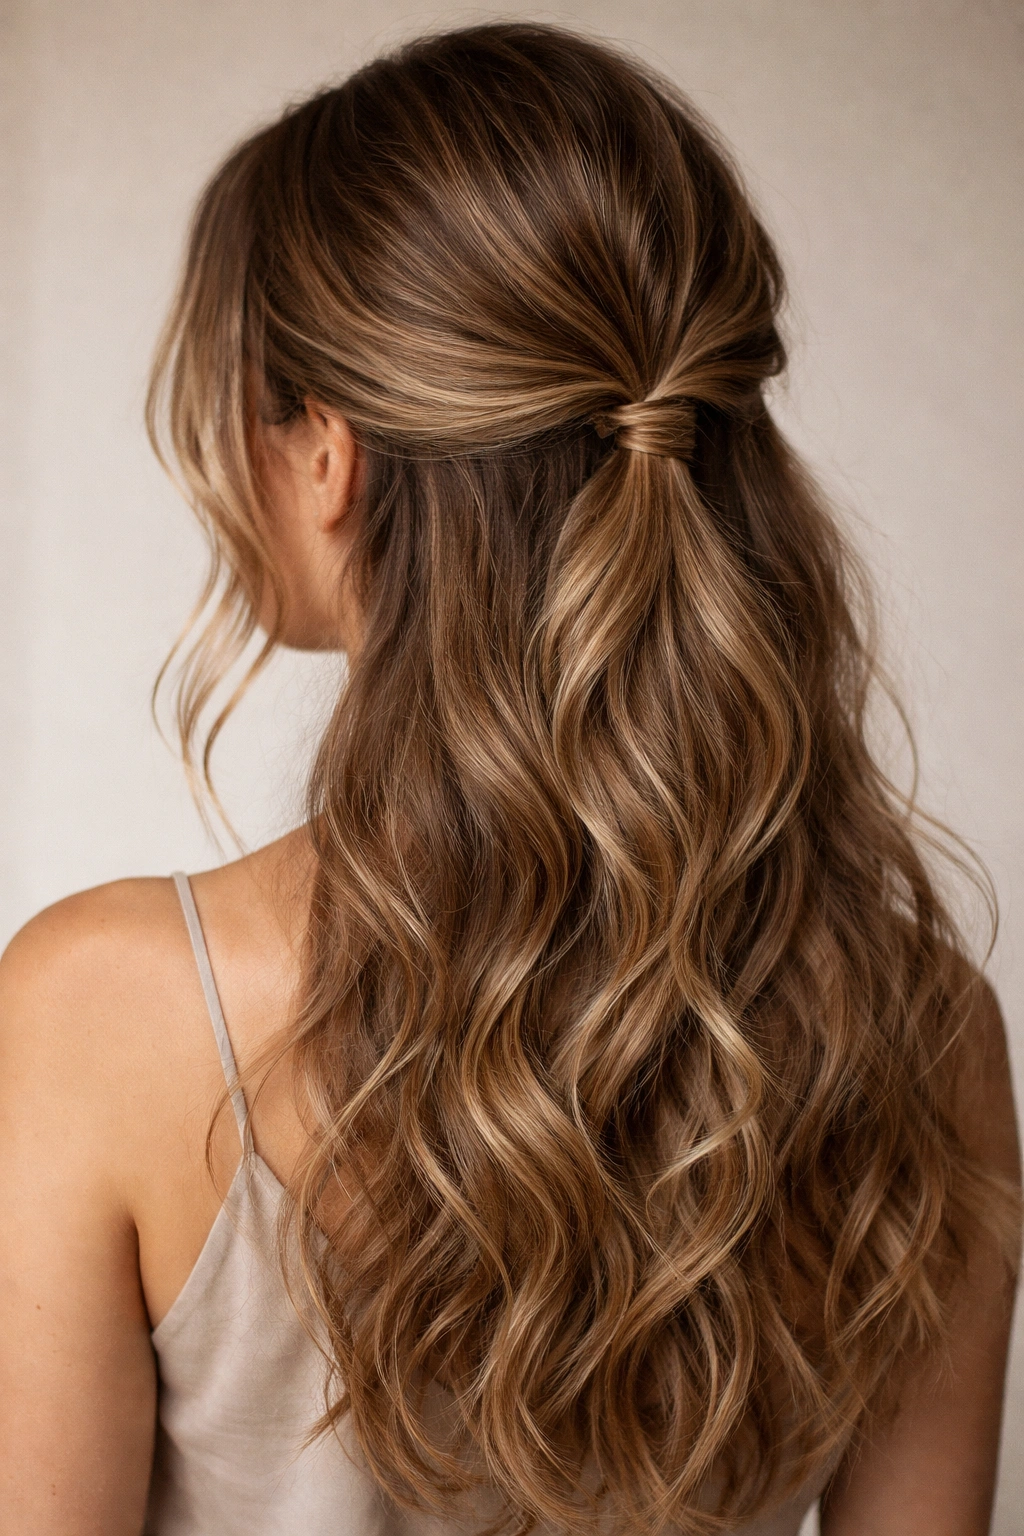
3. Textured Ponytail Half-Up
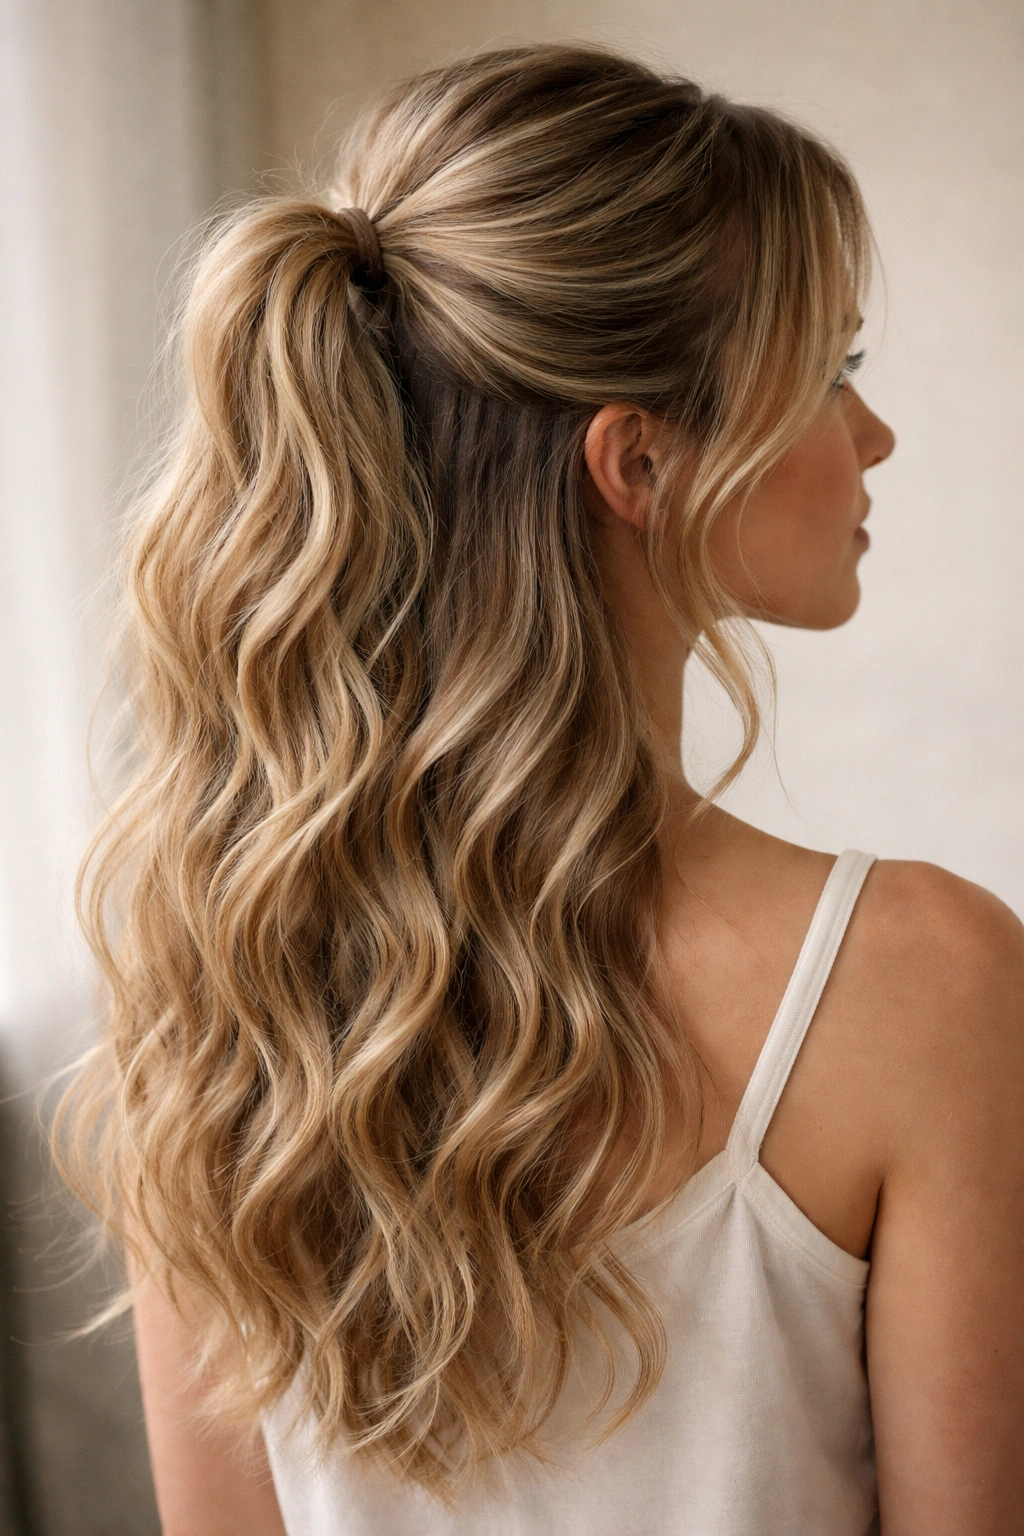
This might sound like a contradiction — a ponytail is usually all the way up, but a half-up ponytail is actually about gathering just your upper layers into a loose tail while letting your bottom layers flow free. It’s more dimension than a regular half-up and more movement than a full ponytail.
The Modern Half-Ponytail Look
What makes this work on wavy hair is that you’re creating two distinct texture zones: a slightly gathered section on top and completely free waves below. This actually makes your waves look fuller and bouncier because you’re not pulling weight across your entire head. The top section has controlled texture while the bottom flows naturally.
Technique for a Soft Half-Ponytail
- Section off your hair at about ear level — gather everything above that line, plus a small section from your front hairline for framing
- Gently pull these sections back toward your crown without tension
- Secure with a hair tie at the base of your crown, but don’t pull it tight enough to create a visible crease
- Leave some loose pieces around your face and temples — they should be intentional, not flyaways
- Let the sections below the ponytail base flow completely free
This style works best when you add volume to the gathered section before tying it. Use your fingers to gently tousle and separate the hair at your crown before securing the tie, creating a soft, textured look rather than a sleek gathered section.
Insider note: This is genuinely the easiest half-up style to do in under two minutes, making it perfect for days when you want something between fully down and definitely up.
4. Wave-Hugging Clip Half-Up
Instead of using an elastic tie, a decorative clip or claw clip can actually enhance your waves because you’re not creating the tension line that a regular hair tie leaves. Clips also work with your wave pattern rather than against it, especially larger clips that can distribute pressure across more hair.
How Clips Change the Equation
A traditional elastic flattens your waves where it grips your hair, creating a visible line. A clip with wider grip points distributes the pressure differently, actually allowing your waves to spring and move naturally even in the gathered section. This is why clips have become so popular for textured hair — they’re legitimately better suited to how waves work.
Using a Clip for Half-Up Styling
- Choose a clip that’s at least two inches wide — small clips look awkward and don’t hold well on wavy hair with volume
- Gather your half-up section loosely at the back of your crown
- Before clipping, gently tousle the gathered section to build texture rather than smoothing it down
- Position the clip horizontally across your crown, centering it on the gathered section
- Don’t fully close the clip if it’s a claw style — leave it slightly open so hair doesn’t get compressed
- Let multiple waves and pieces escape around your face and beneath the clip
The clip should feel like it’s sitting on top of your style, not compressing it. If your waves look flattened, you need a larger clip or you’re pulling too tightly.
Real talk: If your clip keeps slipping on textured hair, add a tiny dab of texturizing spray or mousse to the gathered section right before clipping. This gives the clip something to grip without making your hair look wet or heavy.
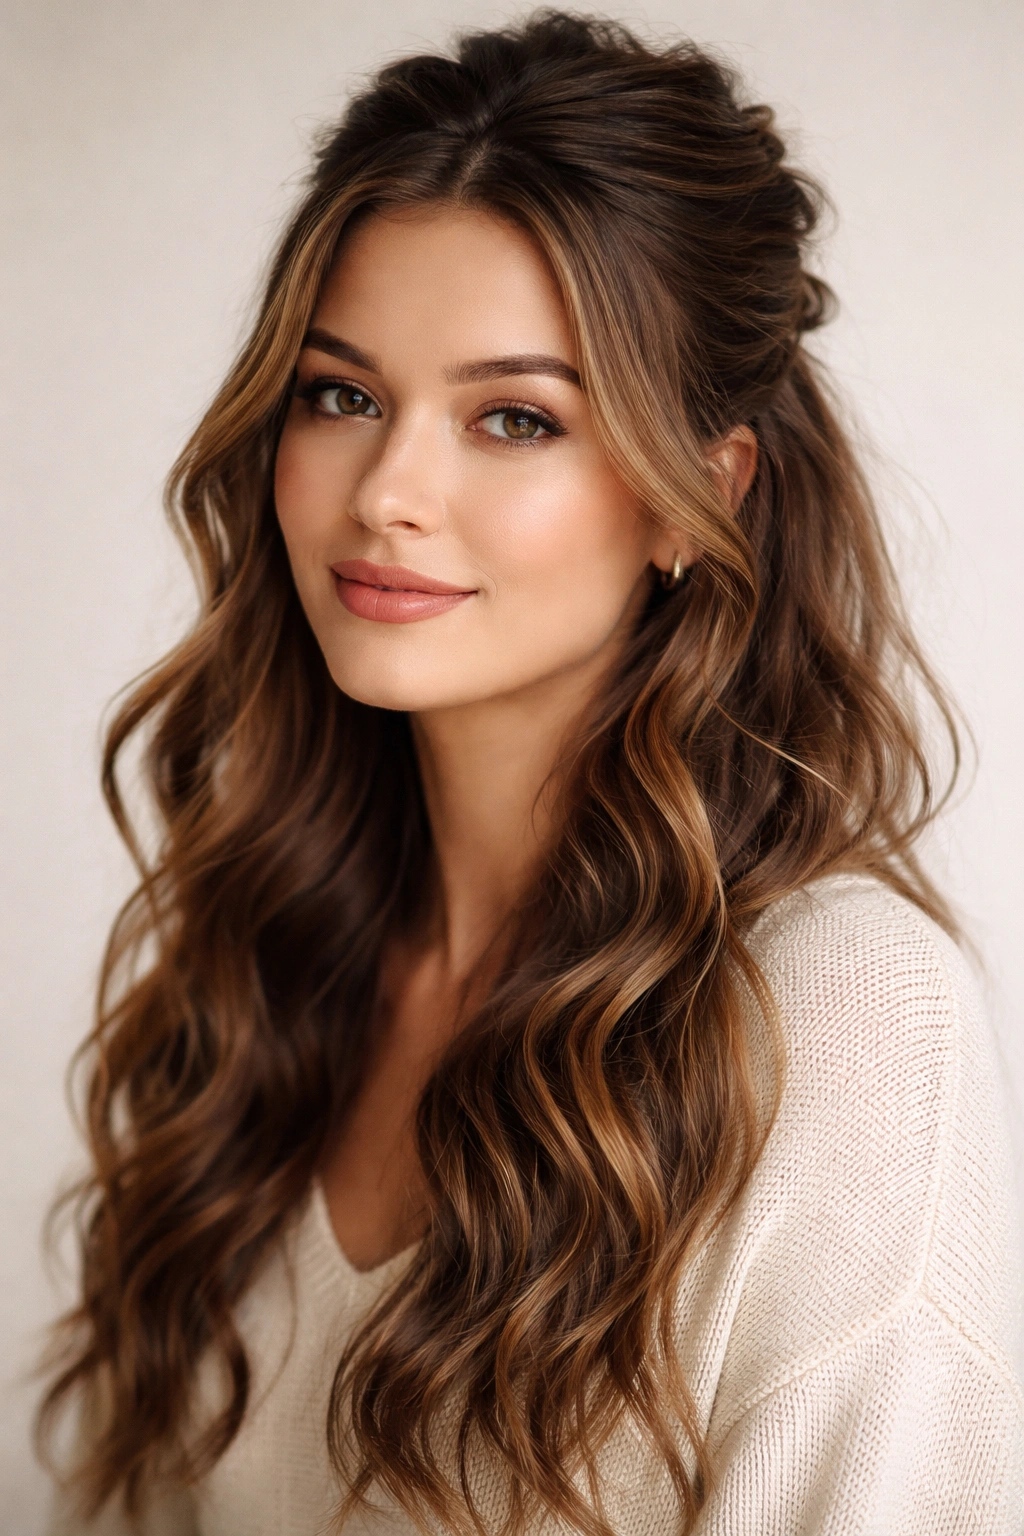
5. Sleek Front Section Half-Up
This style works by pulling forward-facing layers back, which actually creates a slimming effect on your face while still keeping your waves completely visible. It’s one of the most flattering half-up variations for wavy hair because you’re keeping the bulk of your texture down and just framing your face strategically.
Why Front Sections Work on Waves
When you pull just the pieces closest to your face, you’re not competing with the weight and volume of your entire head of hair. The waves below remain completely undisturbed, showing off your texture, while the front sections create a polished frame. This is also the most forgiving variation if your hair isn’t perfectly wavy on the back — the focus stays on your face and the flowing waves below.
Pulling Back Front Sections
- Take just the pieces from your temples back to about mid-head, leaving your crown section completely untouched
- Pull these sections gently straight back, not upward — you’re aiming to clear your face without creating height
- Secure behind your ears with a small clip or bobby pins hidden beneath the remaining waves
- The key detail is that you should see mostly waves when looking at you straight-on, with just a hint of the pulled-back sections
- Let a few pieces escape around your temples and forehead — these should look intentional
This style gives you movement and texture where it matters most (framing your face) while keeping everything else relaxed. Your bottom layers of waves flow freely, and there’s no tension across your crown flattening your natural texture.
What you should know: This style is perfect for second-day or third-day waves. On freshly washed waves, your front sections might slip out by midday. On textured hair that’s had time to set, it holds beautifully.
6. Romantic Bun Half-Up
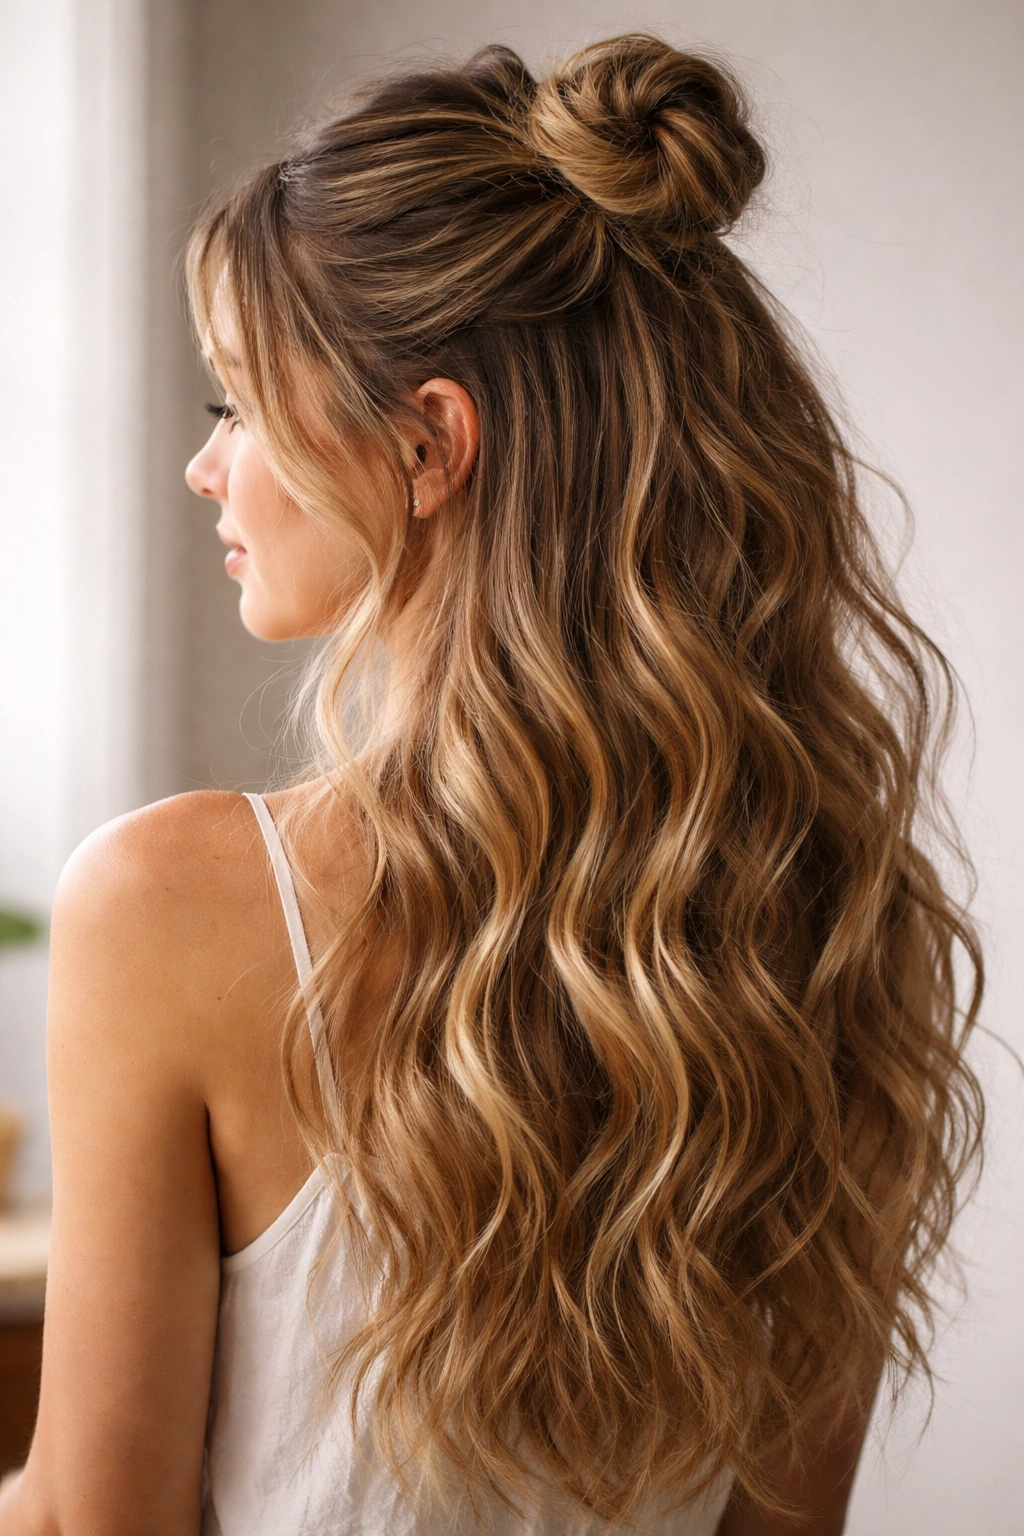
A half-up with a small bun at the crown combines the elegance of an updo with the freedom of having most of your waves down. The bun acts as an anchor point, making this style surprisingly secure while still showing off your wavy texture everywhere else.
Creating a Soft, Textured Bun
The difference between a ballet bun and a romantic bun is intentional messiness. You’re not aiming for tightness or perfection — you want texture, loose pieces, and a “I dressed up but not too much” vibe that works beautifully with wavy hair.
How to Build a Loose Half-Bun
- Section off the top portion of your hair at about ear level, moving slightly higher toward your crown
- Pull this section up and back, but leave it intentionally loose — this isn’t gathered tightly
- Twist the gathered section loosely, then wrap it into a circle at the back of your crown
- Secure with bobby pins, but don’t pull the bun tight enough to eliminate all texture
- Gently pull and tug the bun to create dimension, letting pieces fall out naturally
- Spray very lightly if needed, but you want movement, not rigidity
The Escaped Pieces Are the Point
- Let pieces fall from your hairline, temples, and the back of the bun
- These shouldn’t be smoothed or pinned back — they should frame your face and add softness
- Your waves below the bun should be completely free and full
- The overall effect is “elegant but not trying too hard,” which is basically the vibe wavy hair does best
Pro tip: This style looks infinitely better on second-day or third-day hair when your waves have set and your texture is already defined. On freshly washed waves, the bun can feel too soft and unstable.
7. Zigzag Half-Up with Waves
Instead of a smooth twist or braid, a zigzag part running from your crown backward creates visual interest while keeping most of your hair down. This is more about playing with your part line than traditional gathering, which makes it perfect for days when you want to change your look without actually doing much.
How Zigzags Work on Wavy Hair
A zigzag literally parts your hair in a deliberate pattern, which draws attention to your texture and creates a sculptural element that works beautifully with natural waves. Unlike a straight center part that can make wavy hair look chaotic, a zigzag part creates intentional direction and guides how your waves fall.
Creating a Zigzag Half-Up
- Use a fine-tooth comb or a rattail comb (the pointed handle of a teasing brush works too)
- Starting at your center crown, make a small zigzag pattern back toward the back of your head
- The zigzag should be about two to three inches total width, and the peaks and valleys should be deliberate but not too extreme
- Lightly mist the zigzag with texturizing spray or dry shampoo so it holds its shape
- You can leave it purely as a part, or you can clip the sections on one side of the zigzag back to create a half-up effect
This creates the visual of more dimension without actually gathering much hair. Your waves flow around the zigzag pattern, highlighting its geometry.
Worth knowing: This works best on wavy hair that has some texture or second-day waves. Freshly washed, super straight waves might blur your zigzag line. And if you have fine hair, a very tight zigzag can look too severe — keep yours loose and flowing.
8. Low Loose Half-Up
Sometimes the best half-up for wavy hair is deceptively simple: a very low gather that barely qualifies as “up” at all. This style pulls just enough hair to frame your face while keeping the bulk of your waves down and showing off your length and texture.
Why Low Is Better Than High
When you gather hair high on your crown, you’re creating tension and weight distribution that can flatten your waves. A low gather positioned at the base of your skull or even lower — around mid-neck — removes that weight and tension while still technically being a half-up. Your crown stays full and textured, and your waves have freedom to move.
Building a Low Half-Up
- Wait until you can’t see your ears before you pull back — that’s how low you’re aiming
- Take sections from the sides of your head and pull them gently straight back
- Secure low at the base of your skull, using a small elastic or clip that matches your hair
- Leave your crown and top layers completely untouched and free to show off their wave
- Frame your face intentionally with pieces that naturally escape
This is the absolute easiest half-up to maintain throughout your day because there’s minimal tension and weight. As your hair settles and waves soften, the style actually looks better, not worse.
Real talk: If you have long wavy hair and you’re tired of it being completely in your face but you love how your waves look down, this is the answer. It’s 90% waves and 10% “I have my hair pulled back.”
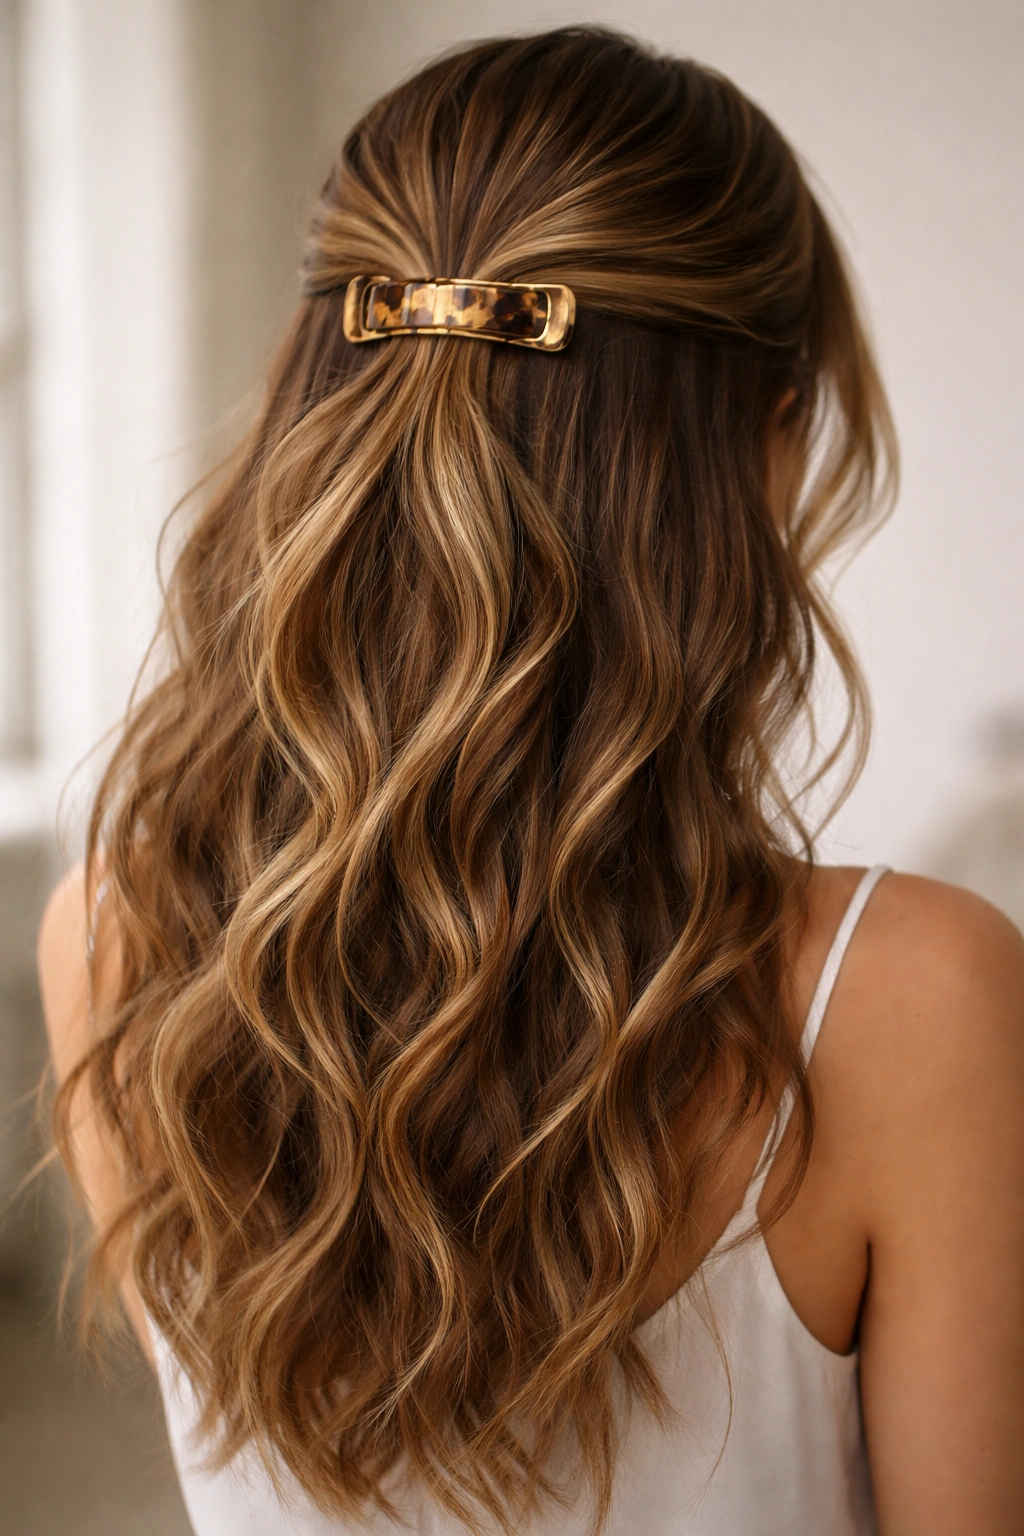
9. Accessorized Half-Up with Pins
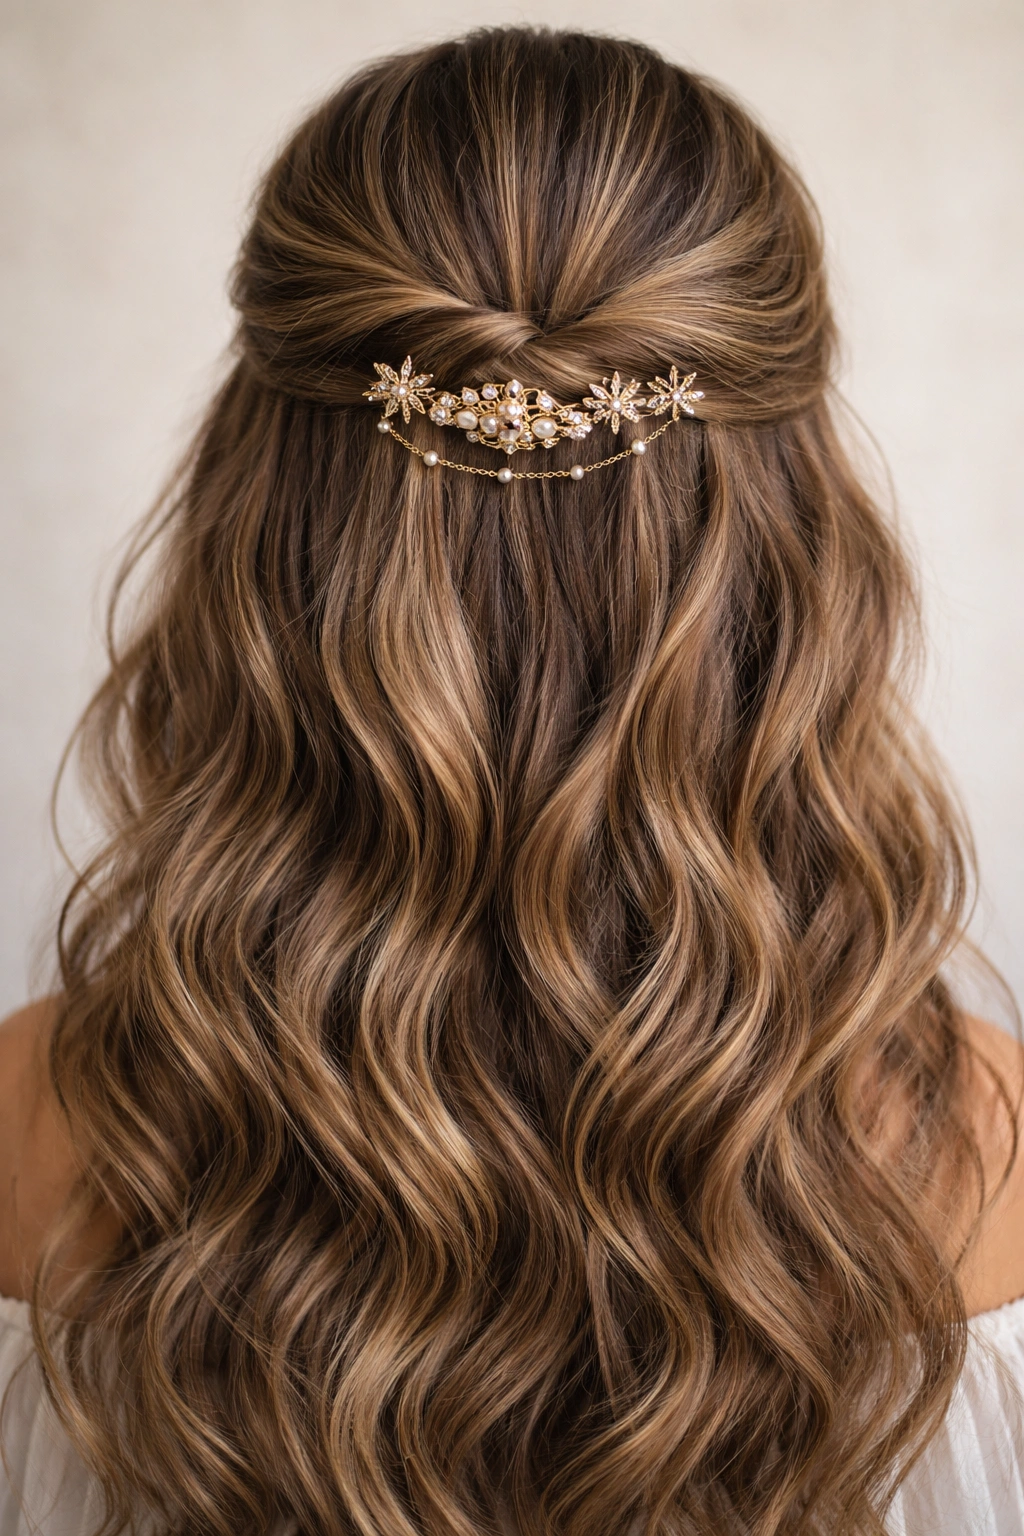
Hair pins, decorative sticks, or even strategic bobby pins placed visibly can transform a basic half-up into something that feels intentional and styled. The accessories themselves become part of the design rather than disappearing into your hair.
Choosing Accessories That Work
Not all hair accessories look good on wavy texture. Thin, delicate pins can disappear. Long metal sticks can look like you didn’t finish getting ready. The right accessories are substantial enough to be seen, interesting enough to draw the eye, and placed intentionally rather than randomly hidden.
Styling with Visible Accessories
- Create a basic half-up by pulling sections back from your face and crown area
- Instead of securing with a regular clip, use decorative pins, claw clips, or hair sticks placed visibly across your gathered section
- Position them so they’re seen from the front and sides, not hidden underneath
- You can use one large statement pin or multiple smaller coordinating pieces
- The gathered section should feel structured but not rigid — your waves should still move
Pin Placement Ideas
- A single large barrette positioned at your back crown
- Two or three smaller pins creating a line across your gathered section
- Metal or wood sticks crossed over your gathered hair
- Colorful clips that coordinate with your outfit or contrast intentionally with your hair color
The key is that these aren’t trying to hide — they’re part of your intentional styling choice, which makes wavy hair look polished rather than messy.
Pro tip: This style elevates casual waves into something that looks more “done” without requiring more effort. A basic half-up becomes jewelry when you add the right accessory.
10. Swooped Side Half-Up
A swooped side half-up pulls most of your hair to one side while still keeping it mostly down, creating an asymmetrical, romantic effect that works beautifully with wavy texture. This style is dramatic without being difficult and flows naturally with how wavy hair wants to fall.
Why Side Swoops Suit Wavy Hair
Wavy hair doesn’t naturally want to fall dead-center down your back — it wants to move around, shift sides, and create asymmetry. A side swooped half-up works with this natural tendency rather than against it. You’re creating a shape that your hair naturally wants to make anyway.
Creating a Swooped Side Half-Up
- Take a substantial section from the opposite side of where you want the swoop — if you want hair on your right, pull from the left
- Gather this section and pull it diagonally across the back of your head toward the opposite side
- Secure at about ear-level or slightly lower on the swooped side with a clip or elastic
- Let your hair swoop across your back naturally; it shouldn’t be pulled tight
- Leave your crown and the side you’re swooping toward completely free and textured
- Frame your face with loose pieces on both sides
The swooped section becomes an accent across your back rather than a true “up” — it’s still mostly down, just strategically gathered to one side.
Making It Hold
- Use a clip rather than an elastic if possible; clips grip better without flattening
- Lightly texturize spray the section you’re swooping to help it hold its placement
- Don’t overthink the perfection of the swoop — messy, piece-y versions look way better with wavy hair
Insider note: This is the half-up style that looks most like you spent time getting ready even though it takes maybe two minutes. The asymmetry and movement create visual interest that makes it read as intentional and styled.
Final Thoughts
The right half-up hairstyle for your wavy hair isn’t about following a perfect tutorial — it’s about understanding which techniques work with your wave pattern instead of requiring you to fight it. The styles that embrace a little messiness, that let pieces escape, that work with your natural texture rather than trying to smooth and perfect it, these are the ones that’ll actually feel wearable and look genuinely good.
Your wavy texture is an asset in half-up styling, not something to work around. The dimension, the movement, the way light plays through the waves — all of that becomes more interesting and more visible when you choose styles that complement it. Whether you’re going for romantic and soft, sleek and minimal, or dramatically accessorized, your waves give you texture and interest that straight hair actually has to work harder to achieve.
Start with the style that sounds easiest or most appealing, practice it a handful of times until you know exactly where your hands need to go, and then play with variations once you’ve got the basic technique down. Wavy hair is forgiving enough that you can shift your approach slightly each time and still have it look intentional. That’s the real advantage of working with texture.