Wavy hair has that effortless, polished quality that makes you look put-together without spending an hour styling — which is basically what every student needs on a school day. Finding the right haircut can be the difference between waves that fall beautifully on their own and ones that require constant fussing and product to maintain. The best wavy haircuts for school work with your natural texture instead of fighting it, give you options for styling depending on your mood or the occasion, and still look fresh even if you rolled out of bed without touching your hair.
The trick is choosing a cut with enough layers and movement built in so the waves have dimension and don’t flatten against your head by third period. You also want something that frames your face in a way that feels confident and age-appropriate, while being practical enough that you can wash it, air dry it, and still head out the door looking intentional. Let’s walk through ten haircuts that check all these boxes and actually work in the real world.
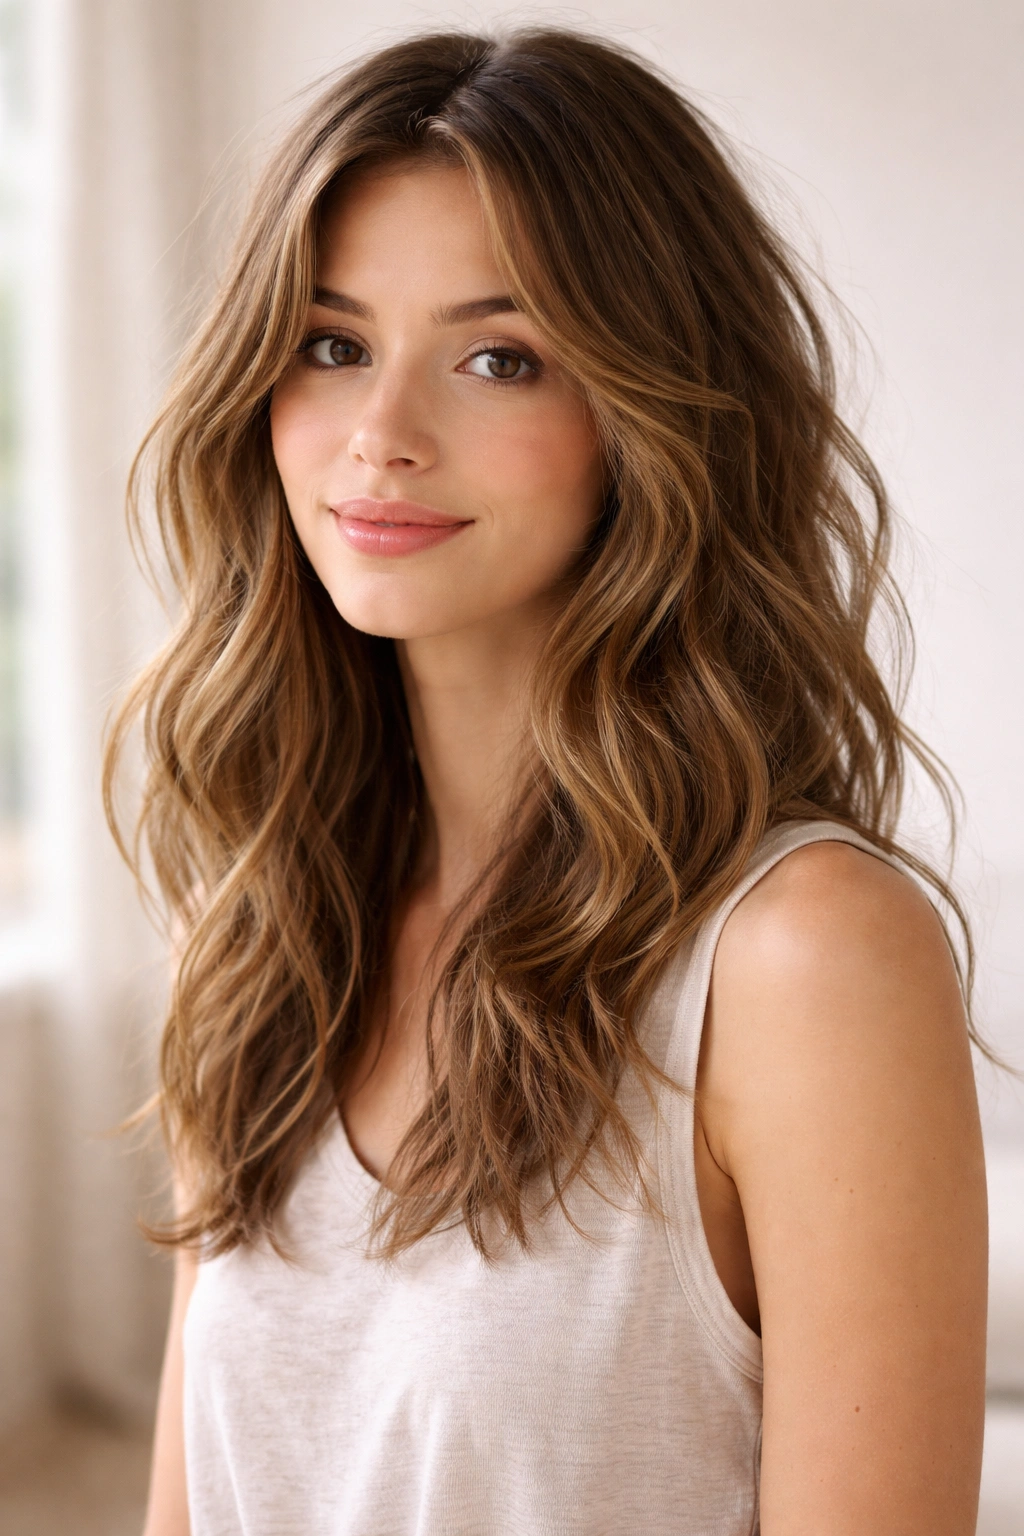
1. Shoulder-Length Textured Waves
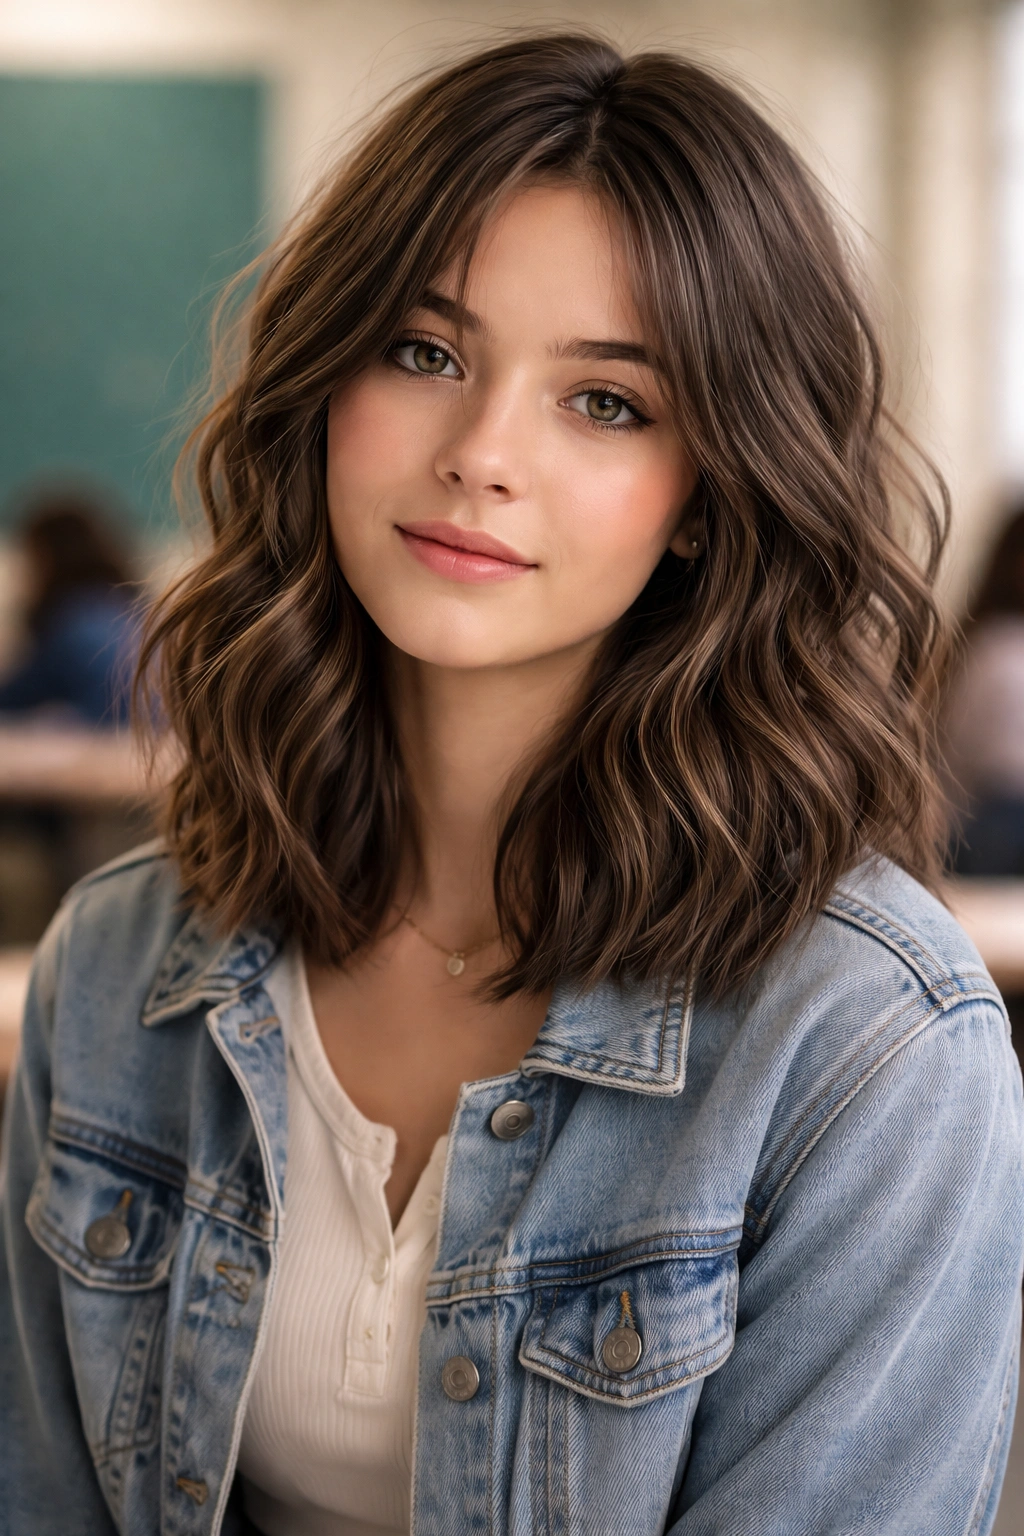
This is the goldilocks length for school — long enough to feel like you’ve got style range, short enough that it doesn’t feel heavy or require constant maintenance. Shoulder-length wavy cuts hit that sweet spot where your hair naturally wants to flip and curl without looking accidental. The key is asking your stylist for choppy, uneven layers throughout that break up the ends and create texture even when your waves aren’t perfectly formed. This cut works beautifully on straight hair too — you can air dry it wavy on casual days or blow dry it sleek when you want something different.
Why It’s Perfect for School Vibes
Shoulder-length hair is practical without feeling babyish, and the textured layers mean you’re not stuck with one look. You can ponytail it, half-up it, wear it down straight, or let the waves do their thing. It’s forgiving enough that you don’t need a blowout to look intentional, but structured enough that it doesn’t look accidentally messy. The length frames your face without being so long that it gets caught in backpack straps or falls in your face during class.
How to Style It
- Air dry method: Wash, apply a lightweight wave cream to damp hair, scrunch sections, and let it dry naturally for authentic waves
- Quick waves: Blow dry with a diffuser attachment for volume and texture in under 10 minutes
- Sleek alternative: Blow dry straight with a paddle brush on days you want a completely different vibe
- Styling product: A texturizing spray keeps the waves defined without making hair feel stiff or crunchy
- Maintenance: Trim every 6-8 weeks to keep the layers from getting too grown-out and heavy
Pro tip: Ask your stylist for longer layers on top and shorter layers at the back — this creates what’s called a “face-framing undercut” that makes waves look more intentional and lifted at the crown instead of flat and limp.
2. Layered Shag Cut

The modern shag is absolutely not your grandmother’s feathered 70s situation — it’s been updated with strategic layers that create movement and interest without looking shaggy in a messy way. This cut has shorter layers stacked throughout with longer pieces in front, which means instant texture and volume even on straight hair. Shag cuts are especially stunning on wavy and textured hair because the layers work with your natural movement instead of fighting it. Your waves have room to breathe and move independently, which creates this undeniably cool, lived-in look that feels very school-appropriate right now.
Why Shag Cuts Own the School Aesthetic
A shag cut automatically looks intentional and editorial without requiring perfect blowouts or prissy styling. The layers create visual interest that makes shorter hair feel way more dynamic than a basic cut would. You get the ease of shorter hair but with the styling versatility of longer hair — you can wear it tucked behind your ears, half-up, or flipped and tousled. Shag cuts are also incredibly forgiving; minor tangles and imperfect waves actually add to the charm instead of looking sloppy.
Quick Styling Guide
- The tousle: Run your fingers through damp hair with a light mousse or wave cream, then scrunch and let air dry for that signature shag texture
- Part options: Side part, deep side part, center part, or no part — this cut looks great no matter where you separate your hair
- Product-free days: On days you don’t feel like using styling products, your hair still looks intentional because the layers do the work for you
- Texture spray boost: Use a dry texture spray to add grip and separation to the layers if your waves are feeling flat
- Length adjustment: Keep the sides shorter and face-framing while asking your stylist to keep slightly more length in back — this prevents that choppy, disconnected look
Worth knowing: Shag cuts require consistent trims every 4-6 weeks because the layers grow out at different rates. If you skip trims, it starts looking accidental instead of intentional, so this is a cut that demands maintenance commitment.
3. Choppy Wavy Bob
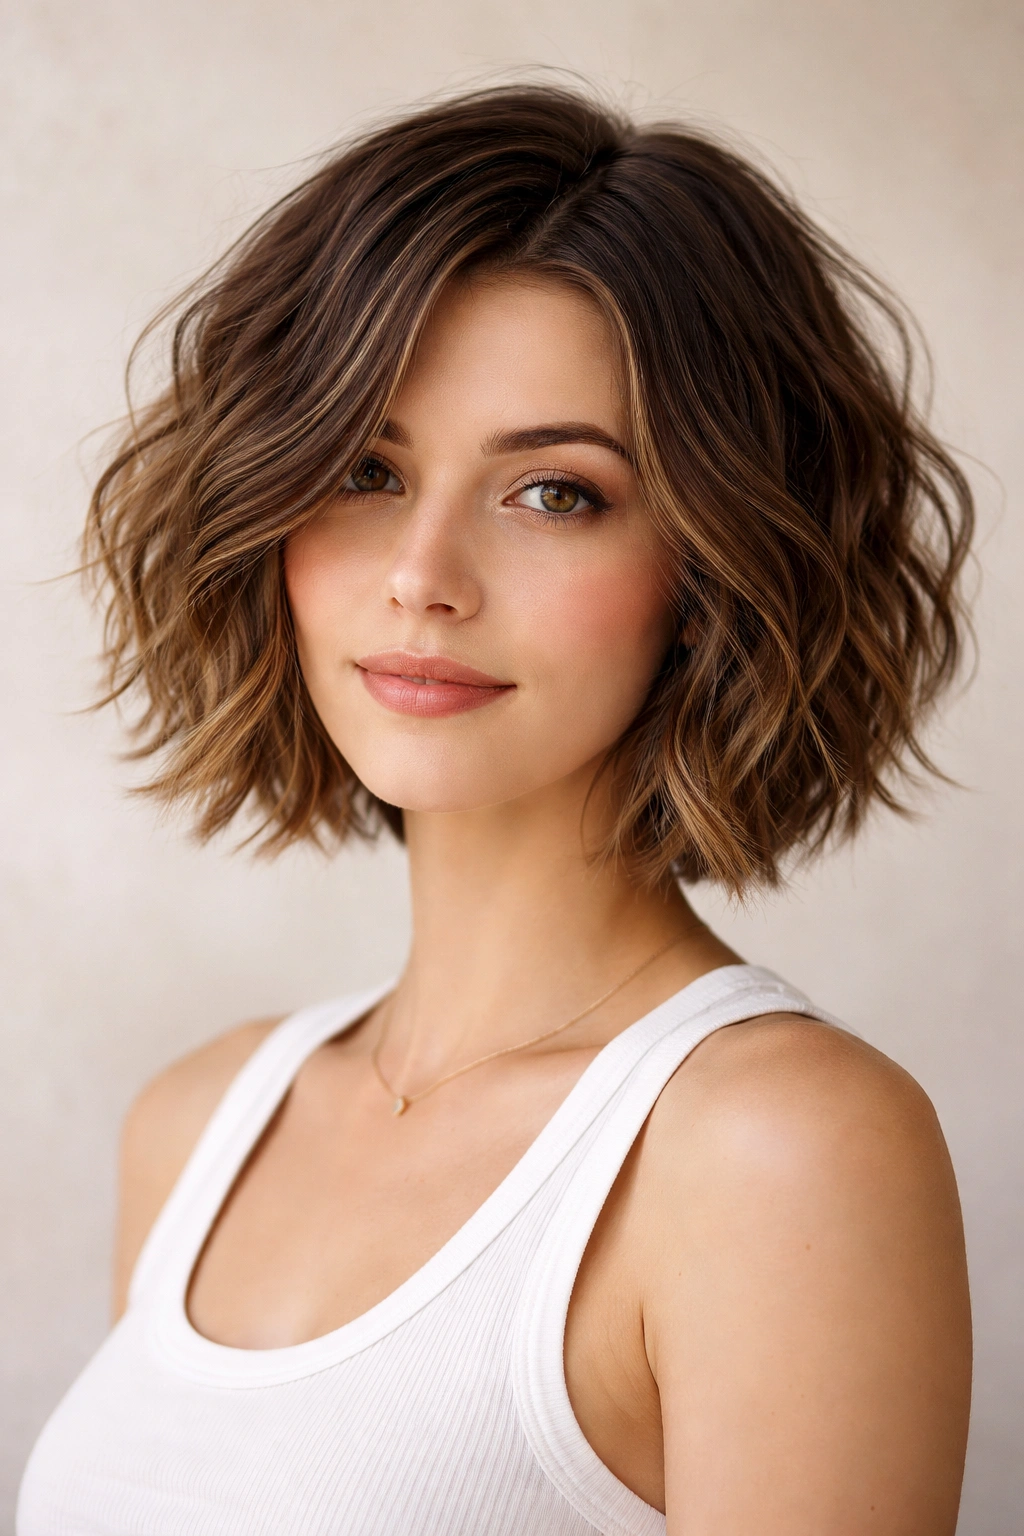
A choppy bob is essentially a shag’s cooler, more intentional cousin — it’s a true bob length (typically chin-length or shorter) with lots of choppy, uneven layers that create serious movement and texture. The choppy approach means no two sections of hair are the same length, which gives your waves somewhere interesting to go and prevents that blunt, heavy bob look. This cut works especially well if you have naturally wavy or curly hair because the choppiness means your natural texture is actually an asset instead of something you’re fighting against. You get that effortlessly cool vibe that reads as confident and put-together without looking overdone.
Why This Cut Transforms Wavy Hair
A choppy bob with layers gives wavy hair the permission to do what it wants to do naturally. Instead of trying to make waves conform to a sleek, straight bob shape, the choppiness celebrates the texture and movement. Your waves have layers to stack on top of each other, which creates volume at the crown and prevents that flat, limp look. Plus, this cut is short enough that it genuinely is low-maintenance — you’re not spending time blow-drying or styling.
Styling and Upkeep
- Tousled everyday look: Wash, apply a curl-cream or wave mousse to damp hair, scrunch, and air dry in about 15-20 minutes
- Texture and definition: Use a texturizing spray even on dry hair to keep layers separated and visible throughout the day
- Half-up option: Works beautifully even at this shorter length — just grab the top section and secure with a clip
- Straightening alternative: This cut also looks sharp blow-dried straight if you want to switch up your look
- Trim frequency: Every 4-6 weeks keeps the choppy layers from growing out and getting too blended
Insider note: Ask your stylist to keep more length in the front pieces (your face frame) and go shorter in the back — this prevents that “too short in front” situation that can be unflattering on round face shapes.
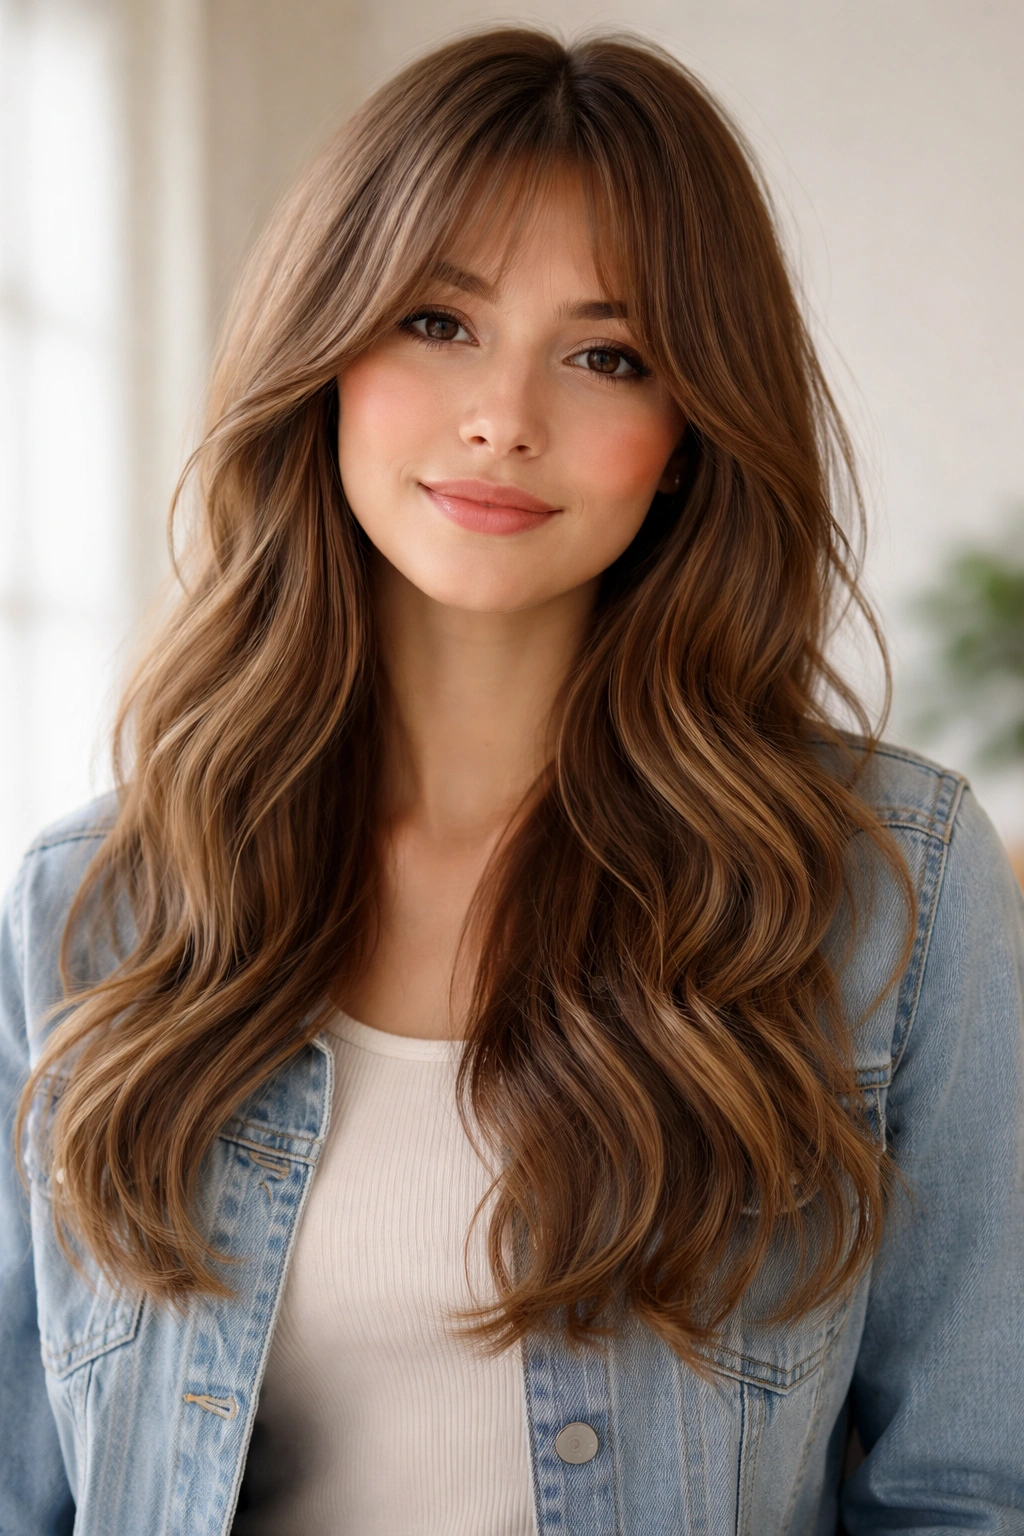
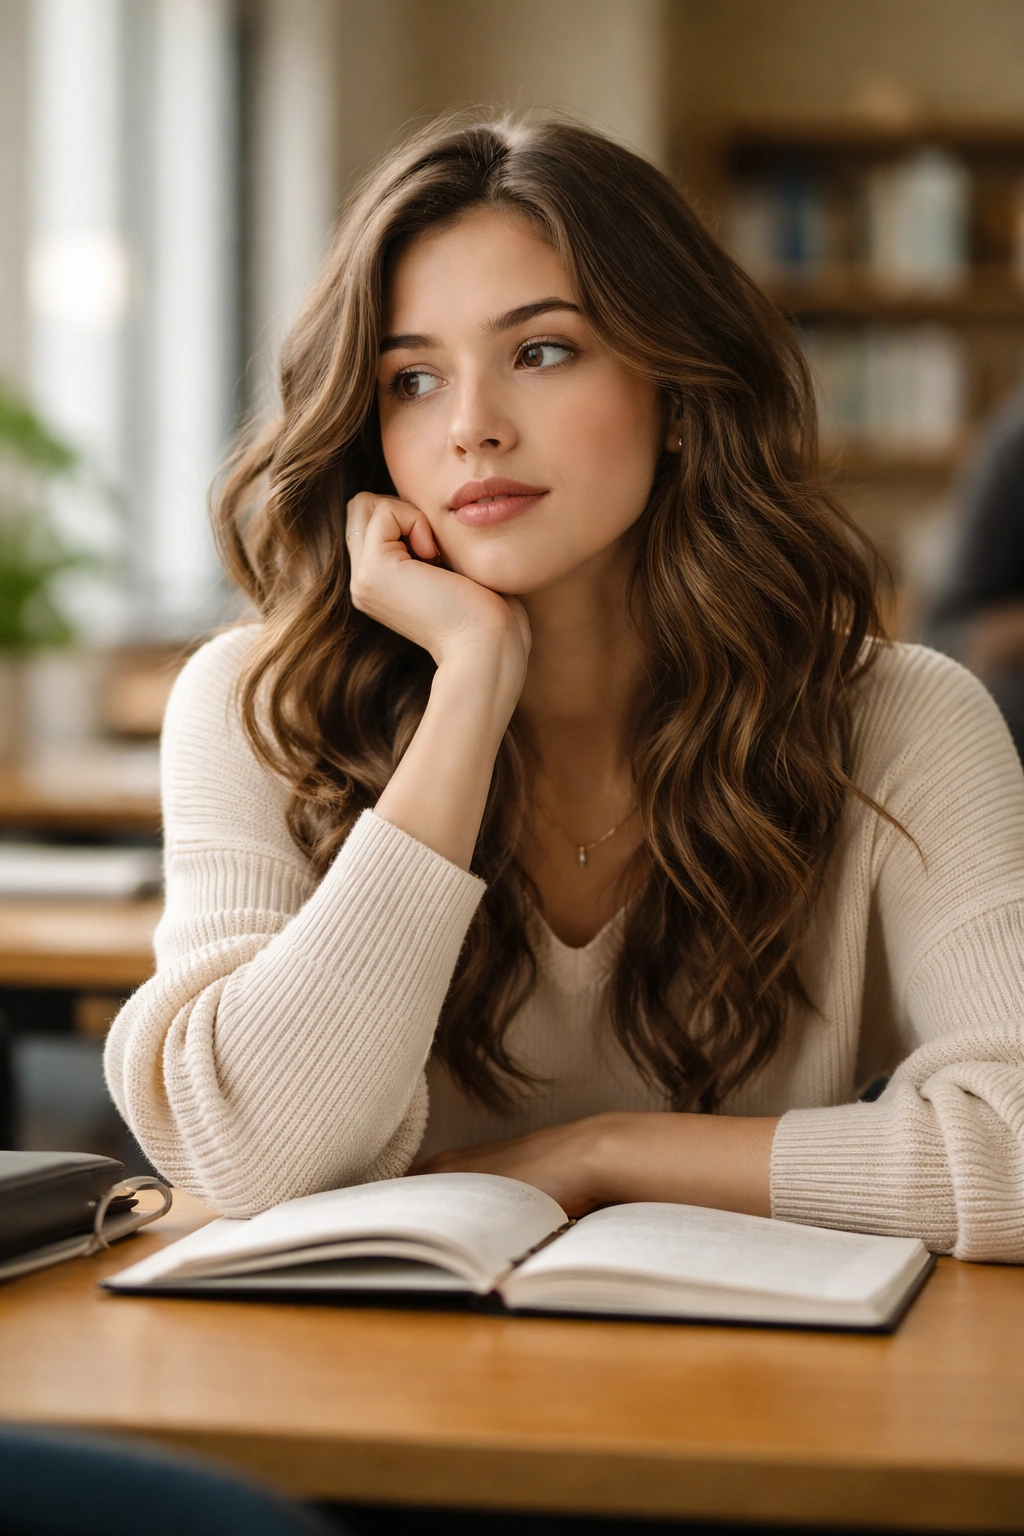
4. Long Wavy Layers
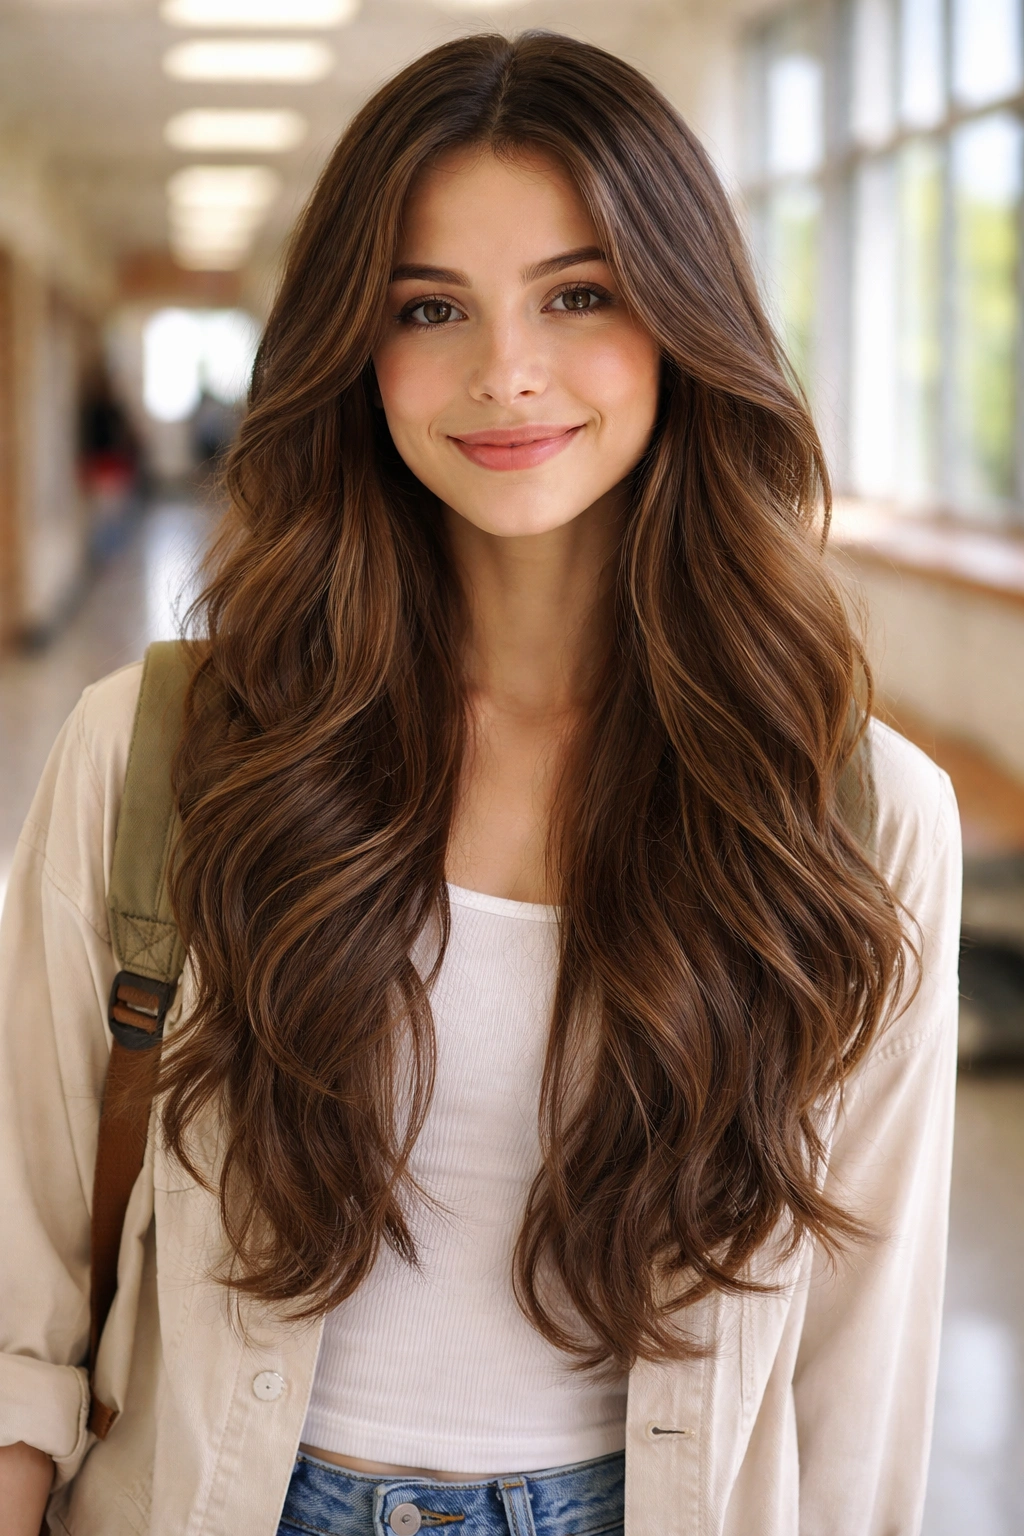
If you’re not ready to cut much length off, long wavy layers are your answer — they give you all the visual interest and movement of shorter cuts while keeping your hair at a length you’re comfortable with. The layering is the whole point here; strategic layers throughout (not just at the ends) create multiple breaking points where your waves can begin and end, which makes even subtle waves look intentional and textured. This cut works beautifully for thicker hair that can handle the layers without looking thin, and it’s fantastic if you like having lots of styling options — you can wear it in ponytails, braids, buns, or down and wavy.
Why Long Layers Work for School
Long hair with layers is the Swiss Army knife of school hairstyles — you can dress it up, dress it down, put it up, wear it down, and it looks polished in every configuration. The layers mean your hair has dimension even in a bun or ponytail, so you don’t end up with that flat, shapeless look that happens when you pull long, blunt hair back. You also get the practical benefit of shorter hair (easier to manage, not getting caught on everything) without actually cutting off the length.
Layering Technique and Styling
- Layer placement: Ask for layers starting around mid-length (not just at the ends) so you get movement throughout your hair, not just wispy ends
- Face-framing pieces: Slightly longer, angled pieces in front create dimension and draw attention to your face
- Styling versatility: Straight, wavy, curly, braided, or in a ponytail — this cut works with whatever you’re doing
- Wave enhancement: Use a texturizing mist or wave cream on damp hair and scrunch while blow-drying for enhanced movement
- Protect the length: Deep condition weekly and use a heat protectant spray to keep your longer hair healthy and shiny
- Trim maintenance: Every 8-10 weeks to keep the layers from getting too blended and to remove damaged ends
Pro tip: When your stylist cuts layers, ask them to use point cutting or texturizing techniques instead of blunt cuts — this creates softer, more movement-friendly layers that work beautifully with wave patterns.
5. Half-Up Half-Down Waves
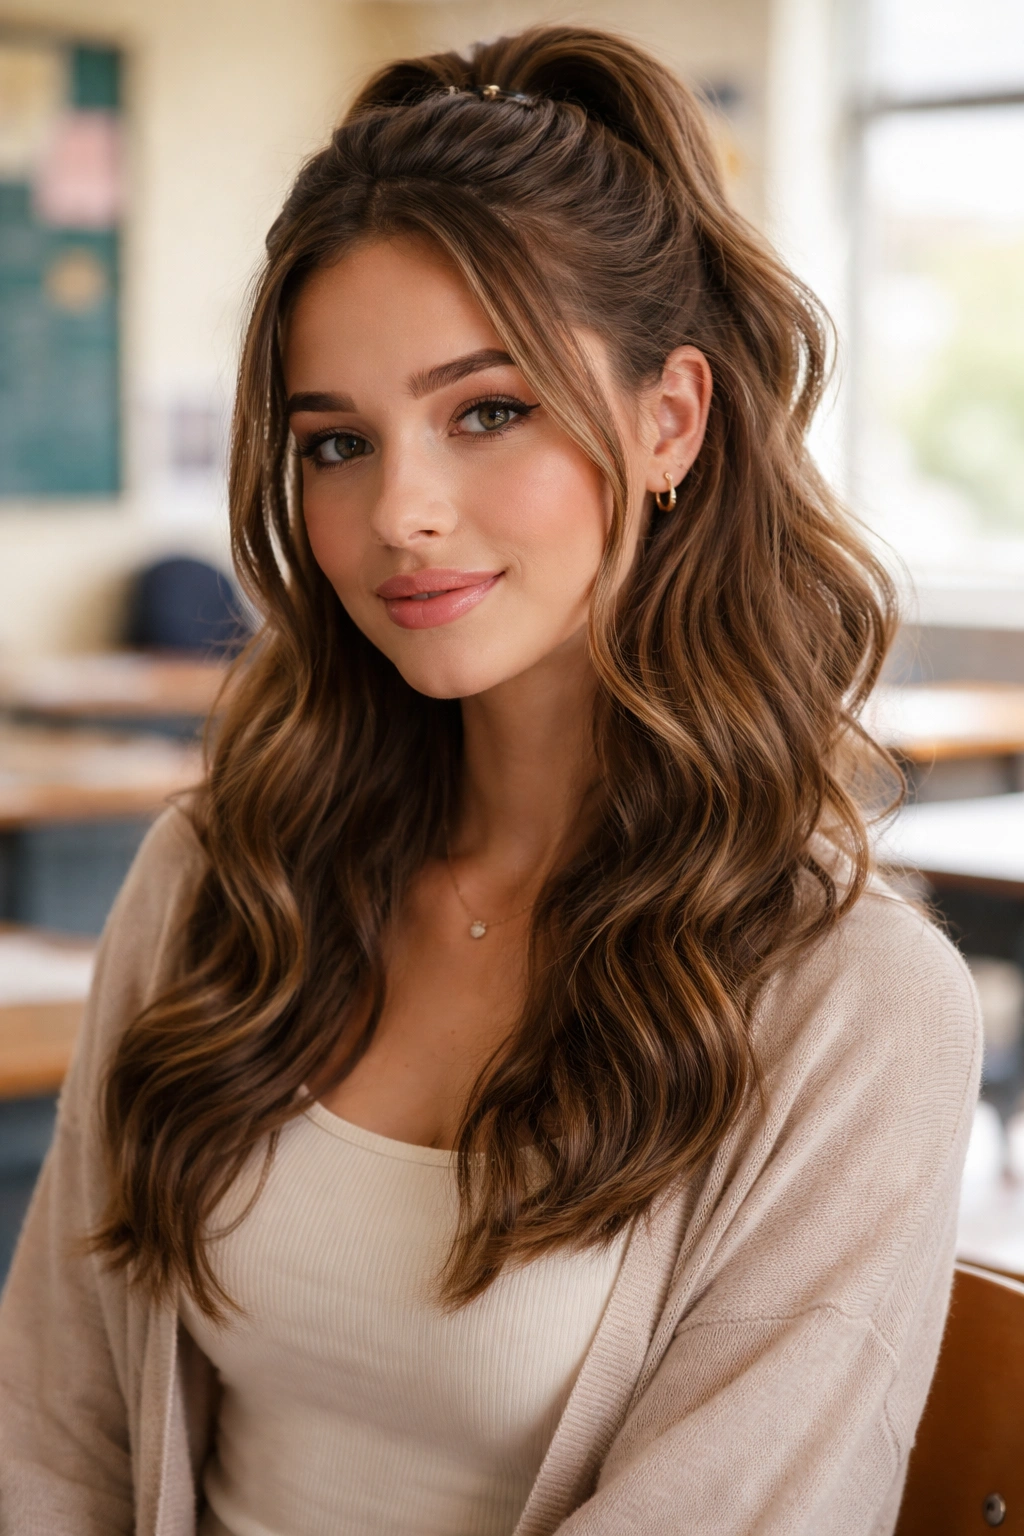
While technically this is more of a styling approach than a specific haircut, the cut that makes this hairstyle look intentional and school-ready is one that has shorter layers on top and longer pieces in front. This cut is designed so that when you clip up the top half, you have piece-y, textured layers up there, and the bottom half has enough length and wave to look polished. The front pieces (your face-framing layers) stay down to frame your face, which is what makes this look special instead of just grabbing half your hair and clipping it. This approach gives you literally two hairstyles in one — full waves on casual days and a more deliberately styled look on days you want to feel extra put-together.
Why This Cut Maximizes Styling Options
Half-up half-down styling is a school essential because it keeps your hair out of your face (so it’s practical) while still showing off your waves and length (so it looks intentional). The cut that makes this styling look intentional rather than accidental has layers distributed throughout — not just blunt, boring chunks. You’re working with a cut that’s designed to support this specific look, which means the layers are placed exactly where they need to be to create texture and dimension both when it’s down and when it’s half-up.
How to Make This Cut Work
- Layer distribution: Top layers should be shorter and textured; sides should be medium length with movement; back should be longest
- Face-framing pieces: These front sections should be slightly angled and longer than the layers around them, so they fall naturally when you wear the half-up style
- Clip styling: Use a claw clip, metal clip, or even bobby pins to secure the top section — placement changes the whole vibe
- Wave emphasis: Apply a wave cream or texturizing spray before styling to make sure waves are visible and defined
- Quick morning version: Wet the top section, apply product, scrunch while blow-drying with a diffuser, then clip when damp
- Trim timing: Every 6-8 weeks to keep the layered top from getting too heavy and droopy
Worth knowing: The quality of your front pieces makes or breaks this look. Ask your stylist to specifically angle these pieces so they sit perfectly framing your face when the rest is clipped up — this takes the styling from “practical hair situation” to “intentional, put-together look.”
6. Beachy Waves with Bangs
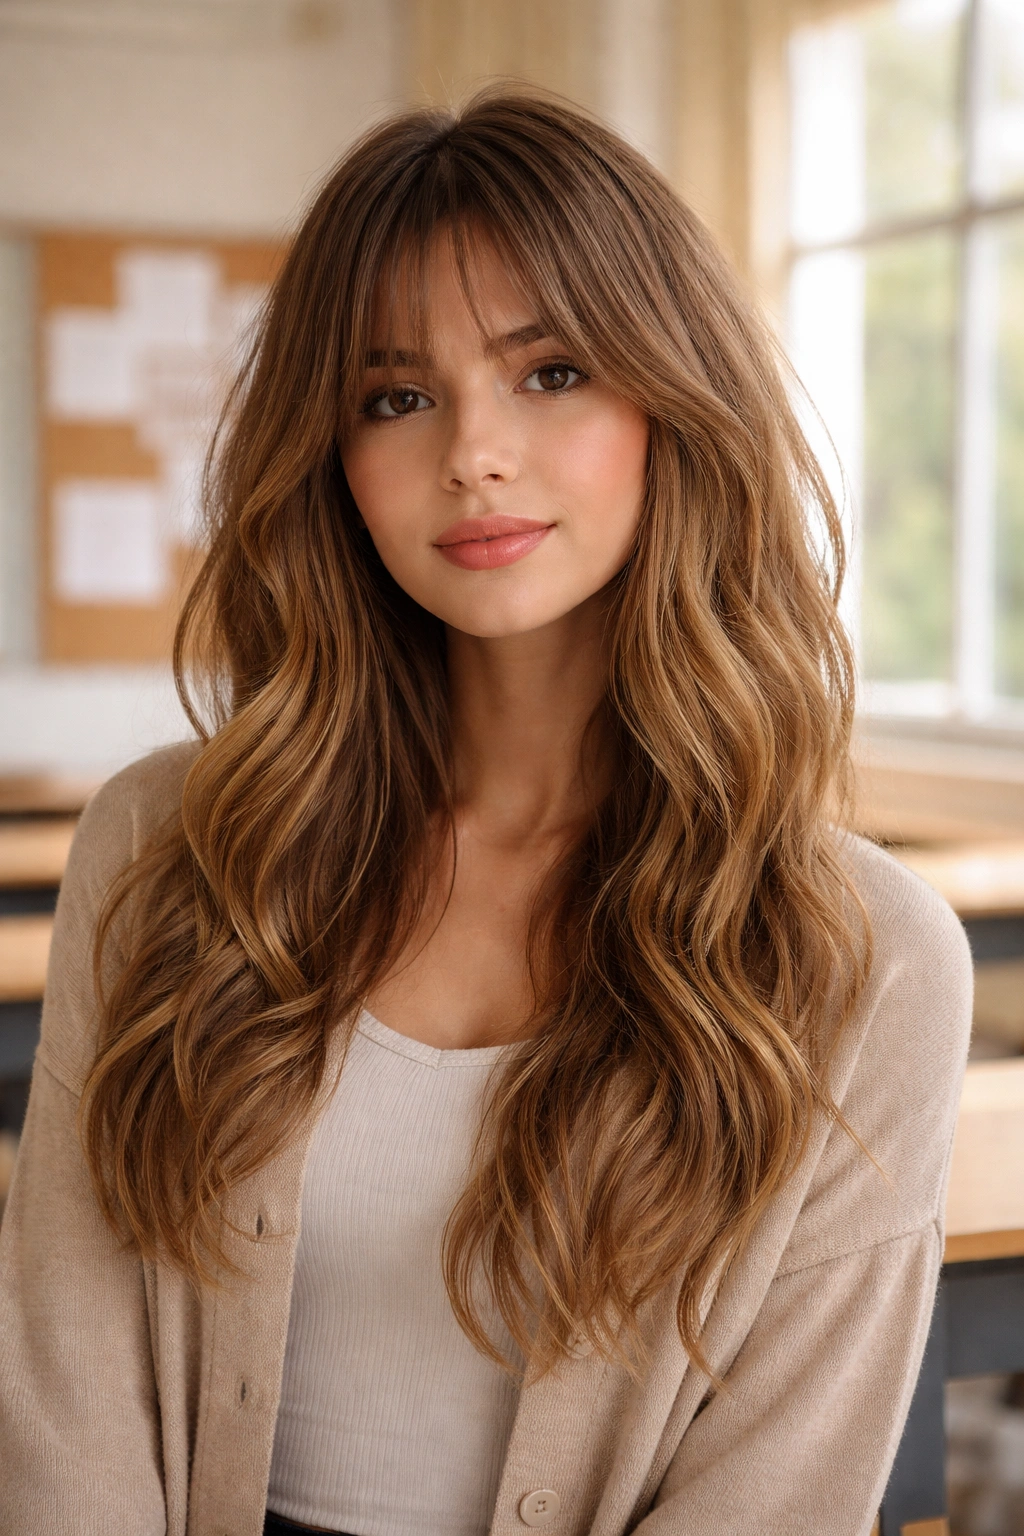
Adding bangs to wavy hair is a risk, but when done right, it completely transforms your look and adds personality that feels very much right for school. The key is getting long, face-framing bangs (like curtain bangs or butterfly bangs) rather than blunt, heavy ones — these work with your waves instead of fighting them. Pair this with long or medium-length wavy layers, and you get this effortlessly cool, beachy vibe that looks like you just walked off a beach even though you definitely didn’t. The bangs immediately make your face feel wider and your features feel balanced, especially if you have a longer face shape.
Why Bangs + Waves = School Gold
Bangs completely change how a hairstyle reads — they immediately feel more intentional, more styled, and more editorial. On wavy hair, longer bangs that blend into the rest of your layers look incredibly cool and natural instead of choppy or rigid. You get instant face-framing without having to style your hair in a specific way; the bangs work with wavy, straight, curly, or however your hair wants to behave.
Bang Styles That Work With Waves
- Curtain bangs: The softest option — they part in the middle and sweep to the sides, blending seamlessly into your waves
- Butterfly bangs: Longer in the center, shorter at the sides — they frame your face while creating soft movement
- Wispy bangs: Choppy, uneven bangs that blend into your layered hair and look intentionally textured
- Styling bangs wavy: Apply wave cream to damp bangs, scrunch, and let air dry; they’ll develop waves just like the rest of your hair
- Straightening bangs: You can blow dry bangs straight for days you want a different look while keeping the rest wavy
- Bang maintenance: Trim every 3-4 weeks because bangs grow noticeably and can start covering your eyes quickly
- Styling product: A light texturizing spray keeps bangs from getting greasy and separates them throughout the day
Pro tip: When you get bangs cut, ask your stylist to blend the bang layers into the rest of your haircut so they don’t look like a separate thing you added on — this creates one cohesive, intentional look instead of feeling like two different hairstyles.
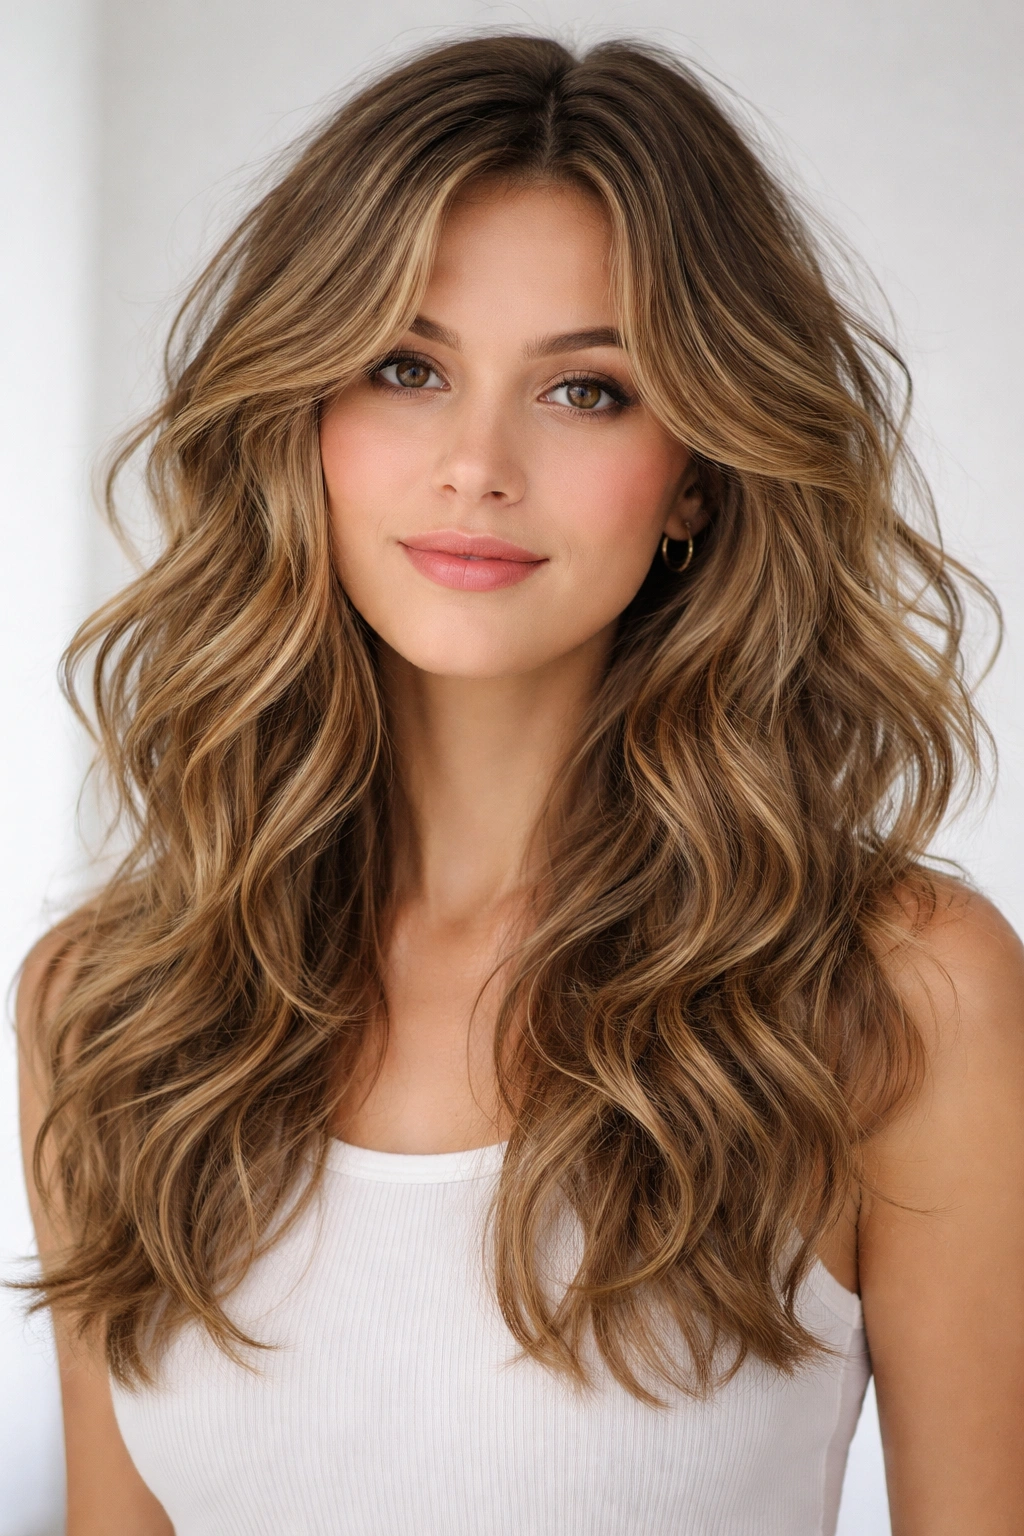
7. Curtain Bangs with Waves
Curtain bangs deserve their own moment separate from other bang styles because they’re incredibly versatile and school-friendly. Unlike heavier bangs that require daily blow-drying to look right, curtain bangs work beautifully with your natural wave pattern and look intentional even on days you don’t style them. Pair curtain bangs with long, layered wavy hair, and you get a hairstyle that reads as cool and intentional while requiring minimal effort to maintain. The bangs part down the middle and frame your face on both sides, which is incredibly flattering on most face shapes and instantly makes your face look more awake and bright.
Why Curtain Bangs Work With Wavy Hair
Curtain bangs are designed to work with movement and texture — they actually look better when you have natural waves than when you have perfectly straight hair. The middle part creates a soft frame around your face, and as your bangs grow out, they blend seamlessly back into the rest of your hair instead of looking like overgrown bangs that need cutting. You also get way more styling flexibility; you can wear them straight one day, wavy the next, clipped back the day after that.
Styling and Maintenance
- Natural wave style: Apply a light wave cream or mousse to damp bangs and hair, scrunch, and let air dry for effortless movement
- Blown-out waves: Use a round brush and blow dryer on bangs separately, then blend them into blow-dried waves for a more polished look
- Half-up compatibility: Curtain bangs look beautiful both down and in half-up styles since they’re designed to part and frame your face
- Straightening option: Blow dry bangs straight with a paddle brush if you want a sleeker look for specific days
- Growth management: Curtain bangs are forgiving as they grow because they blend back into your hair instead of becoming an overgrown eyesore
- Trim schedule: Every 4-6 weeks to keep them from completely covering your eyes
Insider note: Ask your stylist to cut curtain bangs slightly longer than you think you want — they always look shorter once styled and dried, and bangs that are too short in front can be frustrating to style and manage.
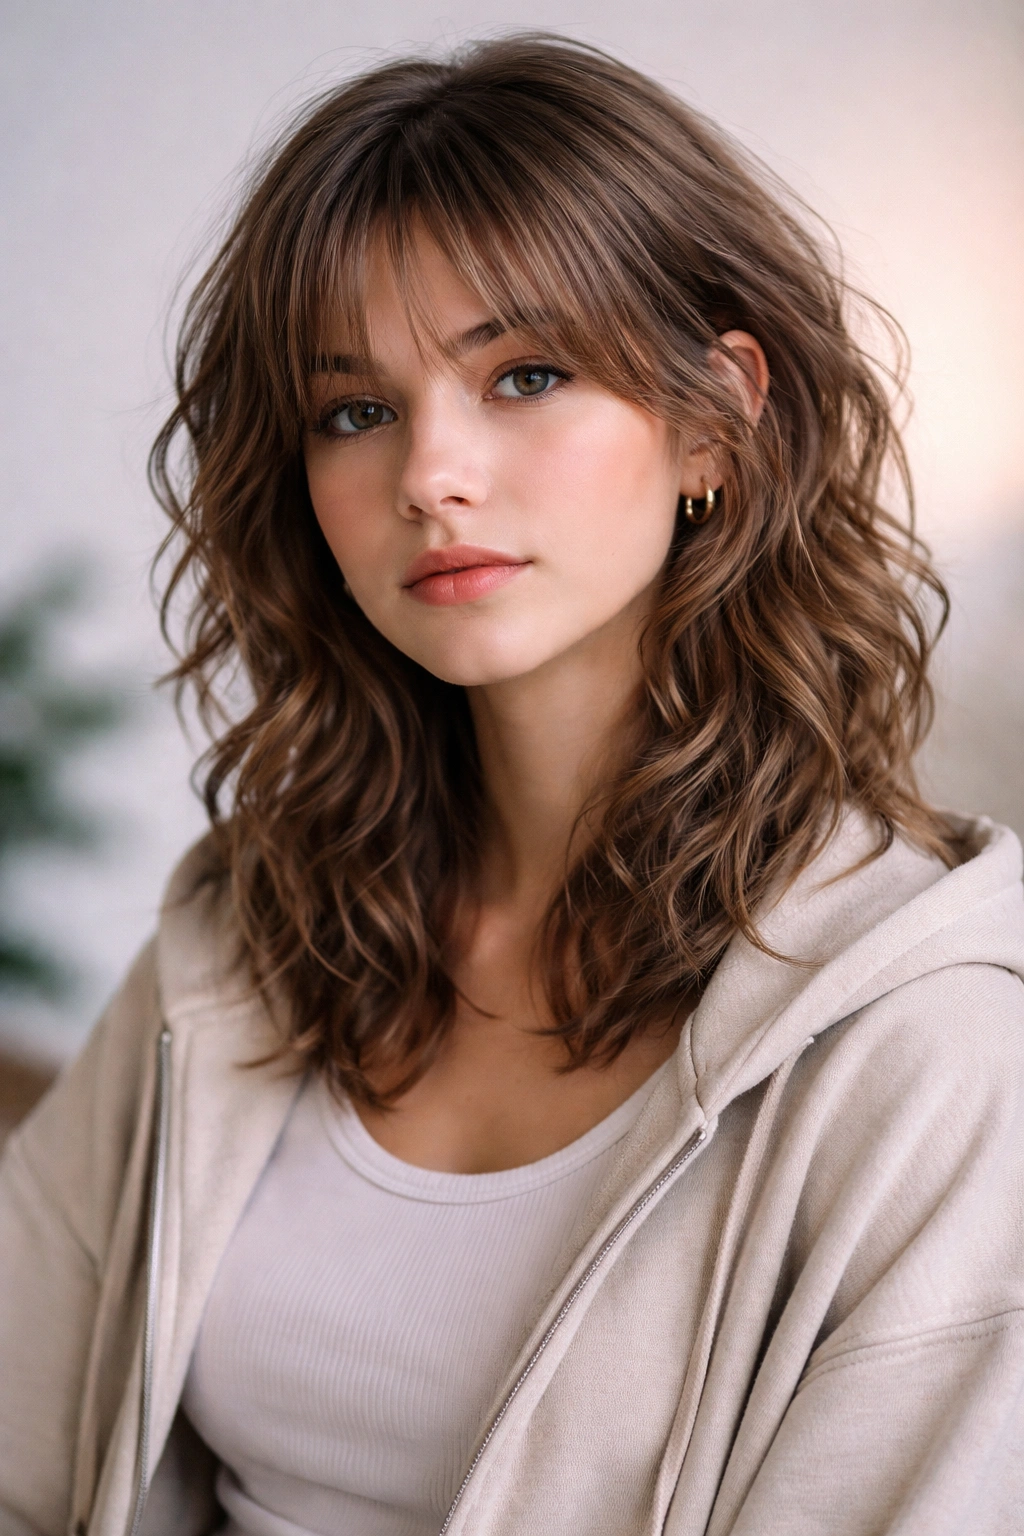
8. Micro Layers for Maximum Volume
If you’ve got wavy hair that tends to flatten or lack dimension, micro layers are your secret weapon. Instead of a few strategic layers, micro layering means your stylist cuts many small layers throughout your hair — think of it as almost a shag cut level of layering, but more refined and less choppy. This approach creates tons of breaking points where your waves can form, which means your hair has inherent movement and bounce even on days you’re not actively styling. Micro layers work especially well for finer wavy hair that needs all the volume help it can get, but they also look incredible on thicker hair because they remove weight while keeping length.
Why Micro Layers Transform Flat, Wavy Hair
Micro layers solve the “my hair gets flat by noon” problem better than any other cutting technique because you’re literally creating dozens of places for waves and texture to develop. Your hair has so many layers that it naturally wants to move and separate instead of clumping together and looking limp. This is the cut to get if you’ve ever felt like your waves just don’t have enough personality or definition.
Achieving Maximum Volume
- Diffuser drying: Use a hair dryer with a diffuser attachment on medium heat to enhance natural texture without roughing up your waves
- Root-lifting spray: Apply a volumizing spray to roots before blow-drying to maximize lift at the crown
- Scrunching technique: When drying, scrunch hair upward into the diffuser rather than rubbing or smoothing it down
- Texturizing spray: Use this on dry hair throughout the day to add grip and separation to micro-layers so they stay defined
- Product placement: Apply wave cream or mousse to damp roots and mid-lengths (not just ends) to encourage movement throughout
- Trim frequency: Every 4-6 weeks because micro layers grow out and blend together faster than traditional layering
- Styling on second-day hair: Dry shampoo and texture spray can actually make second-day hair look better because product and texture build throughout
Pro tip: After getting micro layers cut, ask your stylist to show you how to use a diffuser — the technique of how you position your hair in the diffuser makes all the difference in whether you get volumized waves or frizzy chaos.
9. Wavy Wolf Cut
The wolf cut is kind of the perfect synthesis of a shag and a modern cut — it has short, choppy layers on top for volume and texture, long flowing pieces in back, and face-framing sides that add dimension. On wavy hair, a wolf cut looks absolutely stunning because the top layers celebrate your natural texture while the longer pieces in back give you length and styling range. This cut has serious personality and reads as cool and intentional without looking like you’re trying too hard. It’s especially flattering if you have a smaller face or fine features because the shorter, choppy top makes your face feel balanced and proportionate.
Why Wolf Cuts Suit School Life
A wolf cut gives you the cool factor of shorter hair in the volume area with the practicality of longer hair for styling options. You can wear it down and wavy for a statement look, half-up for something more controlled, or in a small bun or ponytail without looking weird. The cut is interesting enough that you’re clearly making a deliberate style choice, which reads as confident and intentional at any age. Plus, the shorter layers on top mean wash-and-go styling is actually viable — you’re not spending time blow-drying when you don’t want to.
Wolf Cut Styling Guide
- Textured top, wavy bottom: Use a diffuser on top layers and let back length air dry or wave naturally for dimension
- Full wave styling: Apply wave cream throughout, scrunch everything, and blow dry with diffuser for consistent waves top to bottom
- Straightening options: You can blow dry the shorter top layers straighter than the back for a more deliberate contrast
- Half-up versatility: This cut absolutely shines with half-up styling because you have those shorter pieces to work with and longer pieces to frame your face
- Movement enhancement: A light texturizing spray throughout keeps the choppy top layers separated and visible all day
- Trim maintenance: Every 5-7 weeks because the shorter layers grow out noticeably and can lose their shape
Worth knowing: A wolf cut is more high-maintenance than a basic cut because the styling range and the layering make it pretty noticeable when it needs a trim. If you’re not prepared for regular appointments, a simpler cut might be a better fit.
10. Effortless Tousled Waves
Sometimes the best haircut is one that literally requires zero styling effort and still looks intentional and cute. An effortless tousled wave cut has layers distributed throughout to create movement, strategic shorter pieces around the face, and enough choppy texture that your hair looks undone-on-purpose rather than actually undone. This cut is honestly just really good layers, nothing fancy — but those layers are placed thoughtfully so that your natural wave pattern, whether you dry it or not, looks intentional and editorial. This is the cut you get if you want to wash your hair, run your fingers through it, and look cute without any product, blow dryer, or special technique involved.
Why Effortless Styling is Honestly the Best
The beauty of a truly effortless tousled cut is that it works in your actual real life. You’re not spending 15 minutes blow-drying with a diffuser before school; you’re literally just washing your hair and going. The layers do the work for you, which means you look intentional even when you’re not trying. For school especially, this is huge — you want to look put-together without spending an hour getting ready.
Make the Effortless Look Work
- Wash and go: Literally apply a lightweight mousse to damp hair, scrunch, and let it air dry while you eat breakfast
- Minimal product: A light texturizing spray is all you need on dry hair to maintain separation throughout the day
- Face-framing focus: The key is those slightly shorter, piece-y layers around your face that frame it beautifully without any effort
- Hair texture acceptance: This cut works best when you actually accept your natural wave pattern instead of fighting it
- Second-day hair magic: This cut actually looks better on day-two or day-three hair because product buildup and natural texture combine beautifully
- Trim frequency: Every 6-8 weeks to keep the layers from getting too blended and heavy
Pro tip: When you consult with your stylist about an effortless cut, bring photos of textured, undone waves you love — not perfectly polished styles. Show them the vibe you’re going for so they understand you want a cut that works with your natural texture, not against it.
Final Thoughts
The perfect school haircut isn’t about finding something magazine-perfect or high-maintenance — it’s about finding something that works with who you actually are and what your hair naturally does. Wavy hair is such an asset if you get a cut that celebrates it instead of fighting it. The right layers, the right length, and the right approach to styling can turn what might feel like difficult, frizzy hair into something that looks intentionally cool and put-together with minimal effort.
Any of these cuts work beautifully, but the real decision comes down to how much time and energy you actually want to spend on your hair. If you love styling and want to spend 10-15 minutes getting ready, a longer cut with lots of layer options gives you the versatility to change your look throughout the week. If you’re more of a wash-and-go person, a shorter, choppier cut with strategic layers is your answer. Neither is “better” — they’re just different ways of approaching your style based on your actual lifestyle.
Whatever cut you choose, the most important thing is trusting your stylist with your vision and being honest about what you’re willing to maintain. Bring photos, ask questions about styling, and commit to regular trims so your cut stays healthy and intentional. Your hair is something you see every single day, so it’s absolutely worth investing in a cut that makes you feel confident and like yourself.