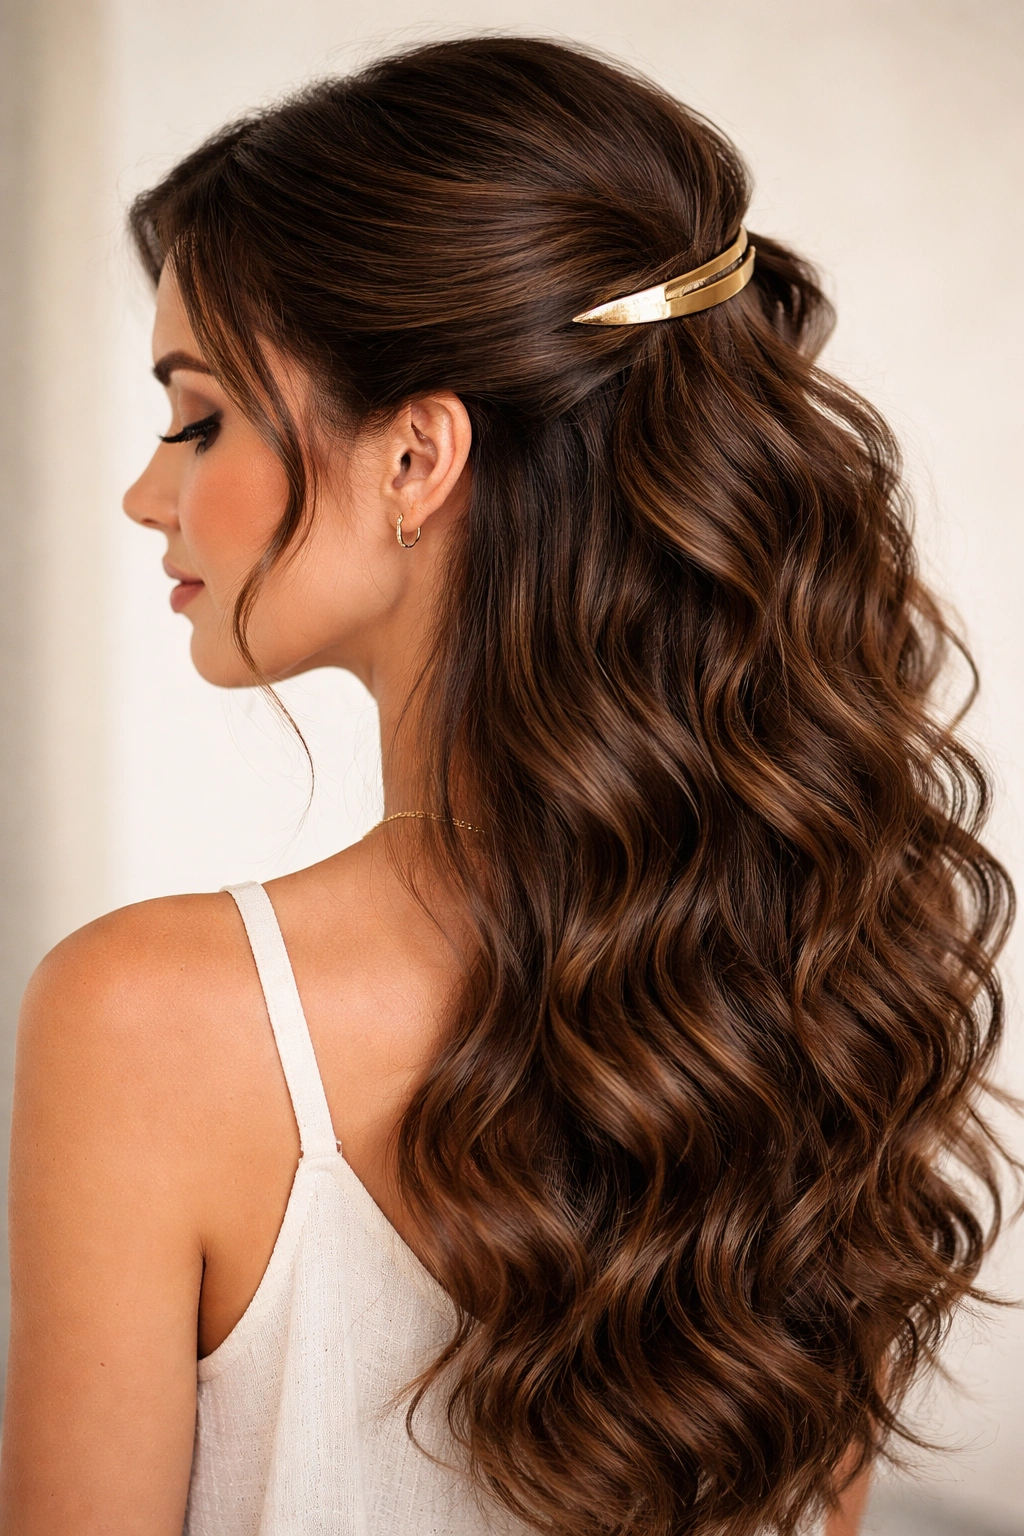
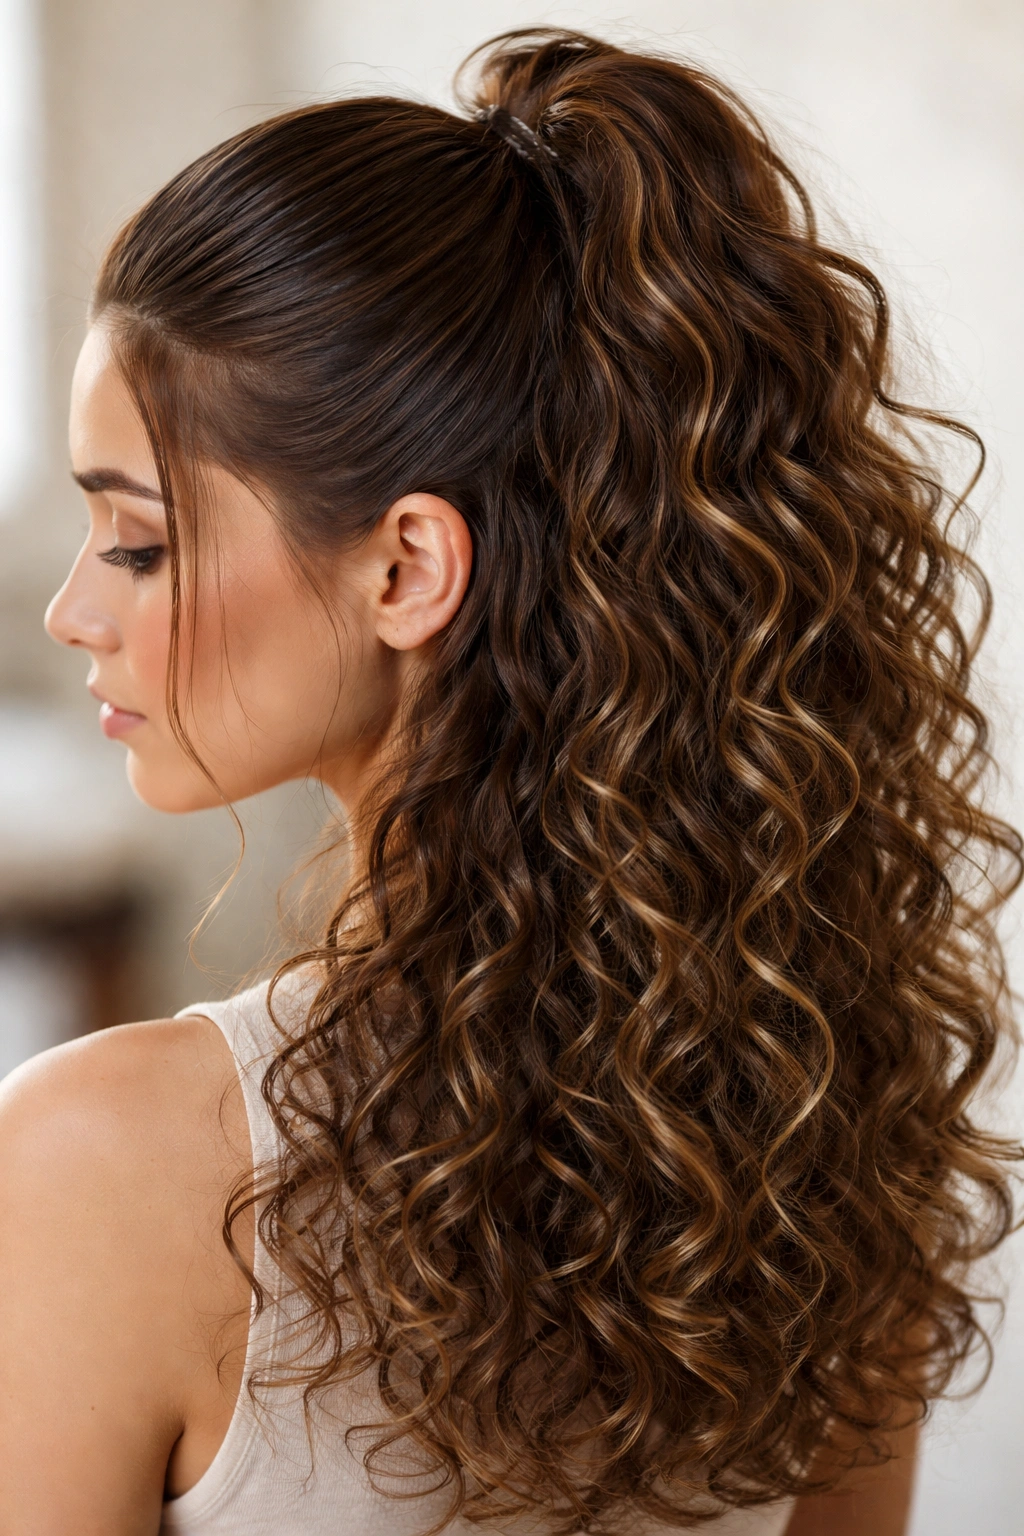
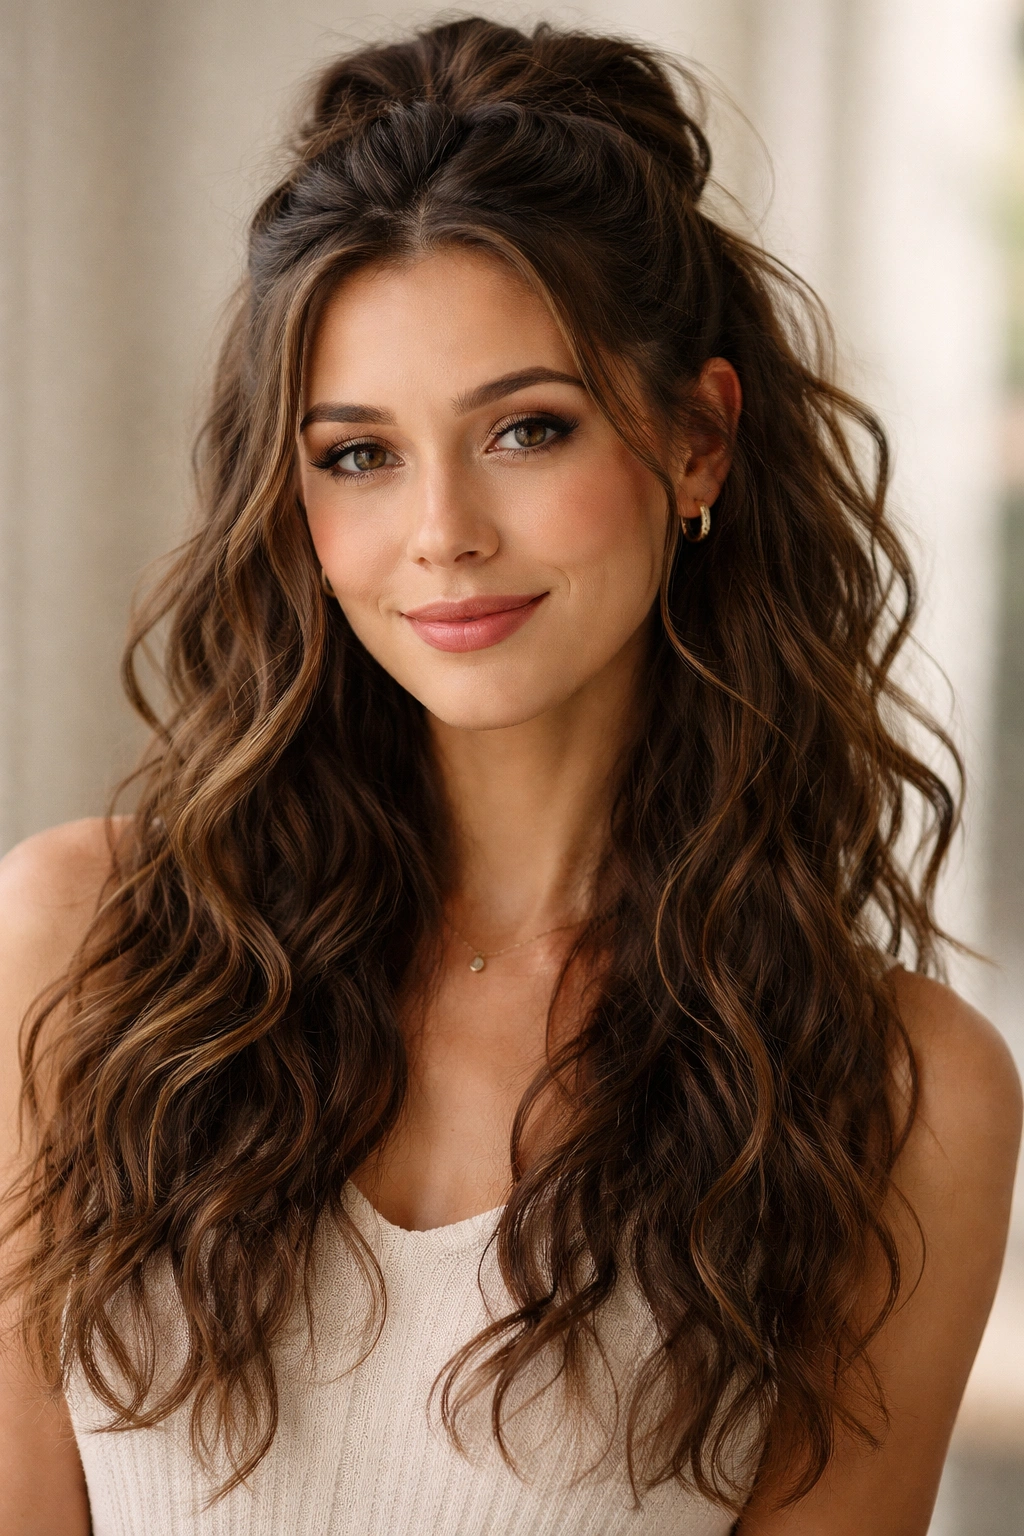
Half-up hairstyles are absolute magic for wavy and curly hair. They strike that perfect balance between putting your hair off your face while celebrating the texture you’ve got going on. Whether you’re dealing with loose waves, tight coils, or that unpredictable texture that changes depending on humidity, a well-executed half-up style can genuinely transform your entire look in minutes. The beauty of this approach is that it works across every wave pattern and curl type—you’re not fighting against your natural texture, you’re working with it.
What makes half-ups so practical for wavy and curly hair specifically is that you’re not trying to contain everything into a sleek, tight style. Your curls and waves get to do their thing while the top section stays secure and intentional. You can go polished for work or dinner, playful for casual outings, or romantic for special events. The styling techniques vary widely too—some half-ups rely on twists, others on braids, some on texture alone, and plenty on strategic sectioning and clips.
The challenge isn’t figuring out if a half-up will work for your waves or curls. It’s figuring out which technique will actually stay put throughout your day, which one will complement your specific curl pattern, and which ones can handle the moisture and movement that come with textured hair. That’s exactly what we’re walking through here—sixteen distinct half-up styles tailored to how wavy and curly hair actually behaves, with real techniques you can execute at home and tricks for keeping everything in place without damaging your curls.
1. The Twisted Half-Up with Loose Curls
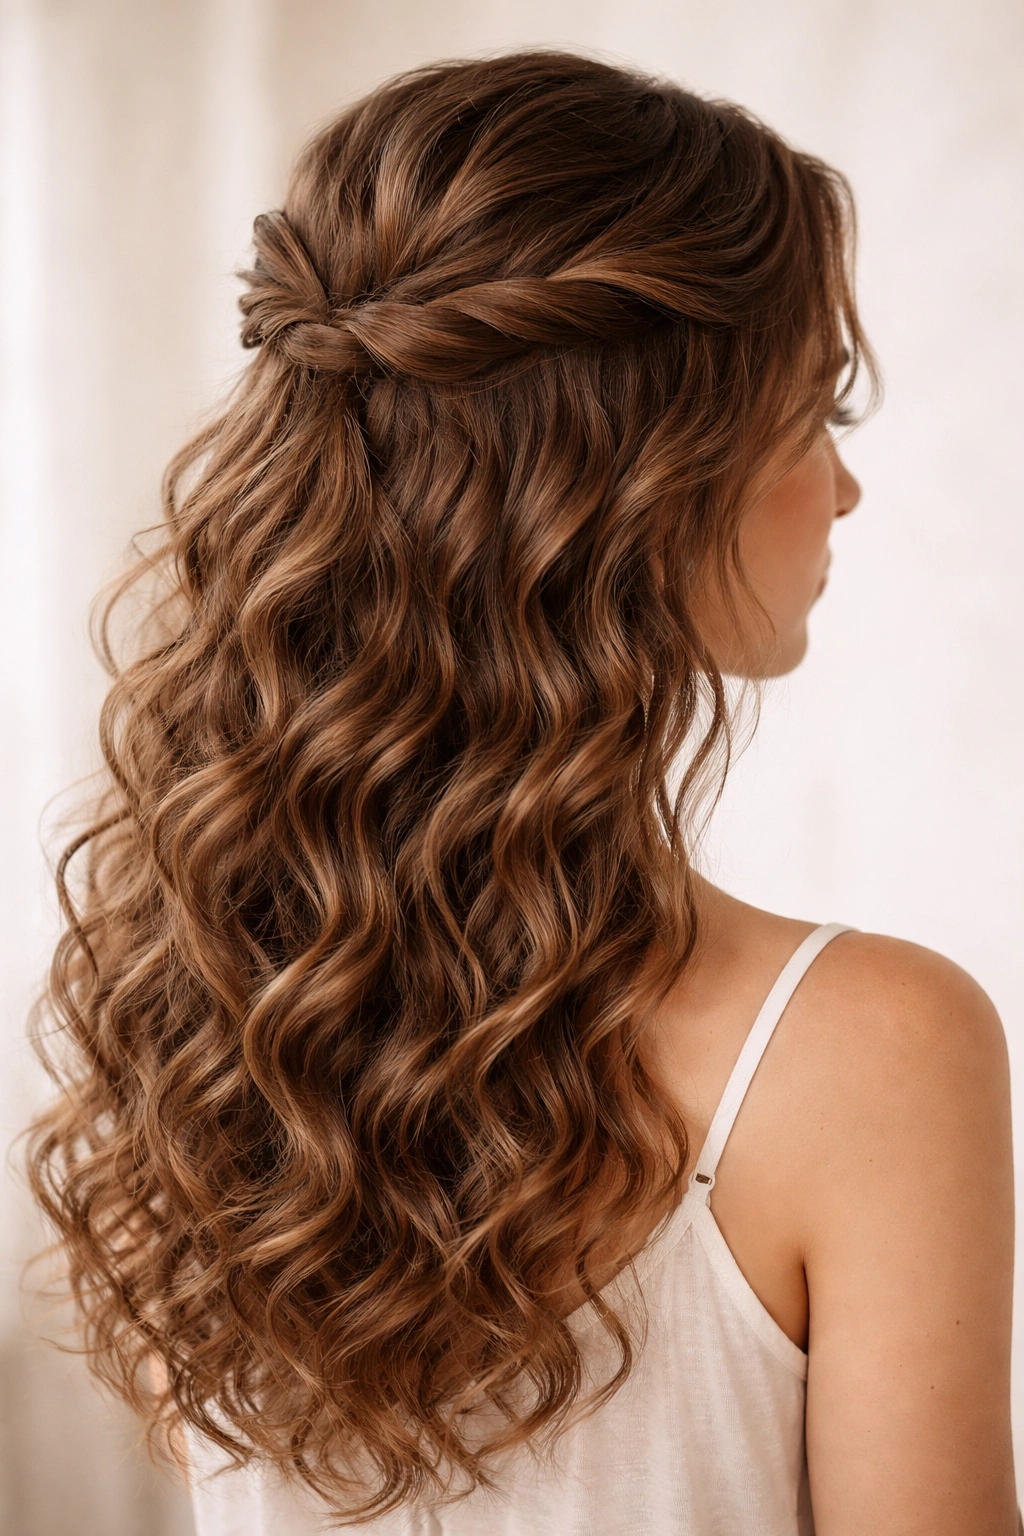
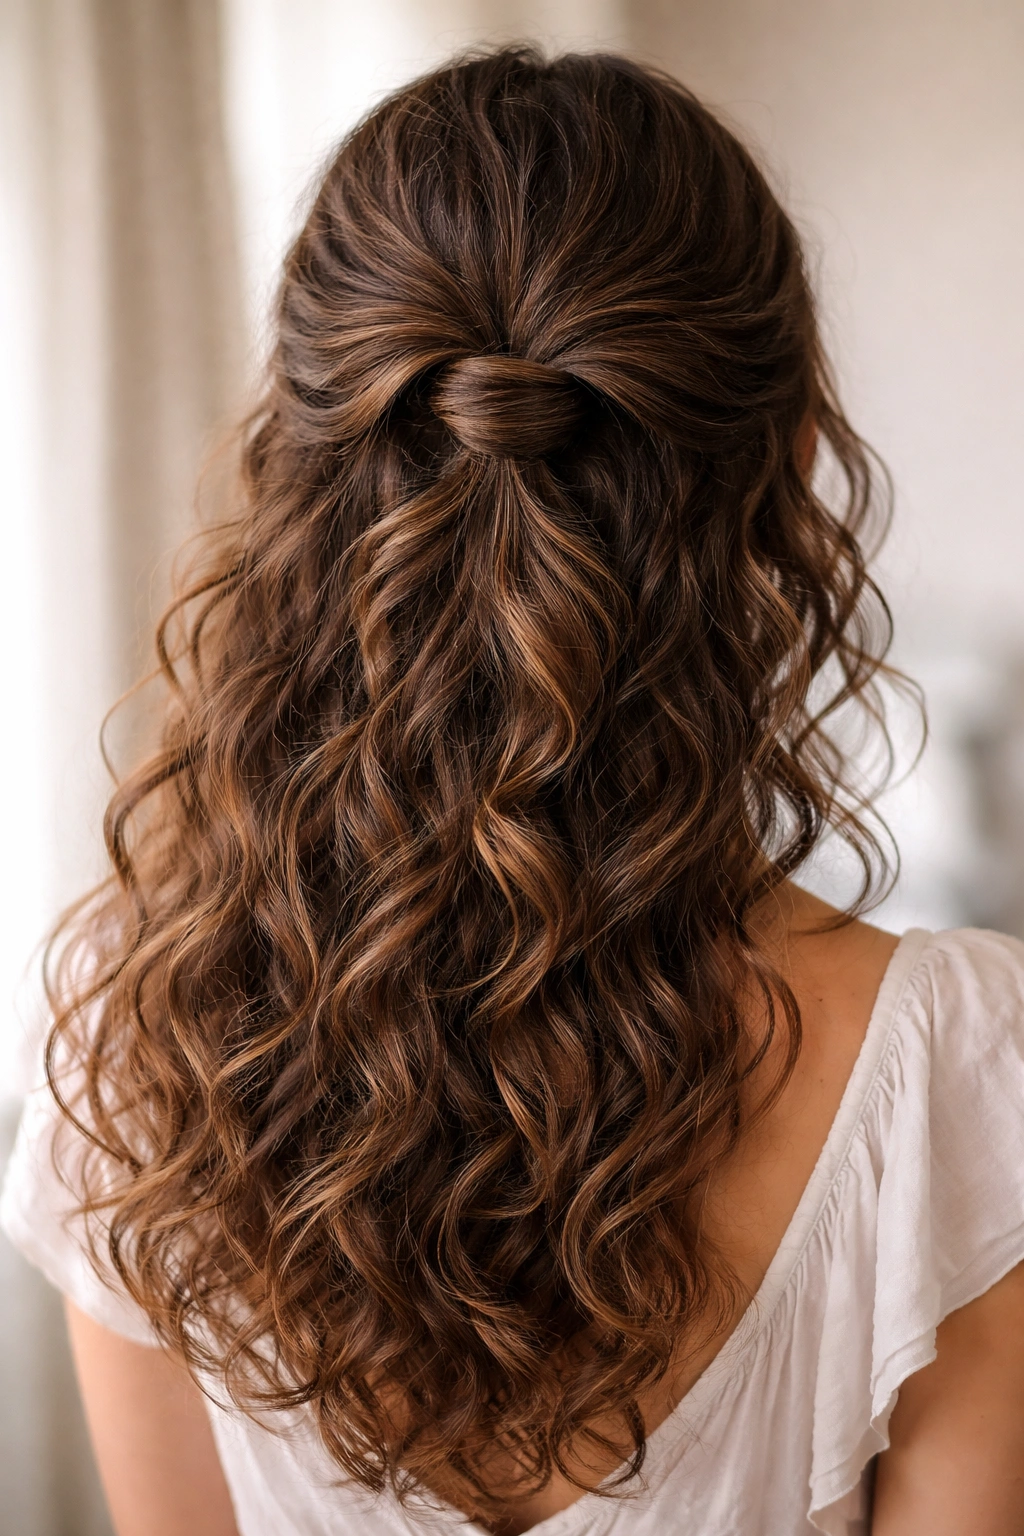
This is the most forgiving half-up for beginners because it relies entirely on texture rather than technique. You’re essentially just taking a section from each side of your head at the crown, twisting it loosely, and securing both twists together at the back with a clip or elastic. The genius here is that you’re not smoothing anything or creating tension—the twists actually emphasize your natural wave and curl pattern.
How to Style It
Start with damp or dry hair that’s already showing its wave or curl definition. Take a one-inch section from your right side at ear level and give it a loose, relaxed twist as you move toward the back of your head. Don’t pull tight—let the twist be organic and slightly undone. Repeat on the left side, twisting the same thickness of hair. When both twists reach the middle back of your head, gather them together with a claw clip or secure them with a small elastic wrapped once around both twisted sections. The key is keeping tension minimal so your curls below the half-up stay bouncy and defined.
Pro Tips for Making It Last
Use a clip with good grip strength rather than a thin elastic that might slip through your waves. If you’re working with very slippery curls, mist the twisted sections lightly with a light-hold texture spray before securing them—this gives just enough grip without making your hair feel crunchy. The twist naturally softens throughout the day, which is exactly what you want; it’ll look even better by evening as some pieces escape the twist and frame your face.
Quick Facts
- Takes 3-5 minutes from start to finish
- Works best on day-two or day-three texture when your waves have definition
- Perfect for casual, everyday wear or beach settings
- The looser your twist, the more forgiving the style is with movement
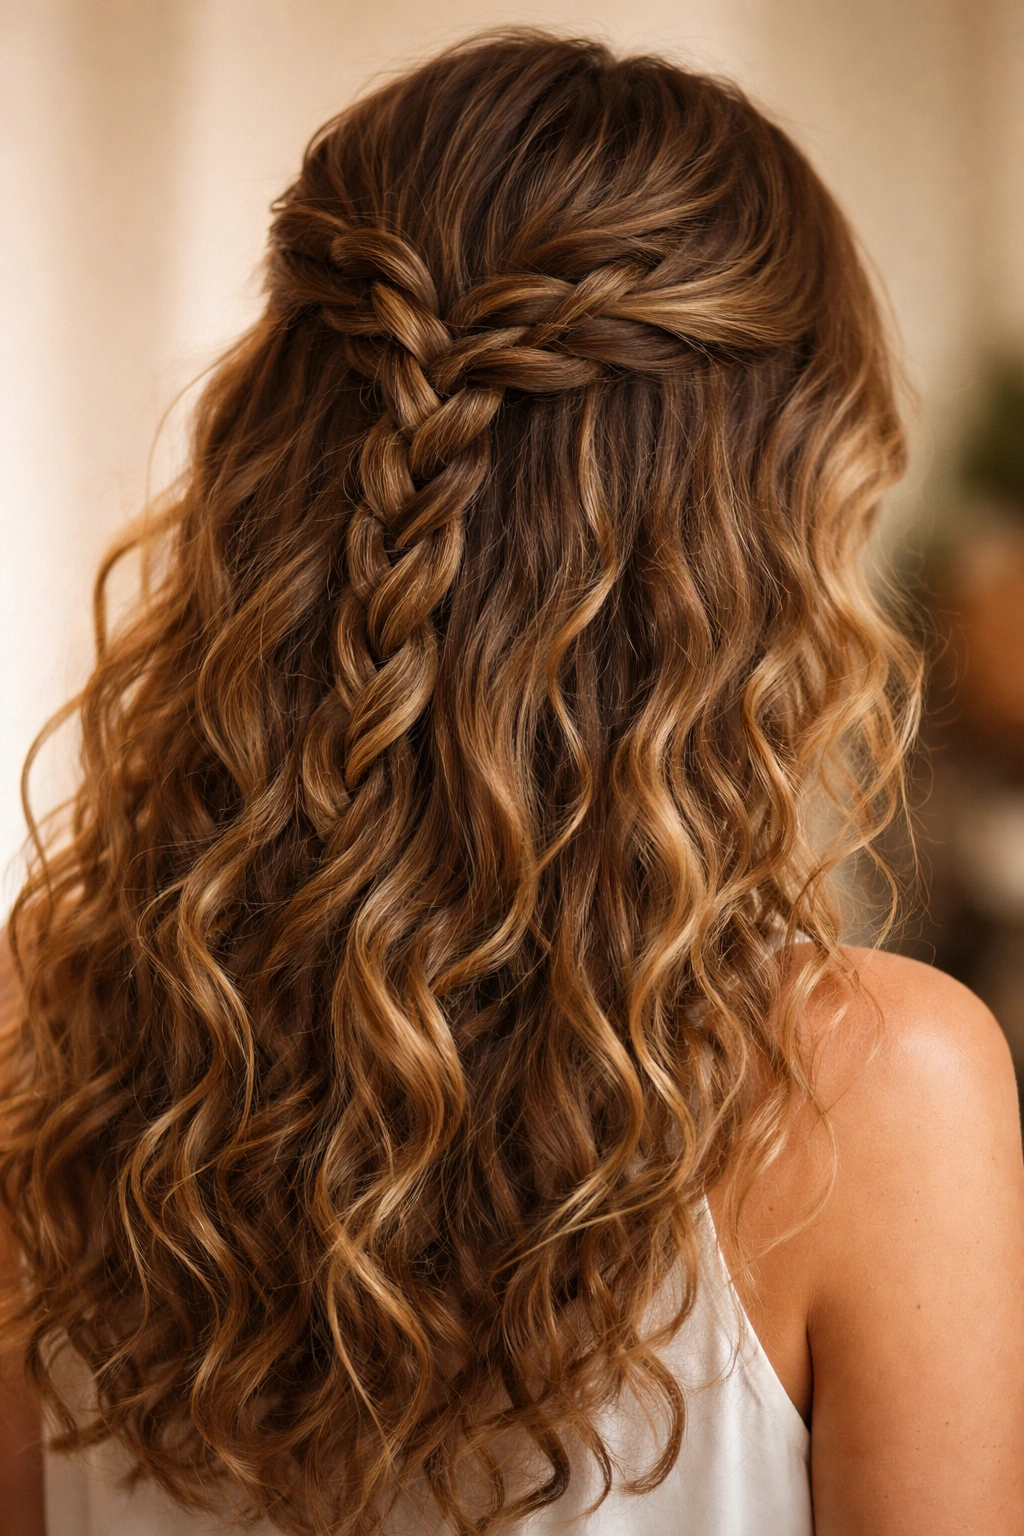
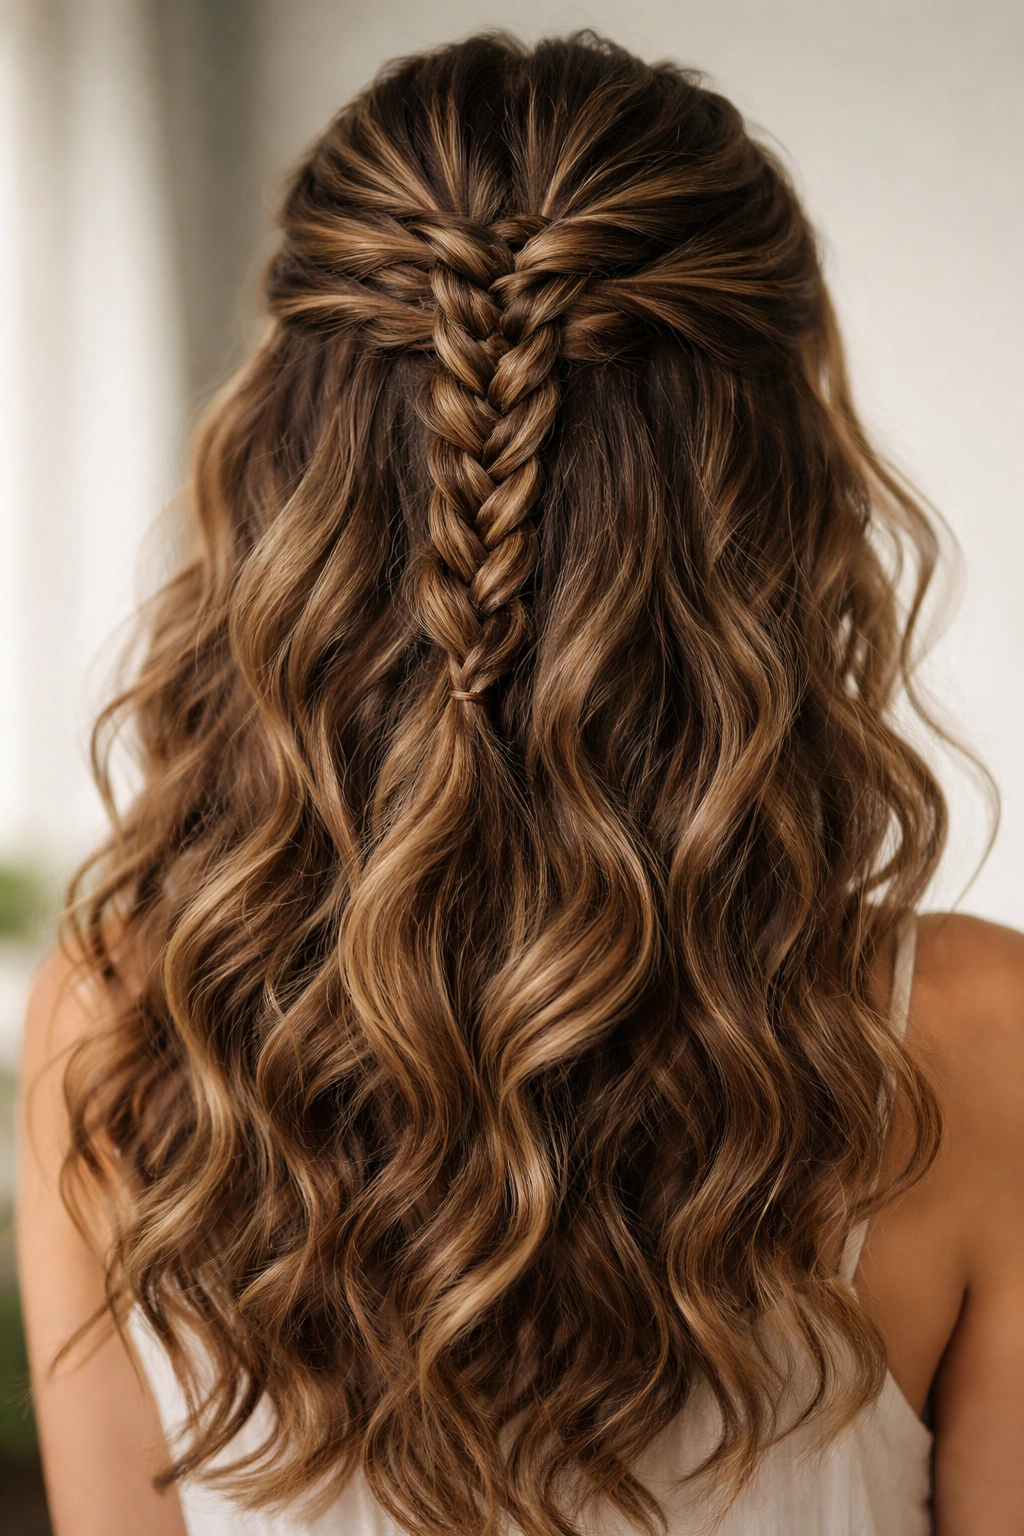
2. The Three-Strand Braid Half-Up
A three-strand braid from your crown down to the middle back creates structure while still honoring curly texture. The braid itself becomes a design element—it’s not meant to be tight or perfect. You want to see the individual waves and curls showing through and around the braid, not hidden behind a polished plait.
How to Style It
Section off hair from one temple to the other across the crown. Start a three-strand braid at your center part, dividing that crown section into three equal pieces. Braid loosely downward toward the back of your head—think loose and textured, not tight and neat. You don’t need to reach the very bottom; braid down about four to five inches or until you’re near the middle of your crown. Secure the end of the braid with a small elastic. For extra dimension, gently pull on the sides of each braid loop to make it slightly wider and more textured—this releases tension and makes the braid feel intentional rather than tight.
Why It Works for Waves and Curls
Loose braiding doesn’t disrupt your natural wave pattern the way a sleek, pulled-tight braid would. The braid actually enhances the texture by framing it. When you loosen the braid after securing it, you create this beautiful undone quality that looks effortlessly styled rather than overly constructed.
Quick Facts
- Adds visual interest and dimension to simple half-ups
- Can be styled on damp or dry hair
- Lasts well throughout a full day without re-securing
- Pairs beautifully with spritzed-out curls and movement
3. The Wrap-Around Half-Up with Face-Framing Pieces

This style takes the twisted half-up concept but adds intentional face-framing by leaving small sections loose near your temples before you secure the twist. The result feels romantic and polished while keeping your curls totally visible and moving freely.
How to Style It
Before you start twisting, separate small one-inch sections directly at both temples and set them aside—these are going to frame your face. Now take a section about an inch behind those temple pieces and begin your loose twist. Continue twisting back toward the crown as you would with a standard twisted half-up. Once you’ve got both sides twisted and meeting at the back, secure them together. Those face-framing pieces stay loose and can curl however they naturally want to, which softens the entire style.
Styling Technique Breakdown
The intentional looseness is what makes this work. You’re not trying to create sleek waves around your face; you’re leaving pieces that’ll create their own curls and waves naturally. If you want those framing pieces to have more curl definition, mist them lightly with a curl-defining spray or gently scrunch them upward before pinning the half-up. The contrast between the structured twist and the loose framing pieces is what creates the visual interest.
Quick Facts
- Takes about five minutes once you’ve chosen which pieces to leave loose
- Works especially well if you have naturally wavy face-framing layers
- The loose pieces soften any face shape without making you look younger or older
- Ideal for dates, dinner, or any time you want polished-but-relaxed vibes
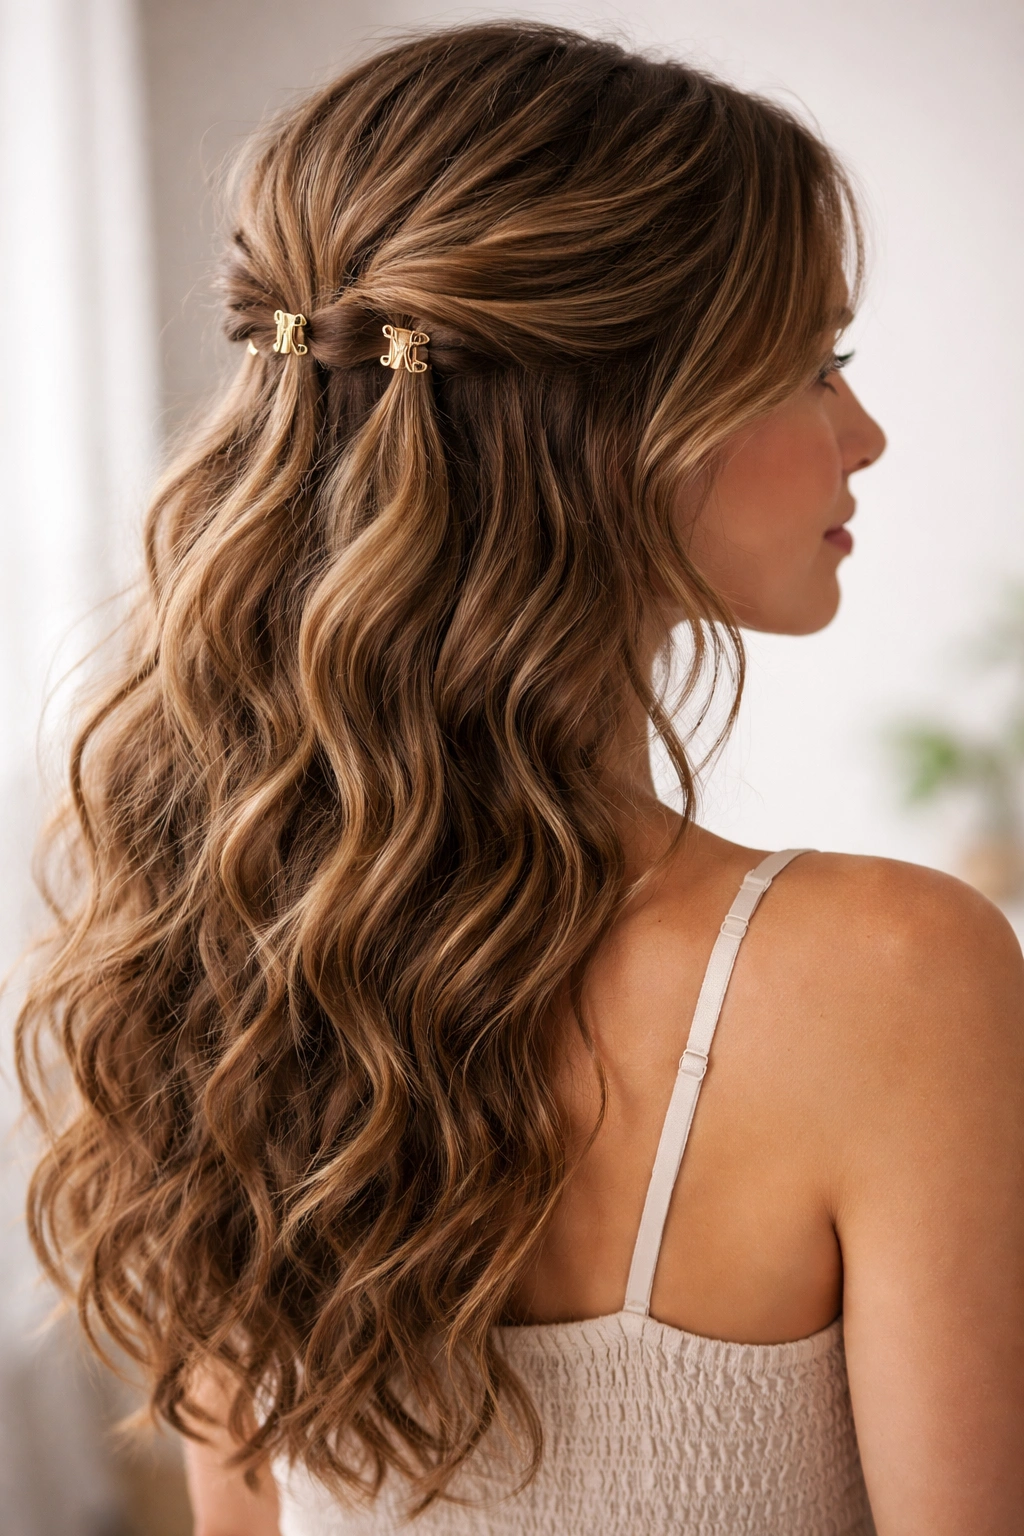
4. The Double-Clip Half-Up with Textured Movement
Instead of twisting and securing with one clip, this style uses two separate clips to hold two twisted sections, creating a more playful, less formal look. It looks like you styled it in a rush, but in a totally intentional way.
How to Style It
Take a small section from the right side of your crown (about the width of two fingers) and twist it very loosely—we’re talking barely-twisted. Secure it with a small claw clip just behind your ear. Do the exact same thing on the left side. Now you have two clips holding two small twisted sections on either side of your head, with the rest of your hair falling freely. The space between the two clips creates this natural visual opening at the back of your crown.
Making It Work with Your Curl Pattern
This style thrives on visible texture. If your waves or curls are looking flat, give your hair a very gentle tousle or scrunch just before you add the clips. The movement of your hands will reactivate the natural texture and make the half-up feel more intentional. If you have very fine curls, use lightweight clips that won’t weigh down your hair or create dent marks that take forever to release.
Quick Facts
- Looks great on shorter, shoulder-length hair especially
- Takes three minutes max once you get used to where to place the clips
- Can transition from casual daytime to evening by adding jewelry or texture spray
- The two clips add visual balance and symmetry
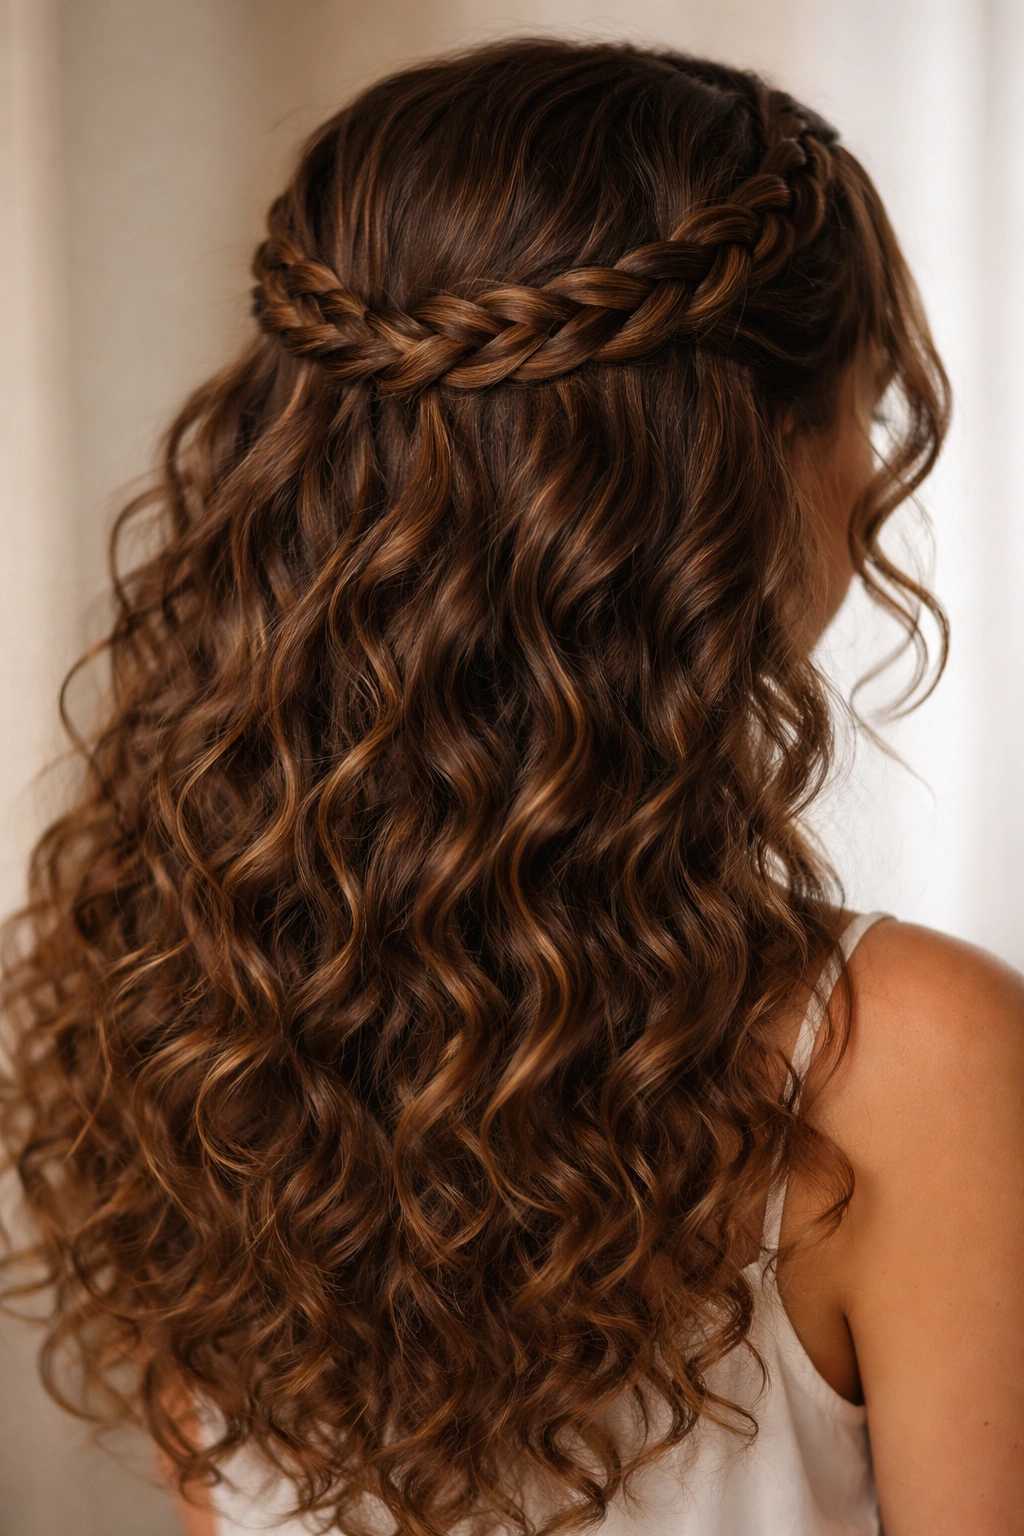
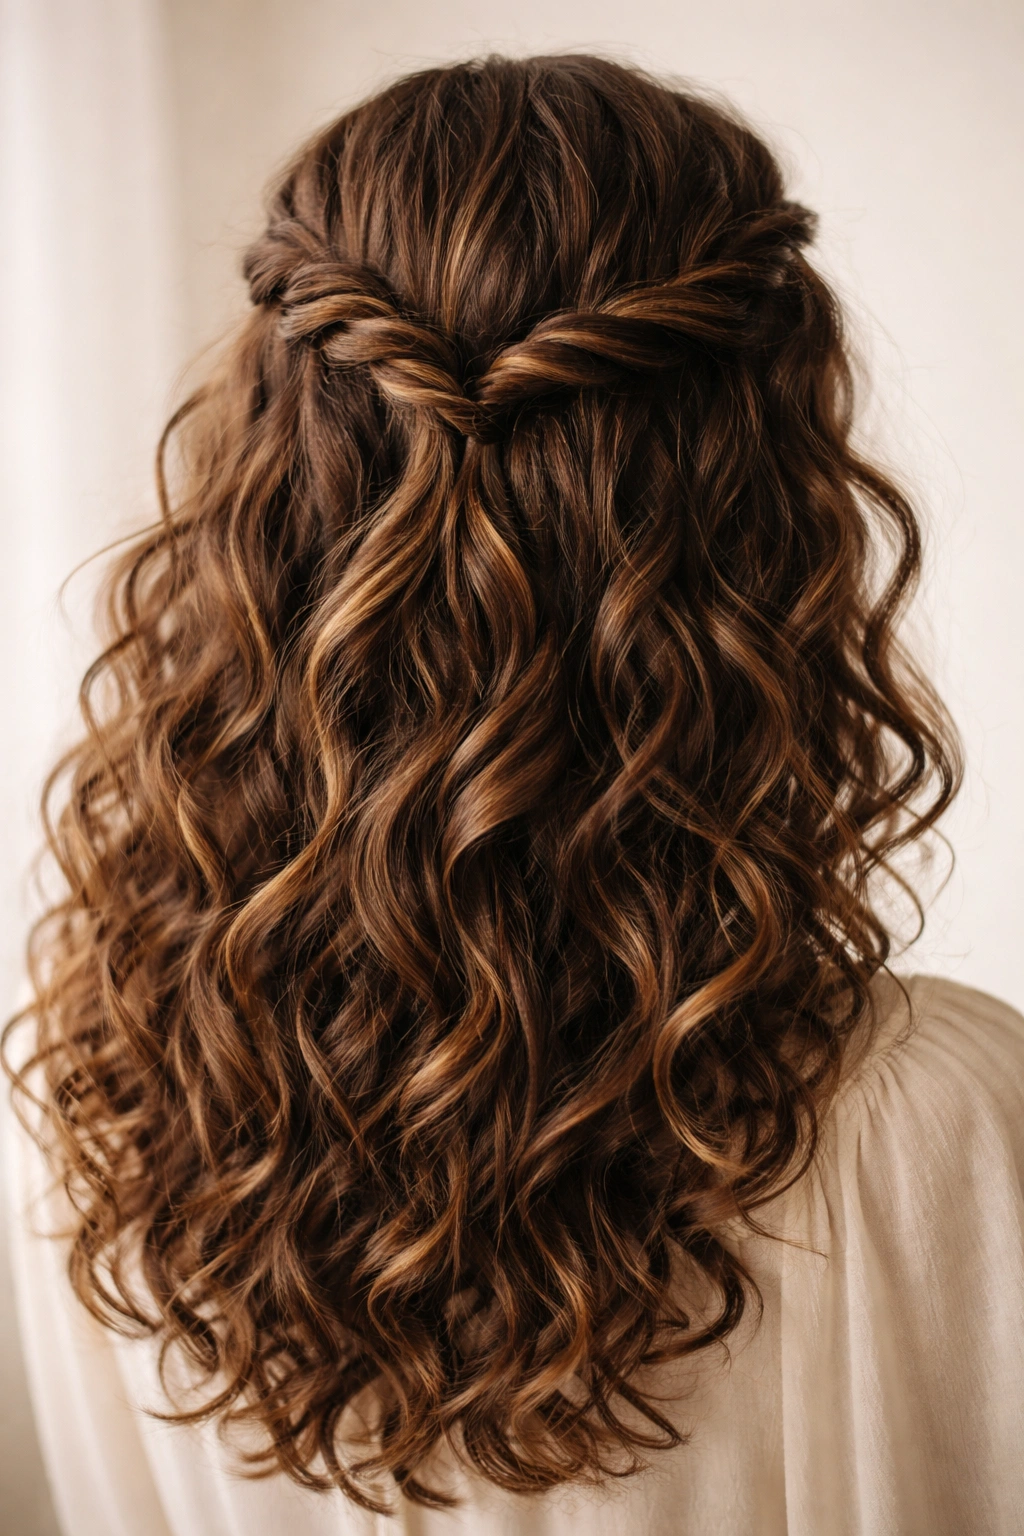
5. The Braided Halo Half-Up
This style creates a halo effect by braiding loosely across the crown from one side to the other, then securing at the opposite temple. Your curls fall freely below, but the braid creates this beautiful framing at the top of your head.
How to Style It
Imagine you’re drawing a line from your right temple diagonally across to the crown, then diagonally down to your left temple. That’s your braiding path. Section off hair along that curved path (about an inch wide). Start a three-strand braid at your right temple and braid loosely as you move across the crown toward the left temple. As you braid, you’re moving from temple to temple in a smooth arc across the top of your head. Once you reach the left temple, secure the end of the braid with a small elastic or bobby pin hidden right at your temple.
The Visual Effect
Because the braid curves across your crown like a halo, it naturally frames your face and creates depth without pulling hair back as tightly as a traditional half-up. This style works beautifully with face-framing curls falling loosely below the braid.
Quick Facts
- Takes five to seven minutes depending on braid speed and hair thickness
- Best on damp hair that’s still showing definition
- Can last eight to ten hours without re-securing
- The halo effect is extremely flattering across different face shapes
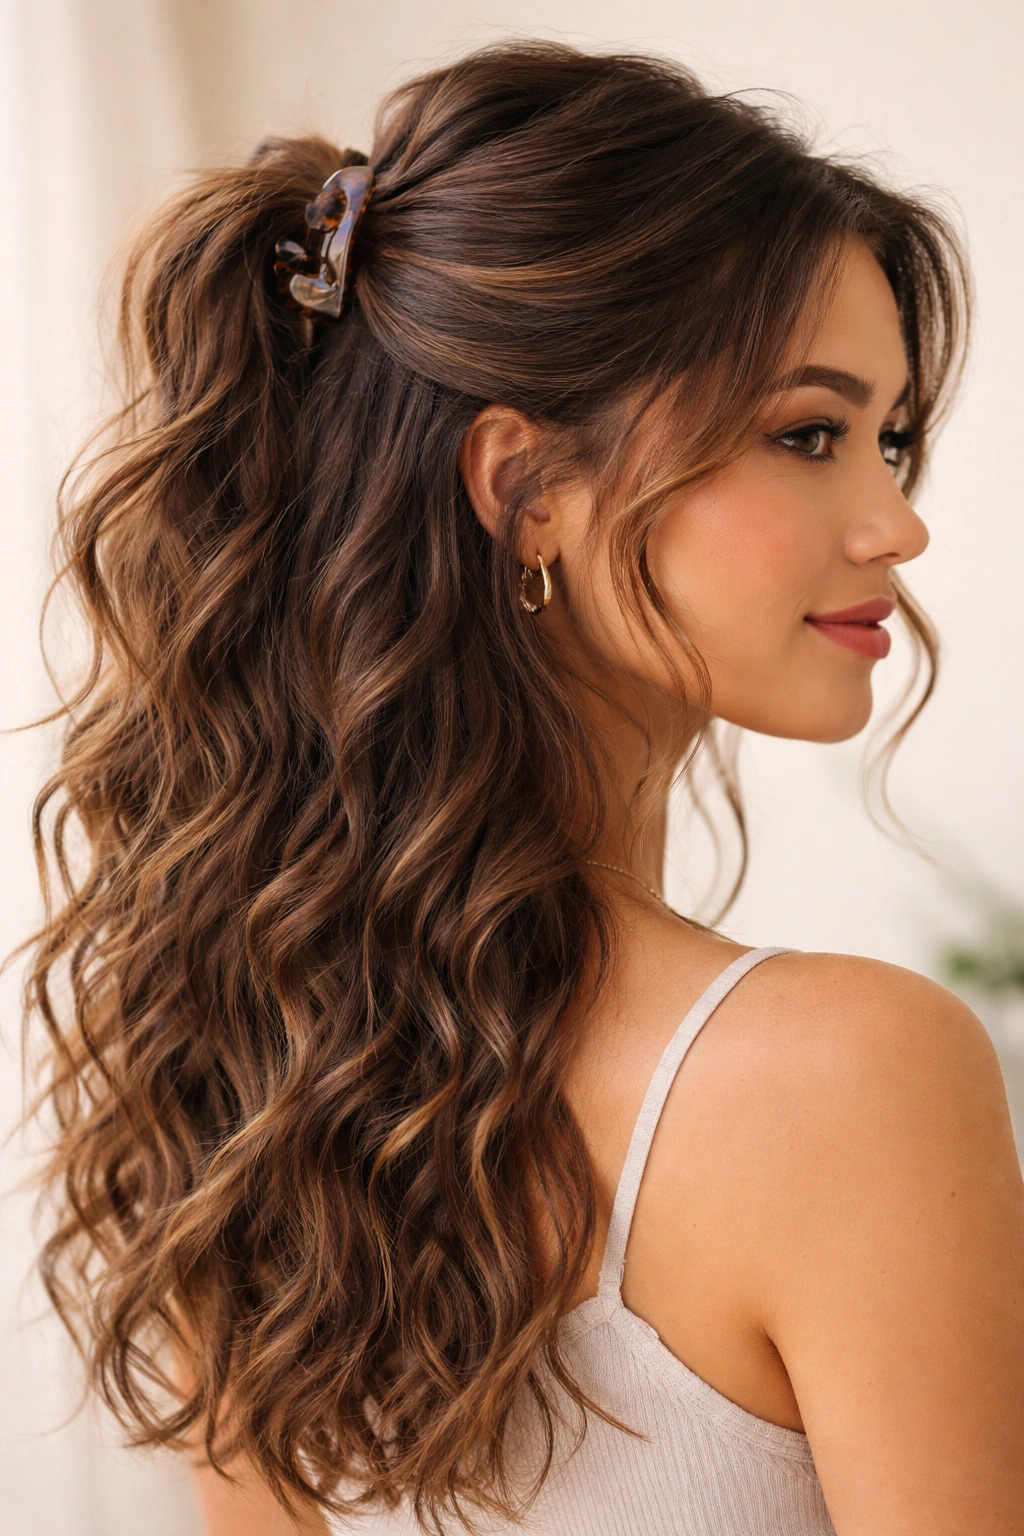
6. The Claw Clip Half-Up with Wave Definition
Sometimes the simplest execution is the most effective. This style uses nothing but a claw clip and your natural texture. You’re gathering the top third of your hair at the crown and securing it with a clip, letting everything else fall in waves below.
How to Style It
Run your fingers through your hair and loosely gather the top third of your hair—from your center part across to both ears—at the crown. Don’t smooth it or make it neat. You want to see every wave and piece of texture. Hold that gathered section lightly between your fingers and twist it loosely just once or twice, then immediately secure it with a claw clip. The beauty of this style is that it doesn’t require a specific technique beyond holding and clipping.
Why Claw Clips Work for Textured Hair
Claw clips distribute pressure across more surface area than a hair tie, which means less breakage and less of that rubber-band-tight feeling. They also have enough grip to hold wavy and curly hair without slipping, even without using elastics. The clip itself becomes a design element—consider using a tortoiseshell, metal, or colored clip that complements your hair and outfit.
Quick Facts
- Two-minute style, maximum
- Looks best on freshly scrunched or refreshed curls
- Perfect for throwing your hair up in a rush without looking sloppy
- Can handle second-day hair texture really well
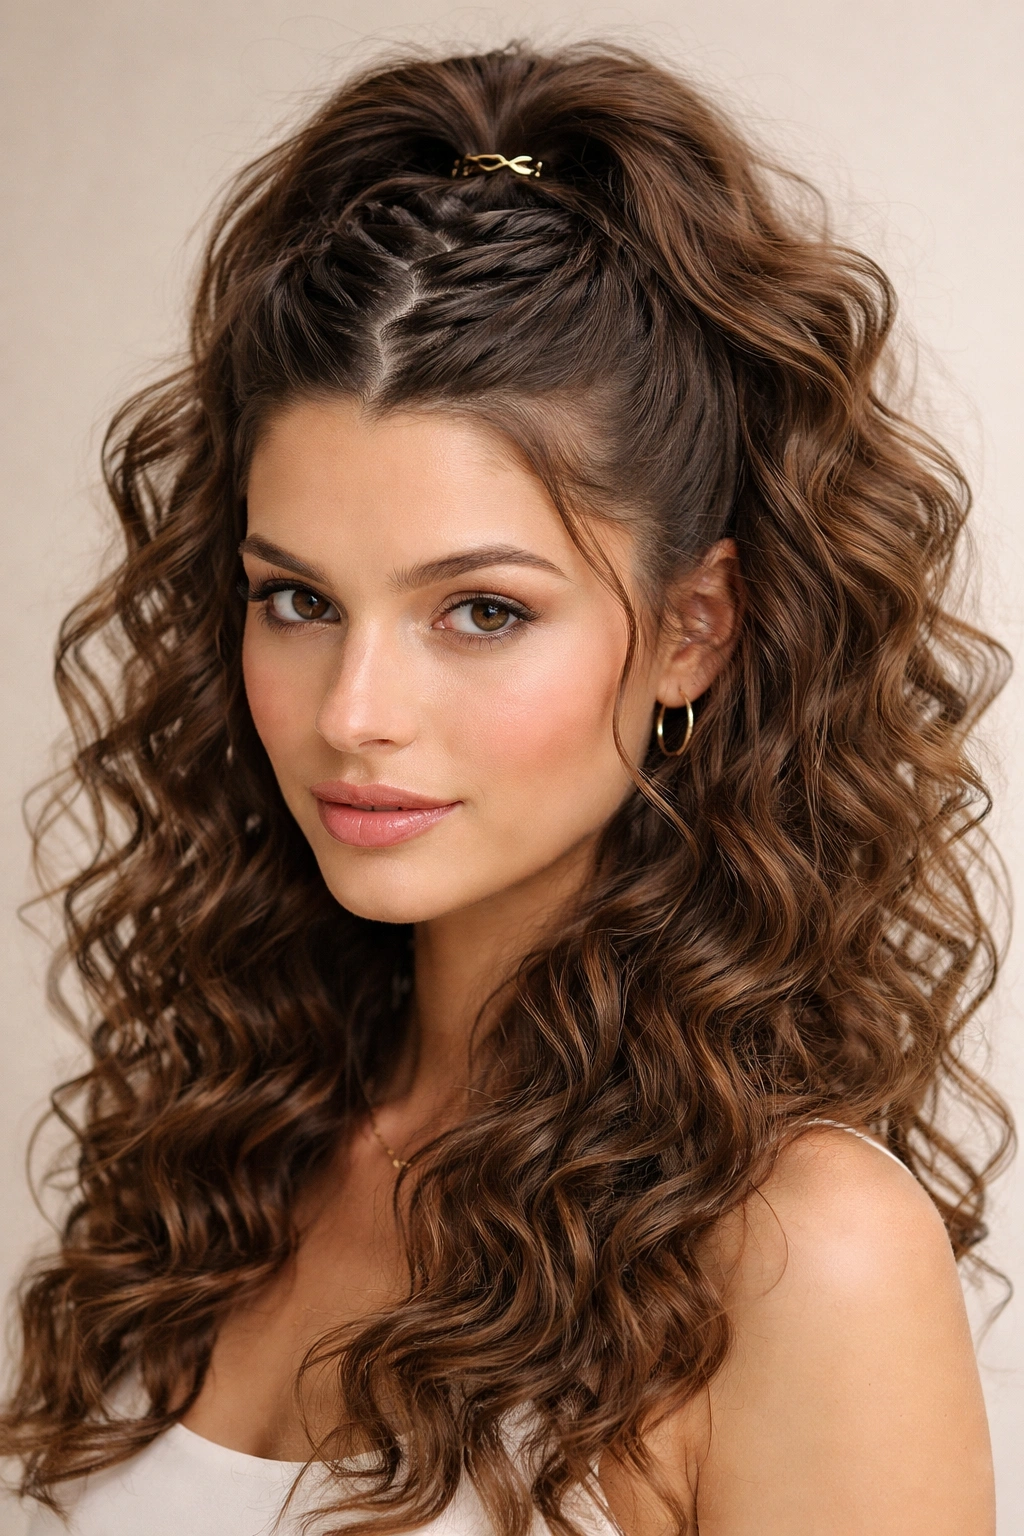
7. The Twisted Crown Half-Up
This style creates what looks like a crown by twisting sections across the very top of your head from one ear to the other, then pinning where both twists meet at the back of your crown. It’s more structured than a simple twist but less formal than a full crown braid.
How to Style It
Imagine a line from ear to ear across the top of your head—that’s your guide. Section off a one-inch piece of hair at your right ear and begin a gentle twist, moving it across the crown toward the opposite ear. This isn’t a full braid, just a twist. When you reach the left ear, you’ve got one twisted section running across your crown. Secure the end with a bobby pin. Now do the same thing from your left ear back to the right ear, and you’ve got two twists that create a crown effect with your curls flowing below.
Customizing for Your Hair
If you have very fine curls, do just one twist across the crown instead of two—it’ll be less bulky but still creates that regal feeling. If you have thick, voluminous curls, doing two twists adds dimension without making your head look weirdly tight or pulled. The key is leaving plenty of looseness in the twists so they complement rather than fight your natural texture.
Quick Facts
- Creates an instantly more formal, polished look
- Takes about six minutes with practice
- Holds well throughout a full workday or event
- The pinned sections stay hidden under your hair so bobby pins don’t show
8. The Zigzag Part Half-Up
This style plays with the part itself to create visual interest. Instead of parting your hair in a typical straight line, you’re creating a zigzag part from the front of your scalp to the crown, which adds dimension and movement to your half-up.
How to Style It
Use a rattail comb or the pointed end of a brush handle to create a zigzag part from your center front to the crown. It doesn’t need to be perfectly geometric—slightly wavy is actually better. Once your zigzag part is established, gather the hair above the zigzag at the crown and secure it with a clip. The curls below the clip fall naturally, but now they have that added visual interest from the zigzag part underneath.
Why This Works
The zigzag part creates movement and texture just by redirecting where your curls fall. It’s a styling trick that requires zero additional skill but makes you look like you spent way more time on your hair than you actually did. It works especially well if you have curls that are prone to falling flat—the zigzag gives them direction and purpose.
Quick Facts
- Two to three minutes once you’re comfortable with the zigzag motion
- Looks best with curls that have some definition and volume
- The zigzag part itself stays visible, so it’s a decorative element
- Can be combined with any clipping or twisting method
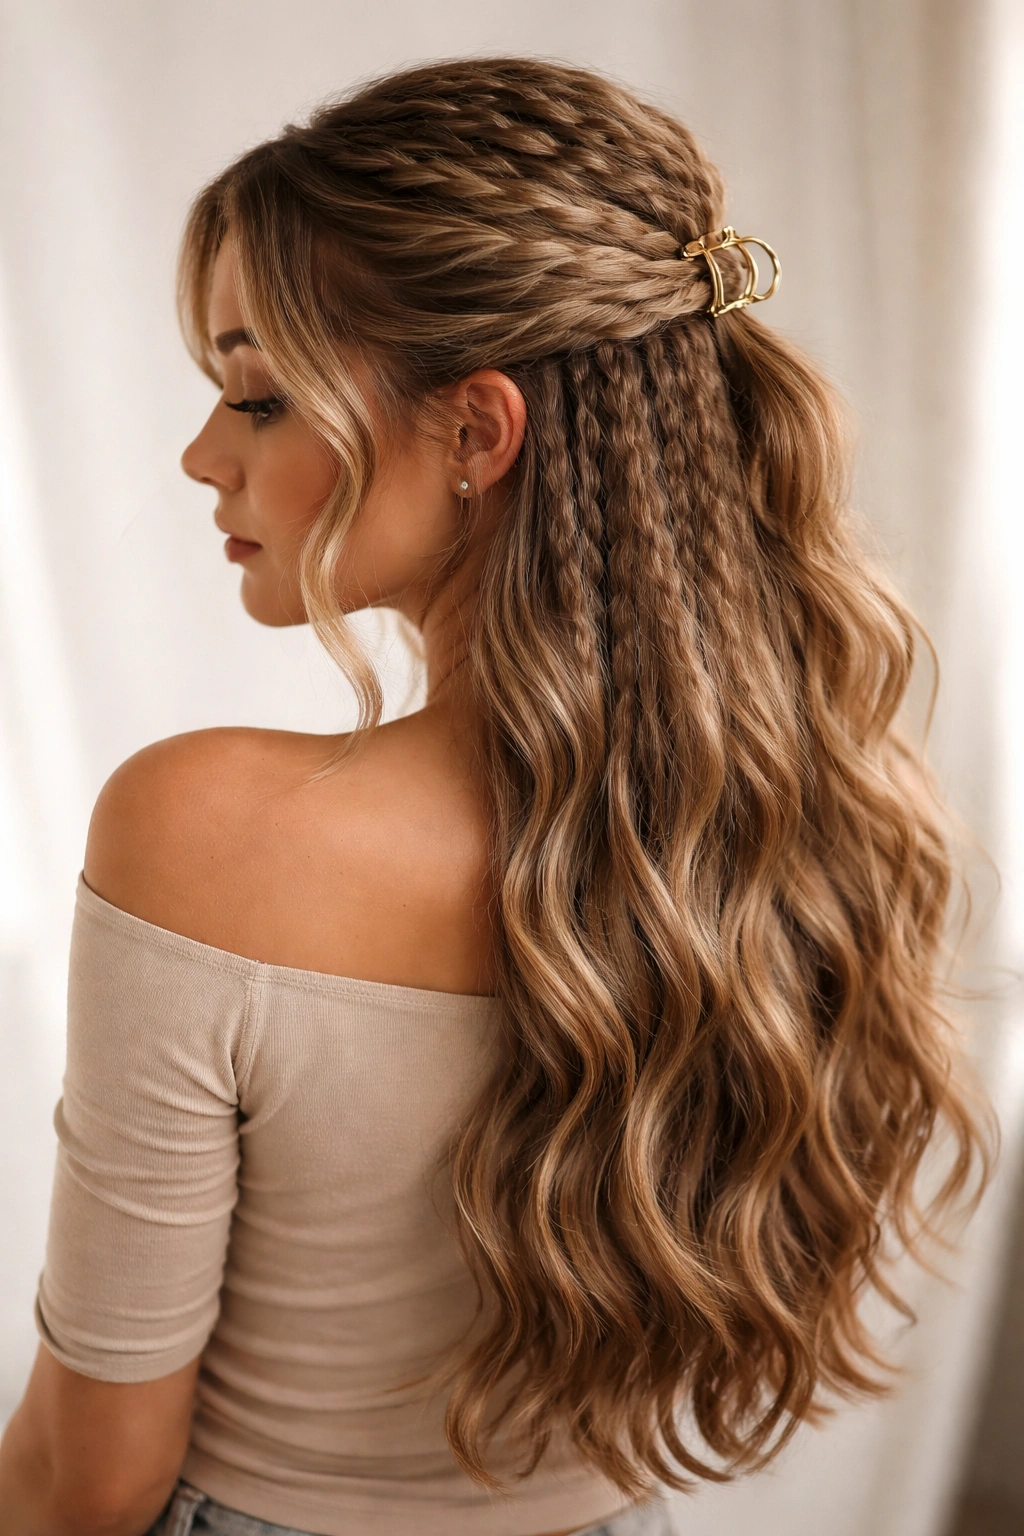
9. The Braided Pinwheel Half-Up
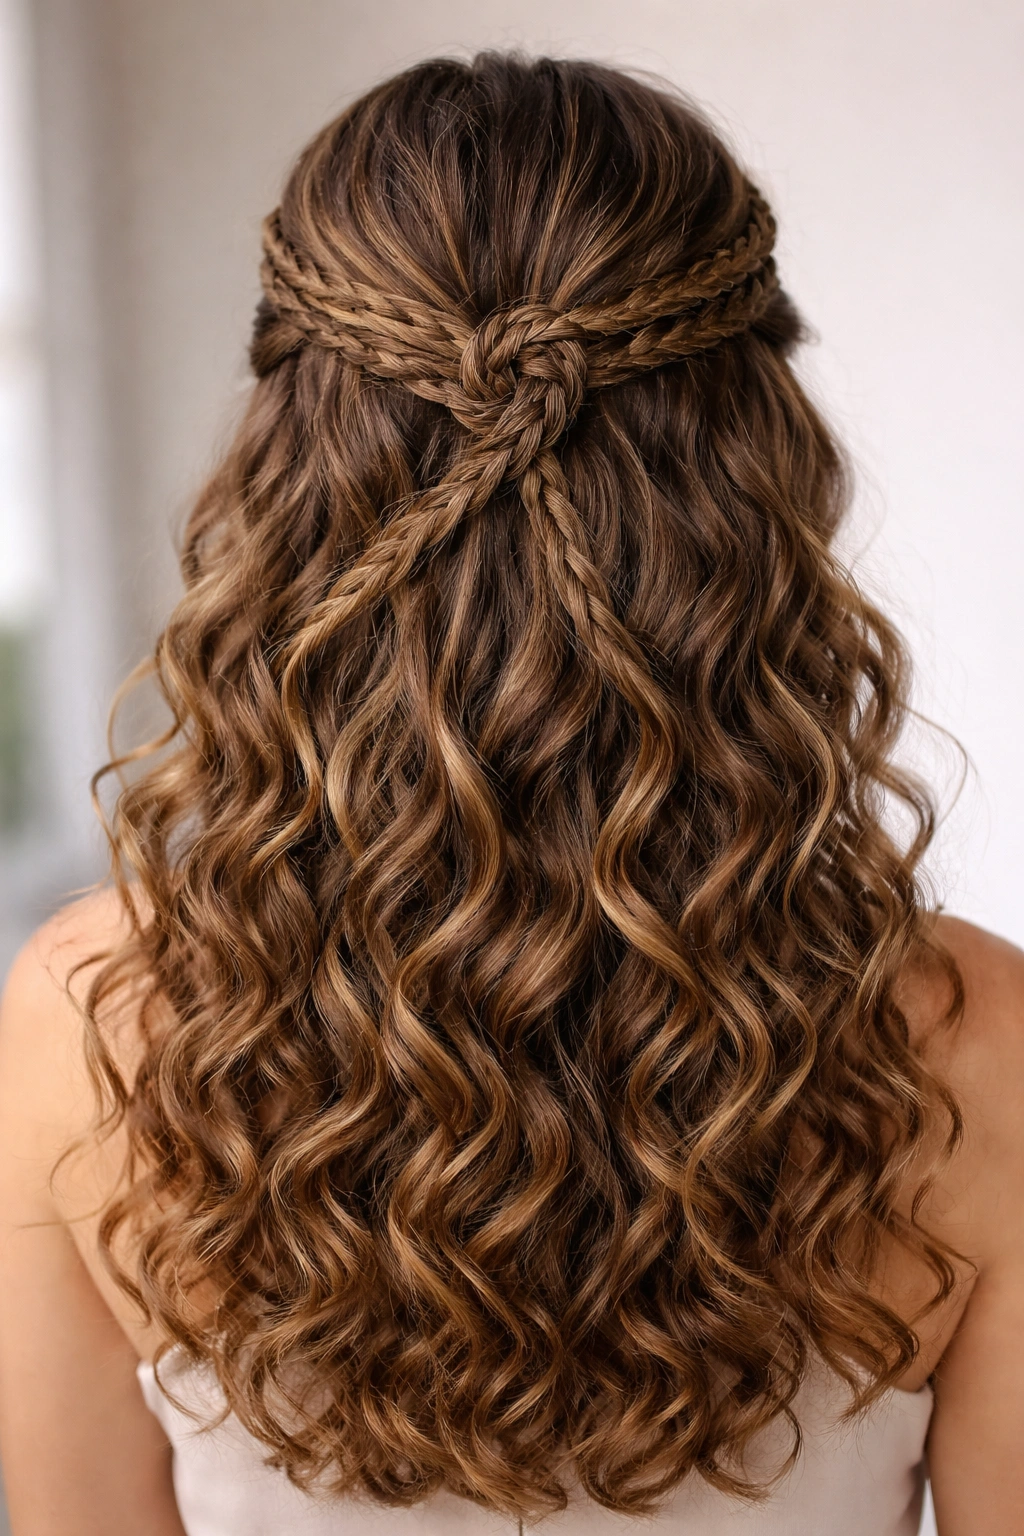
This style takes two thin braids, curves them around each other at the back of your head to create a pinwheel effect, and secures them together. It looks intricate but is actually quite simple once you understand the technique.
How to Style It
Start a thin three-strand braid on your right side at ear level, braiding loosely toward the back of your head. In your left hand, start a second thin braid on your left side at the same level, also braiding toward the back. As both braids reach the center back of your head, you’re going to wrap them around each other—take the right braid and curve it over the left braid, then the left braid under the right. This creates an X or pinwheel pattern. Secure both braid ends together with a small elastic.
Execution Tips
The thinner your braids, the more delicate and intentional the pinwheel effect looks. Practice doing this slowly the first time so you can see exactly how the braids should move around each other. The more you practice, the faster you’ll be able to do it.
Quick Facts
- Takes about eight to ten minutes
- Works beautifully on length that’s at least shoulder-length
- The pinwheel effect is conversation-starting; people genuinely ask how you did it
- Can be done with two-strand twists instead of braids if you prefer
10. The Half-Up with Hidden Undercut Detail
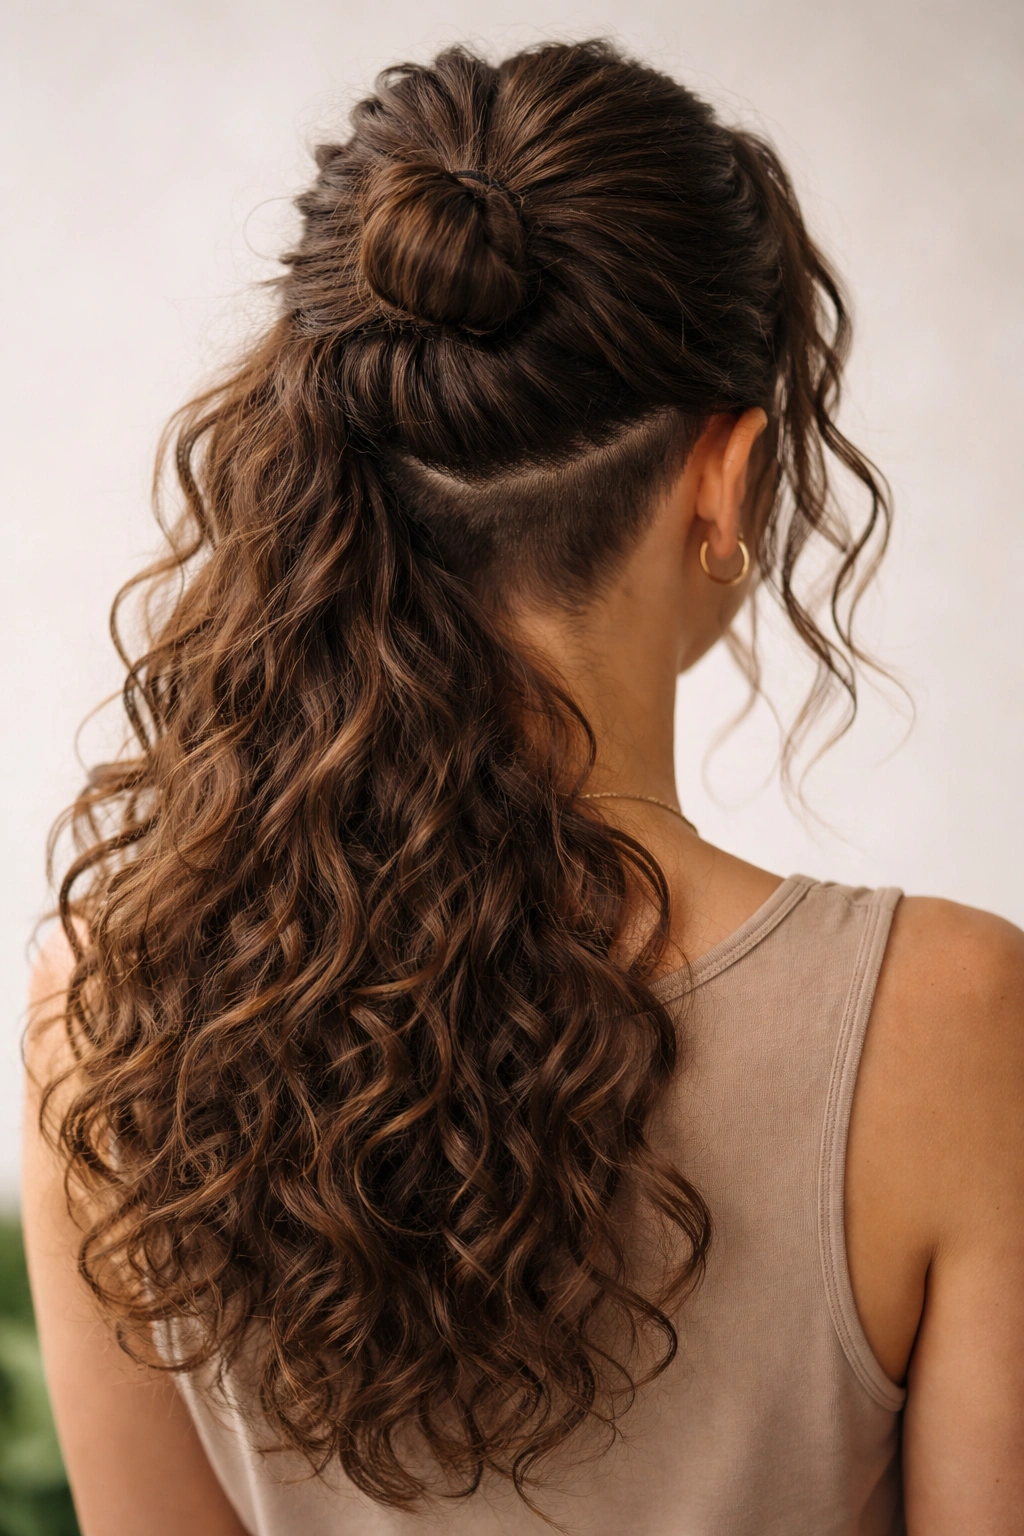
If you have shorter layers or an undercut, this style intentionally reveals that shorter hair in the secured section, creating a really cool contrast between the shorter top section and the longer curls below.
How to Style It
Gather your top section as you would for a standard half-up, making sure to include your shorter layers or undercut hair in that top section. Secure everything with a clip at the crown. The magic here is that when you look from behind, you see the contrast between the short undercut or layers and the longer curls. From the front, it looks like a classic half-up, but the back has this hidden surprise.
Who This Works For
This style only works if you intentionally have shorter layers, an undercut, or textured shorter sections in your top half. If that’s not your cut, this isn’t the move. But if you do have that kind of layering or undercut and you’re not usually showing it off, this is a great way to feature it without committing to wearing your hair pulled back all day.
Quick Facts
- Takes two to three minutes
- Creates visual interest and texture contrast
- Best on hair that’s already styled with some separation and definition
- Perfect for showing off a cut you paid money for
11. The Rippled Half-Up with Crimped Texture
This style incorporates deliberate texture into the secured section by using a crimping technique or simply scrunching product into that top section before you clip it. You end up with a half-up where the top half looks textured and undone while the bottom half maintains smooth waves.
How to Style It
Before you gather your half-up, apply a texturizing spray or light gel to the top section of your hair (from your crown to where you want the half-up to sit). Use your fingers to scrunch and crumple that section, encouraging texture and wave. Once that section feels crinkled and textured, gather it loosely and secure with a clip. The result is this intentional, piecy texture in the secured section that contrasts with your natural curl pattern below.
Product Application
The product matters here. You want something light enough that it doesn’t weigh down your curls or make your hair feel stiff, but textured enough to hold the scrunched, rippled effect. A sea salt spray or a light-hold texture spray works beautifully. Avoid heavy gels or creams that’ll make the textured section feel sticky or wet.
Quick Facts
- Takes five to six minutes including product application and scrunching time
- Best on damp hair that can still hold texture development
- The texture continues to set as your hair dries, becoming more defined
- Looks intentional rather than messy, which is the goal
12. The Side-Swept Half-Up with Curved Clip
Instead of securing your half-up at the direct center back of your head, this style sweeps everything to one side and clips it there. It creates asymmetry and feels more modern and effortless than a centered half-up.
How to Style It
Gather the top section of your hair as you would for a half-up, but instead of bringing it straight back to the center of your crown, sweep it to one side—let’s say the right side. You’re gathering hair from both the right and left sides, but bringing the gathered section toward the right side of your head. Once everything is gathered to the right side, secure it with a claw clip positioned on the right side of your crown. This creates a diagonal line from your left temple back and up to the right side of your crown.
Why Asymmetry Works
Side-swept styles feel modern and intentional. They’re also great if you have a side part naturally; you’re just emphasizing what’s already there. The curved gathering at the back of your head creates movement rather than feeling structured.
Quick Facts
- Takes three to four minutes
- Works best on longer hair where the asymmetry is really visible
- Can be worn to one side, then flipped to the other later in the day
- Flattering for people with longer faces as it breaks up vertical lines
13. The Bubble Half-Up with Elastic Sections
This playful style uses multiple small elastics spaced down the length of a secured half-up, creating bubble-like pouches of hair between each elastic. It looks whimsical and works surprisingly well with textured hair.
How to Style It
Gather your top section and secure it with an elastic at the crown, just like a regular half-up. Now take that secured ponytail section and divide it into three or four even segments along its length. At each division point, wrap a small elastic around the hair to create a bubble. The hair between each elastic puffs out slightly, creating that bubble effect. To enhance the bubbles, gently pull on the hair between elastics to make them fuller and more visible.
Making It Work with Curls
With curly hair, the bubbles naturally look more textured and intentional. You’re not fighting against your curl pattern; you’re using it to create more defined, visible bubbles. If your curls are very tight, the bubbles might be less pronounced, but they’ll still create a visually interesting effect.
Quick Facts
- Takes five to six minutes total
- Best with elastic-free bands or clear elastics so they blend with your hair
- Lasts incredibly well throughout a full day; the bubbles don’t deflate
- Works on casual and semi-formal looks depending on the overall styling
14. The Low Half-Up with Textured Loop
This style brings the gathering point lower than a traditional half-up—instead of securing right at the crown, you’re securing at the nape of your neck, creating a low half-up. The secured section is twisted into a loose loop rather than straightened back, adding dimension.
How to Style It
Section off hair from about ear level around the back, gathering it lower—where you’d normally secure a low ponytail. Take that gathered section and twist it loosely, then wrap the twist around itself to create a loop. Secure the loop with bobby pins tucked underneath where they won’t be visible. The effect is this soft, loose knot of texture at the back of your neck with curls falling above and below it.
Best Hair Type for This Style
This works beautifully with longer hair that has medium to heavy weight. If your hair is very fine or lightweight, the loop might not hold its shape as well, but you can secure it more tightly if needed. The lower placement of the half-up also means it works well with thick, full hair that might feel too heavy if pulled straight back at the crown.
Quick Facts
- Takes six to seven minutes
- Best on damp hair that’s starting to set into its curl pattern
- Can be enhanced with a decorative clip or wrap placed over the loop
- The low placement is very elegant and works for professional and formal settings
15. The Slicked-Top Half-Up with Curly Release
This style takes a risk by using a light gel or mousse on just the very top section to create a sleeker look, while the rest of your curls and waves stay in their natural state. It creates a contrast between refined and relaxed.
How to Style It
Apply a small amount of lightweight gel to your hands and smooth it through just the very top section of your hair—from your center part to about an inch before your ears. This creates a sleeker, smoother top while your curls below stay bouncy and defined. Once the top is smoothed, gather that smooth section and secure it with a clip at your crown. The contrast between the smooth, sculpted top and the free-flowing curls below is the entire point of this style.
Product Choice Matters
Use a gel that dries clear and doesn’t flake, or a light mousse that adds control without shine. You’re aiming for sleek, not wet-looking. If you use too much product, you’ll weigh down the entire section and everything will look heavy and greasy rather than intentionally polished.
Quick Facts
- Takes four to five minutes including product application time
- Best for formal events or professional settings where some polish is expected
- Works well on all curl types as long as the bottom section isn’t heavily product-weighted
- The smooth top makes your face the focus, which is great if that’s the intention
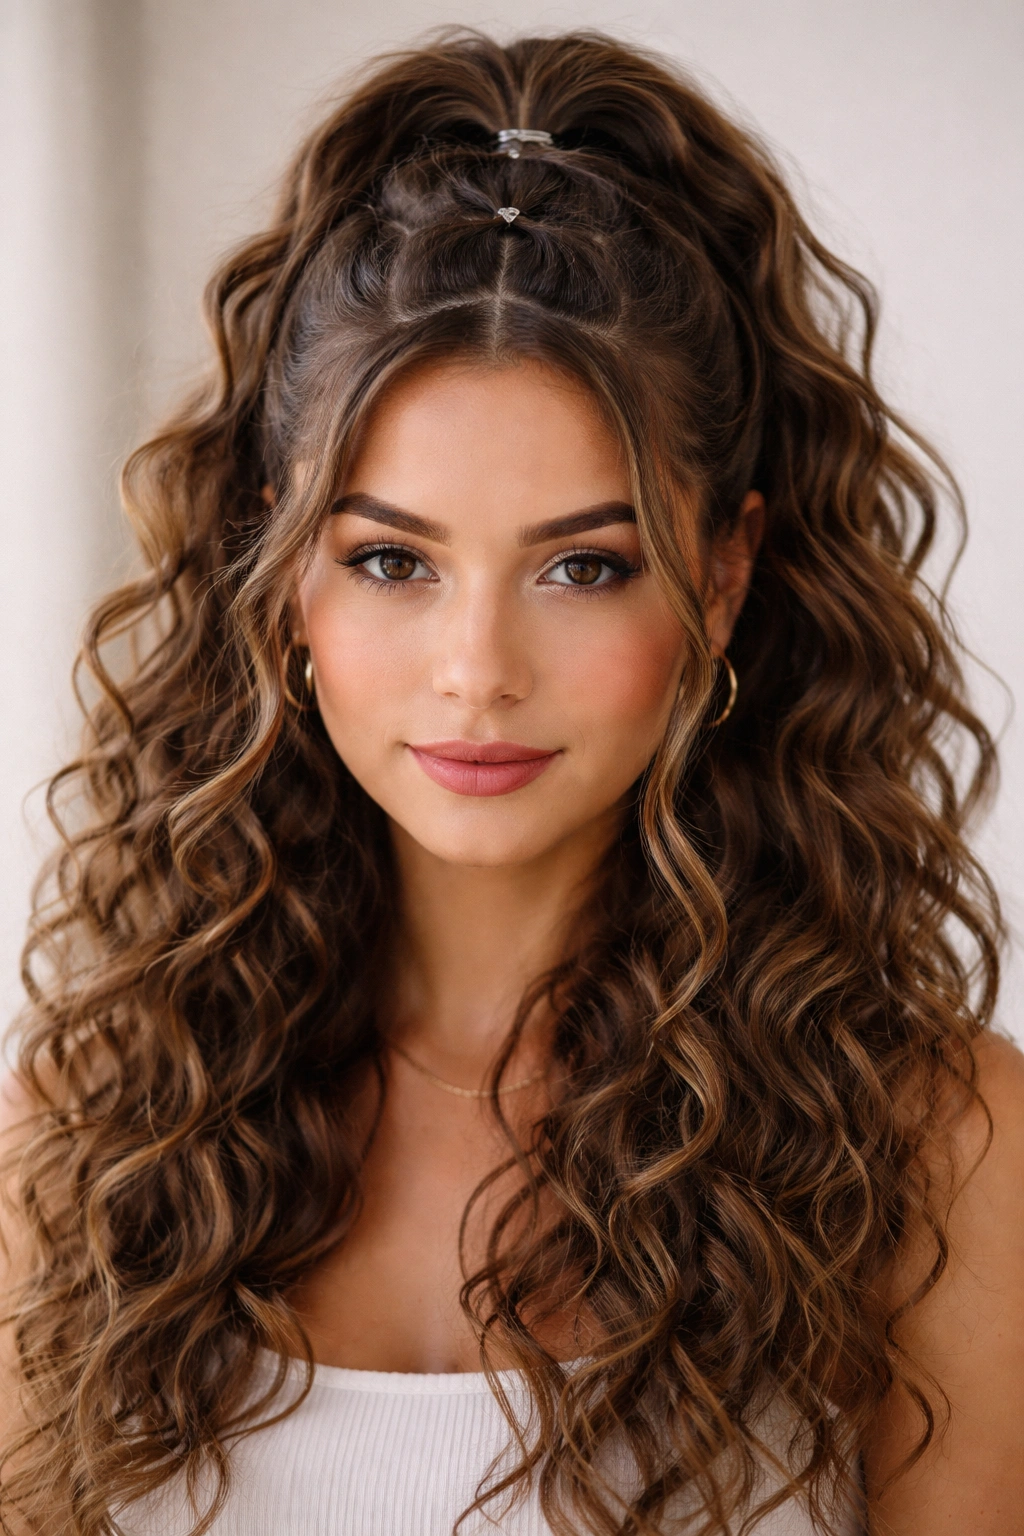
16. The Quad Braid Half-Up
This advanced style uses four thin strands to create a more complex braid than a traditional three-strand. The four-strand braid looks more intricate and three-dimensional than its three-strand counterpart.
How to Style It
This one requires a little more coordination. Divide the top section of your hair into four equal strands. The basic motion for a four-strand braid: take the first strand and cross it over the second strand, then the fourth strand goes under the third strand. Then the new first strand (previously second) goes over the new second strand (previously the first strand you moved), and repeat. It’s a bit like braiding, but with four strands instead of three.
Learning the Technique
Honestly, four-strand braiding takes practice. Watch a video a few times and practice on yourself until the motion becomes muscle memory. Once you get it, it becomes faster, and the payoff is worth it—a four-strand braid looks substantially more complex and interesting than a standard three-strand.
Quick Facts
- Takes eight to twelve minutes depending on your skill level and hair thickness
- Creates the most visually intricate half-up option available
- Best for longer hair where the braid can really show off its detail
- Perfect for special occasions where you want something nobody else will have
Final Thoughts
The magic of half-ups for wavy and curly hair is that none of these styles requires you to fight against your natural texture. Every single option here works with your waves and curls rather than against them. Whether you go for something as simple as a claw clip and loose curls or as intricate as a four-strand braid, you’re choosing a style that celebrates what makes your hair uniquely yours.
The practicality can’t be overlooked either. A half-up gets your hair off your face and neck when you need it to, but still lets your texture do what it does best. You can wake up, refresh your curls, grab them with a clip, and be out the door. That flexibility is what makes these styles so enduring—they work for casual mornings and polished evenings with barely any adjustments needed.
As you experiment with these sixteen options, pay attention to what actually works with your specific hair. Maybe four-strand braids feel too fussy and a simple twist is your speed. Maybe you love the visual drama of a side-swept clip. Maybe you can’t stop reaching for the bubble half-up. The best half-up hairstyle is the one you’ll actually wear repeatedly, so start with what feels easiest and build from there. Your curls are already beautiful; these styles just give you a way to wear them however you want, whenever you want.