Curly hair looks complicated until you stop trying to flatten it into something it isn’t.
That’s the whole trick with easy curly hairstyles for beginners: keep the shape simple, let the curls do the texture, and choose styles that work with shrinkage instead of fighting it. A puff can be a style. A clip can be a style. A loose ponytail often looks better than a polished one that pulls every curl tight.
I’d rather see three bobby pins placed well than ten shoved in at random. Same for product: a little leave-in, a dab of gel on the hairline, maybe a satin scrunchie — enough to control frizz, not enough to crush the curl pattern.
Easy. Not fussy. That is the sweet spot.
1. Pineapple Ponytail
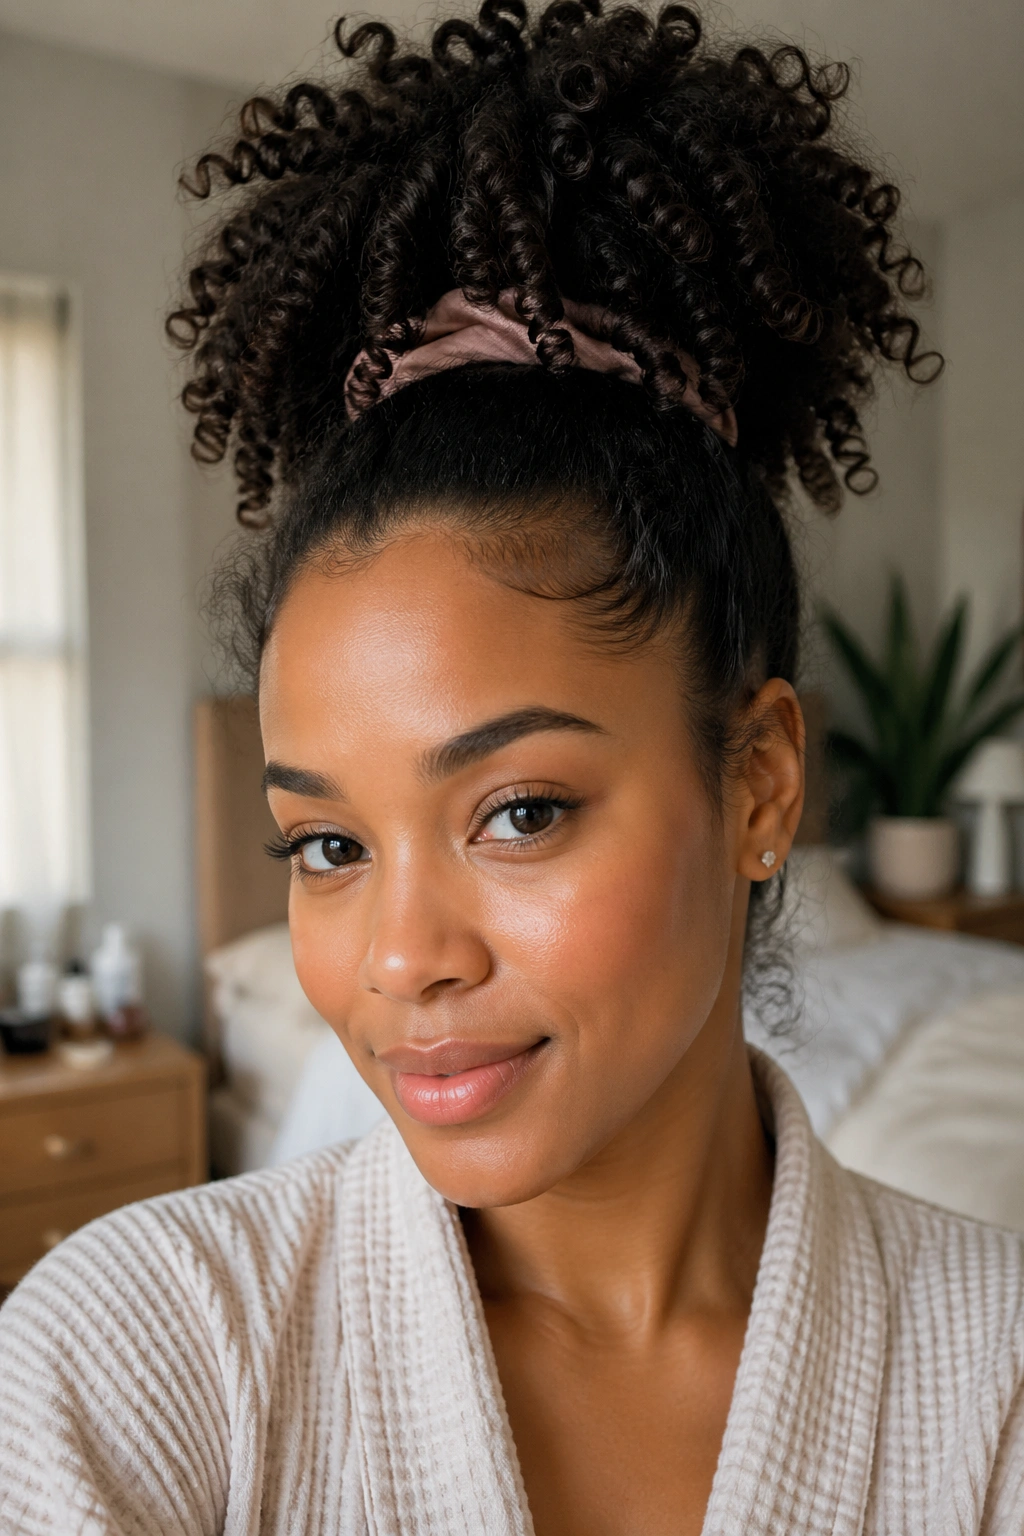
The pineapple is the style I reach for when curls need to stay intact and I need my hair off my neck in about sixty seconds. It sits high, keeps the curl clumps together, and looks intentional even when the rest of your morning is not.
Why It Works on Curls
The high placement matters because it keeps the length from getting bent into awkward dents. If your hair is long enough, the curls spill over the top of the head like a loose fountain. If it is shorter, you still get the lifted shape without having to force every strand into a tight band.
Use a soft satin scrunchie or a coil tie. A regular elastic tends to snag and flatten the curls right where you want the most bounce. Flip your head over, gather the hair once, and stop before you make it tight enough to hurt.
- Best on day-two or day-three curls
- Easier on shoulder-length hair and longer
- Works well with a little edge control at the hairline
- Can be worn for sleep or for going out
Tip: keep the front loose. If you pull the edges back hard, the whole style starts looking stiff, and curly hair rarely looks better stiff.
2. Half-Up, Half-Down with a Clip
A single clip can save a bad curl day. Really. The half-up, half-down style gives you the polish of a pulled-back look while leaving the curls visible, which is usually where the good part is anyway.
Gather the top section from about temple to temple, twist it once, and secure it with a medium claw clip or a strong barrette. The twist should sit flat against the head, not tower up like a little hat. That small adjustment changes the whole look. When the clip is placed too high, the style feels childish. When it sits just above the occipital bone, it looks softer and more grown-up.
This style is especially kind to mixed curl patterns. If the top layer is looser than the bottom, the clip disguises the mismatch instead of drawing attention to it. And if the front pieces are shorter, let them fall. Do not force them into the clip. That ends badly, and the curl line shows it.
Soft, fast, done.
3. Low Curly Ponytail at the Nape
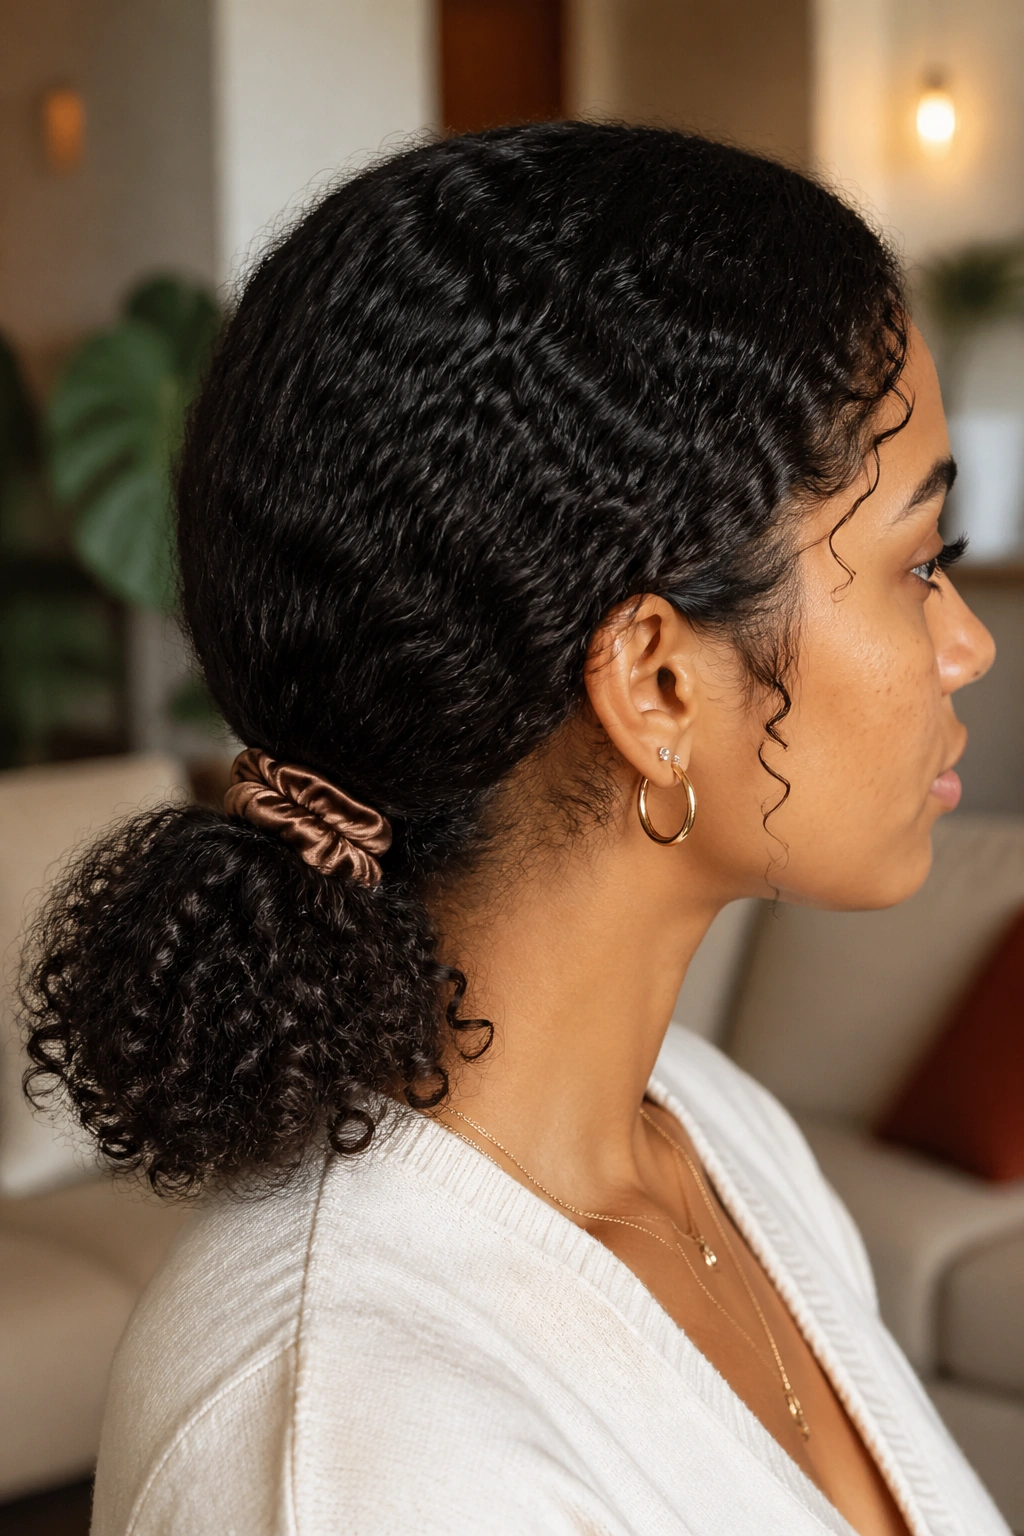
Why does a low ponytail look more polished on curls than a high one? Because the weight of the hair settles the shape. At the nape, curls hang in a cleaner line, and the style feels calmer than a ponytail perched in the middle of the head.
Start by smoothing the top with your hands, not a brush, if you want to keep the curl clumps intact. A little leave-in on damp palms helps with frizz, but use a light touch. Then secure the ponytail just above the neckline with a satin scrunchie or a snag-free elastic. The ponytail does not need to be flat. In fact, it usually looks better with a little lift at the crown and a few curls around the ears.
How to Keep the Nape Smooth
If the back keeps puffing out, press it down with your palms before tying. A small amount of gel along the hairline can help, but a heavy hand will make the style look greasy. The goal is control, not slickness.
A low ponytail is also one of the easiest curly hairstyles for beginners with long layers. The layers fall into the shape instead of fighting it. That means less correcting, less mirror-checking, fewer little disasters.
4. High Curly Puff
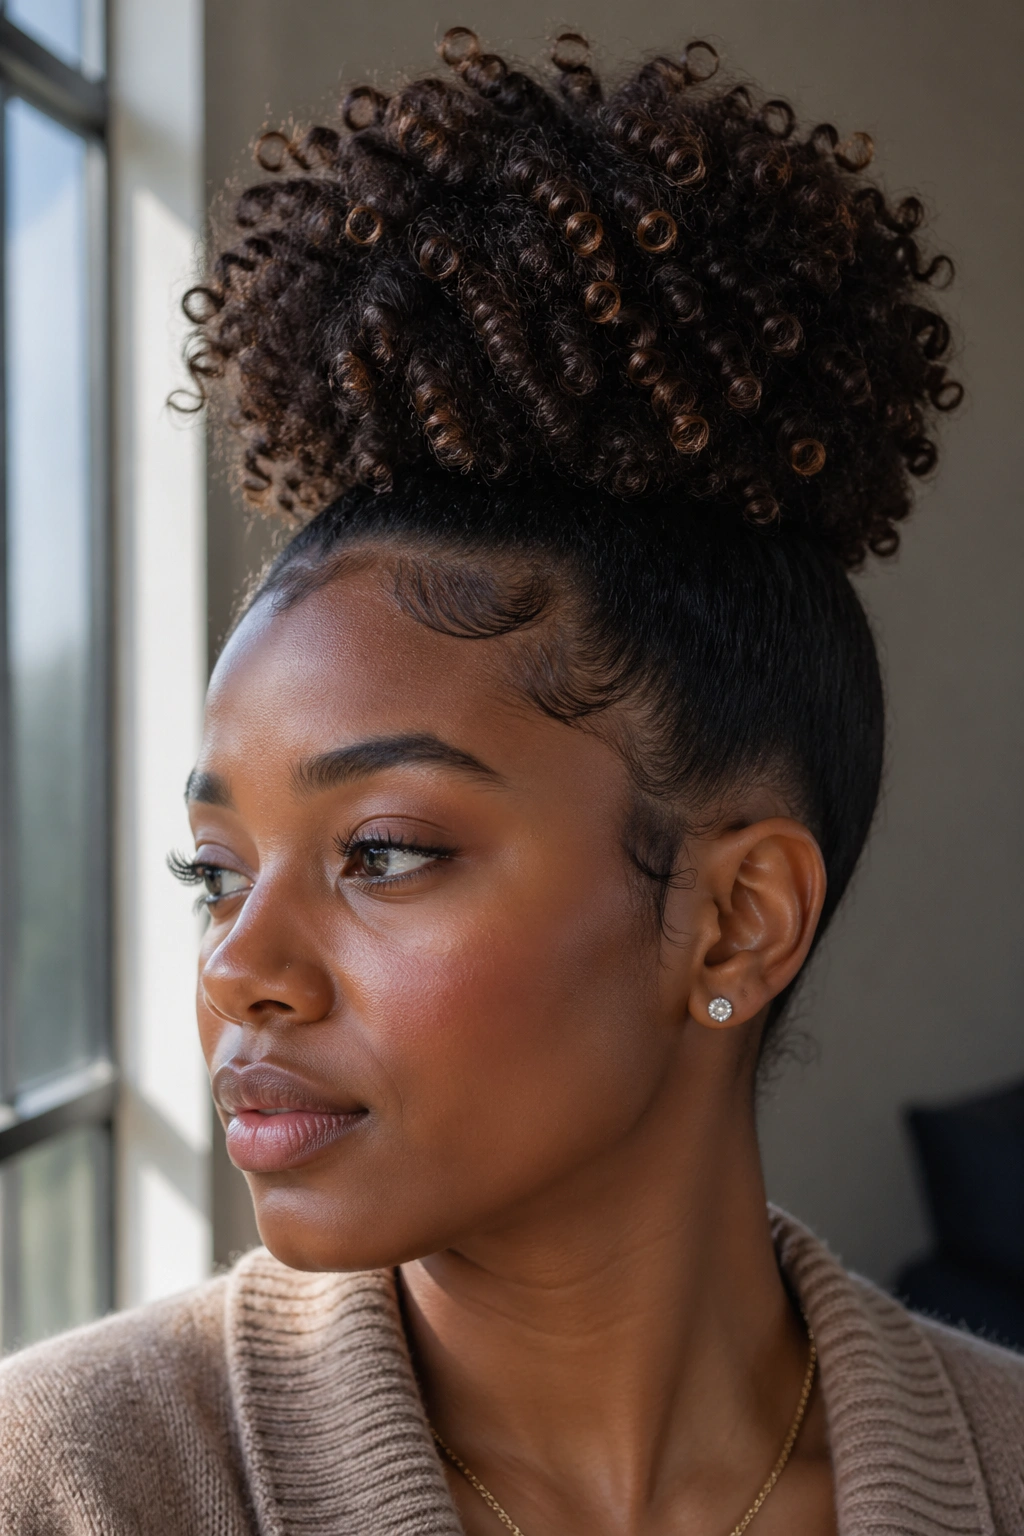
When the roots are frizzy and the ends are still decent, the puff is the honest choice. It does not pretend to be anything else. It takes volume, shrinkage, and texture, and turns them into the actual style.
This works especially well for dense curls and coils because the shape holds itself. Gather the hair high on the crown or a little above it, then secure it with a stretch band, puff cuff, or large satin scrunchie. Once it is in place, fluff the puff with your fingers until it looks round from the front and balanced from the side. That part matters. A puff that sits too low can look unfinished; one that sits too high can tip forward.
- Best for tighter curl patterns and lots of density
- Great when the roots are stretched out but the ends still have shape
- Easier than a slick ponytail on textured hair
- Works with a scarf wrap or clean edges
Pro tip: don’t over-smooth the sides. A little softness makes the puff look fuller and more natural.
5. Messy Top Knot
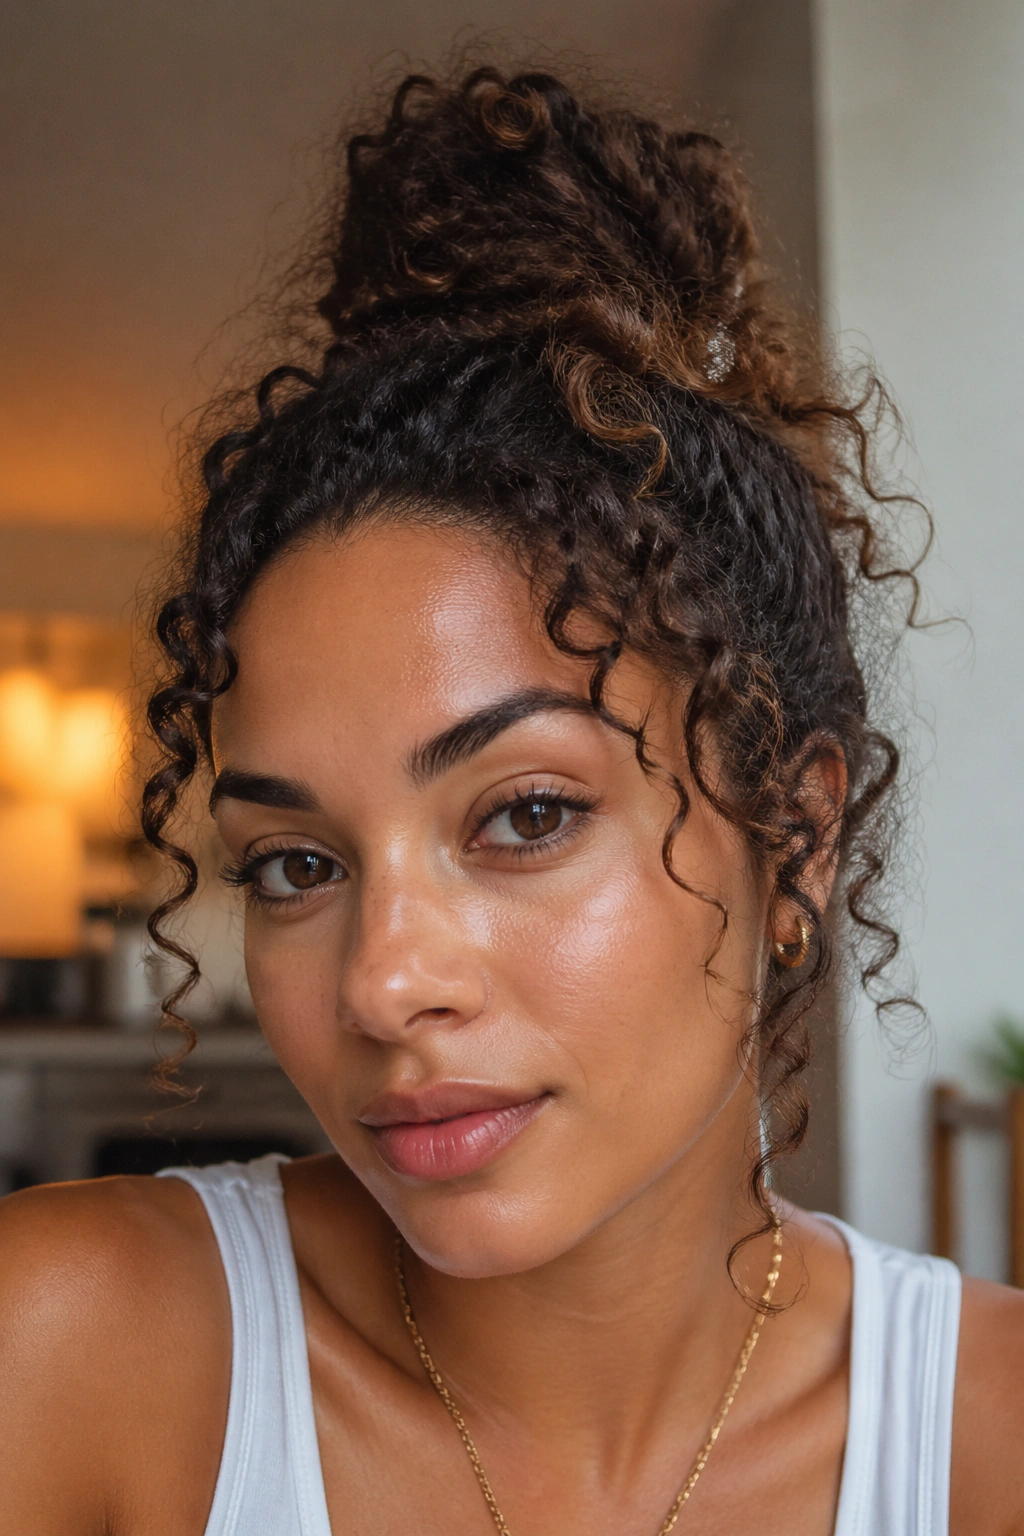
A top knot is basically the curly hair version of saying, “I have things to do.” It gets the curls off your face, keeps the neck open, and still lets the texture do the talking. The key is not to overwork it. Curly top knots usually look best when they are a little loose, a little uneven, and not obsessed with symmetry.
Pull the hair up high, twist it once, and wrap the length around itself just enough to build a knot. Then pin the loose ends with bobby pins or tuck them under a scrunchie. If your curls are long, you may need to fold the knot in half instead of wrapping all the way around. That is normal. Long curls make a bulky knot fast.
The face-framing pieces matter here. Leave a few curls out at the temples, or lightly pinch a couple of ringlets free near the ears. That breaks up the shape and stops the bun from looking too severe. A perfectly smooth top knot on curly hair can read hard and flat. A slightly messy one reads relaxed and lived-in.
The mess is the point.
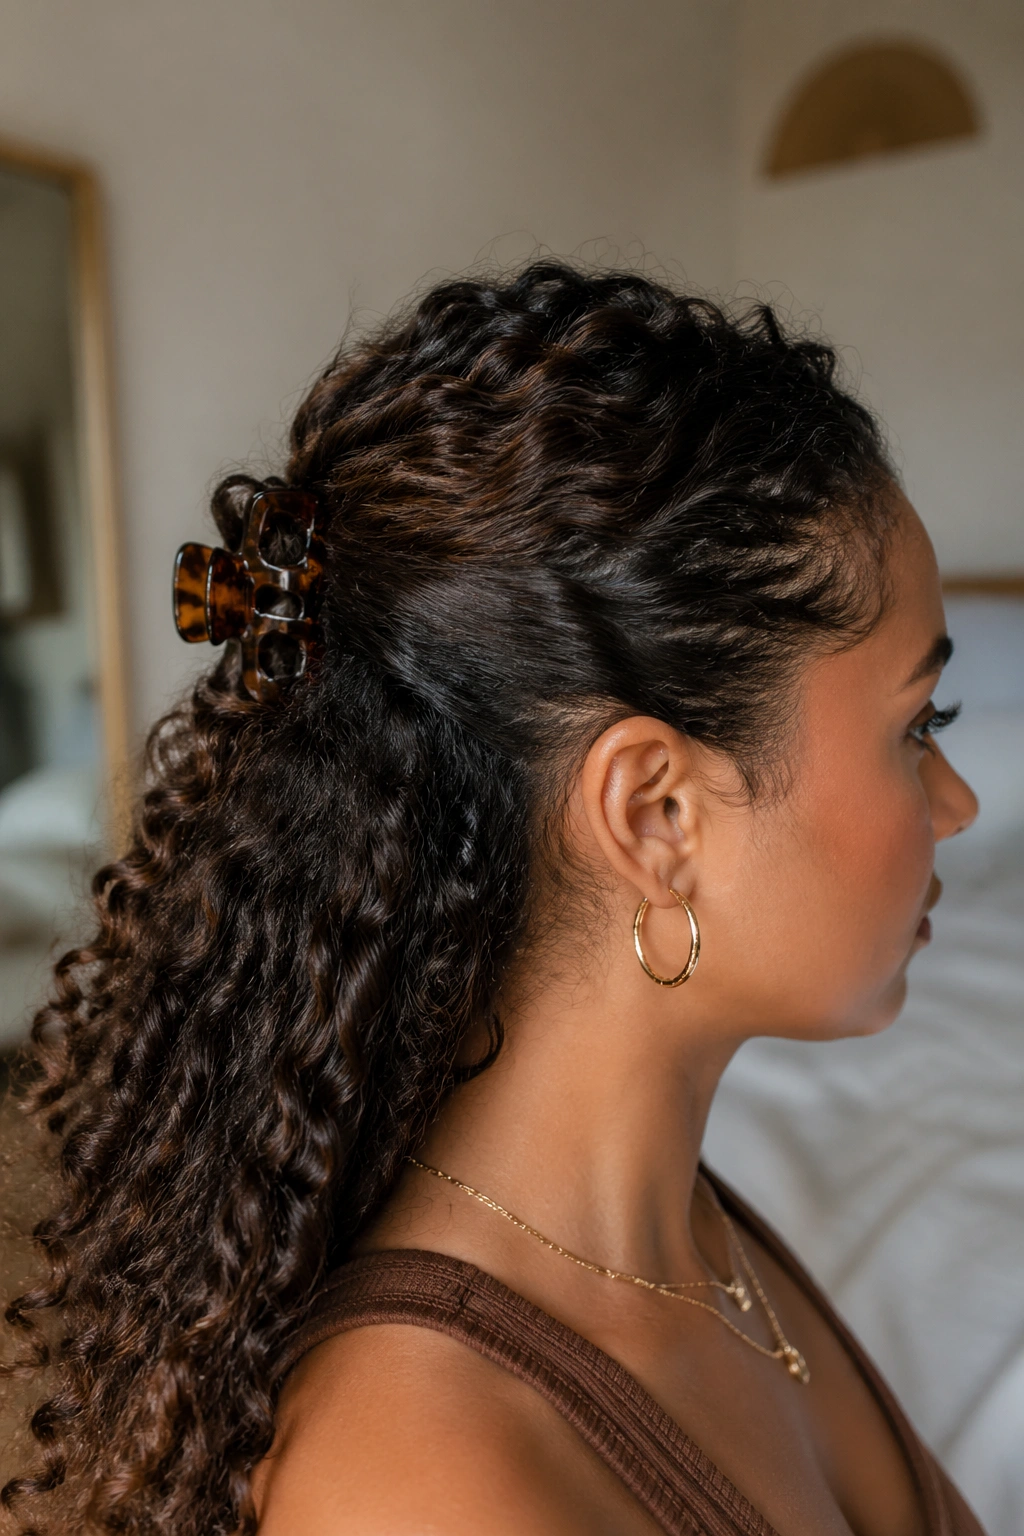
6. Quick Claw Clip Twist
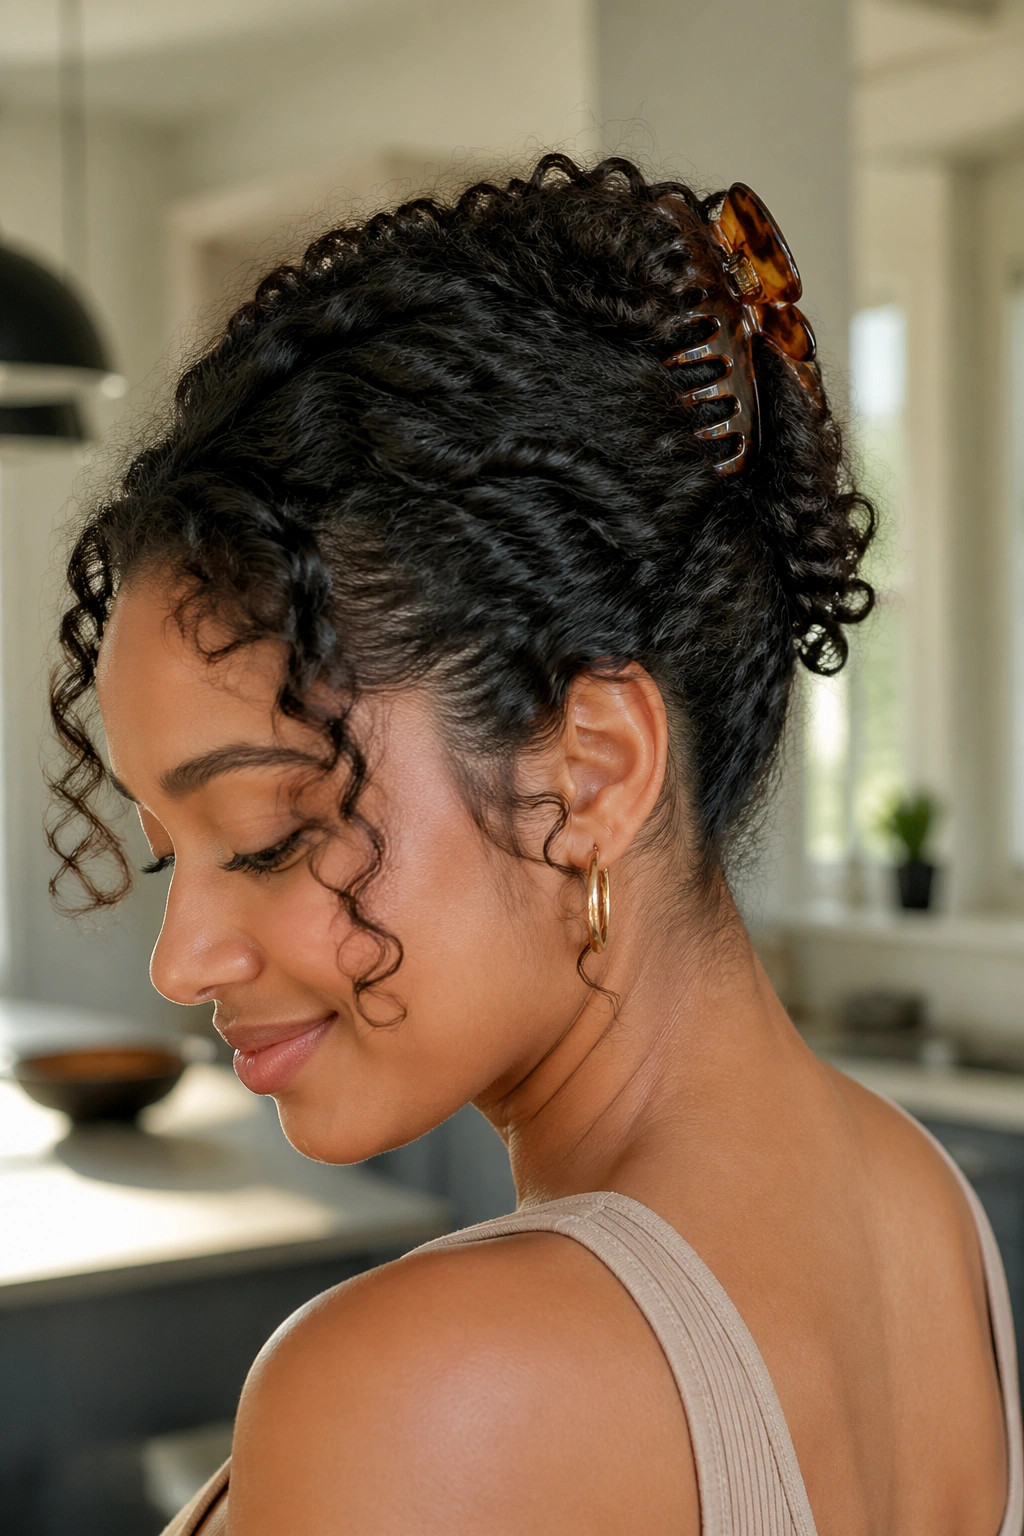
Unlike a tight bun, a claw clip twist lets curls keep their bounce. That’s why it works so well for beginners. You gather, twist, clip, and move on. No need to set aside ten minutes for perfect pin placement.
For medium to long curls, sweep the hair low or mid-height, twist upward, and fold the tail over itself before sliding the clip in vertically. A clip with long teeth grips better than the decorative ones that slide out the second you turn your head. If your hair is thick, go bigger. Small clips break the whole mood by slipping or popping open.
This style has a nice side effect: it shows off the ends. If your curl pattern changes from root to tip, the twist lets that variation look deliberate. It also works on second-day hair when the root volume is starting to get a little wild but the curl shape still has life left in it.
You can dress it up with a side part or keep it dead simple. Either way, it takes less effort than a polished bun and usually feels more comfortable too.
7. Side-Parted Curls with One Statement Clip
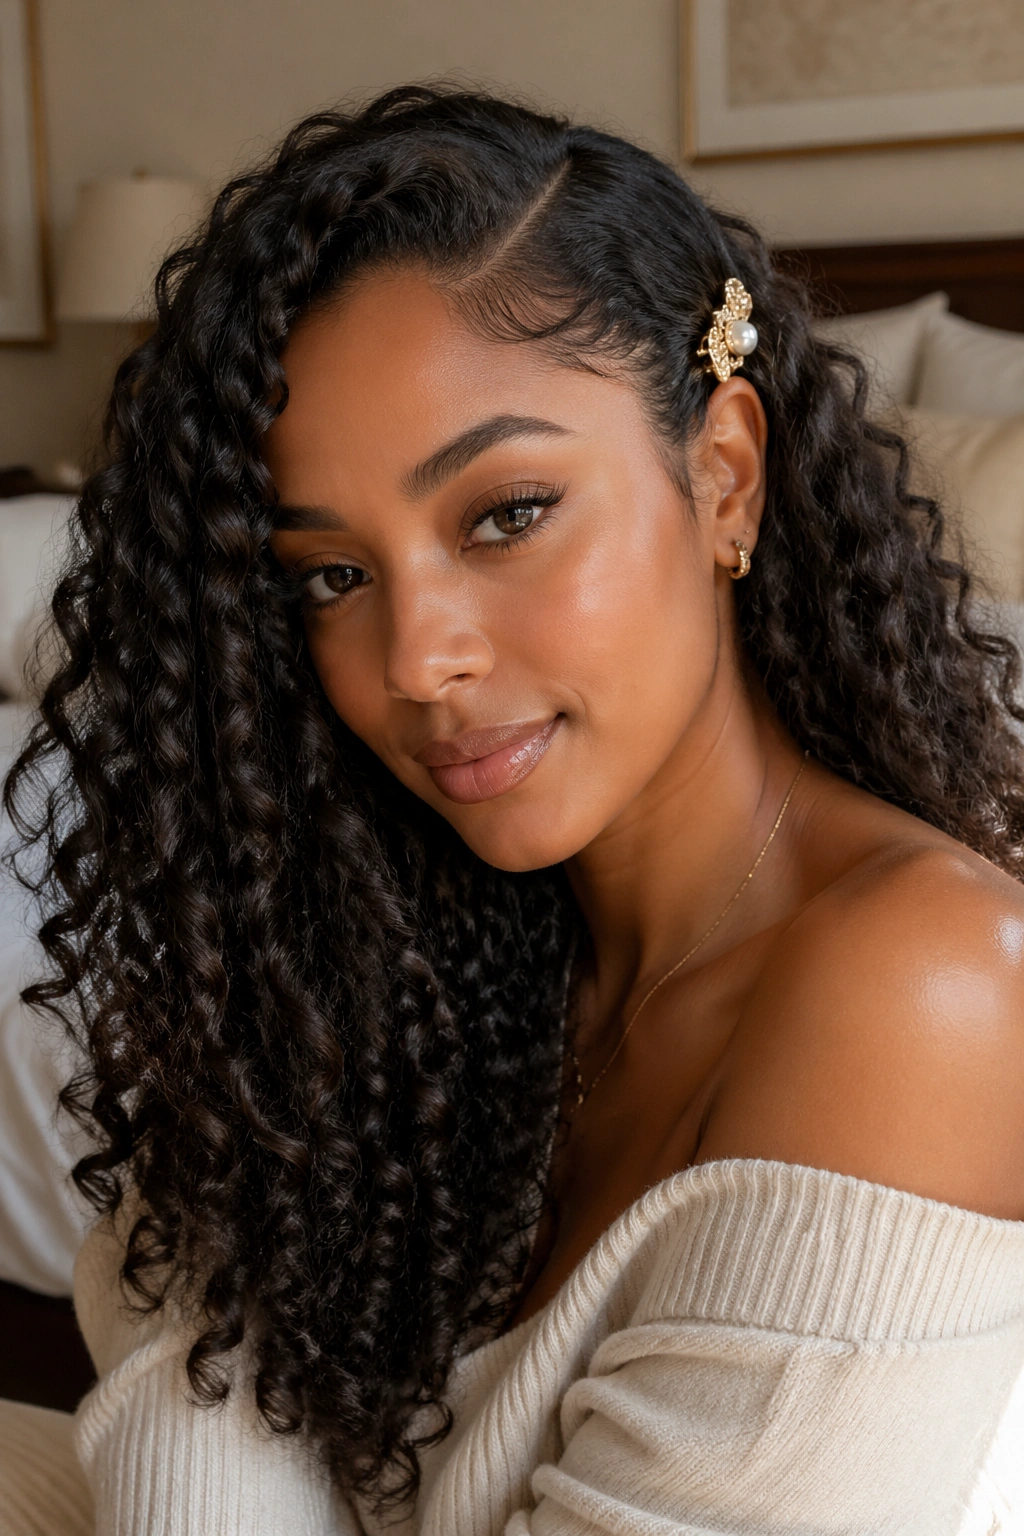
Sometimes the easiest style is not an updo at all. A deep side part and one good clip can make curls look styled without touching the length much. That is a nice place to be when you want your hair to stay down but still look like you made a choice.
Push the part with your fingers or the end of a rat-tail comb, then tuck one side behind the ear and secure it with a barrette, snap clip, or small decorative pin. Keep the clip about an inch above the ear so it holds the section without dragging the curl pattern flat. Let the other side stay full and loose. That contrast is what gives the style shape.
What Makes It Work
The side part creates instant volume at the top. The clip keeps one side neat. The rest stays curly and soft, which means you are not fighting the natural body of the hair.
- Good for medium lengths and bobs
- Nice for fine curls that get weighed down easily
- Quick fix when one side of the hair is behaving and the other side is not
- Easy to pair with earrings or a bold lip
Tip: choose one clip and stop there. Too many accessories make the style feel crowded.
8. Headband Tuck-Back Style
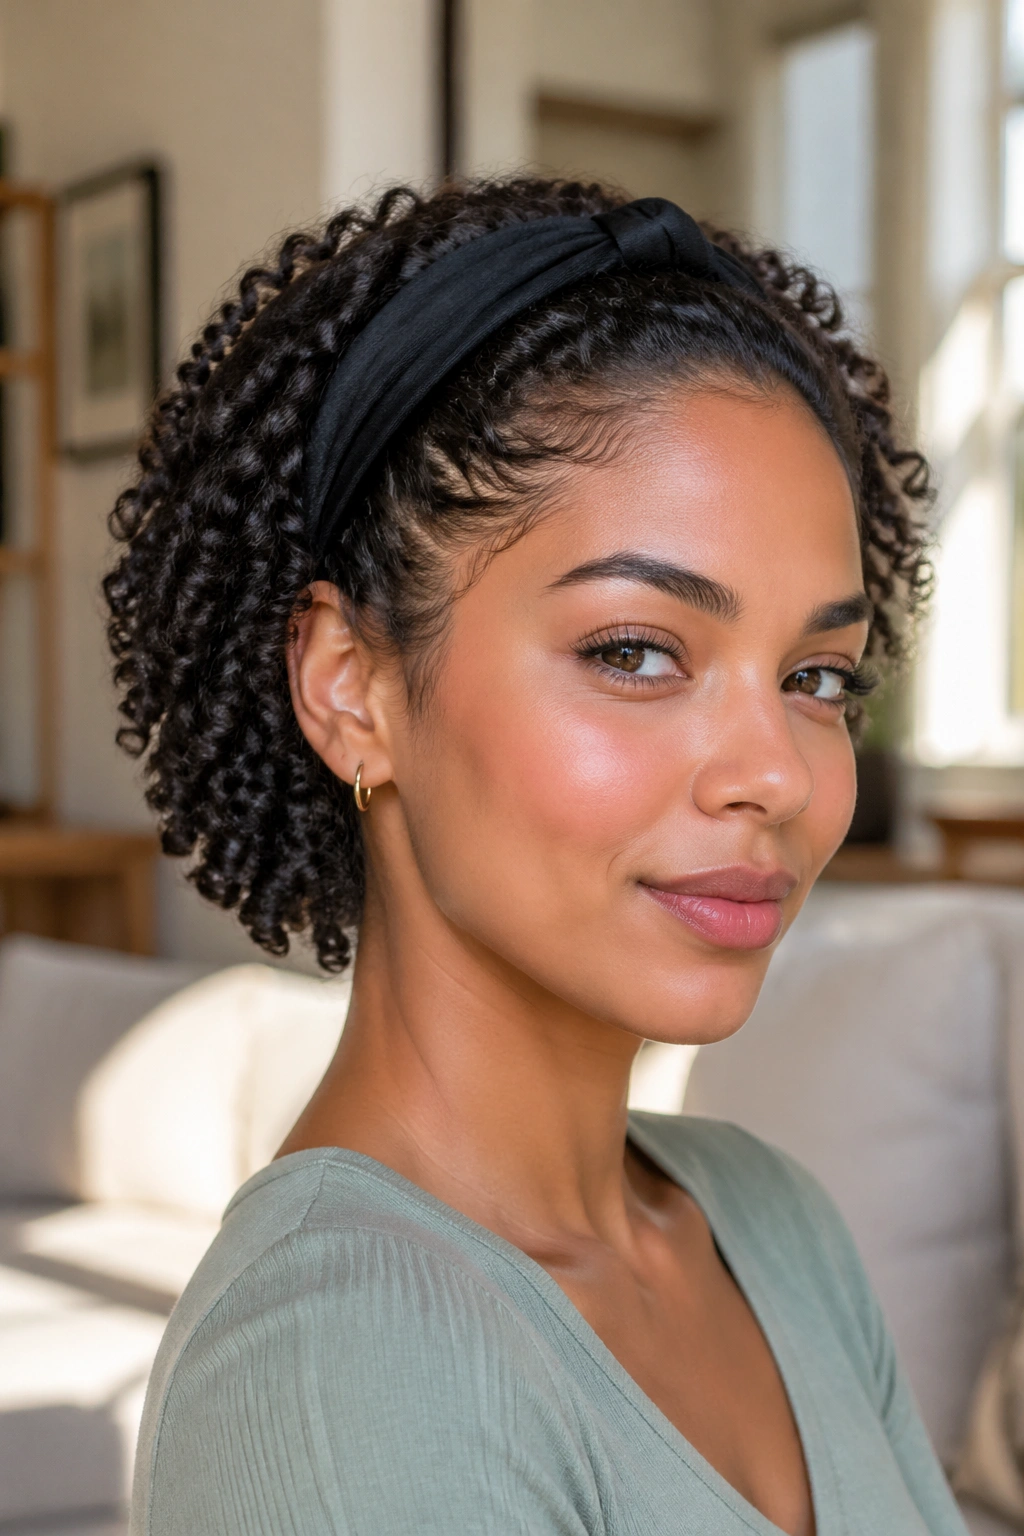
If your curls are short enough that ponytails turn into little bumpy knots, the headband tuck-back style is calmer. It gives shape without demanding length. It also works on fresh wash-day curls when you want something tidy but do not want to disturb the pattern.
Slip on a stretchy headband or a padded one, then tuck the front sections behind it with your fingers. Let the back stay loose, or gather it lightly at the nape with a small clip. The style is especially useful for curls with layers because the shorter pieces stay in place instead of escaping every five minutes.
A Few Things That Keep It From Slipping
A headband with a little grip is better than a slick one that slides. If the band keeps moving, mist the roots lightly and smooth them before placing it. That tiny bit of moisture helps the hair settle.
- Best for short to medium curls
- Works with wash-day softness or older, fluffier curls
- Easy to pair with a scarf, earrings, or glasses
- Good for mornings when you want your hair off your face fast
The nice part is how forgiving it is. If one side looks better than the other, nobody notices. The band handles the asymmetry for you.
9. Silk Scarf Wrap with Loose Ends
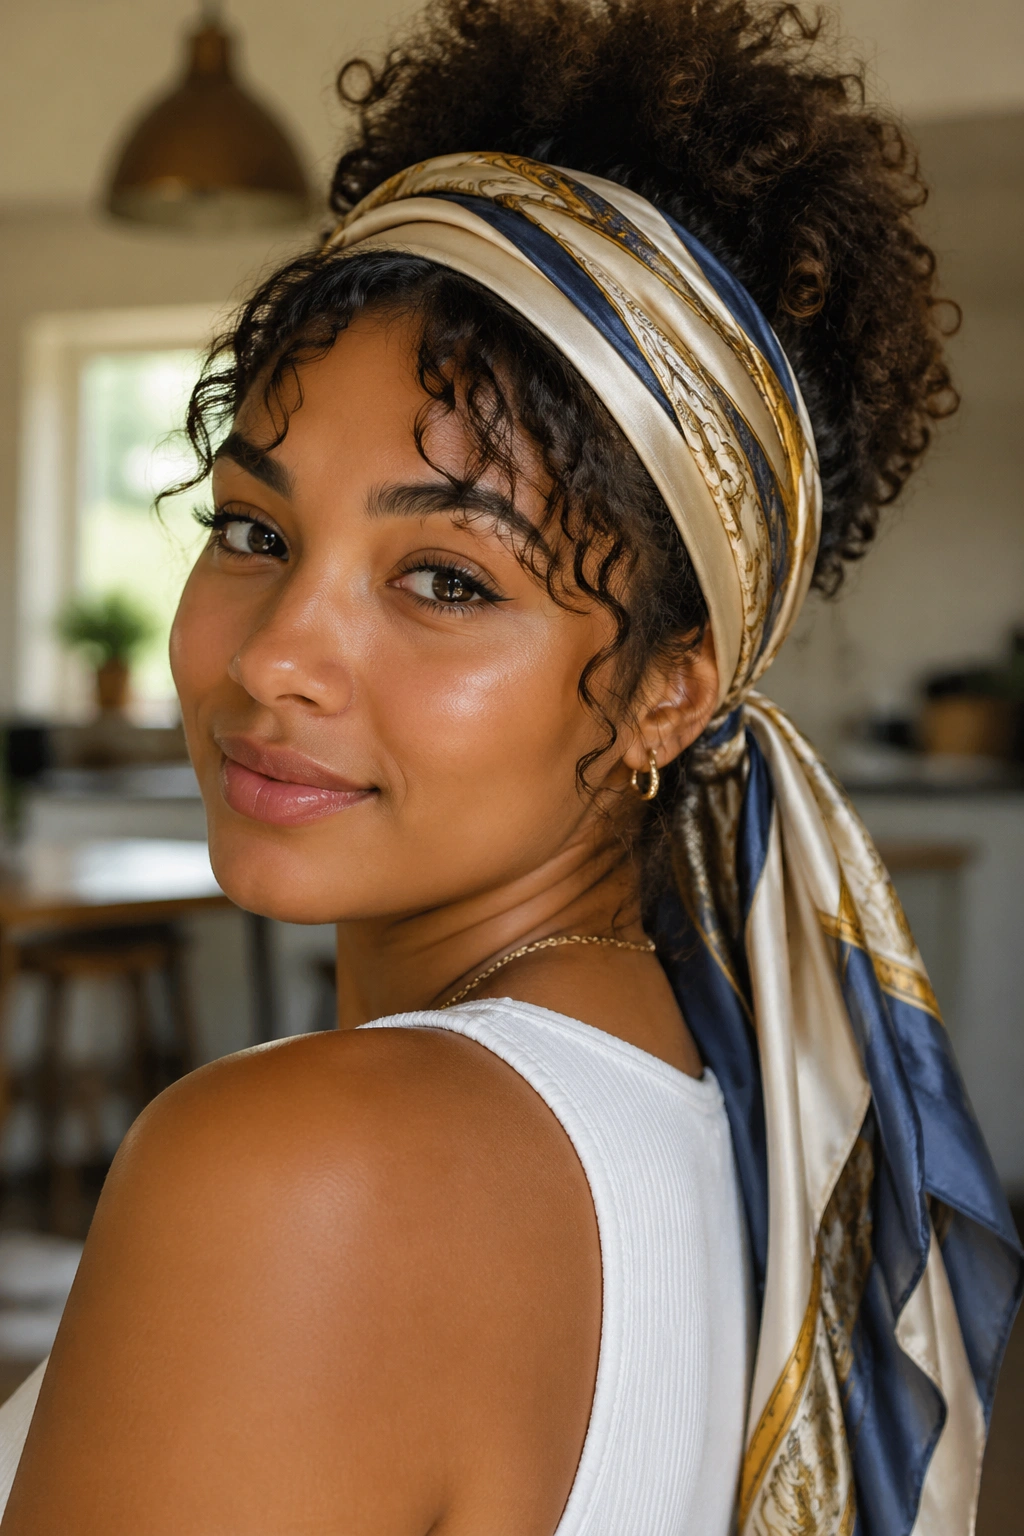
Want a style that looks deliberate even when your curls are acting wild? Wrap a scarf into the plan. A silk or satin scarf gives you shape, keeps the hairline controlled, and adds enough color that the style feels finished without needing much else.
You can fold the scarf into a band and tie it across the hairline, leaving the curls loose behind it. Or you can wrap it around a low ponytail or puff and let the ends hang. The second version is especially good if you want the scarf to become part of the style instead of just a fix for frizz.
The fabric matters here. Cotton can rough up the curl surface and leave the front looking fuzzy by lunch. Silk or satin stays smoother and slides less against the hair. That does not mean the scarf has to be fancy. It just needs to be soft.
This is one of those looks that forgives a lot. Uncooperative roots? Covered. Short baby hairs? Managed. Uneven curl clumps? Suddenly they look intentional. That is why scarf styles keep showing up in curly hair routines. They are practical before they are decorative.
10. Bubble Ponytail
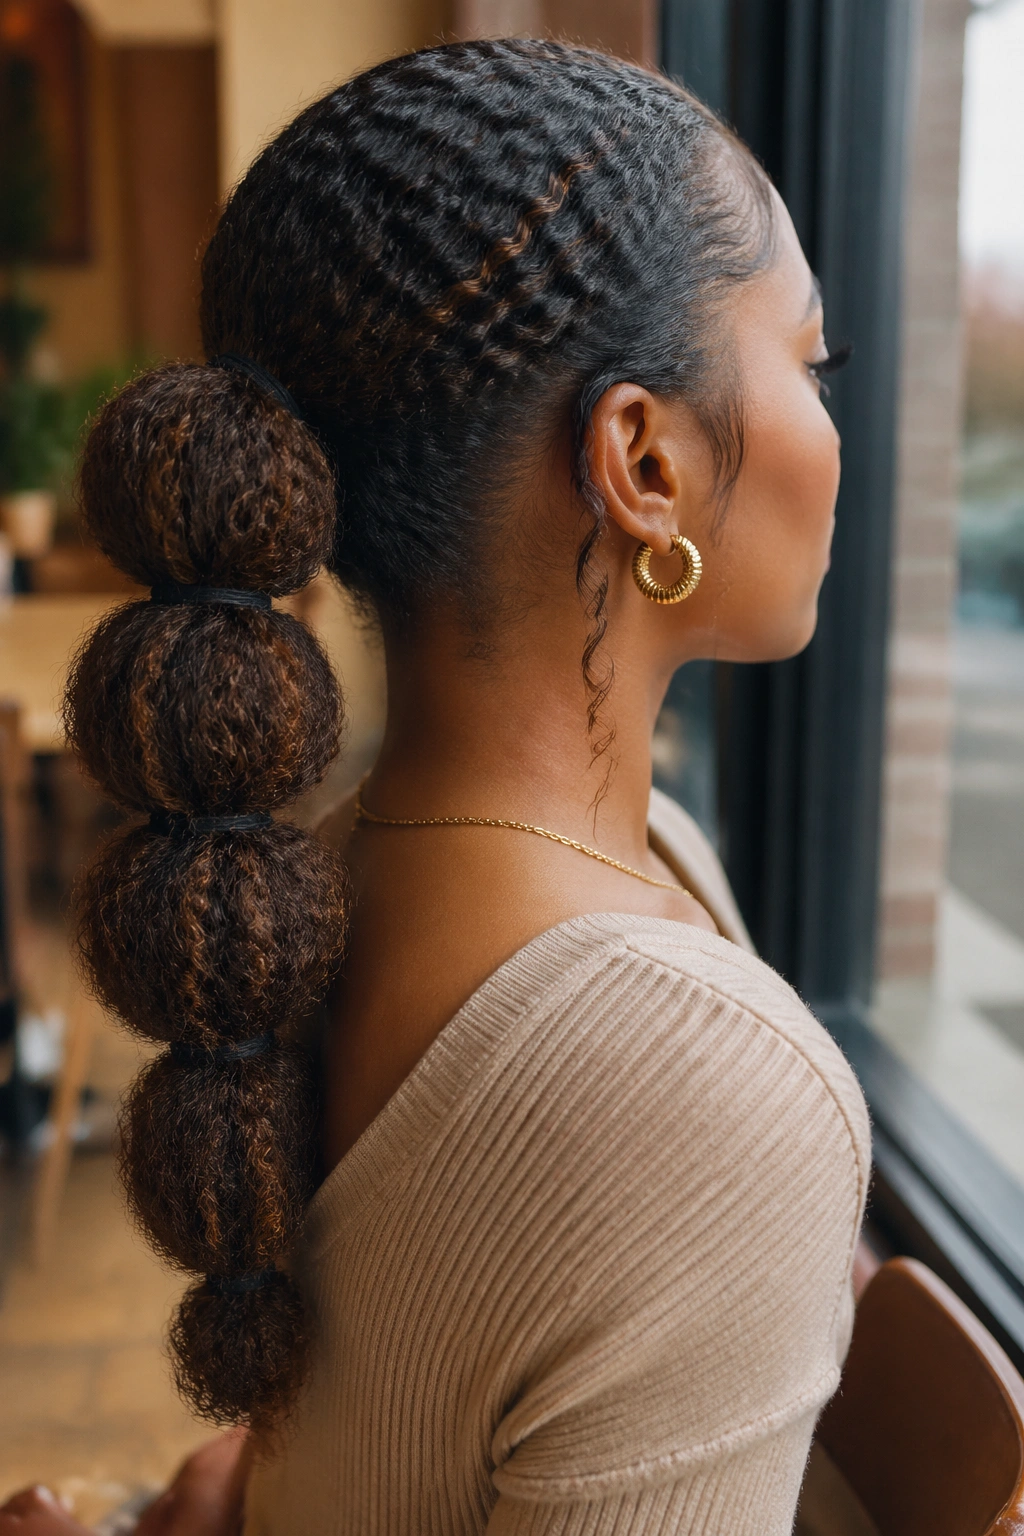
Bubble ponytail sounds fussy, but on curly hair it is one of the easiest ways to fake a more complicated style. The natural texture gives each section more body, so the “bubbles” look fuller without much work.
Start with a low or mid ponytail secured with one elastic. Then place more small elastics every 2 to 3 inches down the length. Gently pull each section apart so it puffs into a rounded shape. Don’t yank hard. A small amount of separation is enough. On curls, too much pulling turns into frizz fast.
- Works well on stretched curls or twist-out hair
- Uses clear elastics or soft minis
- Looks best with evenly spaced sections
- Needs only finger fluffing, not a brush
A bubble ponytail is a nice choice when you want something playful but not childish. It feels a little more styled than a regular ponytail, and it keeps the ends controlled. If your hair is very dense, use your fingers to smooth each bubble before adding the next elastic. That keeps the shape clean instead of bulky.
11. Face-Framing Half-Up Twist
Short layers behave much better when you twist them back instead of forcing them into a full ponytail. That is the whole appeal of this style. It gathers the front, opens the face, and leaves the rest of the curls doing their own thing.
Take a section from each temple, twist it back toward the crown, and pin the two twists together with a small clip or bobby pins. If your hair slips easily, cross the pins in a little X. That holds better than sticking them in parallel. The back stays loose, which keeps the style soft and beginner-friendly.
Where the Twists Should Land
Place the join point high enough to lift the face, but not so high that it pulls the front curls tight. Somewhere between the top of the ear and the crown usually works well. If the twists land too far back, they vanish. Too far forward, and the style starts to feel awkward.
This one is especially useful on layered curls, where the shorter front pieces tend to fray out of a ponytail anyway. Twist them on purpose, and they look styled instead of escaped.
12. Low Tucked Roll with Pins
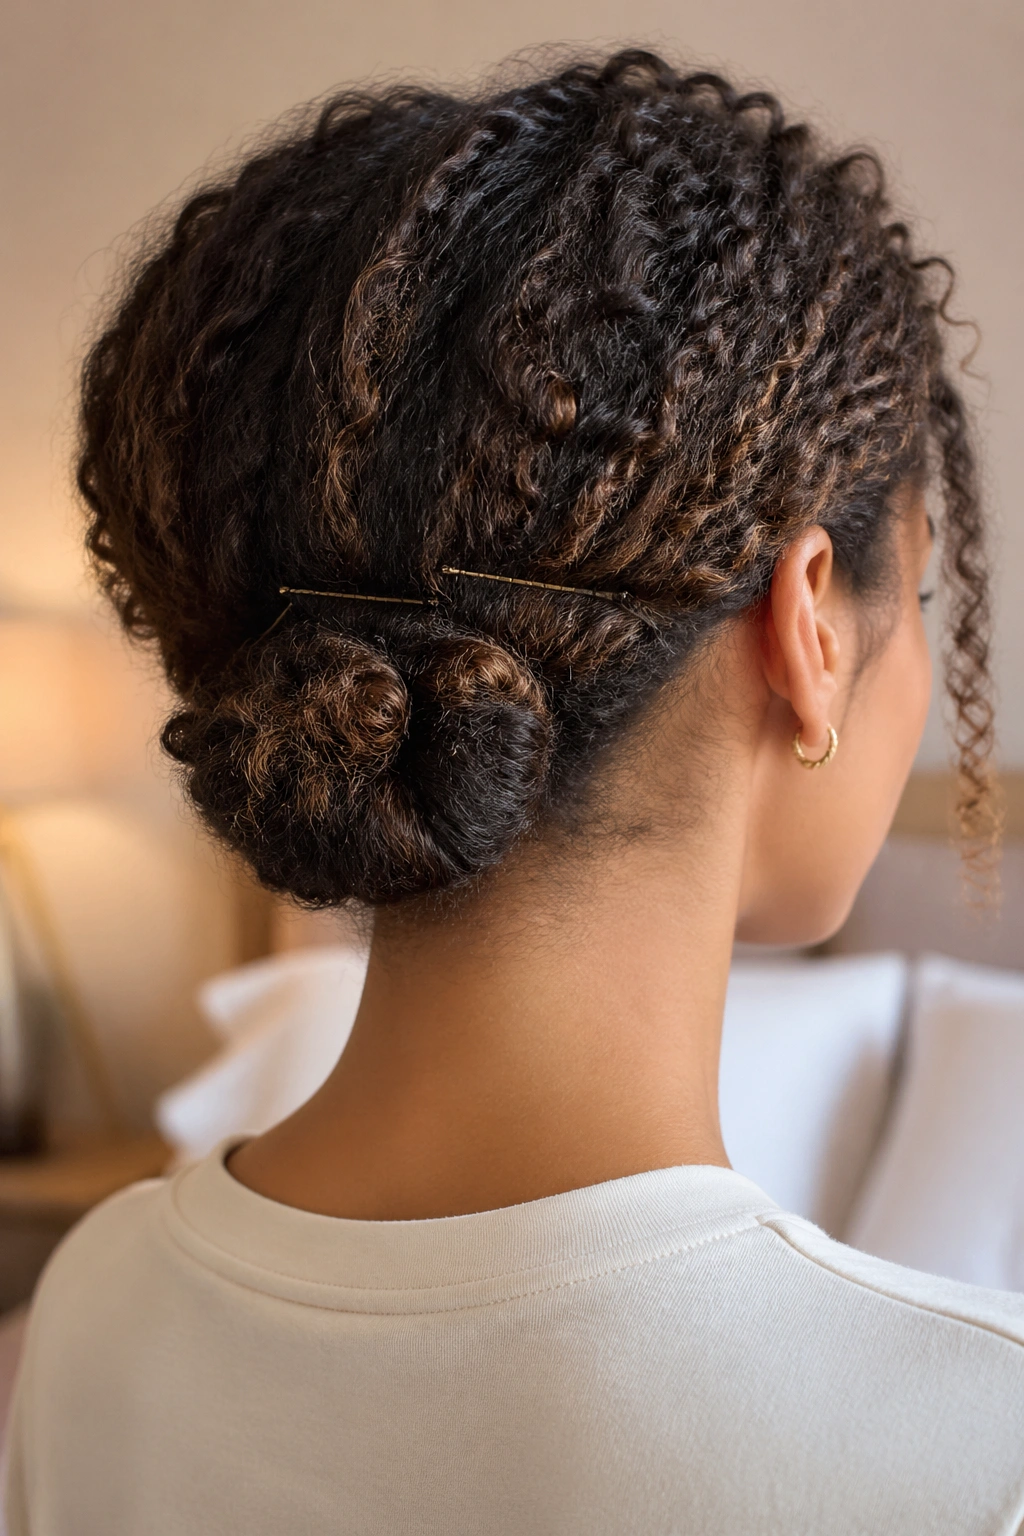
A low tucked roll gives the same tidy feeling as a low bun, but it keeps more curl shape around the ends. That matters if you like your curls to still look like curls, even when they are pinned up.
Gather the hair at the nape, twist it once, and tuck the ends under the roll instead of wrapping them around a full bun. Pin the fold from the bottom up with 3 or 4 bobby pins. If the hair is thick, you may need one extra pin at the center. Use the pins in the direction of the roll so they grip the hair instead of sliding out.
This style works best when the hair has some texture already. Day-two curls, slightly stretched curls, or a soft twist-out all behave well here. Freshly washed hair can be slippery, which means the roll may need a little more pinning than expected. That is fine. The finished shape should feel secure but not stiff.
I like this style for anything that asks for a clean neckline. It looks neat, it stays low, and it does not flatten the curls the way a tight chignon often does.
13. Curly Space Buns
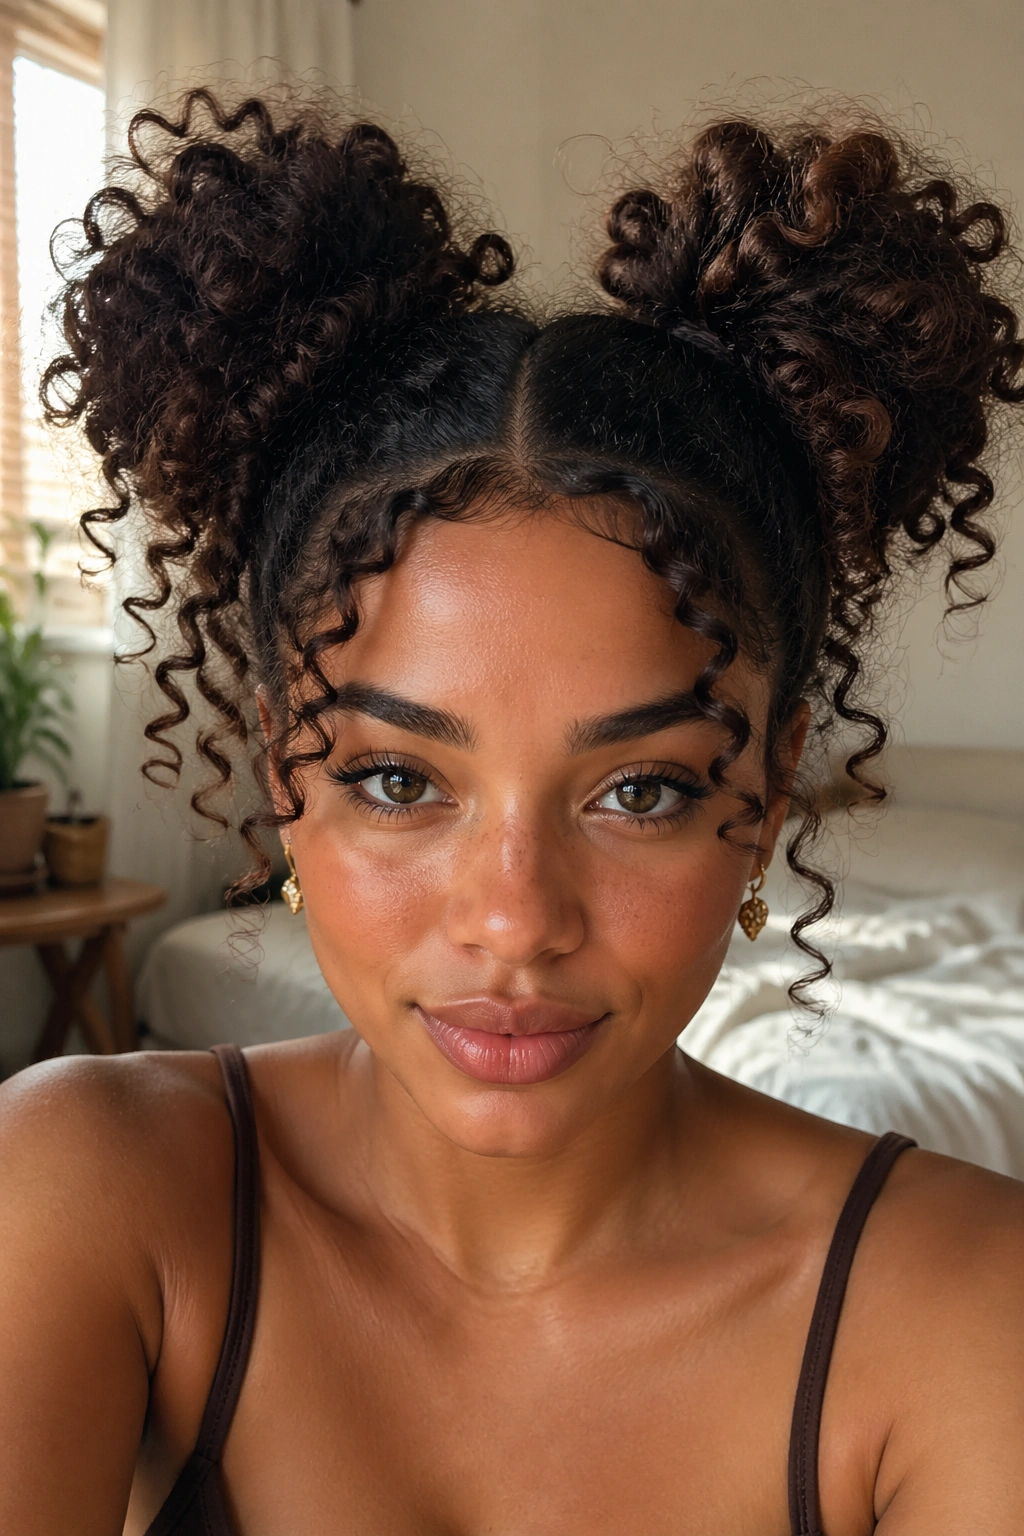
Space buns are playful, but they are also practical when your curls have extra volume. Split the hair down the center, make two high puffs or buns, and let the texture do the rest. On curly hair, the buns do not need to be tiny or perfect. In fact, small imperfect buns usually look better.
Work one side at a time so the parts stay even. Gather each section above the ear, twist loosely, and secure with a small elastic or pins. Leave the ends out if you want a fuller shape, or tuck them in if you want a cleaner look. The center part should be straight enough to read clearly, but it does not have to be razor sharp.
How to Keep the Buns Even
Use the top of your eyebrows or the outer corners of your eyes as a rough height guide. That sounds odd, but it helps. If one bun sits much higher than the other, the style starts to feel accidental.
Space buns suit a wide range of curl patterns, though tighter curls give them the most volume. They are fun on casual days, easy to refresh with a little water, and surprisingly comfortable once the pins are set.
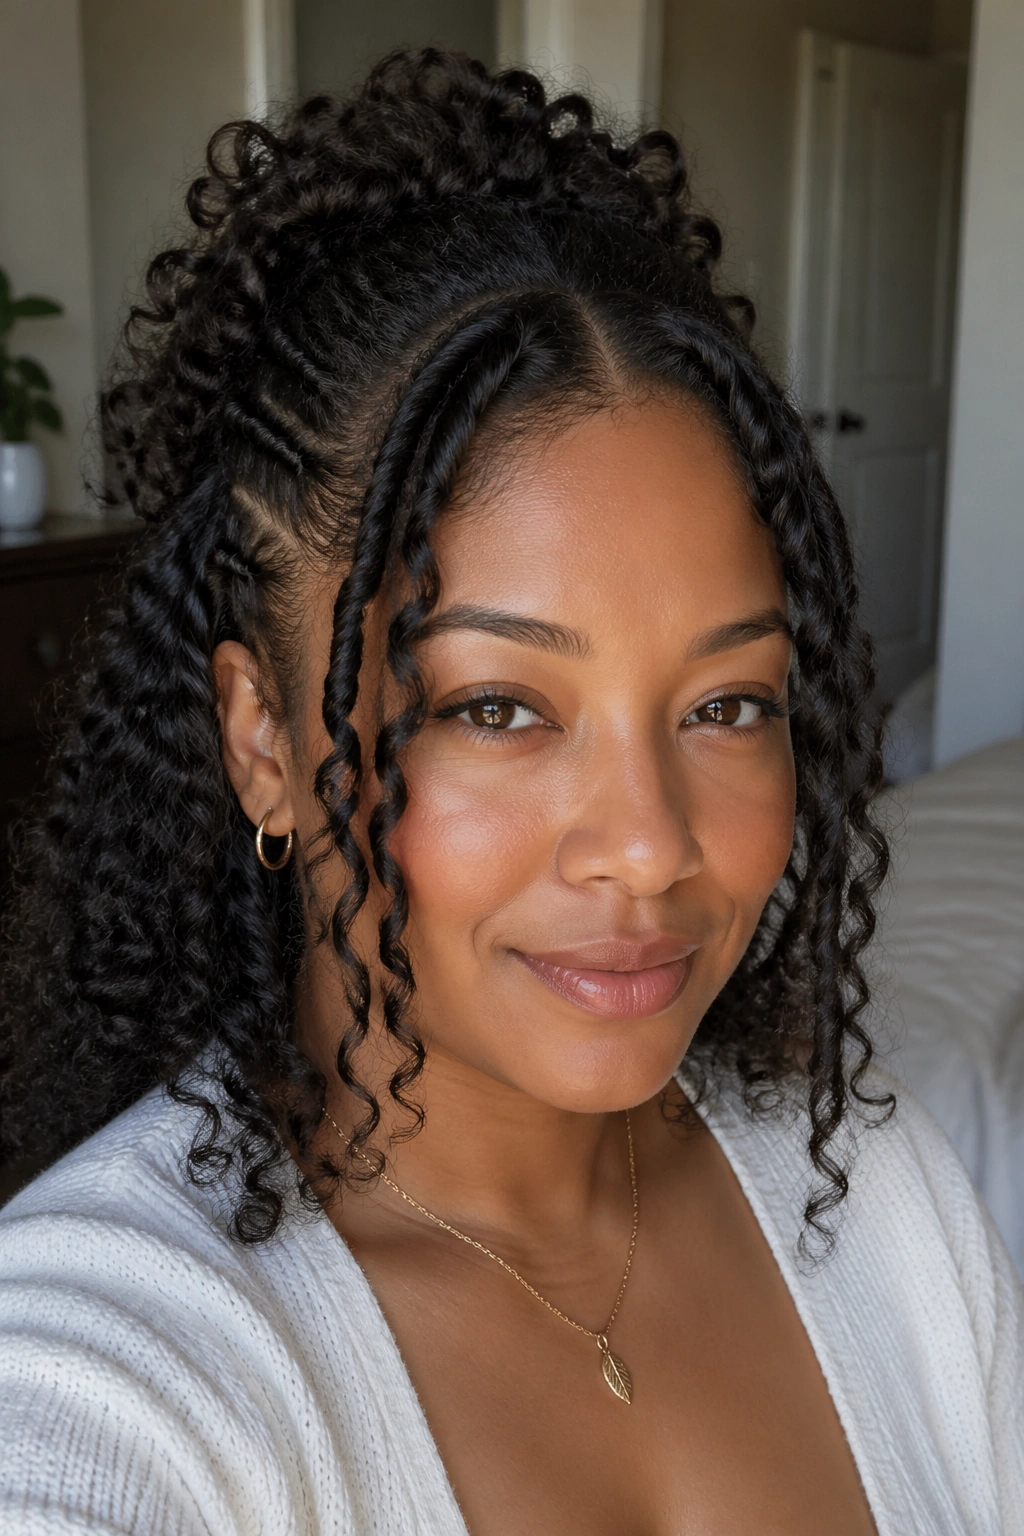
14. Two Mini Braids Pulled Back with Loose Curls

If you can braid a simple three-strand plait without thinking too hard, this one is easy. It gives you a little detail at the front and leaves the rest of the hair down, which is a nice compromise when you want structure without a full updo.
Take a small section from each side of the front hairline, braid each one down toward the ear, and pin the ends back behind the head. The braids do not need to be tight. Loose braids sit better on curly hair because they blend into the texture instead of looking stiff. A tiny bit of curl left outside the braid makes the whole thing softer.
This style is useful when the front pieces keep falling into your face. It also works well if the curls are a bit frizzy on top but still good through the lengths. The braids give the eye something intentional to look at, which is useful on days when the hair is not behaving perfectly.
If braiding feels slow, turn the same idea into rope twists. Same basic effect. Less effort.
15. Braided Halo Accent
What if you want a crown effect without a full braided updo? A braided halo accent gets close, and it is easier than it looks. You only need to braid small sections from the front and pin them across the head so they frame the curls like a soft band.
Start near one temple, braid a small section, then guide it across the top or just above the forehead line. Repeat on the other side if you want two braids meeting in back. If your hair is short, pin the braids into place as far as they go and let the remaining curls fall loose. The shape still reads clearly.
A Faster Version for Short Hair
Short curls do not need a full crown braid to get the idea across. Two small braids pinned near the temples can create the same effect with less work. Use bobby pins that match your hair color if you want the pins to disappear.
This style is a little more dressed up than the others, but it is still beginner-friendly because the braid sections stay small. You are not braiding the whole head. That is the part people overcomplicate. Keep the sections narrow, pin them securely, and leave the rest of the curls alone.
A good beginner curly style should feel repeatable, not precious. If you can do it twice without swearing at the mirror, it belongs in your rotation.