Gel is not the boss of curly hair.
That sounds blunt, but it’s true. A lot of curls look better when they’re free to move instead of locked into a stiff, crunchy shell that flakes on your black sweater and makes your hair feel like it belongs to somebody else. A good curly style usually comes from shape, moisture, and a little structure — not a jar of glue.
Some curl patterns do like a stronger hold, sure. Plenty of others do fine with a leave-in, a cream, a satin scrunchie, a clip, or a braid that gives the hair a job to do. That’s the part people miss. The style is often doing the heavy lifting, not the product.
And once you start looking at curls that way, the options open up fast. Soft definition, volume, movement, lift at the roots, hair off your face — all of it is possible without gel if you choose styles that support the shape instead of fighting it. The best place to start is with the one style that proves the point immediately.
1. The Moisture-First Wash-and-Go
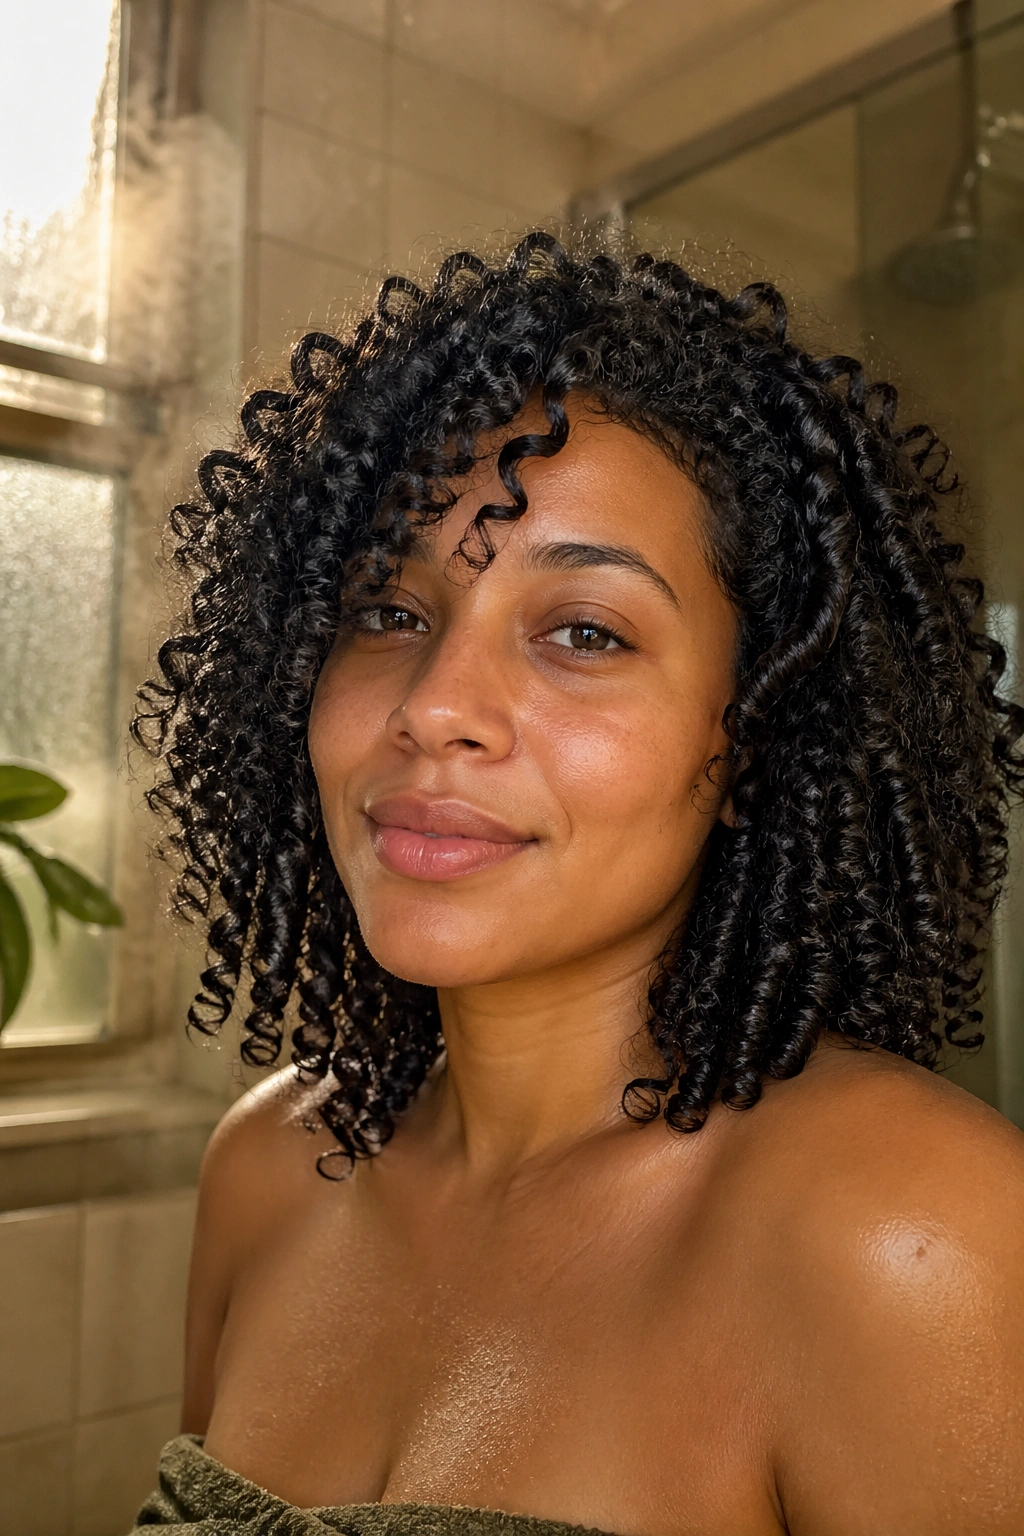
A wash-and-go without gel sounds like a compromise until you see it dried the right way. The trick is not to chase a hard hold. It’s to give the curls enough slip and separation that they can settle into their own shape without puffing into a halo before lunch.
Use a leave-in conditioner first, then a lightweight curl cream over soaking-wet hair. Section the hair into four to six parts, rake the product through with your fingers, and scrunch from the ends upward. If your curls are tighter, work in smaller ribbons. If they’re looser, you can get away with wider sections and less product.
Why It Still Holds
The hold comes from three things: moisture, sectioning, and not disturbing the curls while they dry. That’s the part most people skip. They apply product, keep touching their hair, and then blame the lack of gel when the shape falls apart.
A layered cut helps a lot here. Heavy, blunt ends drag curls down and make even a nice curl cream look tired. If your hair is dense, try clipping the roots at the crown while the hair dries. It gives you a little lift without turning the style into helmet hair.
- Best for loose to medium curls, though tighter curls can use the same method with smaller sections.
- Works best when hair is wet enough to clump, not towel-dry and fuzzy.
- A light hand with cream beats a heavy hand with butter.
- Air-dry if you want softness; diffuse on low heat if you want the shape to set faster.
One good rule: touch the hair less than you want to. That matters more than another pump of product.
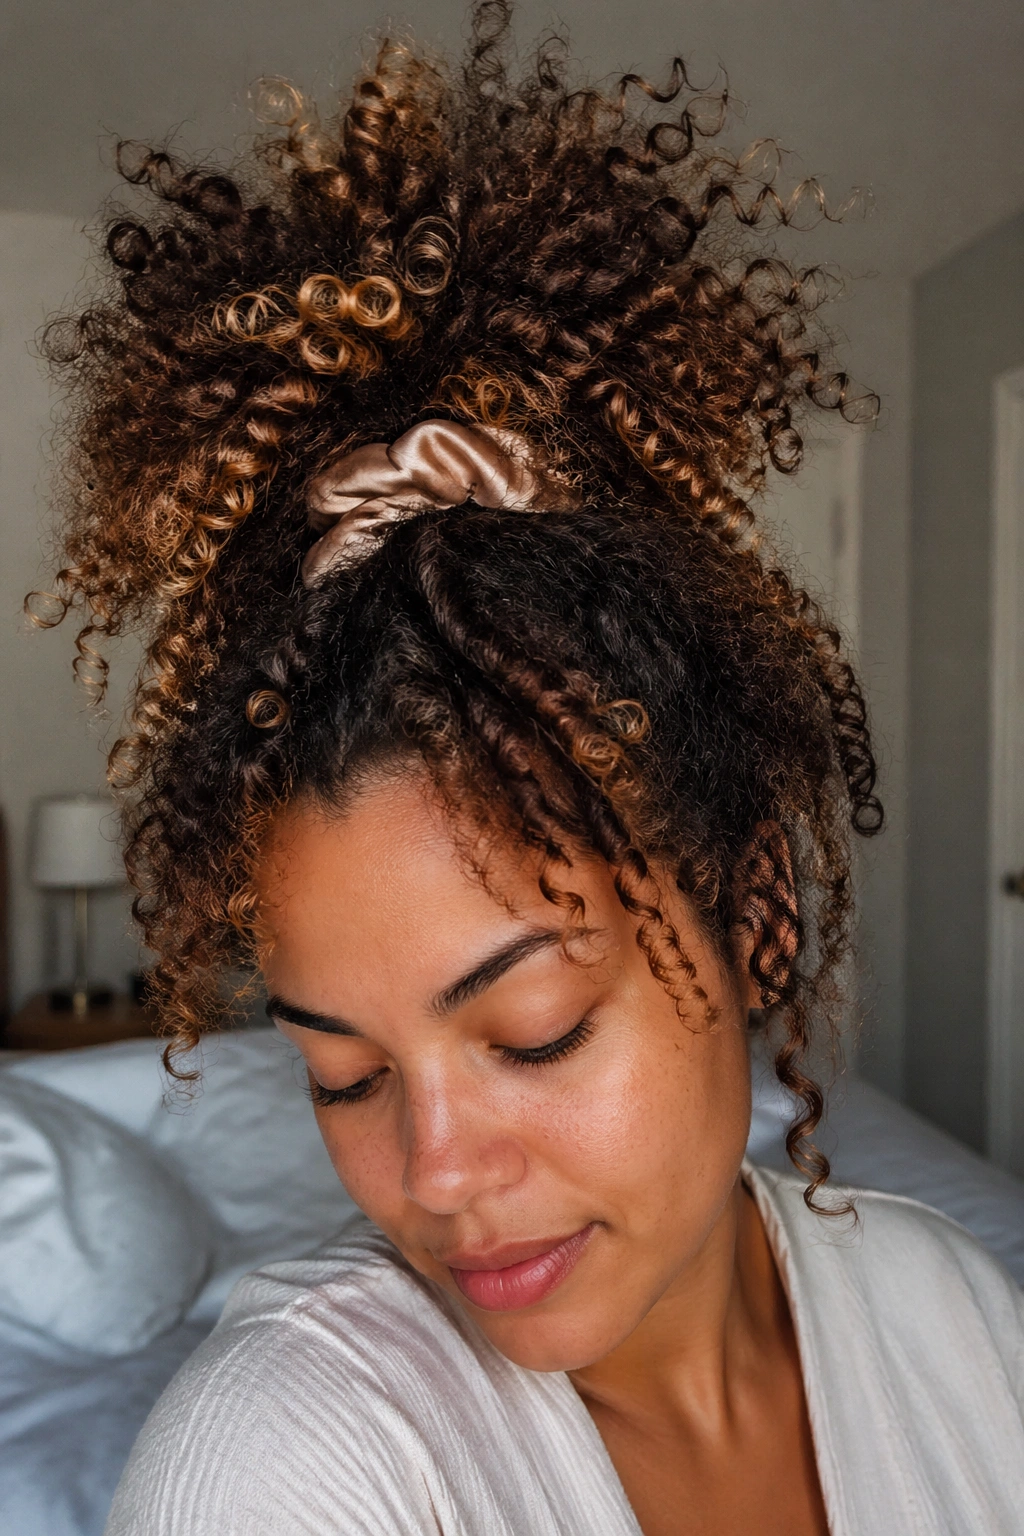
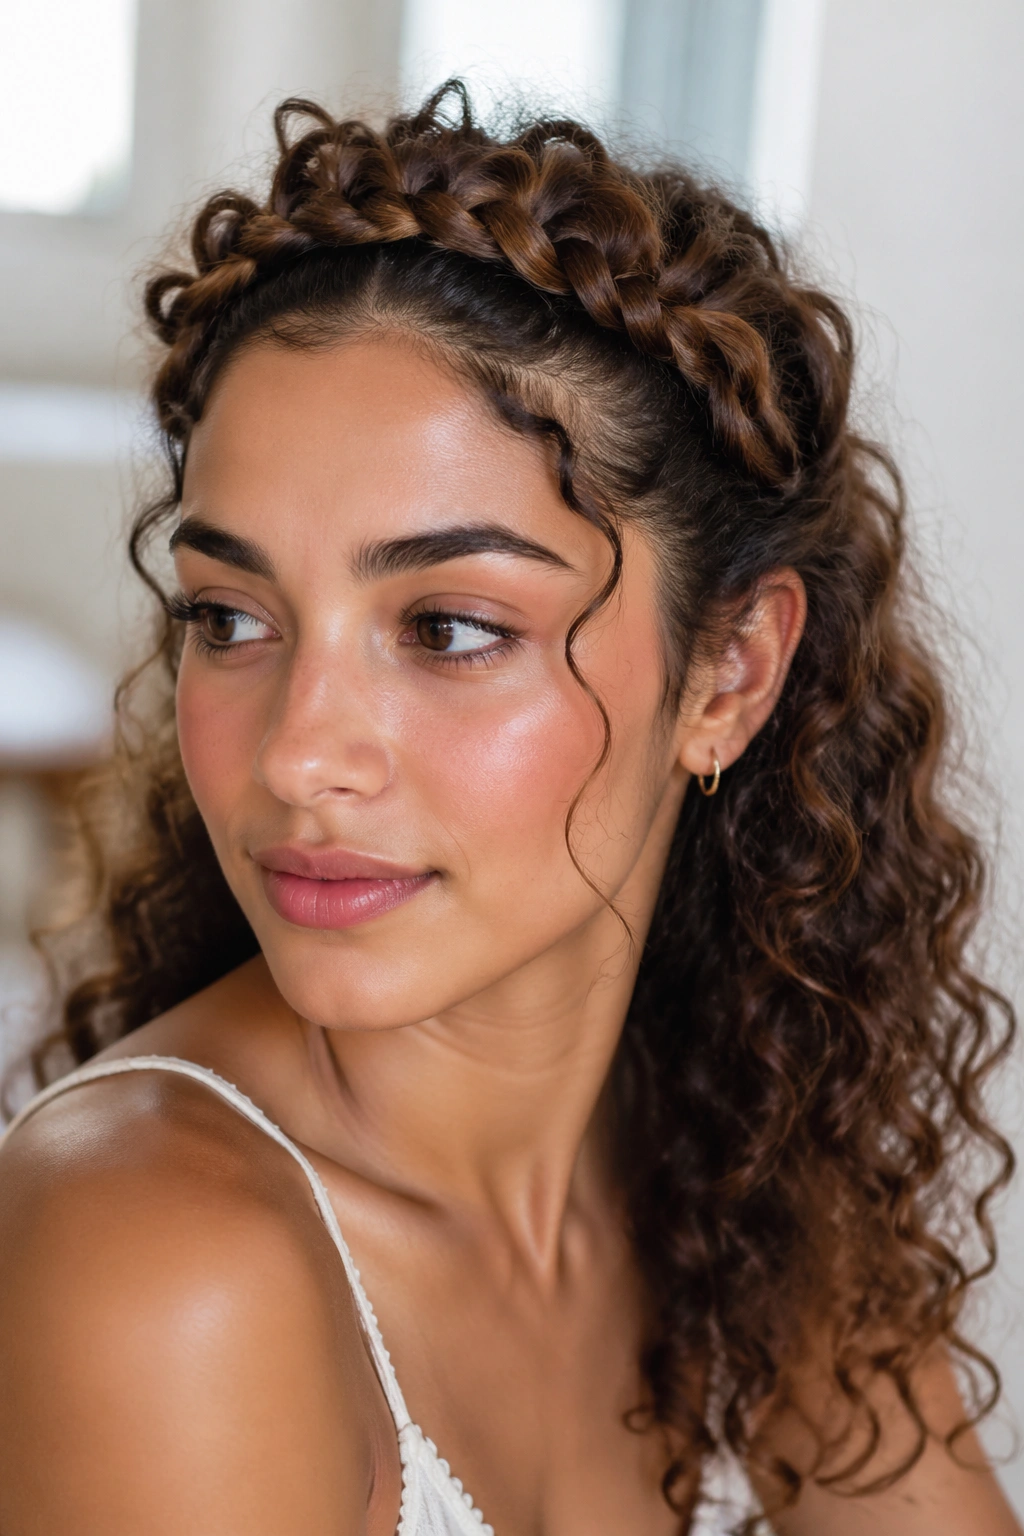
2. The Pineapple for Second-Day Curls
Why does a high, loose ponytail work so well? Because it protects the part of your hair that gets smashed first — the back and the sides — while letting the curls keep their shape at the top.
The pineapple is one of those styles that looks almost too simple to count, then saves the whole day. Gather your curls at the crown with a satin scrunchie, make it loose enough that the hair doesn’t dent, and let the ends fan out. If your hair is shorter, the pineapple may sit more like a mini fountain. That’s fine. It still works.
What I like about it is the shape. It keeps your curls from flattening against a pillow or chair back, so the next morning you’re not rebuilding your whole head from scratch. You’re just waking it up.
A few face-framing pieces help here. Pull out a curl near each temple, mist it lightly if it’s doing its own thing, and leave it alone after that. The goal isn’t perfection. It’s preserving enough of the curl pattern that you can go outside without spending twenty minutes fixing the back of your head.
3. The High Puff That Needs No Gel
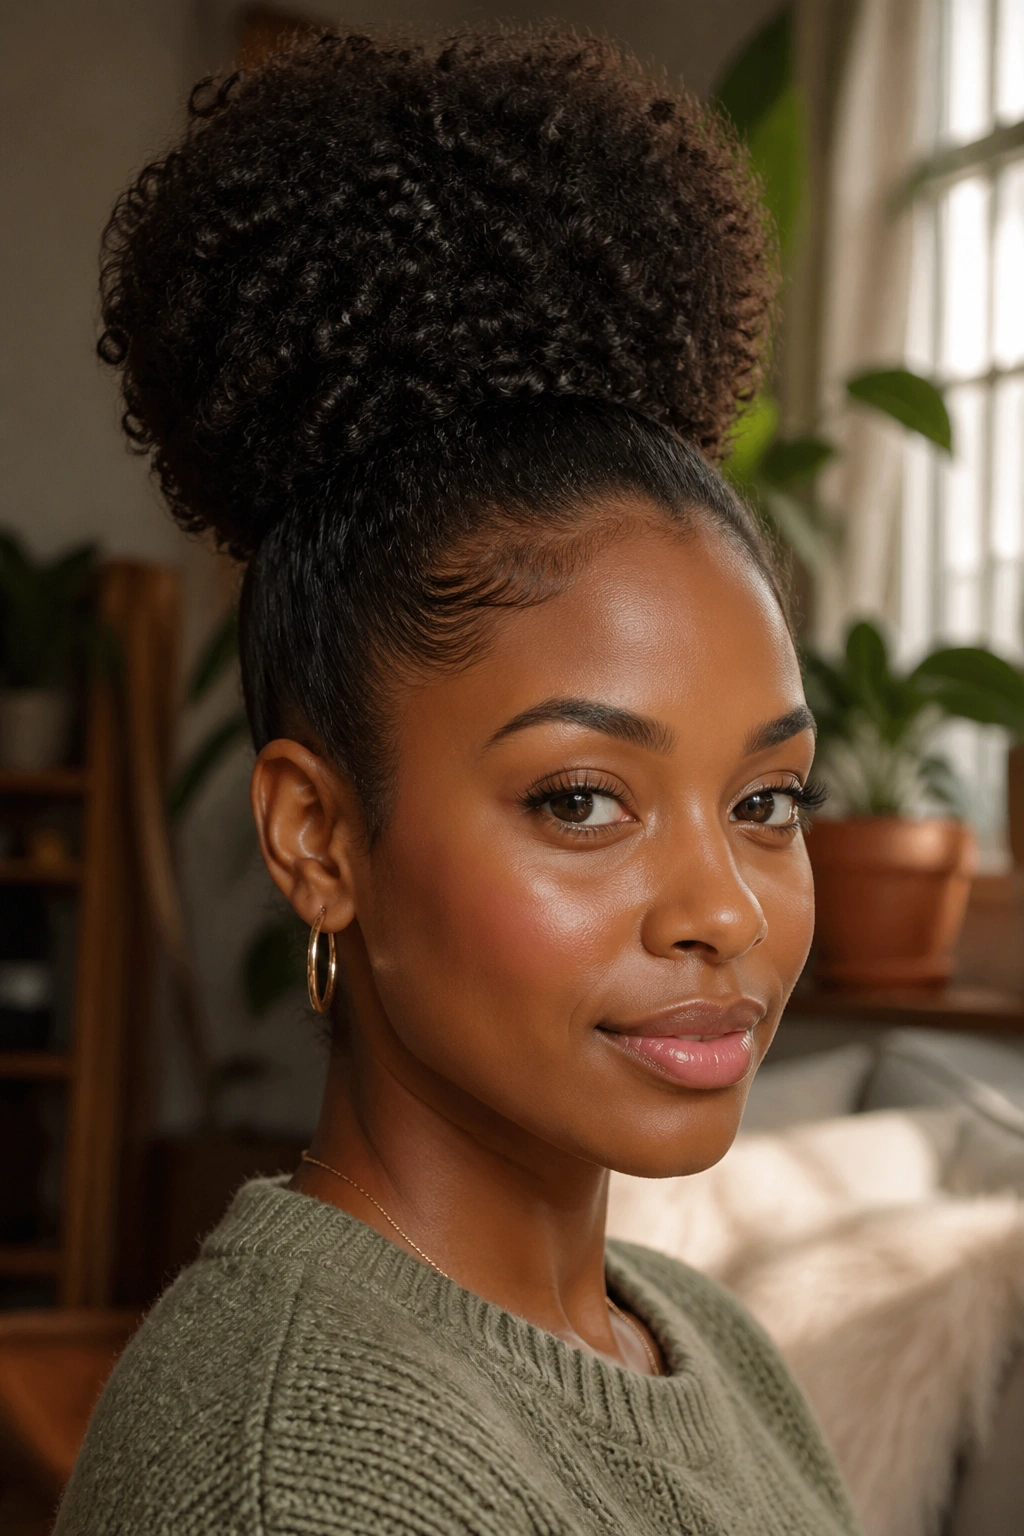
When your curls feel too big for a ponytail but too soft for a braid, the high puff solves the problem fast. It gives the hair shape and height, and it does it without asking for a slicked-down finish or a jar of gel.
Gather the hair near the crown with a wide elastic, then smooth the sides with your hands and a little leave-in if needed. You do not need to flatten every strand. That’s the trap. A high puff looks best when the crown is neat and the puff itself stays full and round.
What Makes It Work
The lift at the top matters more than a perfect edge line. If your roots are stretched a little, the puff sits higher and looks cleaner. If they’re very compact, the style can still work, but it reads smaller and sits closer to the head.
A few practical details help a lot:
- Best for dense curls and coils that already have volume.
- A wide elastic or coil band is easier on the scalp than a skinny tie.
- If the puff keeps collapsing, stretch the roots overnight in two loose sections.
- Keep the sides close to the head, but not tight enough to hurt.
The nicest thing about a high puff is that it looks intentional even when the rest of the hair is having a big, frizzy day. It turns texture into the point.
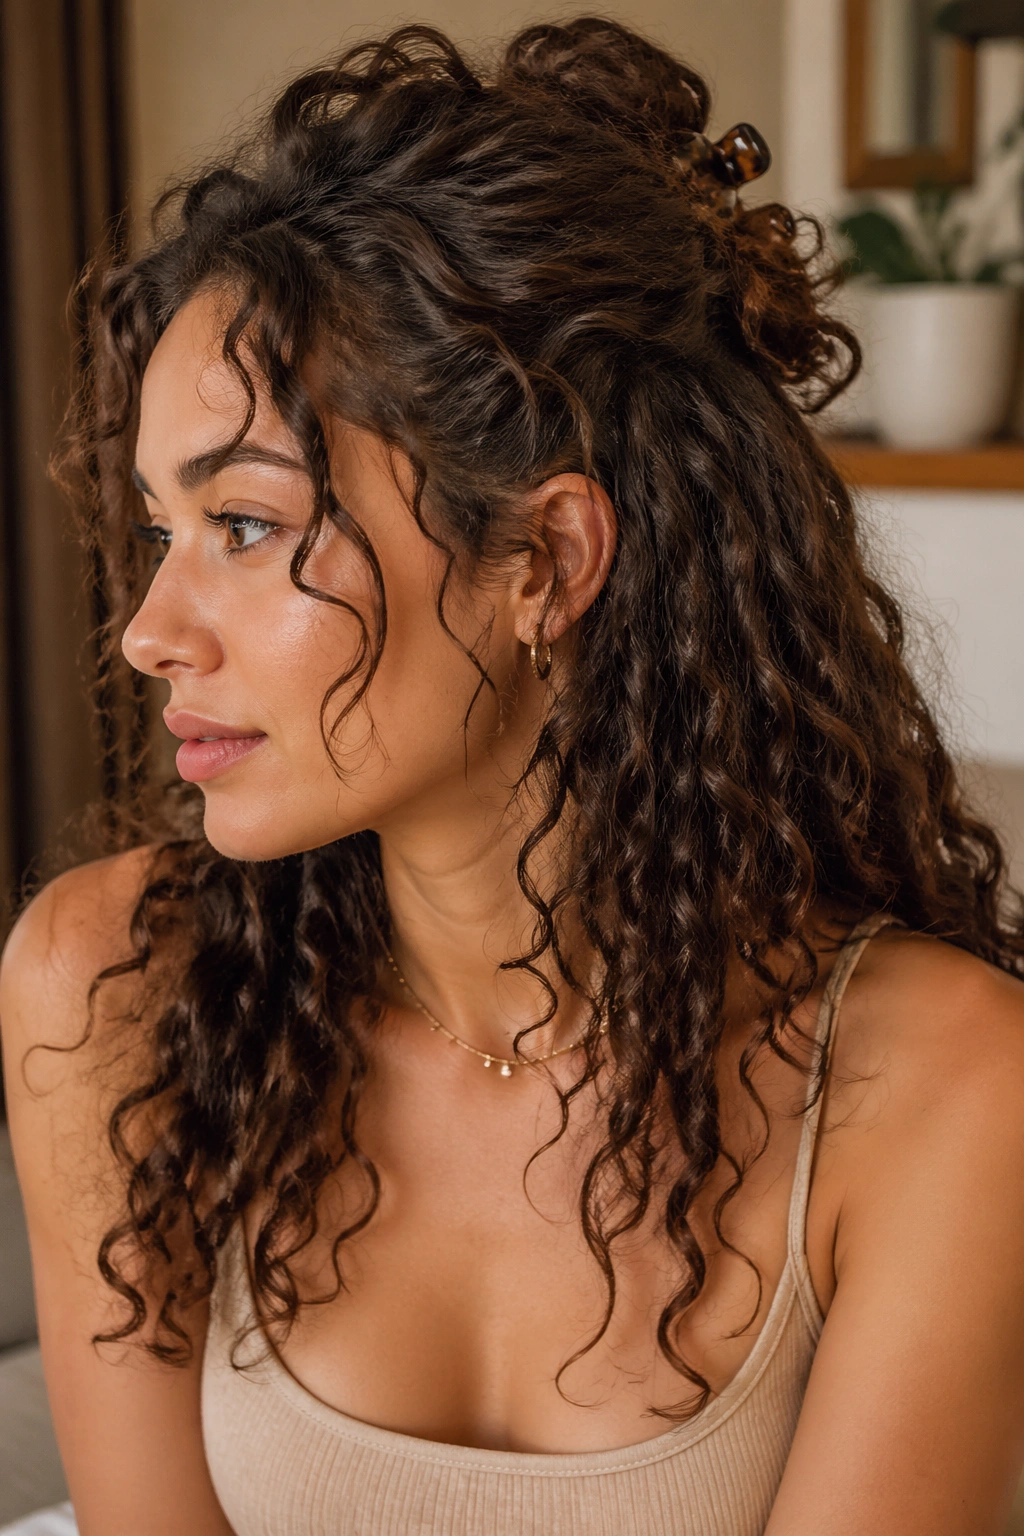
4. Half-Up, Half-Down with a Claw Clip
A half-up style is the polite answer when you want your curls out of your face but don’t want to pin everything up. It keeps the length visible and gives the top a little lift, which is enough to make the whole style look finished.
Take the top section from temple to temple, twist it once, and secure it with a claw clip at the back of the crown. Leave the lower half loose. If your hair is thick, use a larger clip than you think you need. Tiny clips slide. They always do.
Where the Clip Sits
Place the clip a little higher than the midpoint of your head. Too low, and the style looks tired. Too high, and the back starts to puff out in an awkward bump. The sweet spot is where the clip is mostly hidden by curls, not fighting them.
What Makes It Read as Finished
Let a few curls fall free near the ears. That softens the shape and keeps the style from looking too stiff. If the top section is slippery, twist it twice before clipping; if it’s short, fold it under instead of stretching it upward.
This is one of those styles that looks casual in the best way. Clean enough for a meeting. Relaxed enough for a coffee run. No gel required.
5. The Deep Side Part and Ear Tuck
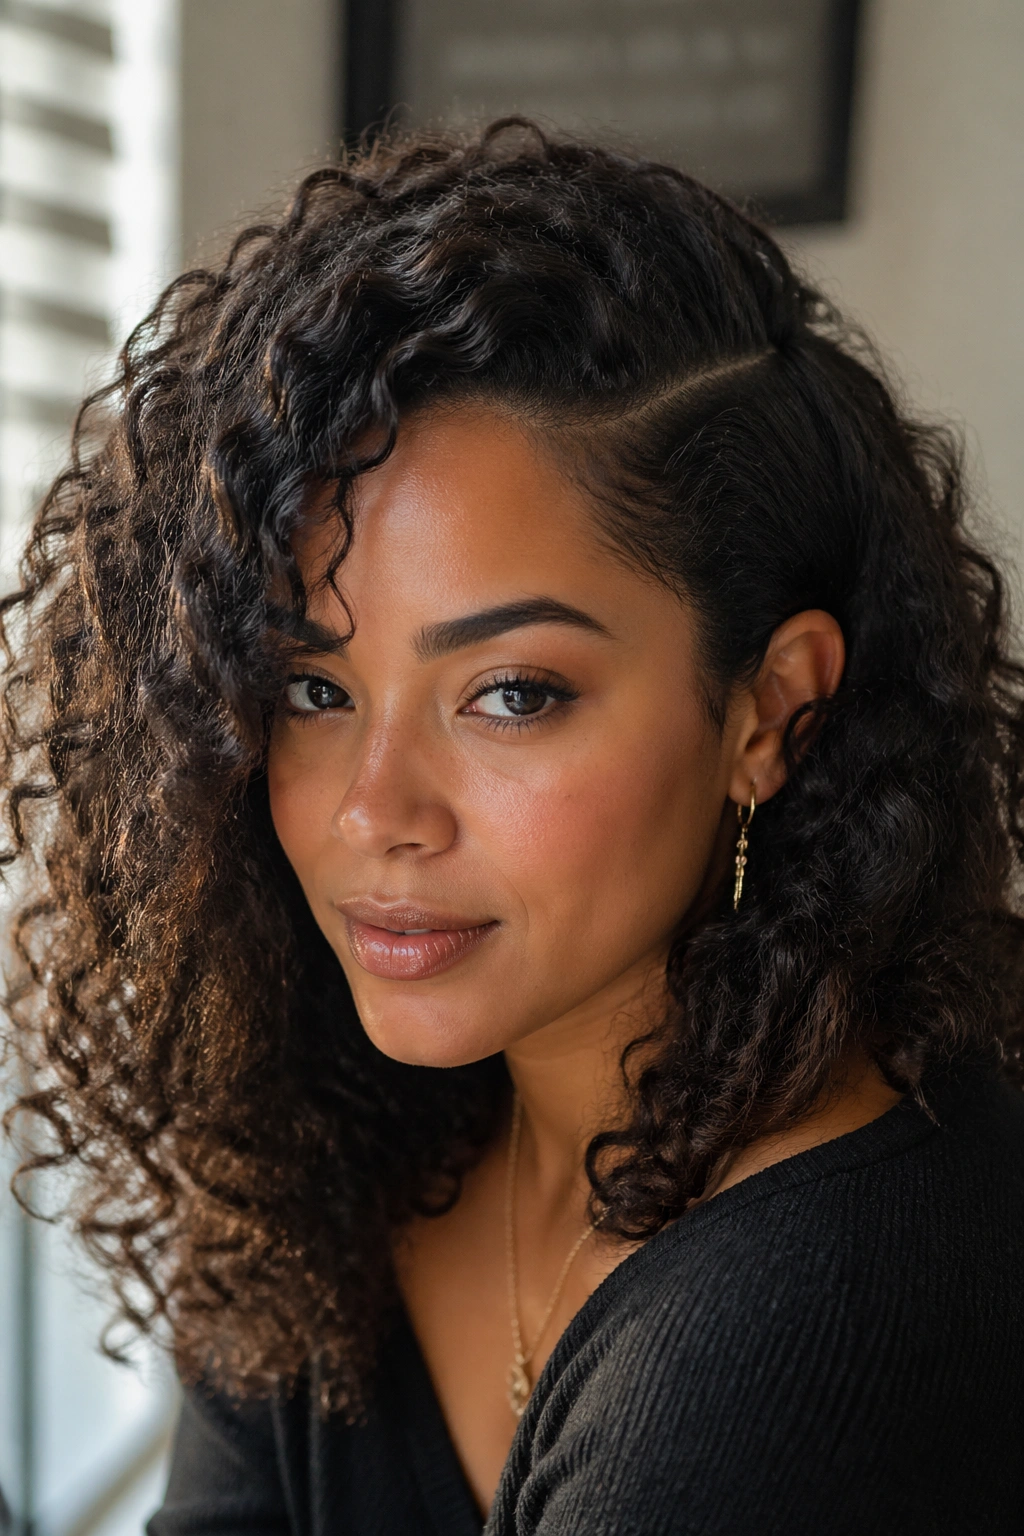
A deep side part can change the entire mood of curly hair in thirty seconds.
It shifts the weight, gives the crown a little lift, and lets one side fall cleanly while the other gets tucked behind the ear. That little asymmetry does a lot of work. It makes curls look styled without demanding much from them.
Use your fingers or the tail of a comb to draw the part where your hair naturally wants to split, or a little farther over if you want more drama. Then tuck one side behind the ear and let the rest fall. If a curl keeps slipping forward, pin just one small section behind the ear with a bobby pin. That’s enough.
I like this style when the roots are flat but the ends are behaving. You don’t have to restyle the whole head. You just change the line of it.
If you wear earrings, this is the style that shows them off best. If you don’t, it still gives the face a sharper frame. Either way, it’s a tiny move that makes curls look deliberate.
6. The Soft Twist-Out
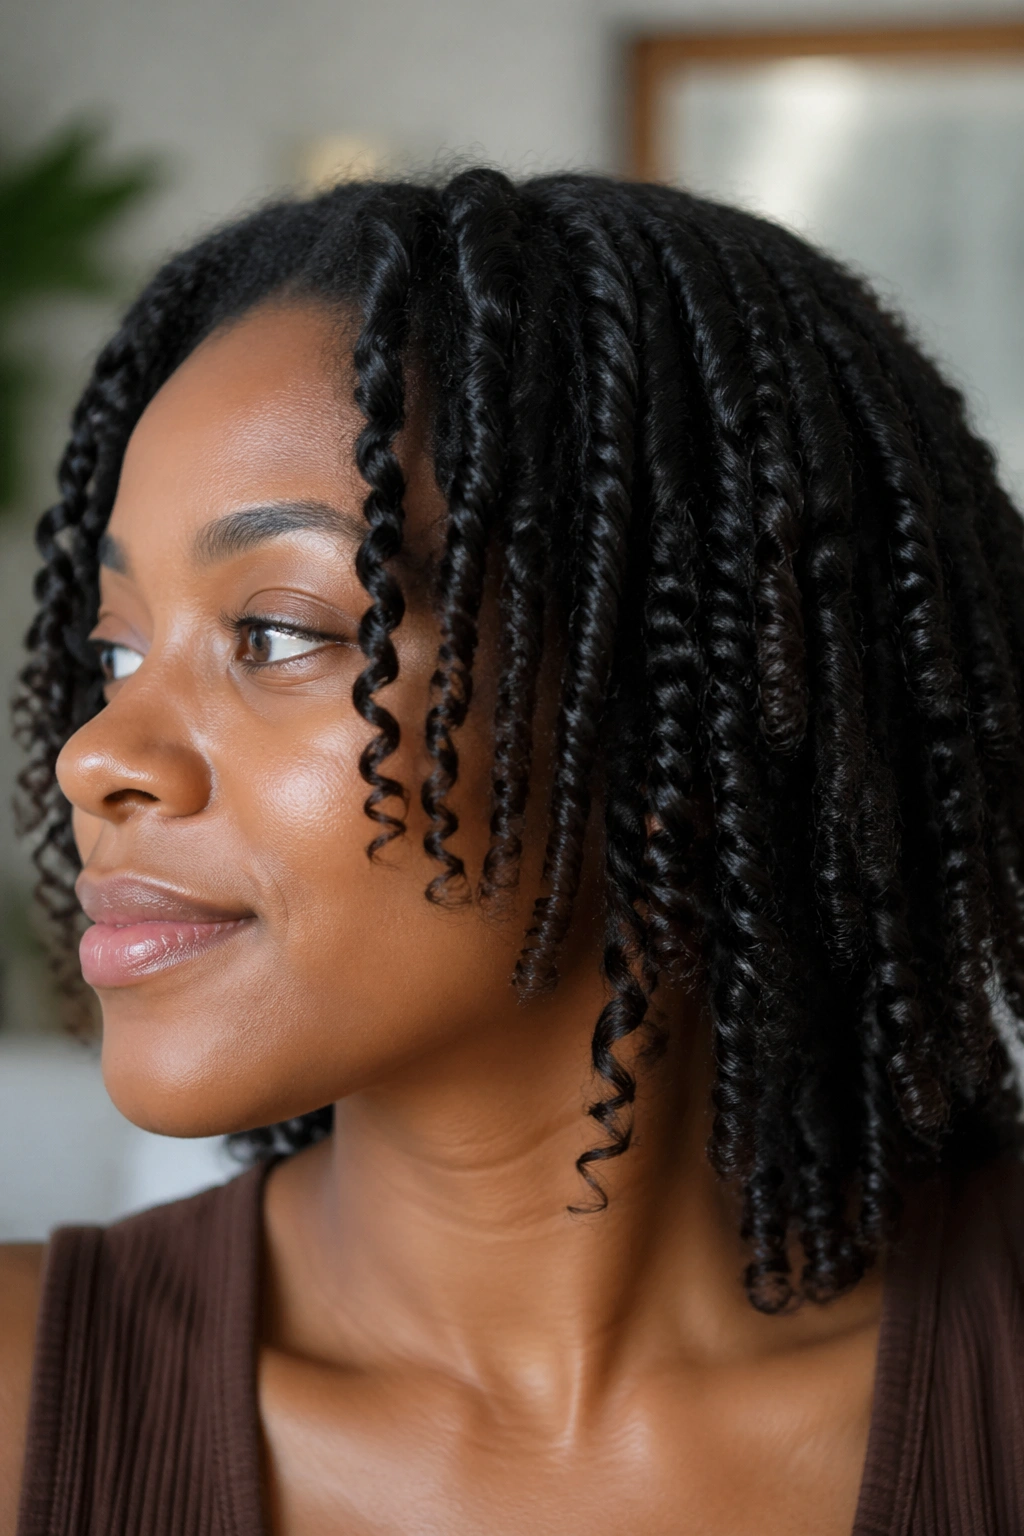
If you want shape without stiffness, the twist-out is the workhorse.
Apply leave-in and a small amount of cream to damp hair, then divide the hair into six to twelve sections depending on density. Two-strand twist each section from root to end with even tension. Not tight. Even. That’s the difference between a soft set and a frizzy one. Let the twists dry completely before unraveling them.
How to Keep It from Puffing Up Too Fast
Dry time is the part people underestimate. If the twists are even a little damp in the center, they frizz when you separate them. Give them overnight if needed, or use a hooded dryer if that’s your setup.
A few practical choices matter here:
- Smaller twists give more definition.
- Larger twists give more volume.
- Separate the curls only once, using a little oil on your fingertips.
- Sleep in a bonnet or loose pineapple so the roots stay calm.
The result is soft, touchable, and a little fuller than a wash-and-go. That’s why so many people keep coming back to it. It has movement without the crunchy feel.
7. The Bantu Knot-Out

Need shape, a little spring, and a lot of body at the roots? The Bantu knot-out does that better than most styles.
Set the hair with cream on slightly damp strands, then twist each section until it coils back on itself into a small knot. Secure it flat against the head. Smaller knots usually give more definition; larger ones give a looser, puffier result. Either way, the curls come out with more bounce than a basic twist-out.
The trick is patience. These knots need to dry all the way through. Not almost dry. Dry. If you unwrap them early, the center stays cold and the curl pattern goes fuzzy before you’ve finished the first side.
What to Watch For
- Knots that are too tight can leave sore spots at the scalp.
- Damp centers will undo the whole style.
- A satin scarf at night keeps the parts neat.
- Shorter hair often gets the cleanest shape from this set.
There’s something a little playful about a Bantu knot-out. The style looks tidy when it’s set, then full and springy when it’s opened. It gives you volume without the need for gel or a hard shell.
8. Curly Space Buns
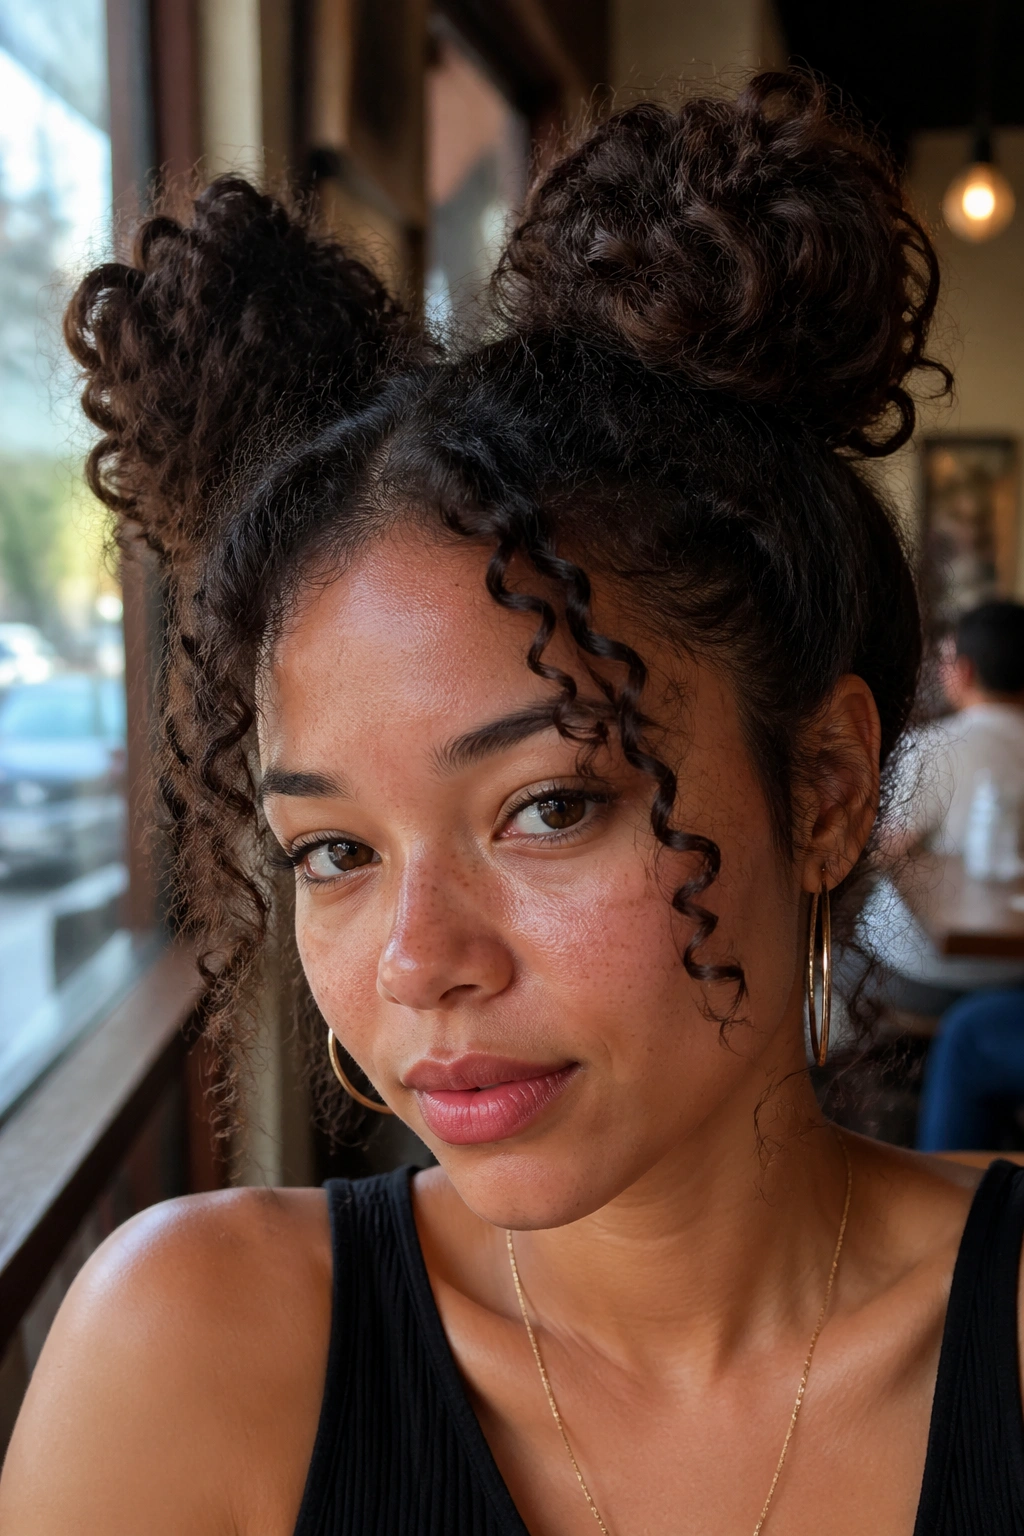
Two space buns can make curls look playful instead of swallowed by a plain ponytail. That’s the whole appeal. You keep the texture, but you change the silhouette enough that the hair feels styled on purpose.
Split the hair down the middle, gather each side high on the head, and twist each section into a loose bun. Leave the ends peeking out if they’re long. If your curls are heavy, pin the buns in place instead of relying on the elastic alone. A couple of bobby pins can save the whole shape.
The middle part gives the style a bit of symmetry, but a slightly off-center part can soften it if you don’t want the look to feel too sharp. That’s one of the nice things about this style — it can read fun, neat, or a little messy depending on how tightly you wrap it.
It also works well on day-two curls that need a reset. Instead of fighting the frizz, you contain it. Which, honestly, is often the smarter move.
9. The Low Puff at the Nape

The low puff is the quieter sibling of the high puff. Same family. Different mood.
Pull the curls together at the nape with a soft band, then smooth the top lightly with your hands and a touch of leave-in. Let the puff sit low and wide rather than high and tight. That gives the style a calm shape and keeps the scalp from feeling pulled.
I like this one when the day needs to feel a little more relaxed. It sits nicely under coats, works with earrings, and doesn’t fight your head every time you turn around. If the hair is long, you can tuck the ends under once before securing them, which makes the base look a bit fuller.
One small warning: don’t brush the top into submission. You want tidy, not slick. A little texture at the crown keeps the puff from looking flat and overworked.
10. The Claw-Clip French Twist
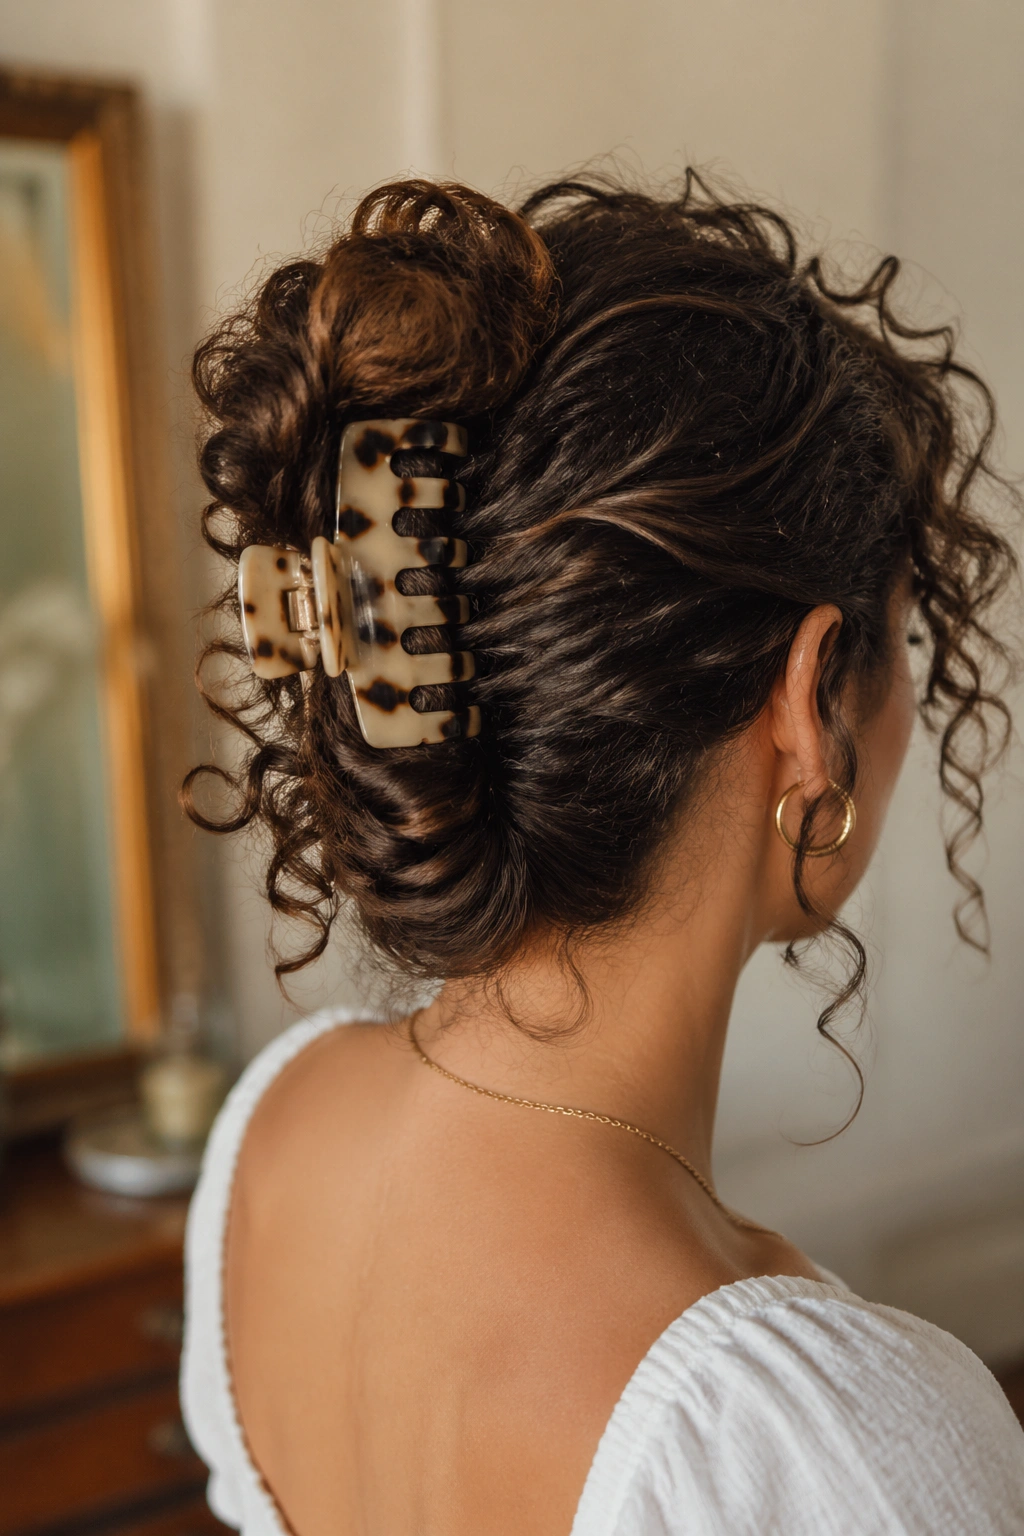
Why do claw clips keep coming back? Because they do a lot with almost no fuss.
A curly French twist starts at the nape. Gather the hair upward, twist it vertically, fold the ends under or let them spill a little, and catch the twist with a large claw clip near the center of the back of the head. The texture of the curls does half the styling for you.
Where the Clip Goes
The clip needs to grab the twist, not just pinch the top layer. If you only catch a few strands, the style slips. A larger clip helps with thick hair, especially if the curls are dense or the hair is shoulder-length and above.
How to Keep Volume
Lift the crown slightly before clipping. That keeps the top from going flat and gives the twist some shape. If the ends are too bulky, tuck them under once and let a few curls hang loose at the bottom. That loose bit keeps the style from looking severe.
Done right, it reads as intentional. Not lazy. There’s a difference.
11. The Crown Braid with Loose Ends
Unlike a tight braided style that flattens everything, a crown braid can leave the rest of the curls breathing.
Braid along the hairline from one temple, across the top, and toward the other side, or split the front into two braids that meet at the back. Pin the ends under the hair and leave the back loose. You get structure up front and movement in the rest of the style.
The braid also gives shorter layers something to do. That’s a small thing, but it matters. Curly layers around the face can be a pain when they won’t stay put; a braid gives them a job instead of letting them frizz into the eyes.
Keep the braid a little loose. Tight braids can make the top look too flat, and on curls that usually means the whole style loses its shape. A looser braid reads softer and works better with texture.
If you want a style that feels romantic without trying too hard, this one does the job. It has enough detail to look finished, but not so much that it starts acting precious.
12. The Curly Ponytail with a Satin Scrunchie
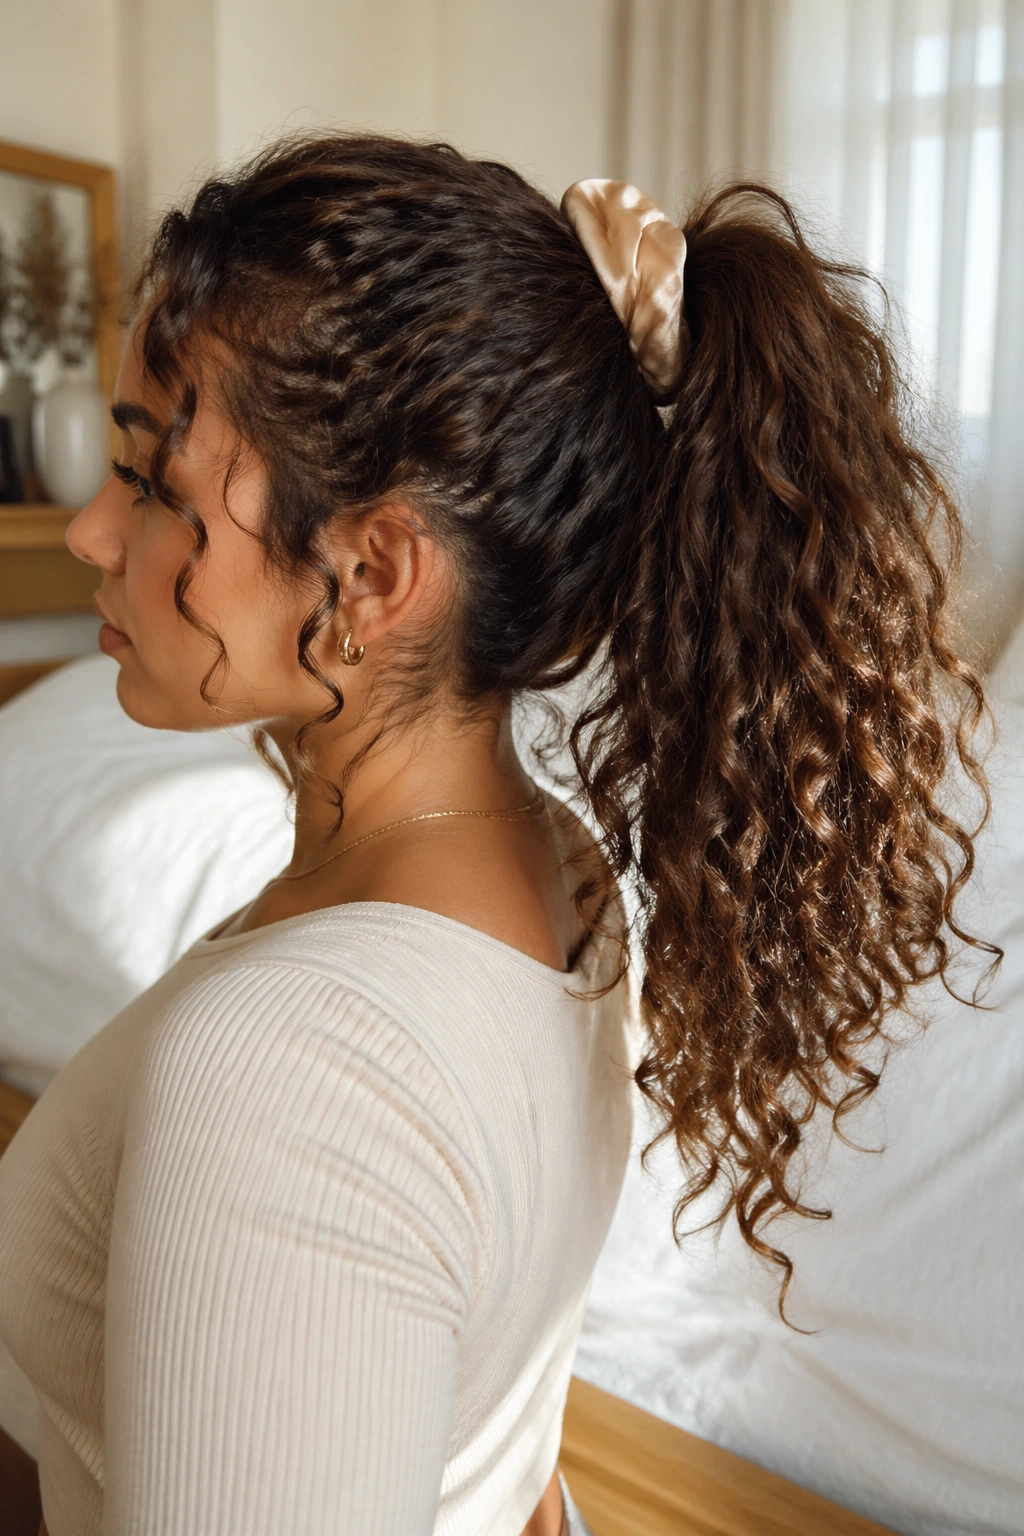
A curly ponytail can look sharp or careless, and the scrunchie is the difference.
Use a satin scrunchie or a soft coil tie and place the ponytail at mid-height, high, or low depending on the shape you want. Mid-height feels balanced. High gives lift. Low shows more length and usually feels calmer. The important part is that the base stays soft enough not to dent the curls.
You can wrap a curl around the base to hide the elastic, or leave the tie visible if you want the style to look more casual. I usually like the visible version better on coarser textures. It feels honest. The hidden version makes more sense when you want the ponytail to read a little neater.
This style works best when the crown is already close to the shape you want. If the top is frizzy, smooth just the top layer with your hands and a drop of leave-in before gathering the hair. Keep the rest alone. That’s the bit that keeps the ponytail from looking overhandled.
13. Mini Puffs for Coily Hair
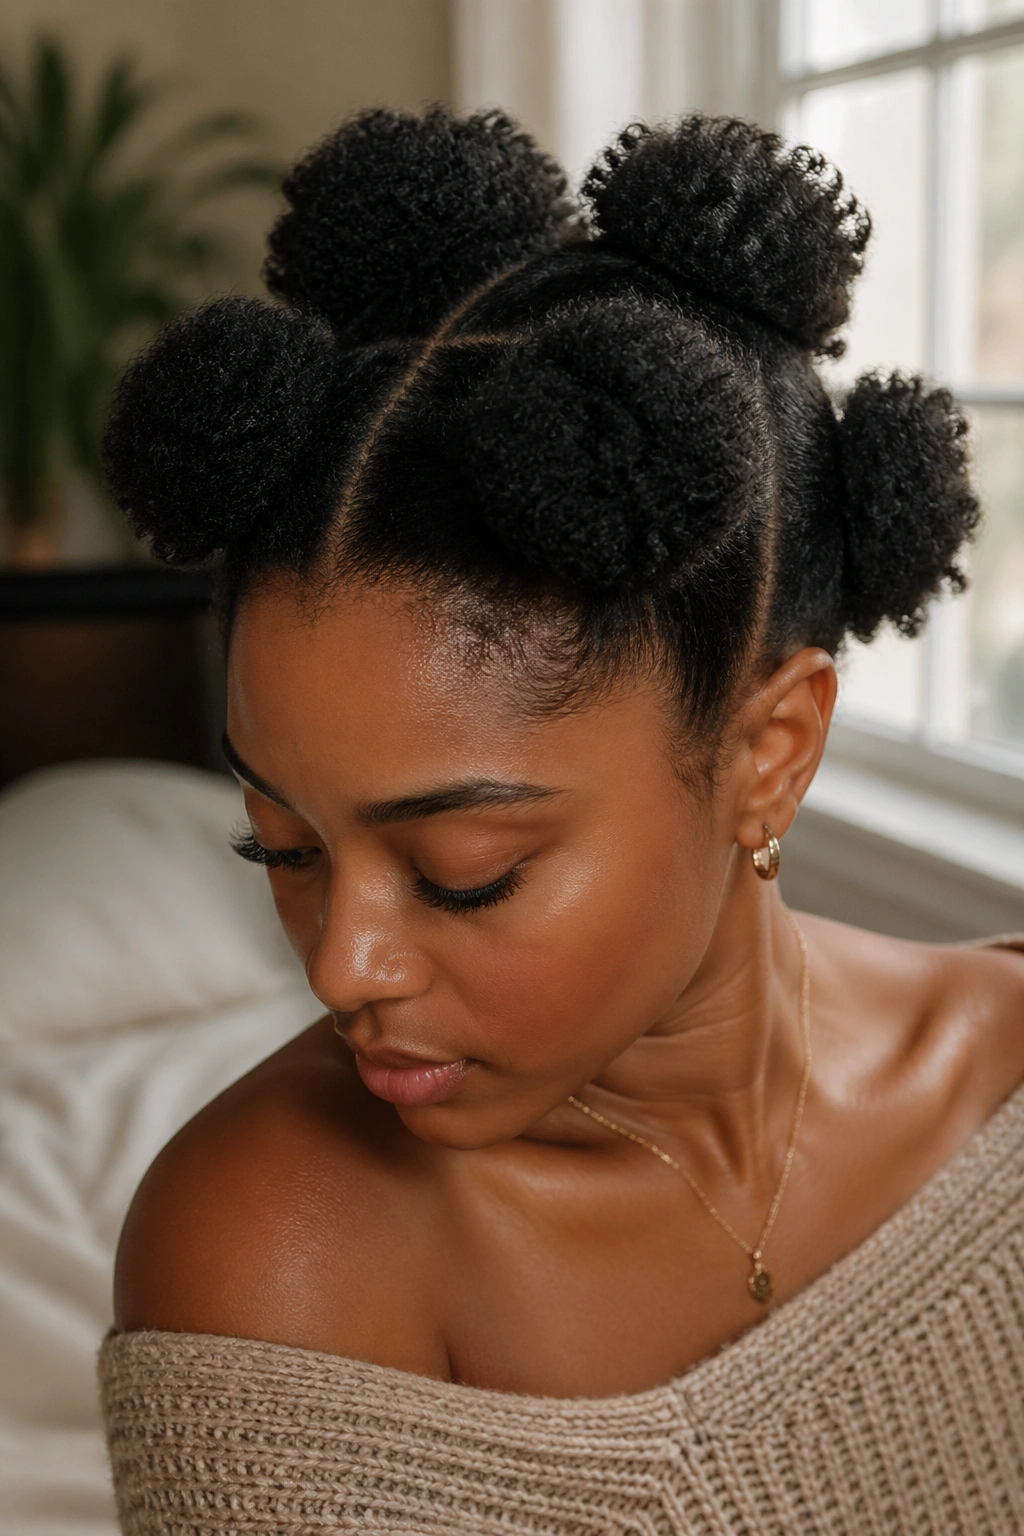
Mini puffs are one of the few styles that actually get better when the hair is thick and dense.
Section the hair into four, six, or eight parts depending on how much hair you’re working with. Secure each section with a small band, then gently fluff the puff on top of the band with your fingers. The parts can be square, triangular, or even slightly curved. They do not need to be perfect. Straight parts can look stiff fast.
A tiny bit of cream on the part lines helps them stay neat without turning the style slick. After that, the puffs do the visual work themselves. They give you a clean pattern and a lot of texture at once.
- Four puffs feel simple and bold.
- Six or eight feel more detailed and playful.
- Shorter hair often holds this style better than longer hair.
- A satin bonnet at night keeps the sections from frizzing into each other.
Cute? Yes. Practical? Also yes. That combination is why this style keeps showing up on real heads, not just in photos.
14. The Pin-Swept Faux Hawk
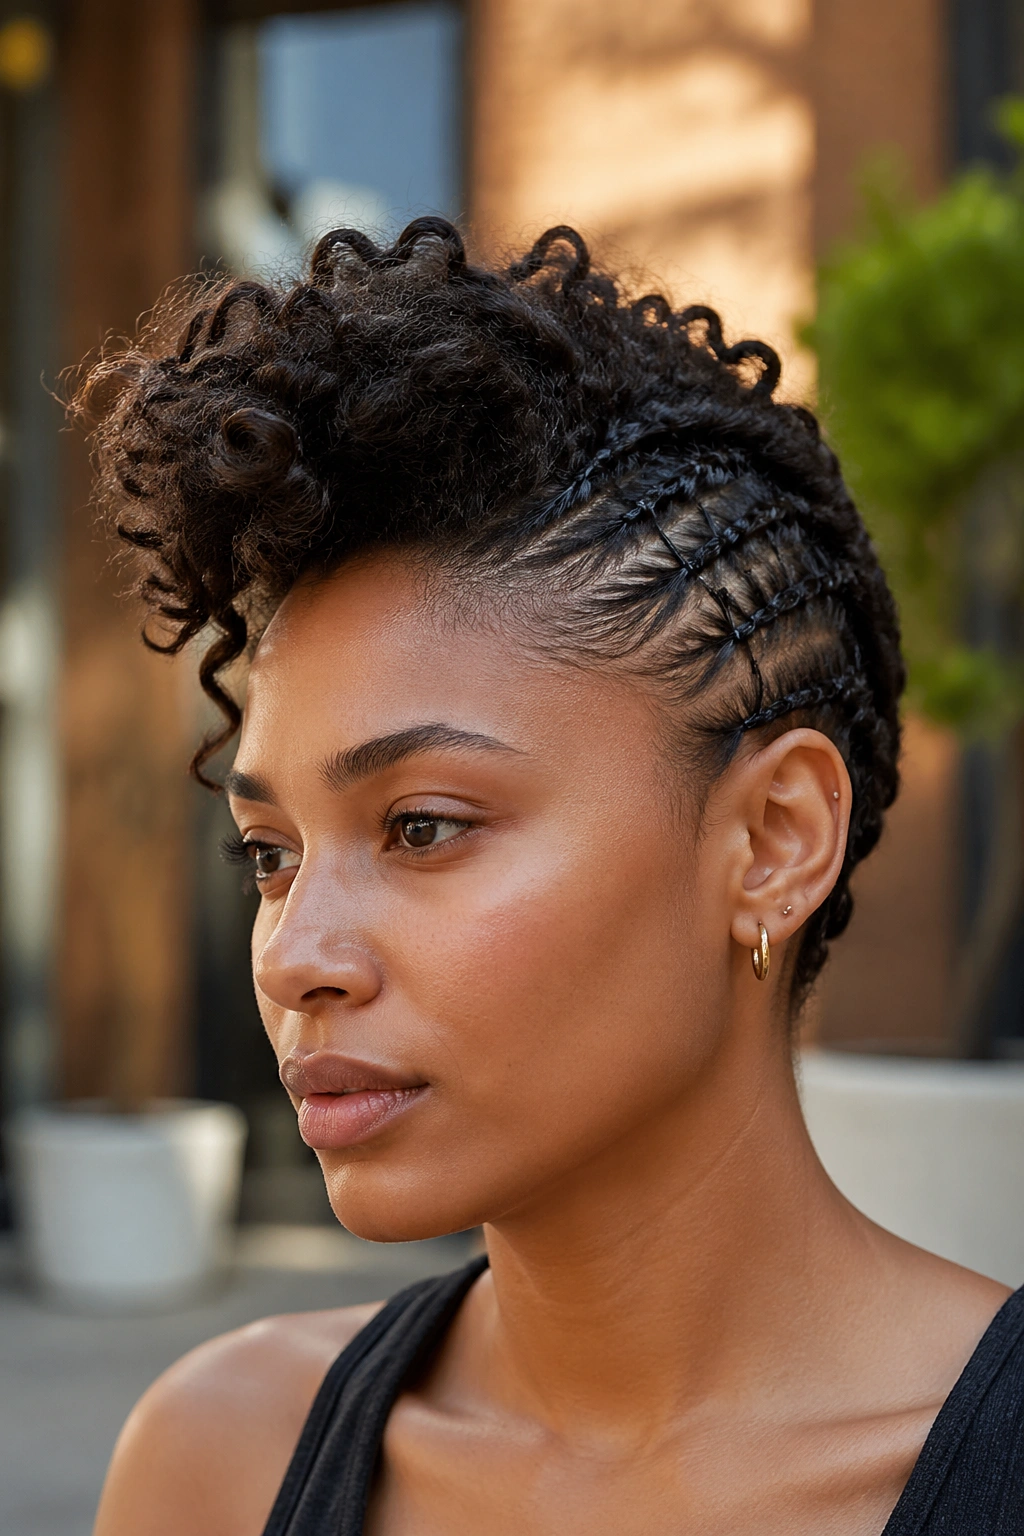
Want something sharper than a puff but not as polished as a full updo? The pin-swept faux hawk gets you there.
Push the sides upward and inward with bobby pins, leaving the center ridge of curls free. The middle section stays loose and high, which gives the whole style its shape. You can do this with hair that’s been stretched a little or with natural texture if your curls already have enough lift.
Where the Pins Go
Place the first pins low near the ears, then work upward in rows so the sides fold in toward the center. Cross the pins if the hair is heavy. Straight-across pins tend to slip when curls are dense.
What Makes It Stay
The hair should be lightly moisturized, not wet. Too much moisture makes the pins slide. Too little and the sides refuse to hold their shape. That middle point is where the style behaves.
It’s a good choice when you want edge. Not drama. Edge. There’s a difference, and this style sits right there.
15. The Scarf-Wrapped Curly Updo

A silk scarf over curls changes the whole read of the style.
Wrap the scarf around the crown and tuck the back length into a loose low bun, roll, or twist. Leave a fringe, a few face-framing curls, or the ends of the hair visible if you want the style to keep its texture. The scarf gives the shape, and the curls give it life.
This one is useful when the roots need a reset or when the hair is in that awkward space between “fresh” and “needs a wash.” A satin or silk scarf keeps friction down, which helps the style stay smooth without any gel at all. You can knot it at the nape for a softer look, or wrap it more securely if you need the shape to last through the day.
One-sentence answer? Yes, the scarf is doing real work here.
The best version leaves enough hair visible that the texture still feels like the point. If the scarf takes over completely, the curls disappear, and that defeats the purpose.
Final Thoughts
Gel has its place, but it is far from the only way to make curls look finished. The styles that hold best without it usually have one thing in common: they give the hair structure somewhere else — at the crown, at the nape, through a braid, or inside a twist set.
That’s the real shift. Once the shape is doing some of the work, you need less product, less fuss, and far less time in front of the mirror trying to force curls into submission.
If your hair flattens easily, reach for lifts and puffs. If it frizzes fast, pick styles that keep your hands out of the length. If it needs softness more than hold, start with a cream-based set instead of reaching for gel by default. One satin scrunchie, a large claw clip, and a few bobby pins can solve more mornings than most people admit.