Wavy and curly hair has its own set of rules when it comes to ponytails. While straight-haired folks can pull their hair back and call it a day, curly textures demand something more thoughtful — styles that work with your natural pattern rather than fighting against it. The right ponytail on textured hair doesn’t just look polished; it actually keeps your waves and curls defined, prevents breakage from manipulation, and lets your texture shine instead of being forced into submission.
The secret is understanding that curly and wavy ponytails aren’t simply pulled-back versions of straight-hair styles. They require different techniques, different product approaches, and a totally different mindset about how tight is too tight. Your curls don’t need to be completely smooth or slicked down to look intentional — in fact, they look better when they’re embraced and softened rather than controlled. A great curly-hair ponytail works with your natural bounce, accommodates the volume that comes with texture, and holds throughout the day without causing that dreaded crease or dent that takes hours to bounce back out.
The styles in this collection work across all curl patterns, from loose waves to tight coils, and across all hair densities. Some are polished enough for professional settings, others are pure weekend relaxation, and many shift easily between the two depending on how you style them. Each one uses techniques that keep your curls healthy, protected, and genuinely beautiful — because when you have texture, you shouldn’t have to choose between style and hair health.
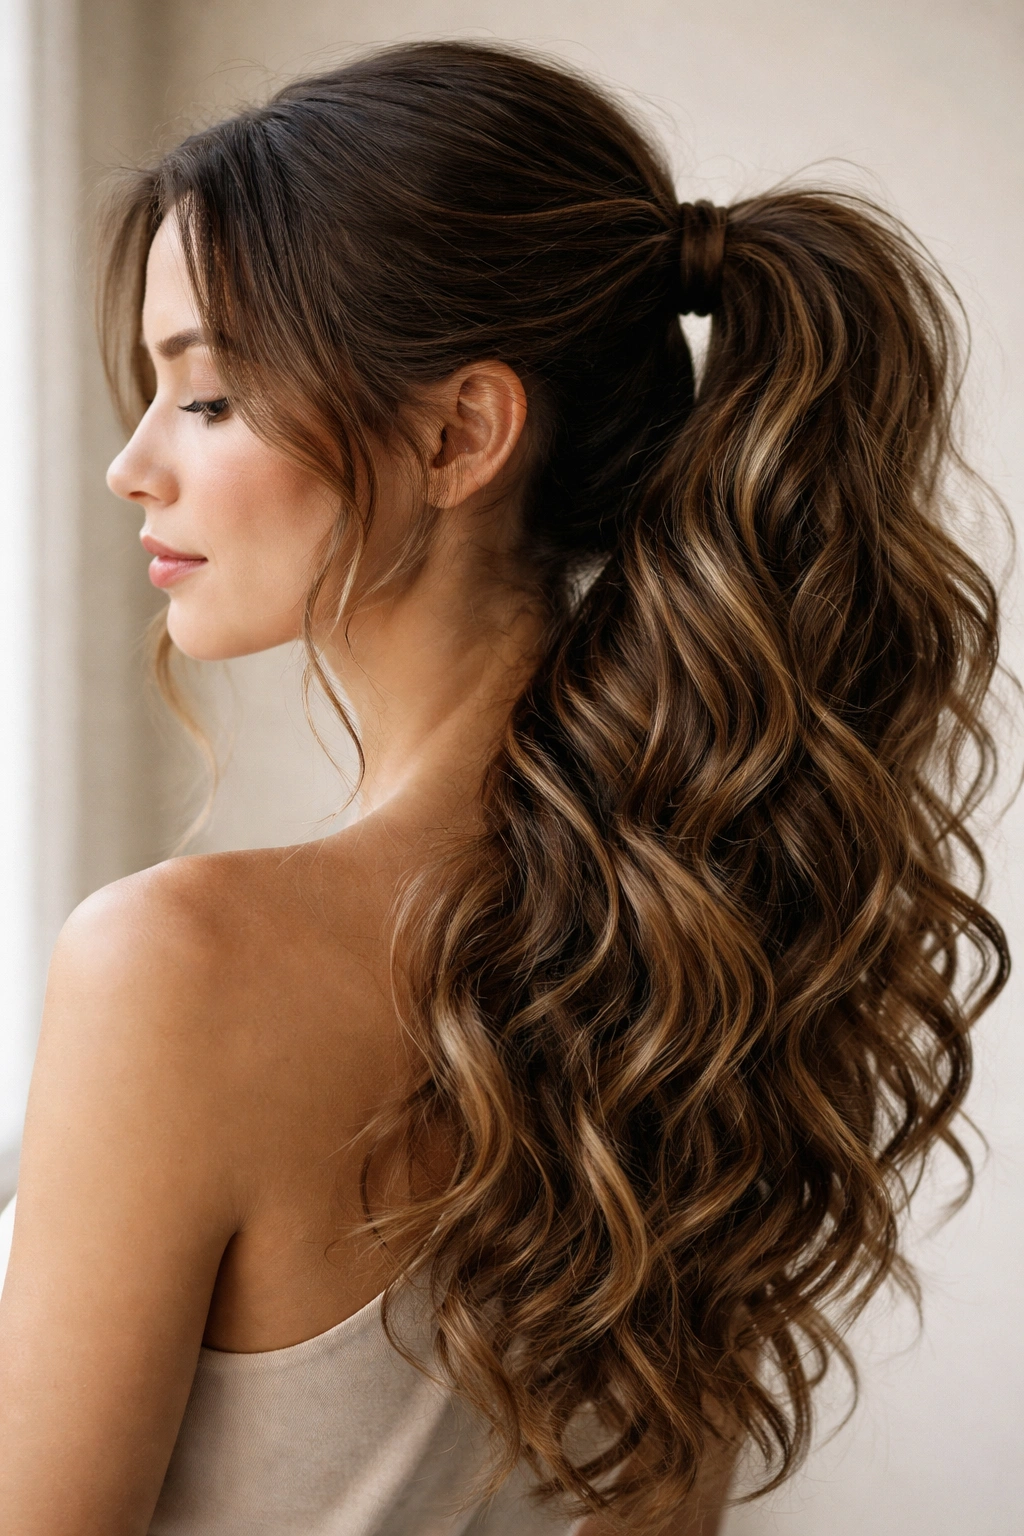
1. The Textured High Ponytail
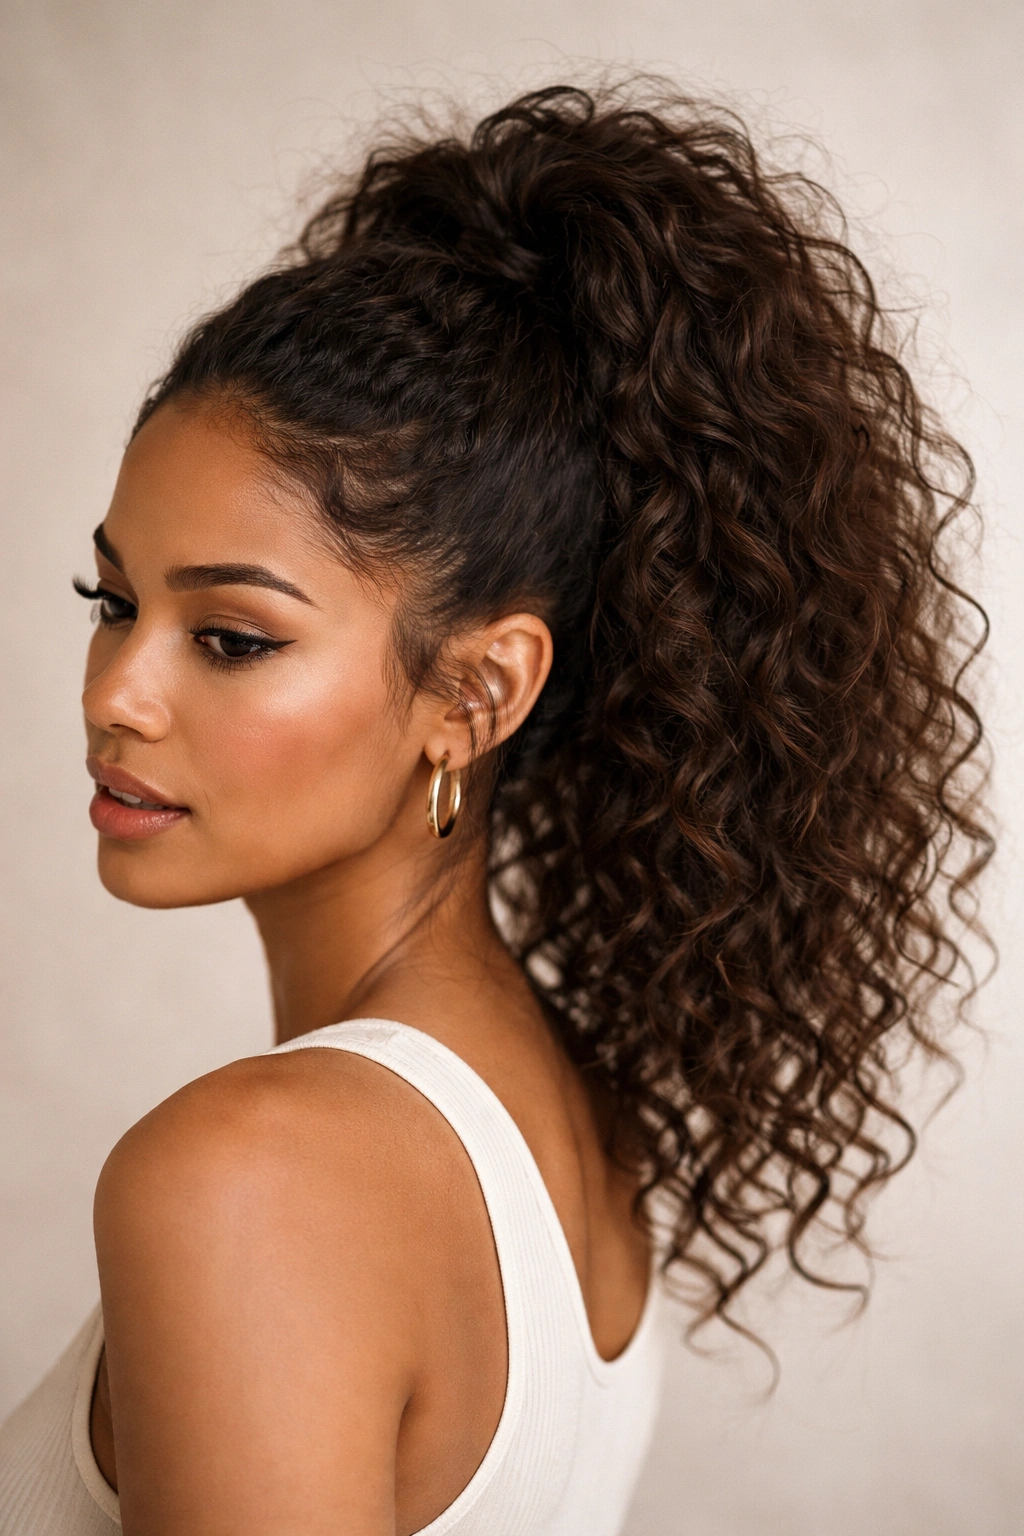
A textured high ponytail is all about embracing the natural movement and frizz that gives curly hair its personality. Rather than creating a smooth, sleek base, this style deliberately leaves softer texture throughout, gathering your curls into a high position on the crown while letting some of that beautiful wave pattern show in the gathered section itself.
Why This Works for Curly Hair
The textured high ponytail celebrates your curl pattern instead of trying to smooth it into submission. The gathered curls maintain their natural bounce and definition, which is exactly what you want when you have texture. By keeping everything slightly softened rather than slicking it back, you avoid the tension that can cause breakage at the hairline or leave harsh creases. The height gives you a youthful, polished appearance while the texture keeps it undeniably styled and intentional.
How to Create It
- Flip your head upside down and apply a light styling cream or leave-in conditioner to damp or dry curls, scrunching gently to reactivate your pattern
- Use your fingers to gather hair at the crown into a high position — don’t worry about smoothing it, you want some texture visible
- Secure with a soft elastic or claw clip, leaving several inches of curls below the band
- Go back and gently pull at the gathered section to loosen it slightly, creating a softer, fuller look
- Smooth down any flyaways with a smoothing serum on your fingertips, but leave the overall texture intact
- Optional: wrap a small section of hair around the elastic to hide it and add a finished touch
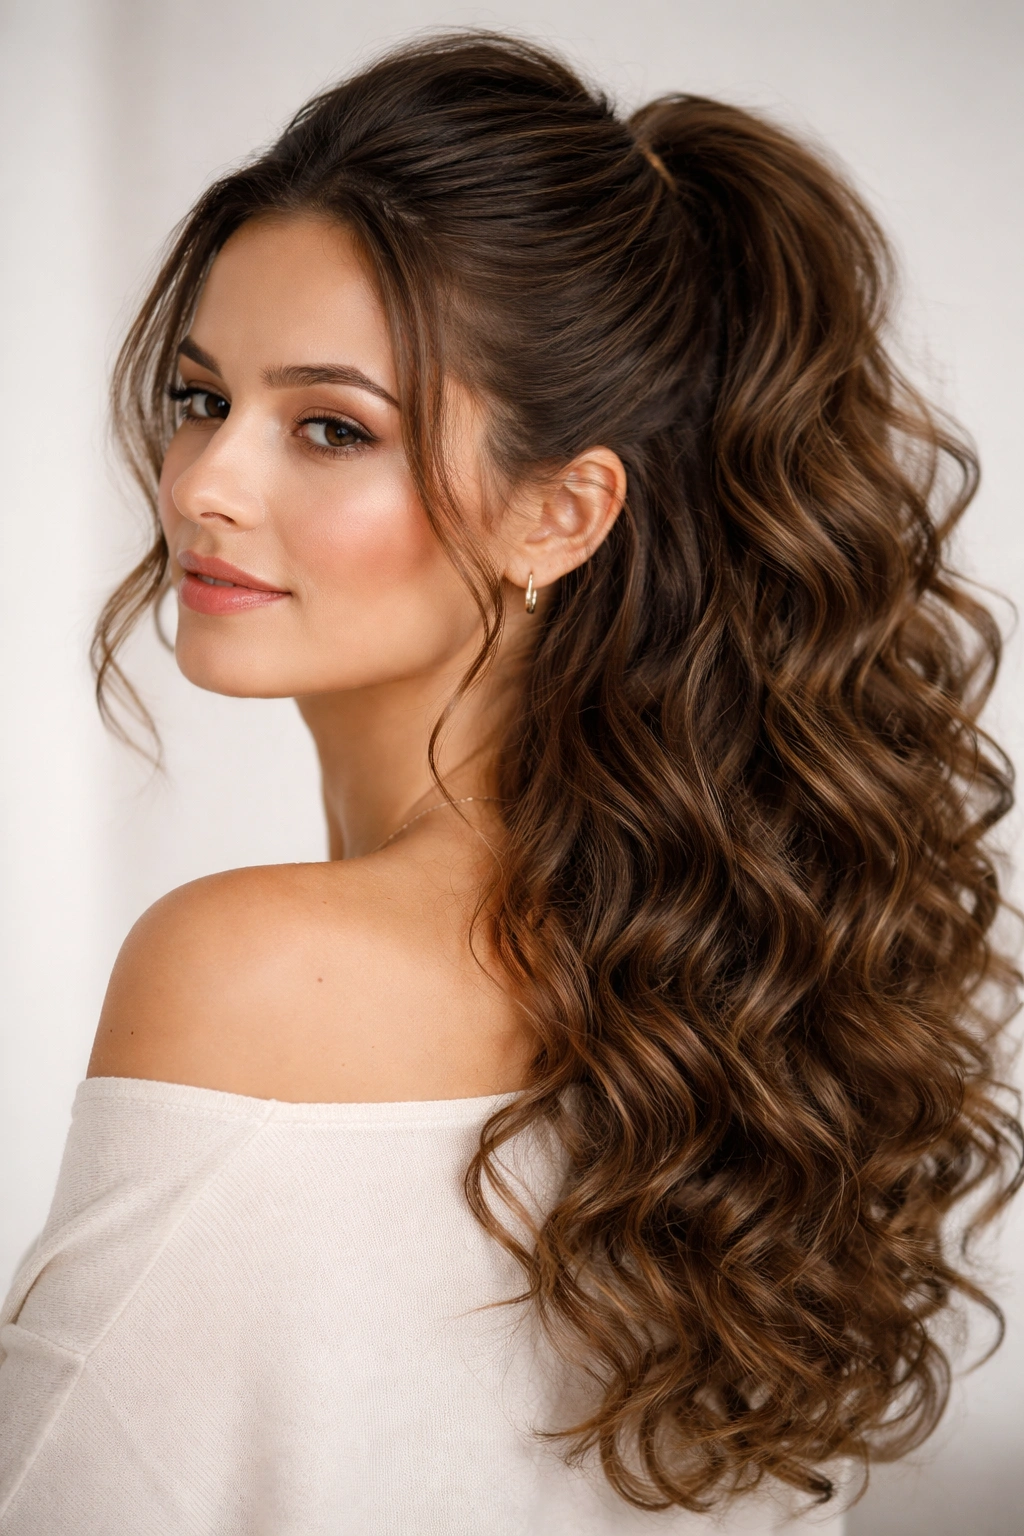
2. The Defined Spiral Ponytail
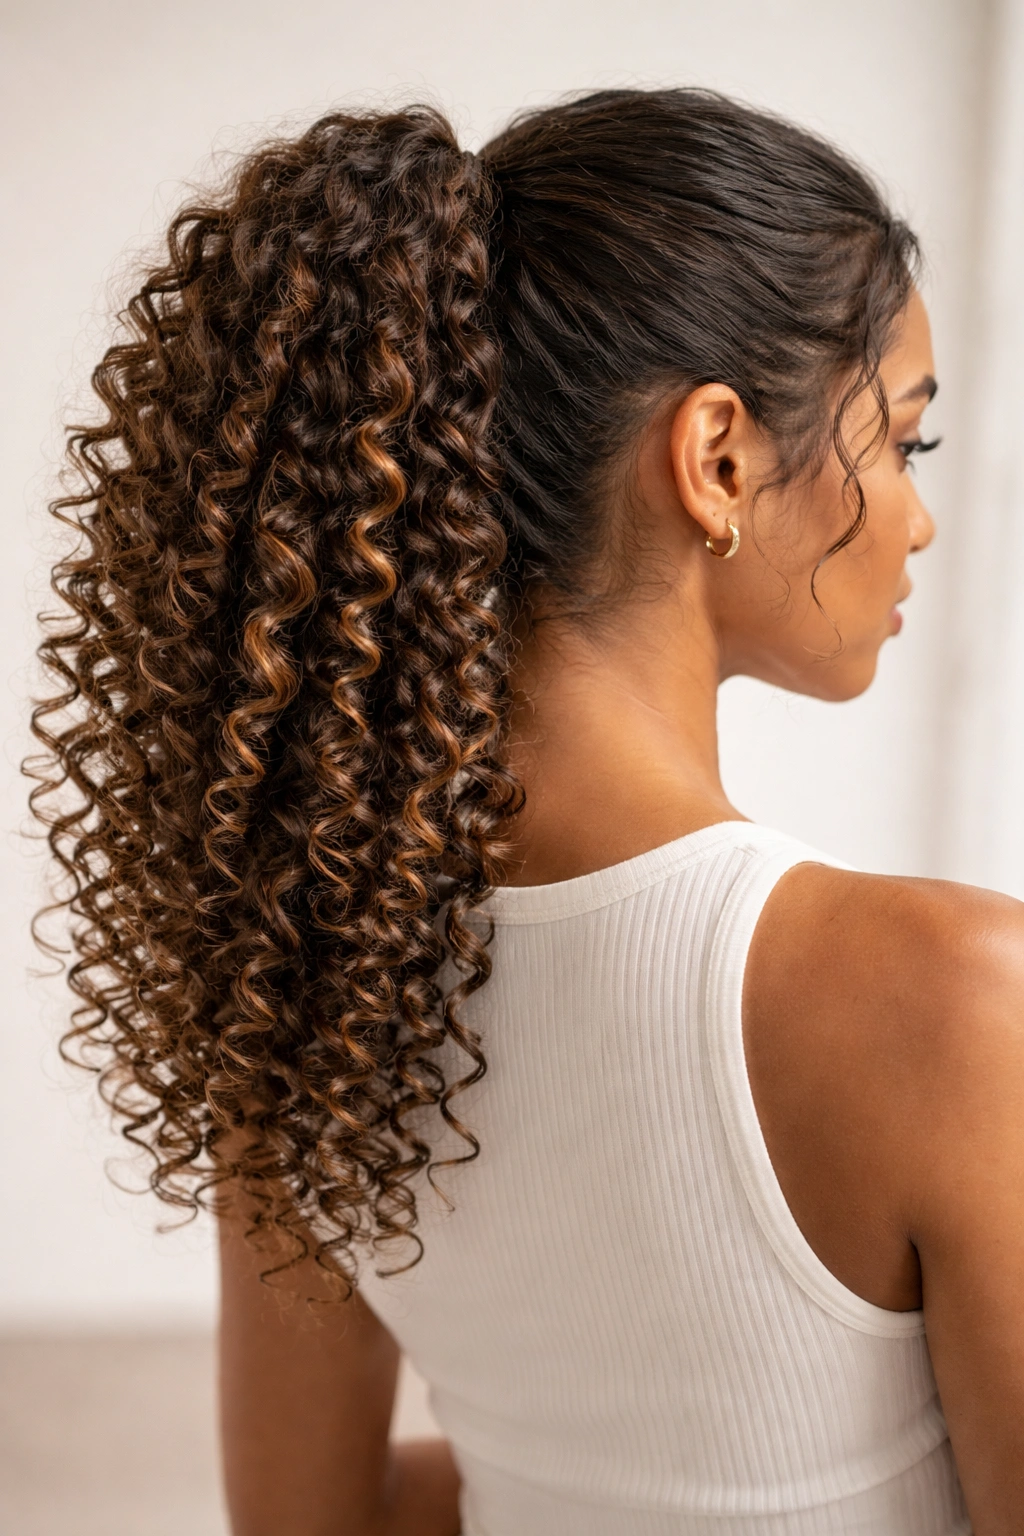
This style celebrates individual curl ringlets by keeping them separated and spiraling throughout the ponytail length. Instead of one blended ponytail, you’re actually creating a collection of distinct curls that twist together, giving you dimension, texture, and undeniable movement.
The Magic Behind Separated Curls
When you work with your curls individually rather than gathering them as one mass, each ringlet stays defined and bouncy. This approach actually reduces frizz because you’re not disrupting the curl pattern by blending everything together. The spiral effect comes from the way individual curls naturally twist as they fall, and when you work with that rather than against it, the whole style becomes more dynamic and easier to maintain.
Building Your Spiral Ponytail
- Start with curls that have been freshly defined — either fresh from a wash or refreshed with water and product
- Section your hair into 4-6 larger sections, applying a lightweight curl-defining cream to each
- Gather each section separately at the crown, twisting slightly as you bring it up
- Secure all sections together with a soft elastic or multiple smaller elastics stacked on top of each other
- Separate each twisted section slightly so individual curls remain visible within the ponytail
- Use a diffuser or air dry for maximum definition, or simply leave it to set as is
- The more you embrace the individual curl separation, the more striking the final look becomes
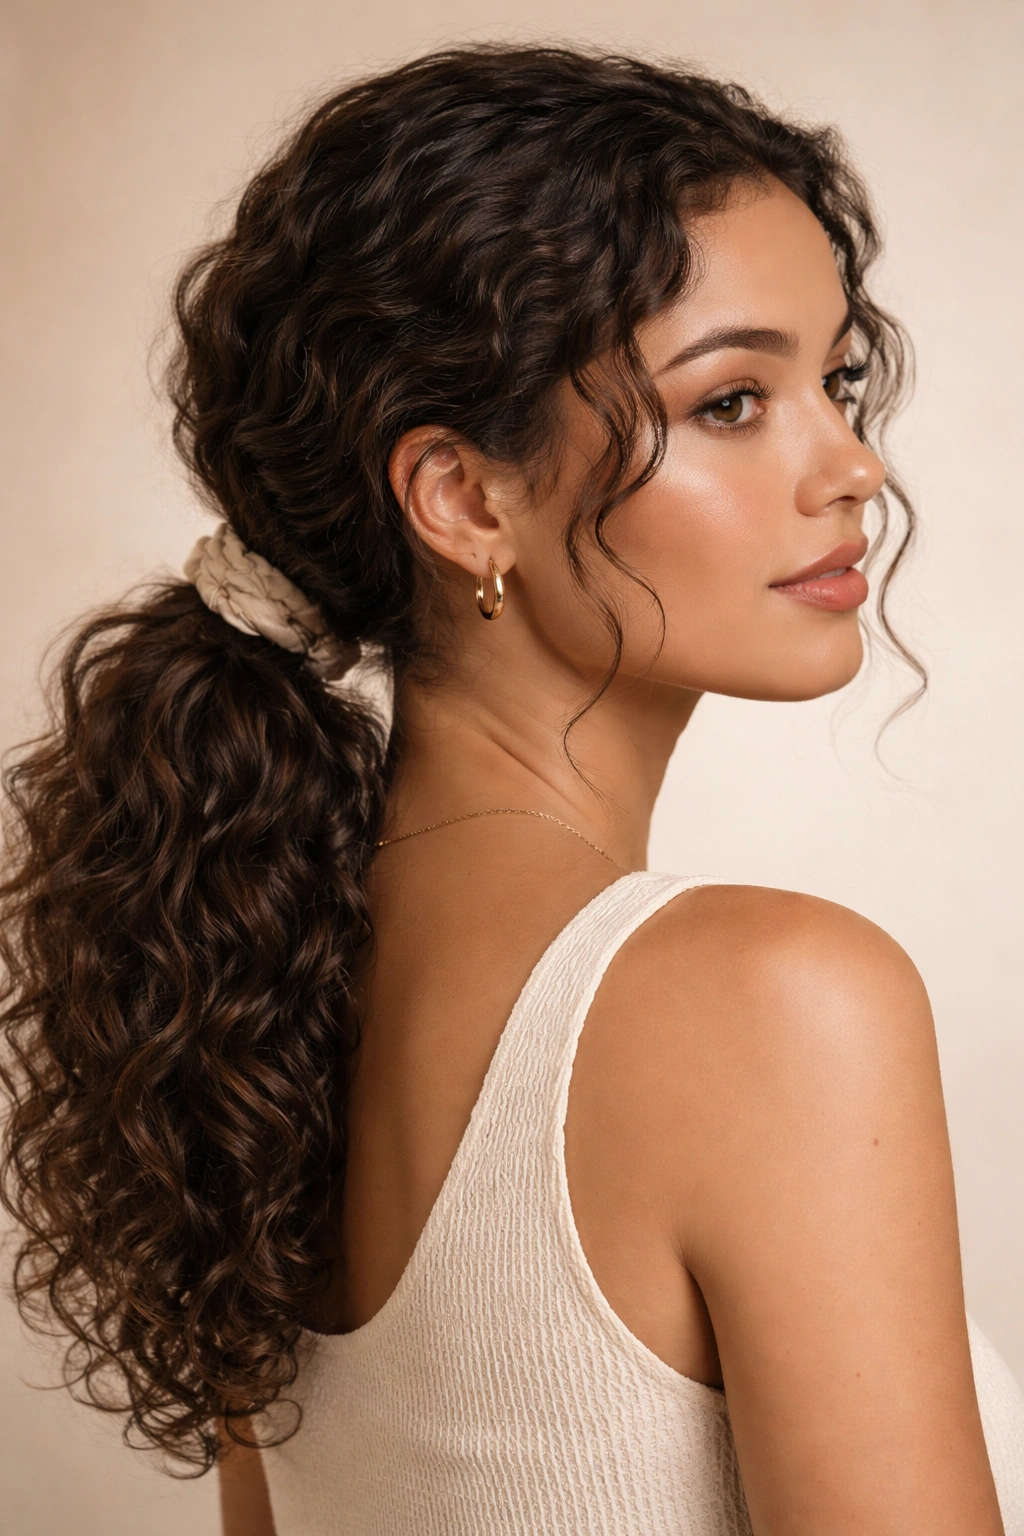
3. The Low Textured Pony with Face-Framing

A low ponytail positioned at the nape of your neck instantly feels elegant and effortless, especially when you intentionally leave soft waves framing your face. This style works for everything from casual weekends to professional settings, and the face-framing softens the look considerably.
Why Low Ponytails Suit Curly Hair
Positioning your ponytail lower on the head actually reduces tension on your hairline, which is gentler on textured hair that’s often more delicate in those areas. The lower placement also shows off your curl pattern beautifully because less hair is gathered tight at the crown. By leaving face-framing pieces, you add softness and dimension while the secured portion keeps everything intentional and polished.
Steps to Perfect Your Low Pony
- Apply a smoothing cream or serum to your curls to reduce frizz while maintaining texture
- Brush your curls gently from the crown to gather them loosely, working from ear to ear
- Leave 2-3 inch sections on each side of your face completely loose — these are your frame pieces
- Gather the remaining hair into a low position at the nape, securing with a soft elastic
- Take one small section from the ponytail and wrap it around the elastic to cover it
- Gently pull at the sides of the gathered section to add softness and dimension
- Separate your face-framing pieces into individual curls, twisting each one gently for extra definition
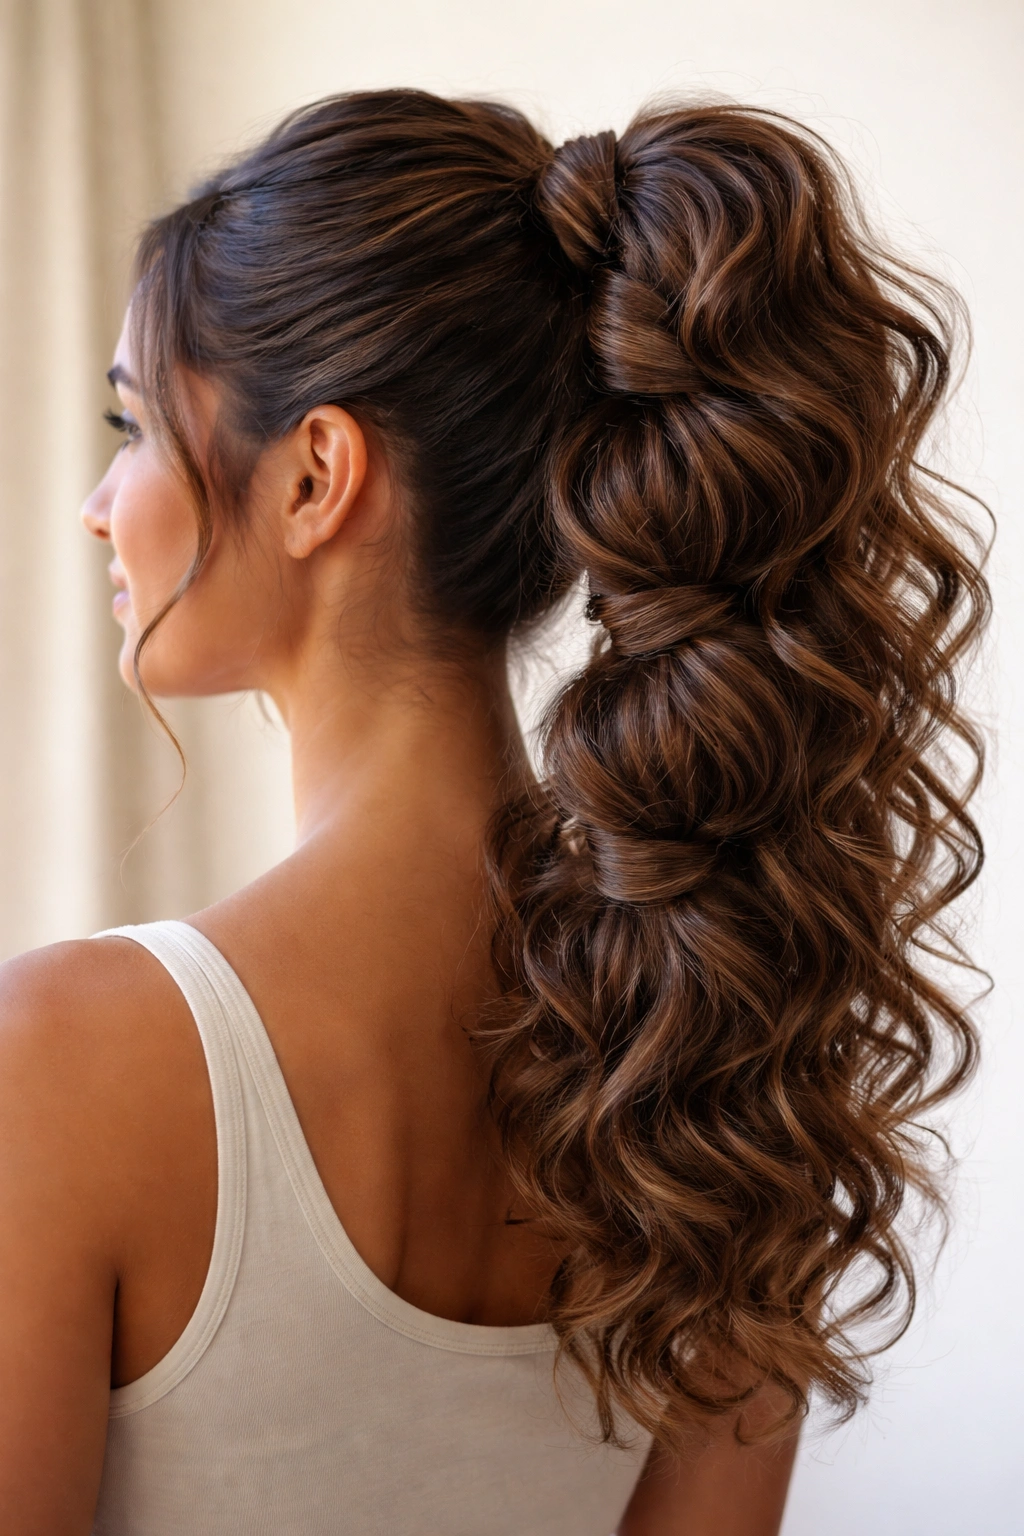
4. The Twisted Crown Ponytail
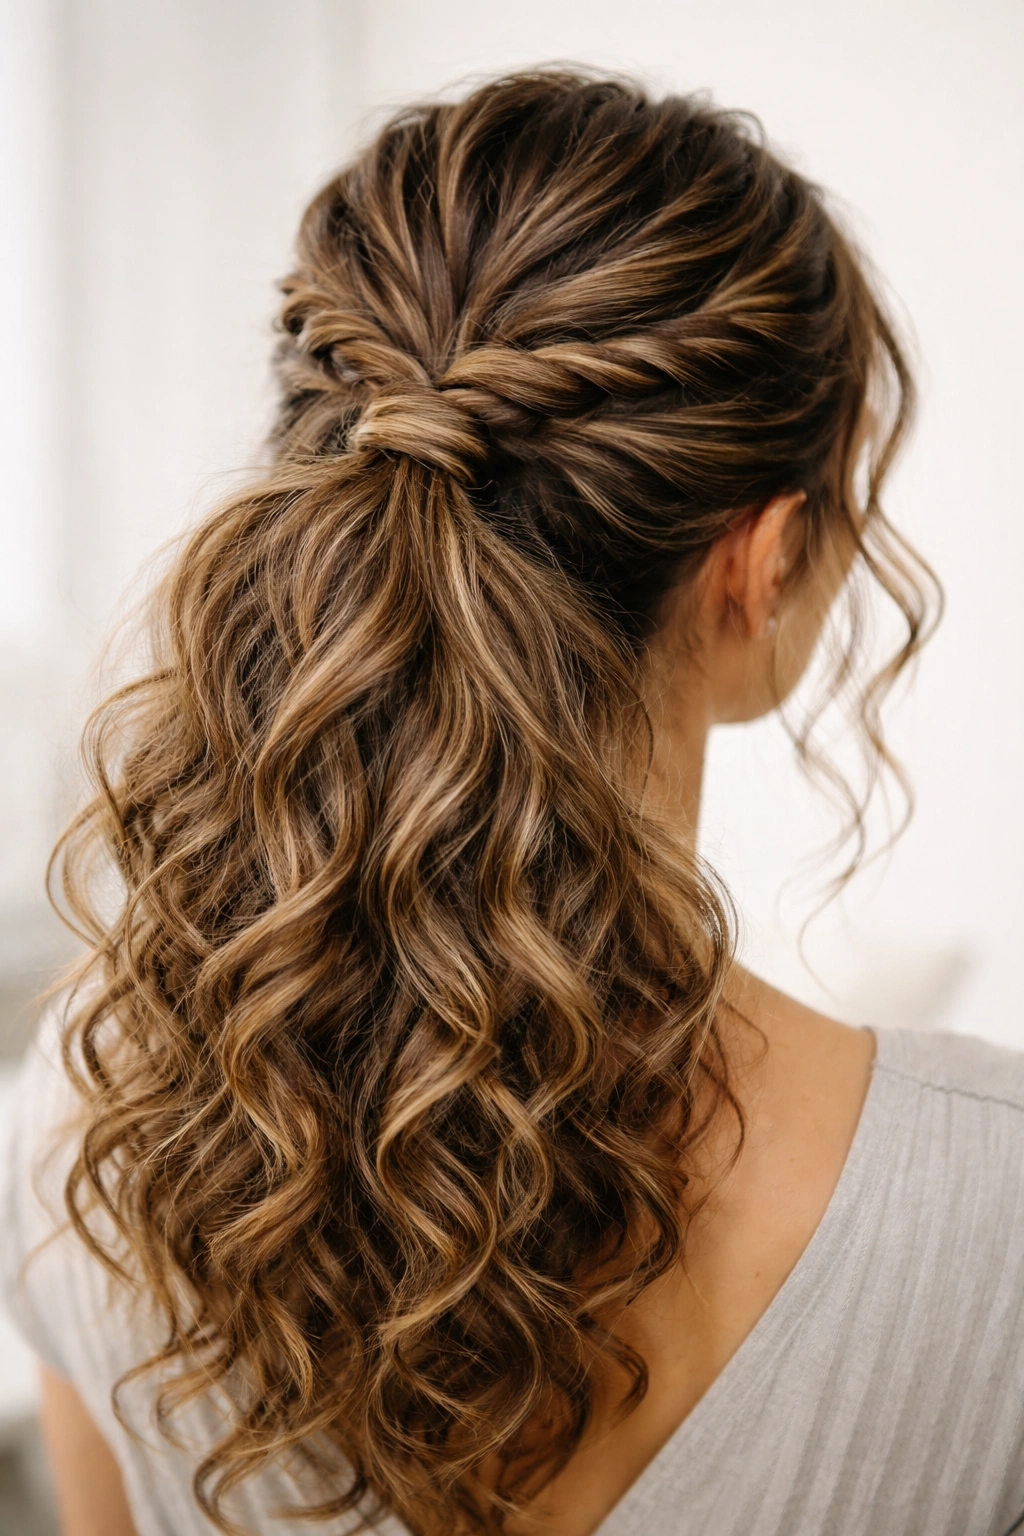
A twisted crown ponytail wraps sections of hair around your head before gathering it into a ponytail, creating a gorgeous braided or twisted effect that looks far more complicated than it actually is. This style works especially well on wavy hair because the twists naturally soften and create dimension.
The Appeal of Twisted Sections
Twisting your curls as you bring them back actually helps contain frizz while keeping the curl pattern intact. Each twist acts like a natural definition agent, and when you gather all those twisted sections together, you get a style that looks intentional and polished. The twists also add height and visual interest without requiring you to blow-dry your hair smooth or use heavy products.
Creating Your Twisted Crown
- Start with damp or refreshed curls with product applied for definition and hold
- Take a 2-inch section from one side of your head and twist it as you bring it toward the back
- Pin that twist temporarily if needed, or keep holding it
- Continue taking small sections from around your head, twisting each as you go
- Gather all your twisted sections at the crown or the nape (depending on the look you want) into a ponytail
- Secure with a soft elastic and gently pull at the twists to loosen them slightly
- Separate the ponytail itself into individual curls to complete the textured look
5. The Softly Braided Low Pony
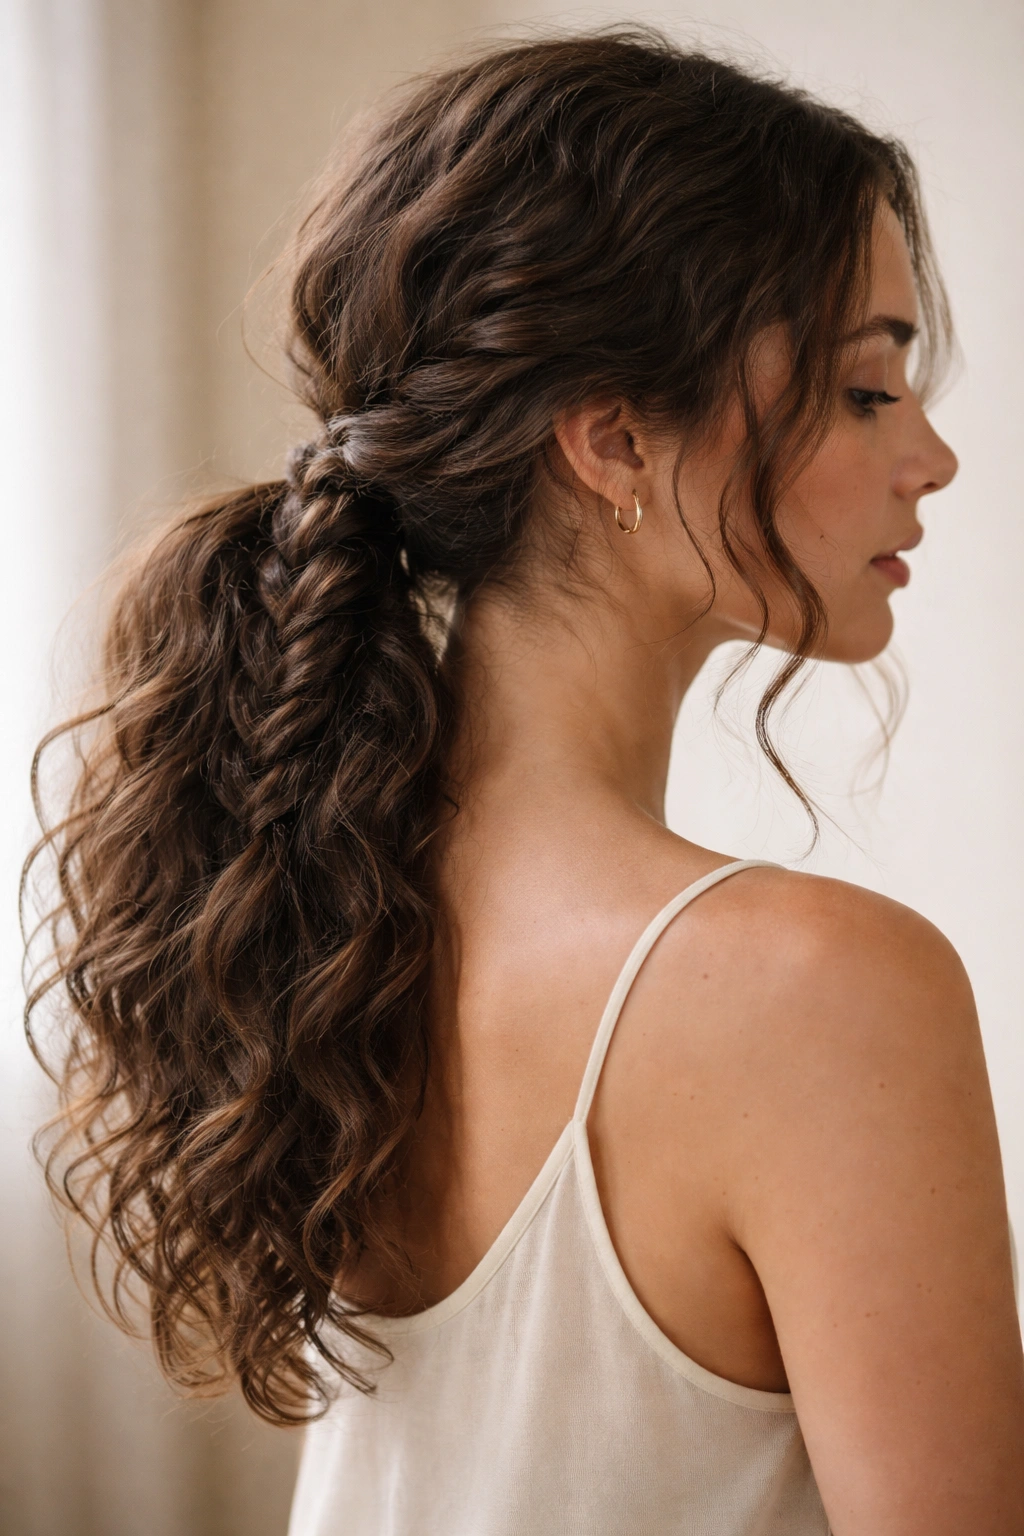
A soft braid incorporated into your ponytail adds texture and visual interest while keeping your curls protected and defined. Unlike tight braids that can distort your curl pattern, a softly braided ponytail embraces your texture while adding structured style.
Why Braids Work with Curls
Braids actually help define your natural curl pattern when done loosely, because they create space between strands that allows each curl to set individually. A tight braid can disrupt curls, but a soft braid that’s loosened after creation celebrates them. The braid also helps blend your face-framing pieces into the overall style while keeping them soft and natural-looking.
Braiding Technique for Curly Hair
- Gather your ponytail and divide it into three sections as you would for a regular braid
- Braid loosely, using the braid more as a guide for how you gather the curls rather than pulling tight
- After completing the braid, gently pull at each section of the braid to loosen it and release curl pattern
- Keep your face-framing pieces soft and separate from the braid — they should frame, not be braided
- Use a light hairspray to help hold the style, but avoid anything that would stiffen the braided section
- The final look should have the braid visible but soft, with individual curls still defining the pattern throughout
6. The Half-Up Curly Gather
A half-up style gathers only your top half, leaving your bottom half completely down and curly. This style is genuinely the best of both worlds — polished enough for a work setting but relaxed enough to feel effortless and authentic to your texture.
The Power of Partial Gathering
By keeping half your hair down, you’re reducing the amount of tension on your scalp and hairline while still creating a defined, intentional style. The gathered portion shows that you’ve styled intentionally, while the down portion lets your curl pattern fully express itself. This combination also creates the illusion of more volume and movement than a full ponytail typically allows.
Building Your Half-Up Pony
- Apply a lightweight styling cream to damp or refreshed curls
- Take hair from ear to ear across the back of your head, leaving everything below this line completely loose
- Gather the back section and clip it with a claw clip positioned horizontally — this keeps it secure but soft
- Separate the clipped section gently so it doesn’t look too tight or pulled
- Flip your head and check how it looks — you want the gathered section to be noticeable but not overly tight
- Rough up the texture of the gathered section and your down curls for a unified, intentional look
- You can also twist the gathered section before clipping for extra dimension and visual interest
7. The Coiled Bun Ponytail
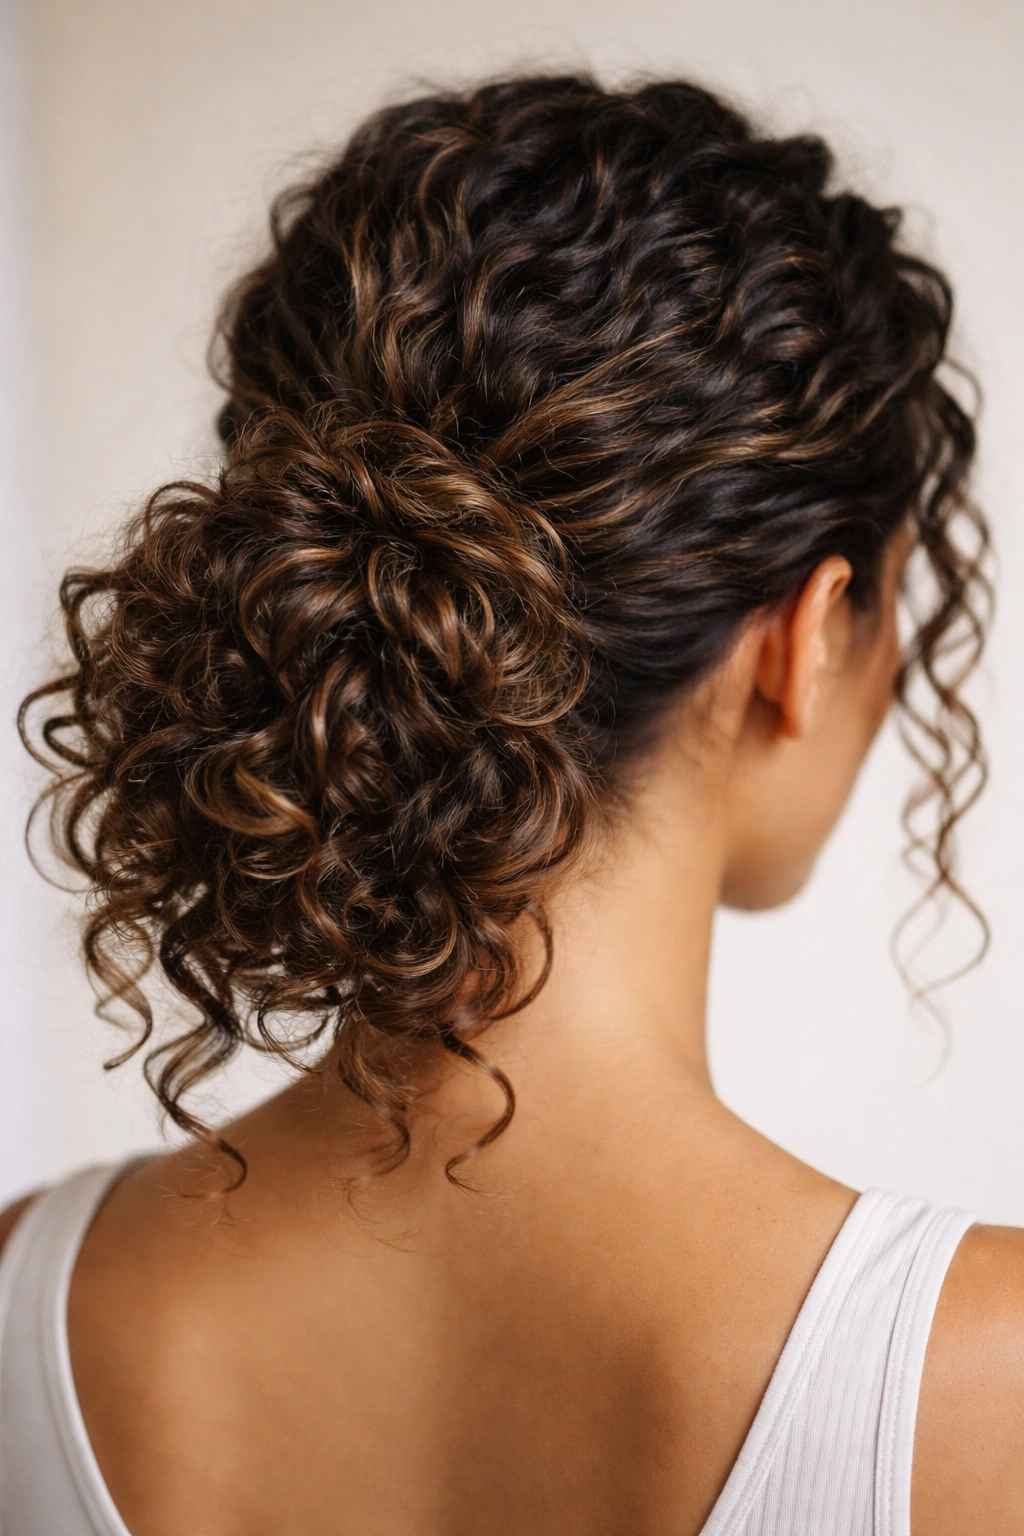
Instead of a standard ponytail, wrap your curls into a soft coil or twisted bun at the crown or nape. This style gives you the polished impression of an updo while still celebrating your curl pattern and keeping your hair healthy.
Why Buns Work Better Soft
A tight bun puts tremendous stress on the hair at your edges and scalp, which is especially problematic for textured hair. A loose, coiled bun, on the other hand, actually reduces tension while creating an intentional, polished look. The coiled bun also allows your curls to maintain their pattern even while being styled up, which means the bun itself becomes a textured, interesting style element rather than just a containment strategy.
Creating Your Coiled Bun
- Gather your hair into a low or high ponytail, depending on where you want your bun positioned
- Divide the ponytail into 3-4 sections
- Twist each section loosely, then coil that twist onto itself, pinning as you go
- Don’t pull everything tight — you want the coil to be visible and soft
- Pin with bobby pins that match your hair color, tucking them into the coil so they’re hidden
- Leave a few individual curls loose around the bun’s base to soften the look
- Gently pull at the coils to release them slightly, showing off texture and curl definition
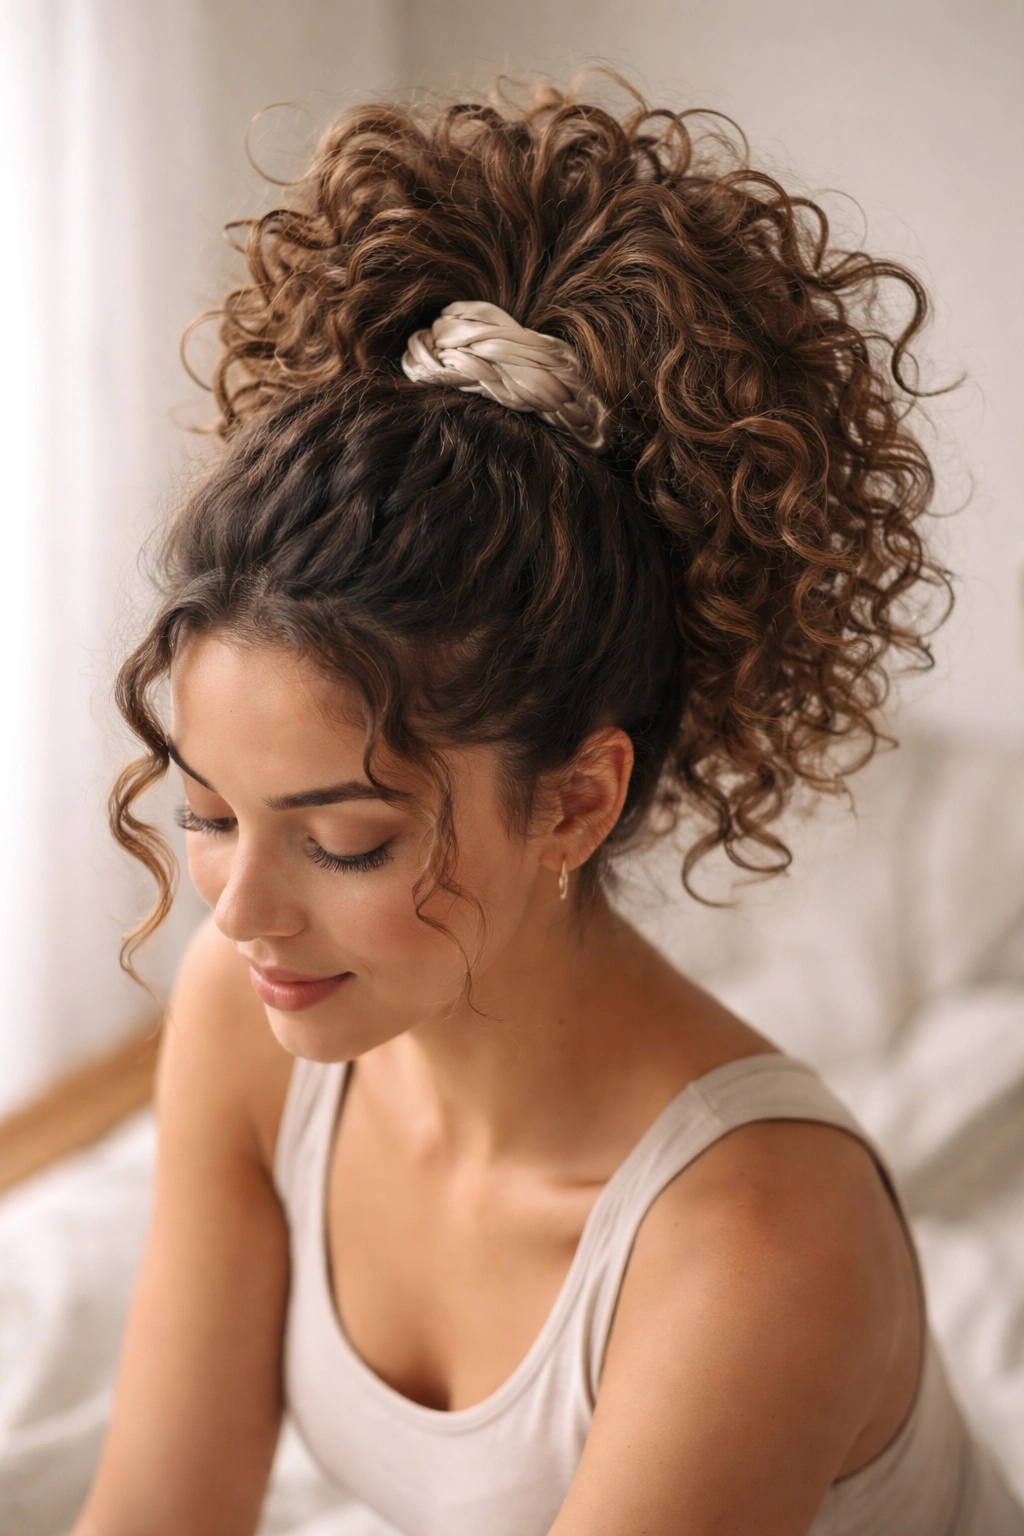
8. The Messy Top Knot Ponytail
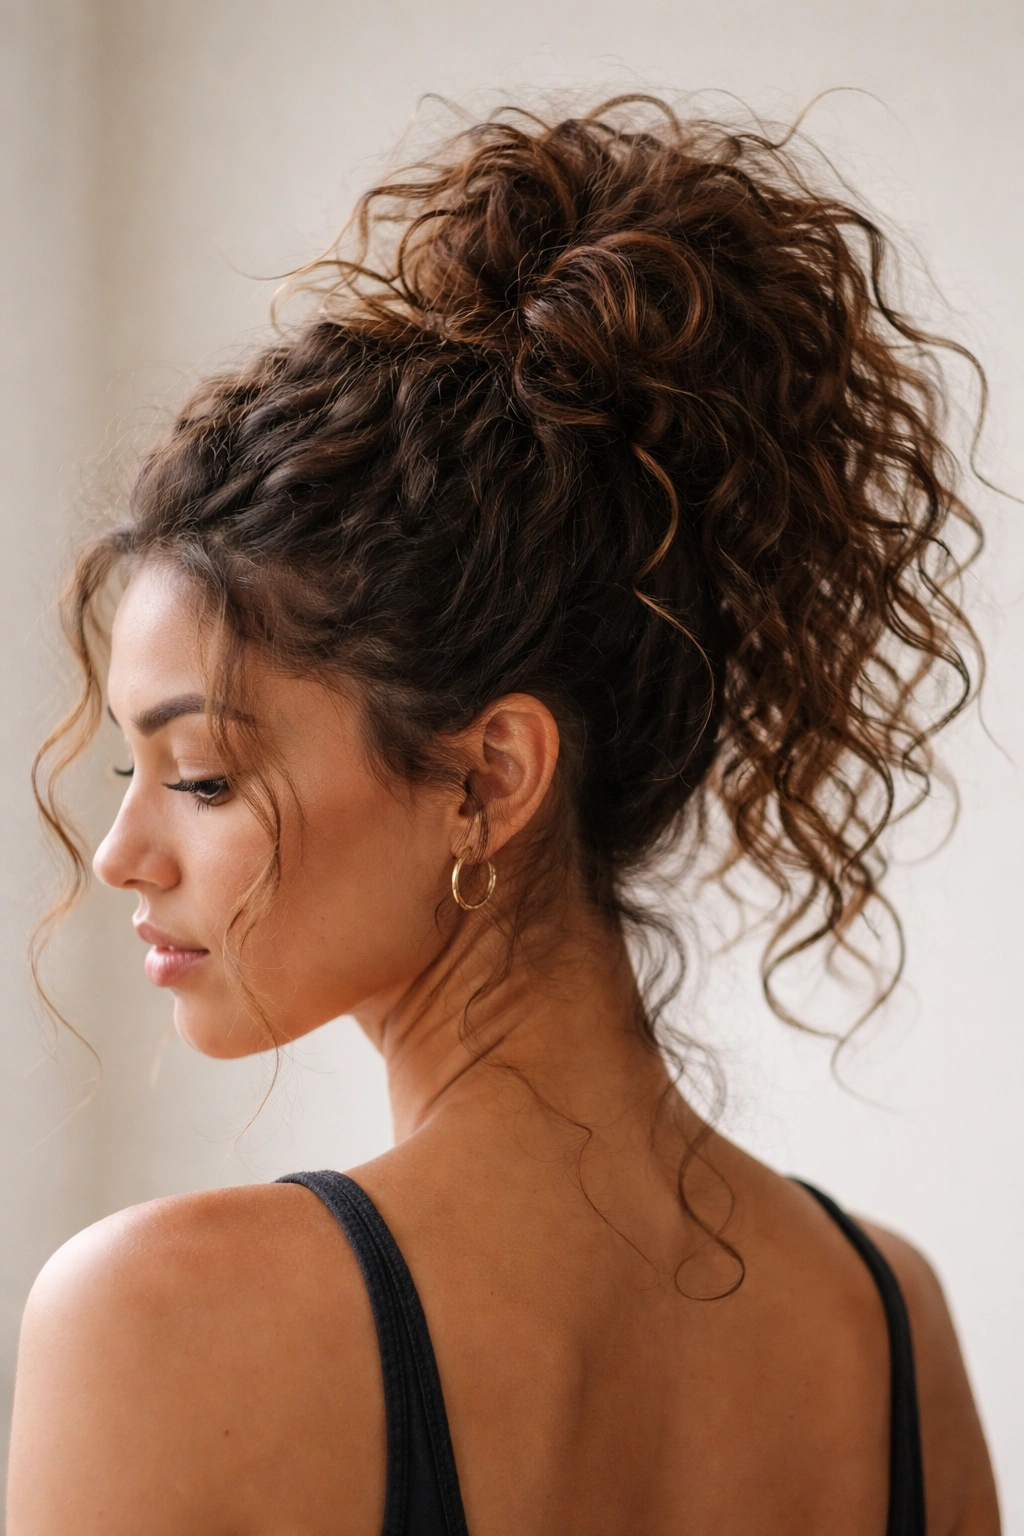
A top knot is basically a ponytail twisted up on itself into a knot at the crown. The “messy” version embraces your natural texture and volume rather than trying to create something tight and controlled, which actually makes it easier to execute on curly hair.
Messy Is the Point
When you’re working with a messy top knot on curly hair, you’re not trying to create something perfectly smooth — you’re creating something that looks intentionally undone while still being clearly styled. This means your curl pattern, some frizz, and your natural texture are all part of the aesthetic. It’s a style that actually looks better when it’s not overly controlled, which is perfect for curly-haired people.
Your Messy Top Knot Steps
- Gather your hair at the crown into a high ponytail, leaving it slightly loose
- Twist the ponytail gently as you bring it around itself, creating a knot shape
- Pin the knot in place with bobby pins, leaving it deliberately soft and full
- Don’t worry about hair strays — they’re part of the aesthetic
- Leave face-framing pieces loose if you want to soften the look
- You can also use a hair stick or fork instead of bobby pins for a different textured look
- The more texture and movement you maintain, the more striking and intentional the style becomes
9. The Wet-Look Sleek Pony
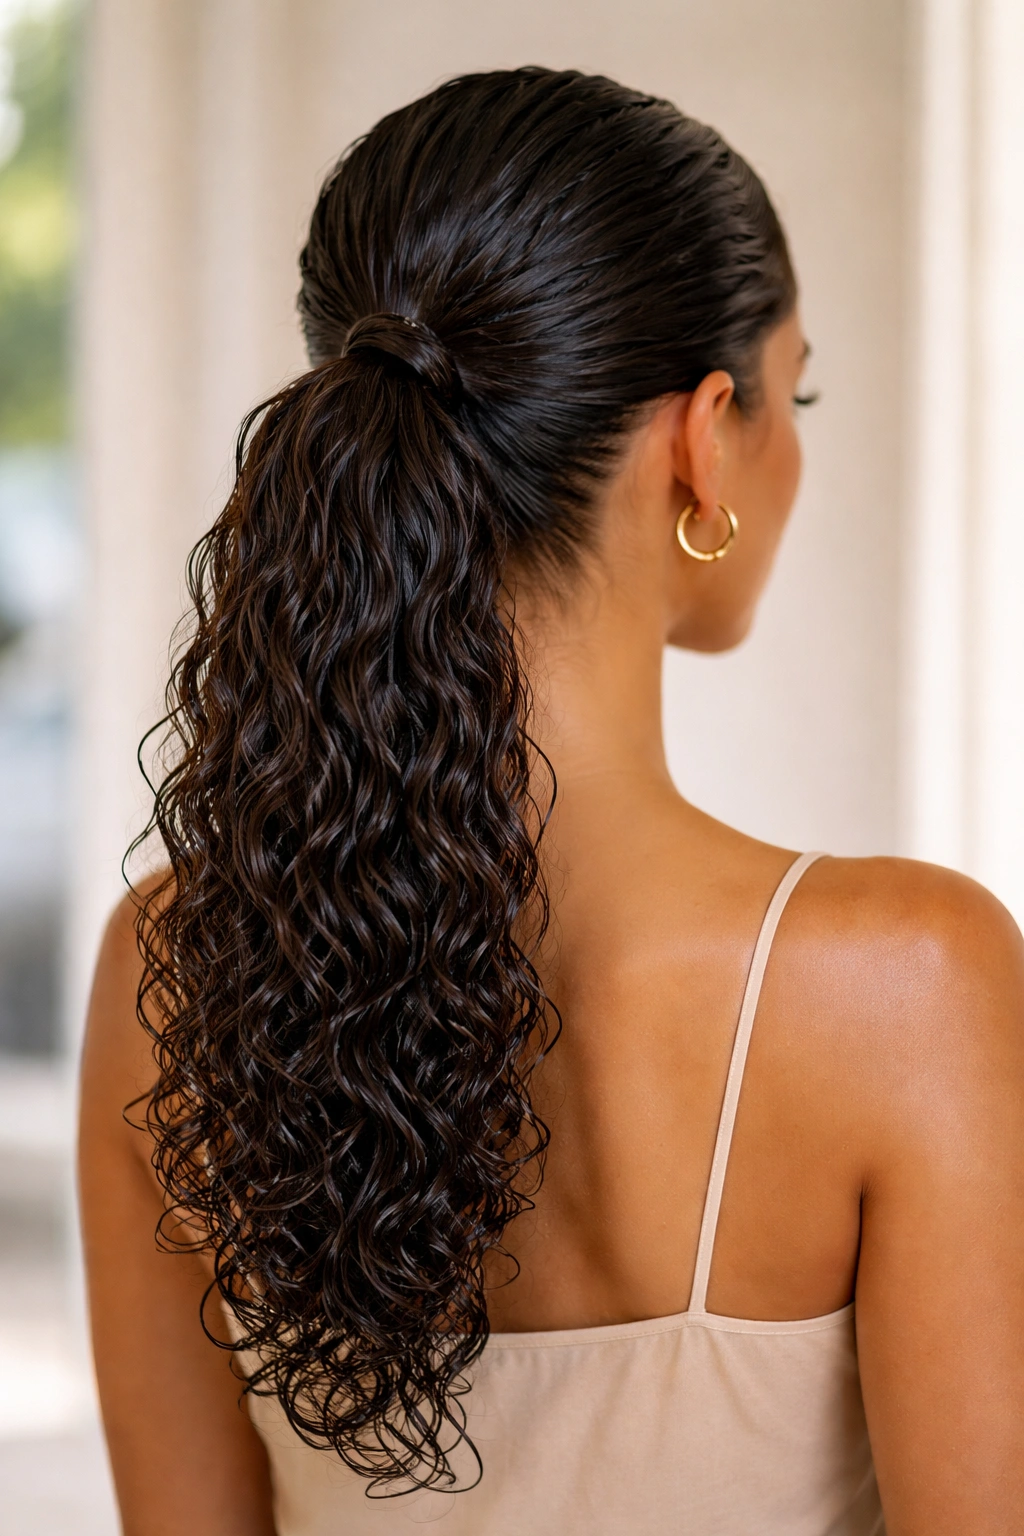
Despite being called “sleek,” this style actually works beautifully with texture because you’re using a wet-look product to define and hold rather than trying to blow-dry everything smooth. Your curls stay defined while looking polished and intentional.
How Wet-Look Products Enhance Curls
A wet-look gel or lightweight wax applied to curls doesn’t smooth them — it defines them while adding shine and hold. This means your curl pattern becomes even more visible and defined, not less. The slicked-back effect comes from the product’s hold and shine, not from flattening your texture. On curly hair, this creates a style that’s undeniably polished while still celebrating your natural pattern.
Creating Your Wet-Look Ponytail
- Apply a wet-look gel or lightweight wax to damp or dry curls, scrunching gently to work it through
- Use a fine-tooth comb or brush to gather your hair back into a ponytail position
- The comb helps distribute the product and creates that slicked effect while your curls stay defined underneath
- Secure with a strong-hold elastic that matches your hair color
- Gently scrunch the gathered section to keep some volume and texture — don’t flatten it
- Take a small section from the ponytail and wrap it around the elastic to finish
- The shine from the product is what makes this look intentional and polished, not smoothness
10. The Side Ponytail with Loose Waves
A side ponytail positioned over one shoulder brings drama and movement while celebrating your texture. This style works especially well on longer hair and genuinely shows off your curl or wave pattern beautifully.
Why Side Changes Everything
Moving your ponytail to the side instantly creates asymmetry and movement that makes the style feel less formal and more interesting. The side position also lets your curls drape and move in a way that a centered ponytail doesn’t quite allow. On textured hair, this movement is exactly what you want — it shows off the natural bounce and dimension of your curls.
Building Your Side Pony
- Apply a curl-enhancing cream or gel to your curls to define them and give them hold
- Flip your head to one side and gather hair as if you’re making a side ponytail, but leave it loose
- You can brush gently or use your fingers — fingers work better for keeping texture
- Secure with a soft elastic positioned toward one side of your head
- Leave a few pieces around your face completely loose and unincorporated
- Separate the ponytail into sections and gently pull to add softness and dimension
- Let the ponytail drape over your shoulder for maximum movement and visual interest
11. The Pineapple Ponytail for Overnight Hold
The pineapple ponytail is specifically designed to protect your curls while you sleep so they look fresh and defined the next day. It’s a high, loosely gathered ponytail that keeps your curls from flattening against your pillow while letting them set in their natural shape.
Why Pineappling Protects Your Curls
When you sleep with curls loose against a pillow, the friction flattens them on one side and frizzes them overall. A pineapple ponytail keeps your curls suspended and protected by gathering them high on your head with a soft elastic. The key is keeping it loose enough that the curls aren’t distorted, but secure enough that it stays put throughout the night.
Your Overnight Pineapple Routine
- Before bed, flip your head upside down and gather your curls at the crown into a very high ponytail
- Use a soft elastic or a silk scrunchie — something that won’t create creases or cause friction damage
- Keep the ponytail loose — you’re not going for a tight, polished look; you’re going for protection
- Make sure all your curls are cradled by the ponytail, not flattened against the side of your head
- Wrap a silk scarf or bonnet loosely around the ponytail for extra protection if you want
- In the morning, gently release the ponytail and scrunch your curls to reactivate the pattern
- Your curls should be bouncy and defined, ready to style or wear as-is
12. The Curled-Out Wrapped Ponytail
This style creates maximum visual drama by wrapping sections of your ponytail outward and around each other, creating a circular, dimensional effect. It’s an advanced style that looks far more complicated than it actually is.
Creating Dimensional Movement
By wrapping sections of your ponytail back around each other, you’re creating space and dimension that shows off multiple layers of your curl pattern. Each wrapped section creates a frame for the section beneath it, which multiplies the visual impact. The result looks intricate and intentional while still celebrating natural texture.
Steps to Your Wrapped Ponytail
- Gather your hair into a high or mid-height ponytail with a soft elastic
- Divide the ponytail into 4-6 sections, depending on thickness and desired visual impact
- Take one section and wrap it around the elastic and back around the others, securing with a bobby pin
- Take the next section and wrap it over the first wrapped section, continuing the circular pattern
- Keep wrapping sections around each other until all are incorporated or you’ve created the effect you want
- Gently pull at each wrapped section to loosen it and show off curl definition
- Separate individual curls within each section for maximum texture and movement
- The final look should be dimensional, with multiple layers of curls visible at different depths
13. The Edge-Control Baby Hair Ponytail

This style uses edge control and a sleek base to create contrast between the controlled gathered section and the free-moving curls in your ponytail. The edge control frames your face beautifully while the gathered section keeps everything intentional and polished.
The Power of Framing Your Face
When you use edge control along your hairline and part, you’re creating a polished frame that makes the rest of your style appear more intentional. The smoothed edges contrast beautifully with your textured ponytail, and the overall effect is undeniably professional and put-together. This technique works across all settings, from casual to formal, depending on what you wear it with.
Executing Your Edge-Control Pony
- Apply edge control to your hairline and the area around your part, smoothing with a fine-tooth comb or soft toothbrush
- Create a clean part where you want it, using the comb to establish clear lines
- Gather your hair into your desired ponytail position, using the smoothed edges as your guide
- The gathered section can be slightly textured or smooth depending on your preference
- Secure with an elastic that matches your hair color
- Wrap a small section from the ponytail around the elastic to hide it
- The contrast between your smoothed edges and textured ponytail is what makes this style striking
Final Takeaway
The best ponytail for your wavy or curly hair is one that works with your texture rather than fighting against it. Every style here celebrates your natural pattern, protects your hair from unnecessary tension and manipulation, and looks genuinely beautiful because it’s authentically you. The key to success with any of these styles is using lightweight products that define without stiffening, choosing soft elastics and hair accessories that won’t cause breakage, and embracing the idea that your ponytail doesn’t need to look slick or smooth to look intentional and polished.
Start with whichever style calls to you, but don’t be afraid to experiment. Your curls are unique, and what works beautifully for one person’s waves might need slight tweaking for yours. That’s not a failure — that’s just the reality of styling textured hair. Once you find the styles that work for your specific curl pattern, density, and lifestyle, you’ll have a rotation of go-to looks that keep your hair healthy, protected, and absolutely stunning. That’s the real goal here — looking and feeling your best while honoring the hair you naturally have.