A wet-look curly wig can look expensive in about ten seconds, or it can look like you sprayed half a bottle of gel on synthetic hair and hoped for the best. The difference is rarely the product itself. It’s where the shine sits, how much curl you leave free, and whether the roots look controlled instead of stiff.
Curly textures are forgiving in a way straight styles are not. They hide a little product, they keep shape when the hair is dampened, and they can make a wet finish look intentional rather than greasy. That’s why the best wet-look curly wig styles usually mix glossy roots with soft, clumped curls through the mid-lengths and ends. Too much product at the crown, though, and the whole thing turns helmet-like fast.
There’s also a big practical split people miss: a wet look on a curly wig does not always mean the same thing. Sometimes it means slick roots and defined spirals. Sometimes it means a soft, misted finish with plush curls that still move. And sometimes it means one clean detail — a part, a ponytail, a puff — doing most of the heavy lifting while the rest stays loose.
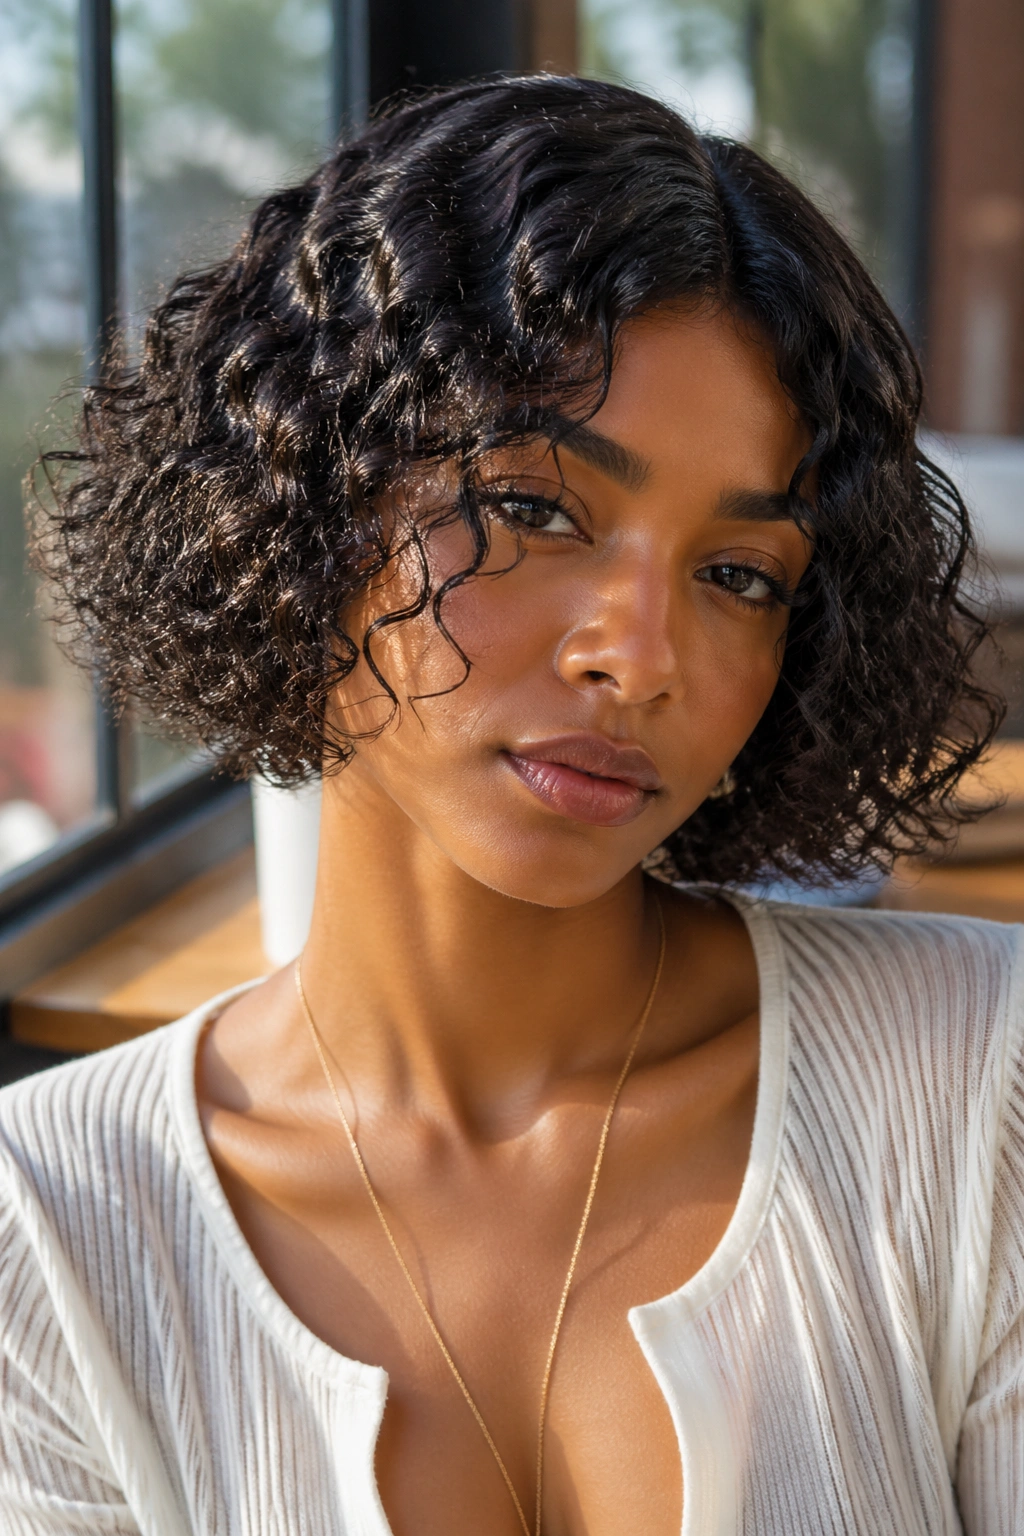
1. Classic Side-Part Wet-Look Ringlets
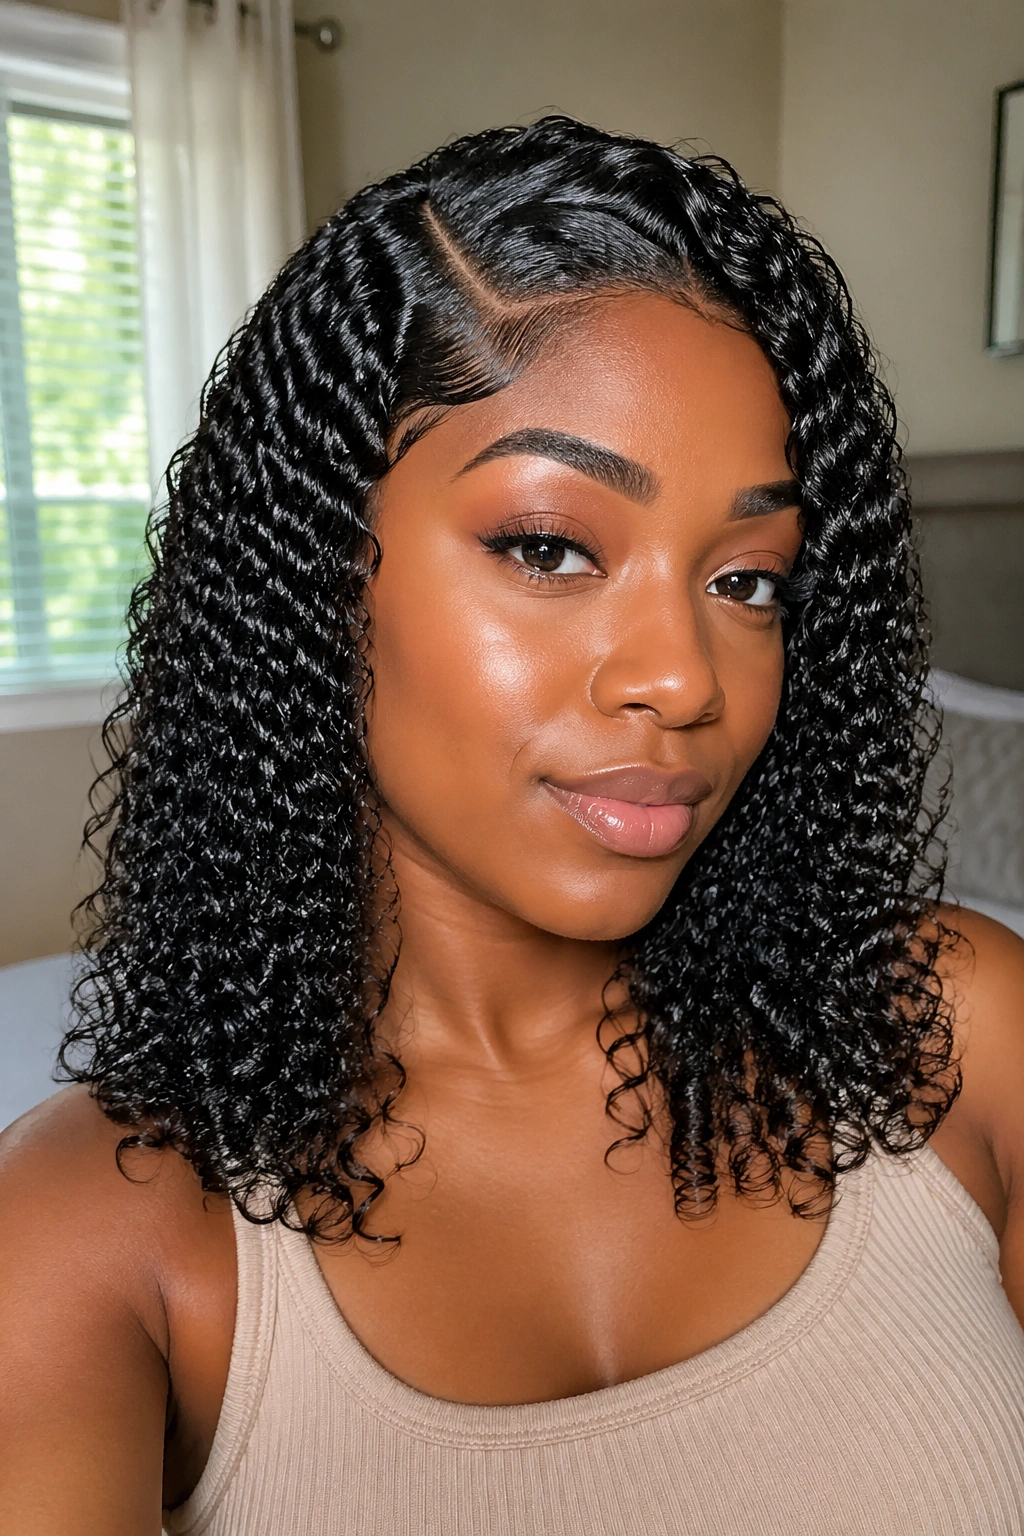
A side part does more work than most people give it credit for. On a curly wig, it shifts the weight of the hair, keeps the face from feeling boxed in, and gives the wet finish a clear direction instead of letting it sprawl everywhere.
Why the side part flatters curls
The side part is especially good when the wig has medium density and a curl pattern that wants to spring up. A clean part lets you smooth just the top inch or two, then leave the rest of the ringlets soft and separated. That mix matters. Wet look curls should read as defined, not flattened.
I like this style on shoulder-length units because the curls still have room to move. If the wig is longer, the side part can keep the top from looking too heavy. If it’s shorter, the part keeps the shape from feeling round in a boring way. Small detail, big payoff.
Quick styling notes
- Mist the roots lightly with water first.
- Brush the part into place with a tail comb.
- Press a thin layer of gel or mousse along the top only.
- Let the ringlets stay fluffy through the ends.
- Finish with a touch of shine serum on your palms, not directly on the wig.
Tip: If the part looks too neat, pull out two or three tiny curls near the hairline. That little bit of softness keeps the style from looking glued down.
2. Deep Side-Part With Sculpted Baby Hairs
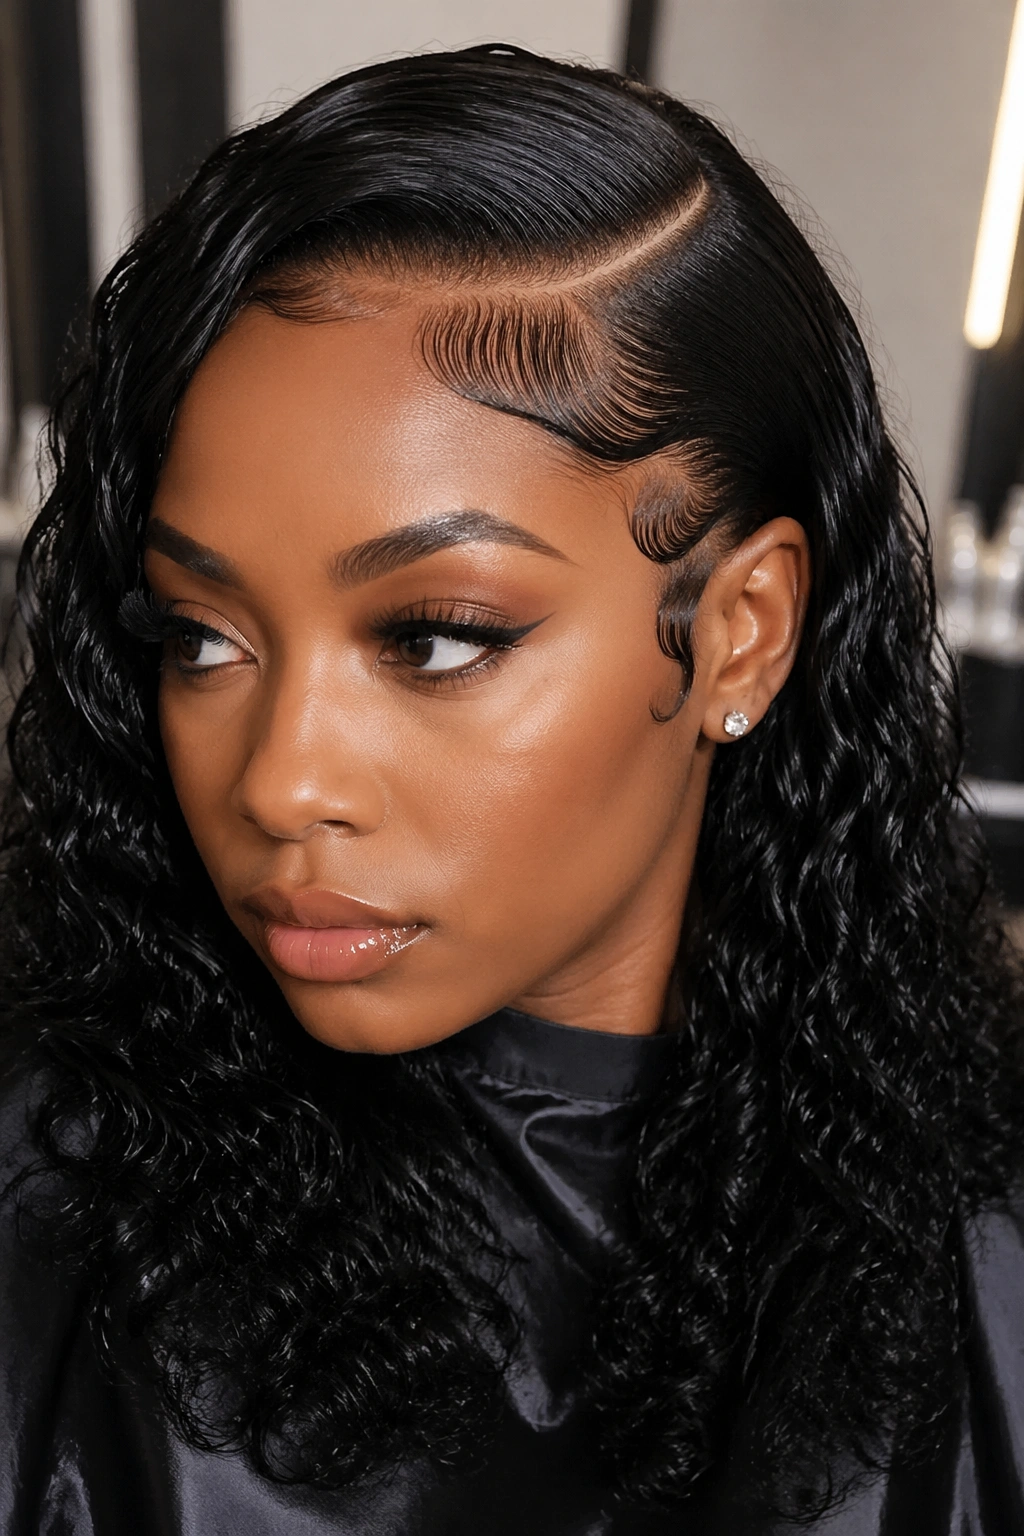
Want the hairline to do the talking? Go deep with the part and shape the front on purpose. This is one of those wet-look curly wig styles that can look red-carpet polished without needing a full updo, and it works because the contrast is sharp: sleek at the top, textured everywhere else.
The deep side part gives the wig a strong diagonal line, which is useful when the curls are dense or the lace needs a little extra help blending. Baby hairs matter here, but only if they’re clean and sparse. A few fine, curved tendrils beat a thick row of swoops every single time. Thick edges can make the style look cartoonish fast.
Keep the crown damp, not drenched. Use a small edge brush and a pea-sized amount of edge control, then lay the hairline into the direction of the part. After that, stop fussing. The curls should fall with some body, not be pressed into a shell.
This style looks especially good with earrings. Hoops, drops, even a simple stud. The open side gives your face room, and the curved front line makes the whole wig feel deliberate instead of accidental.
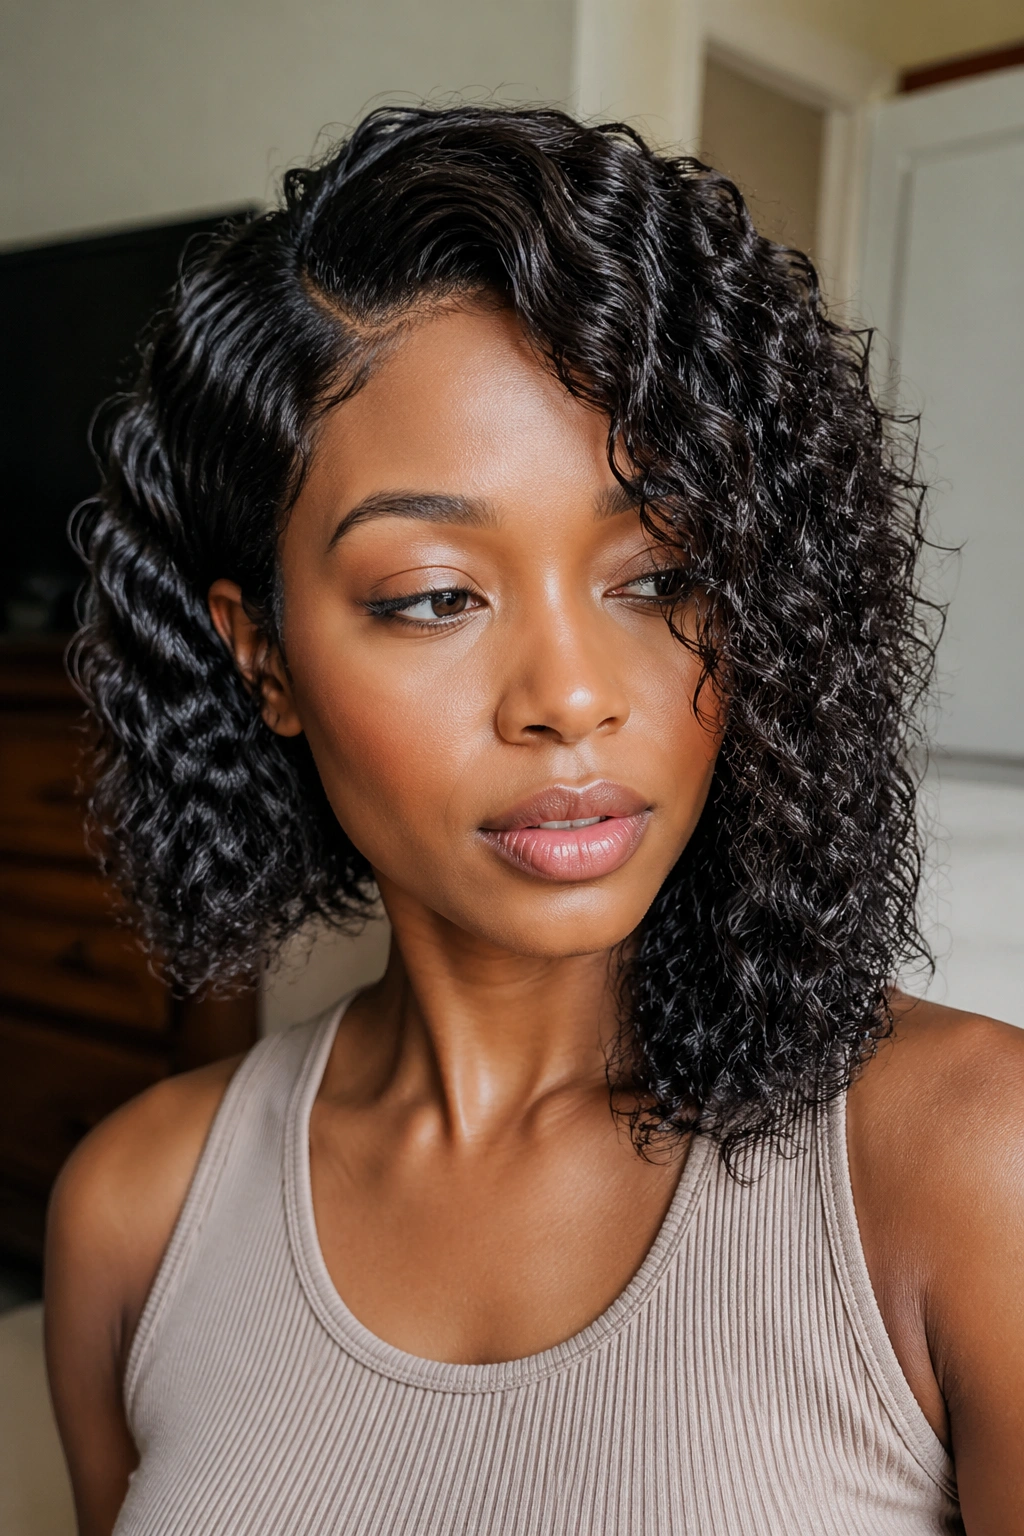
3. Middle-Part Wet-Look Spiral Length
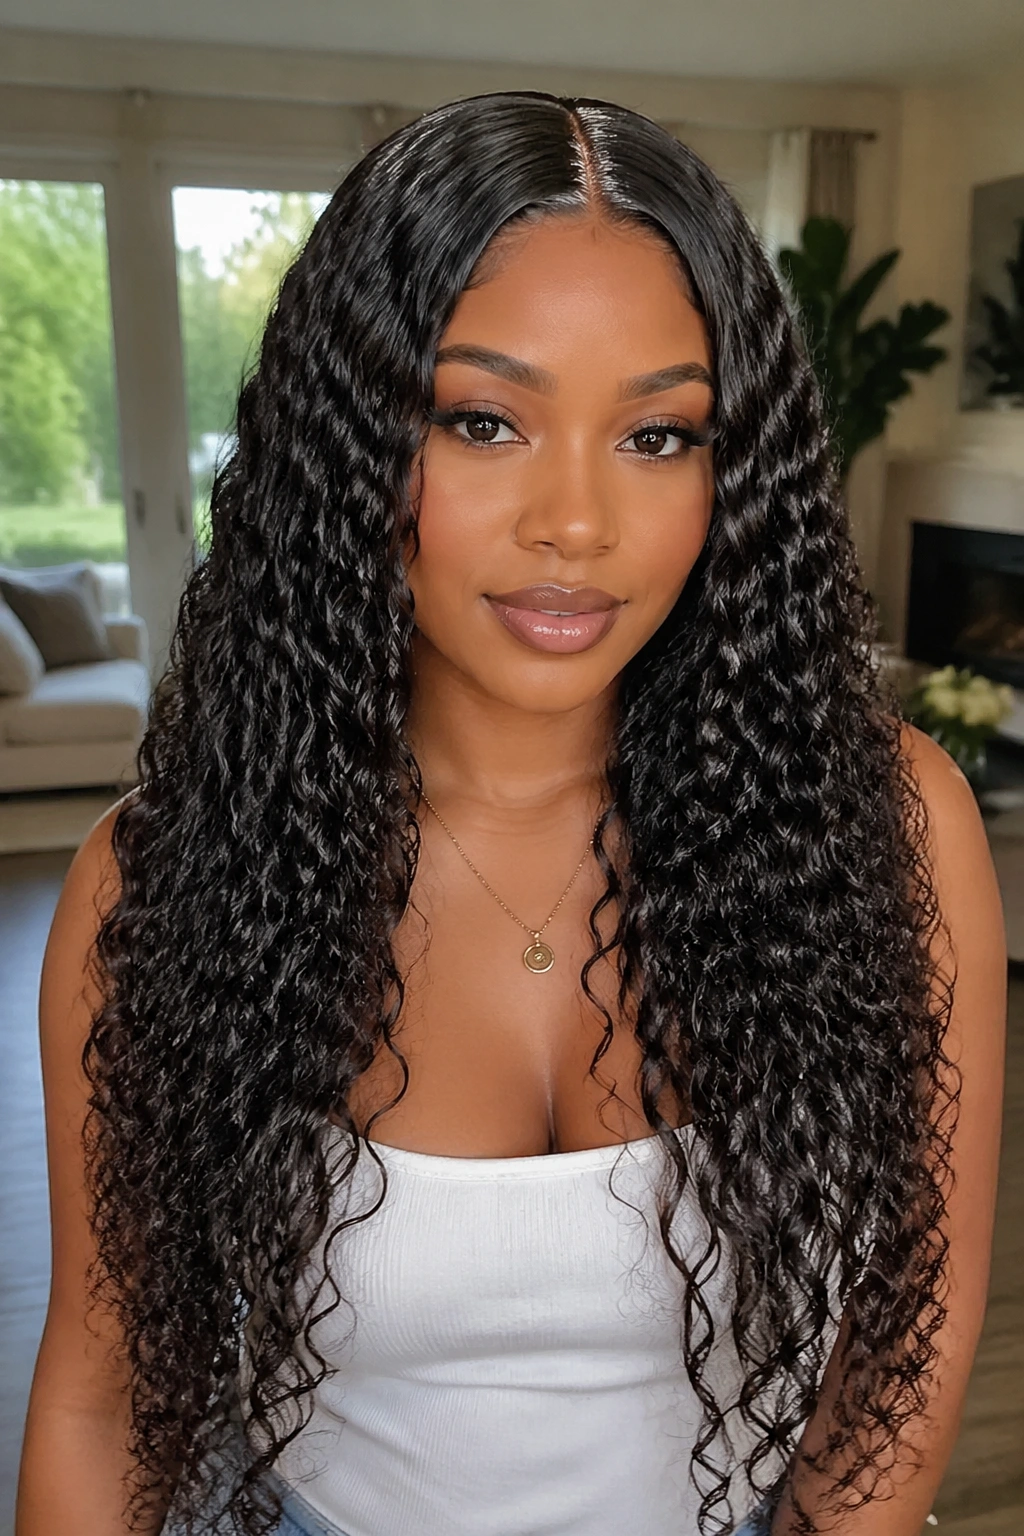
A middle part changes the mood immediately. The look becomes calmer, cleaner, and a little more formal, especially when the curls are long enough to hang in even sections on both sides of the face.
What makes the middle part work
The trick is to keep the part straight and the roots smooth for just a few inches. After that, let the curls do their own thing. You do not want to pull product all the way down the shaft unless the wig is dry and frizzy. That’s how curls lose their bounce and start clumping in odd places.
A mist bottle helps more than people think. Spray lightly, use a wide-tooth comb only where you need separation, and scrunch the length with your hands. The goal is a glossy root zone and soft curl definition below it. That’s the balance that keeps the style from looking wet in a bad, stringy way.
How to keep the part crisp
- Mark the part while the wig is damp.
- Use the tail of a comb to clean the line.
- Clip each side for 2 to 3 minutes while the top sets.
- Avoid heavy oils near the scalp area.
- If the roots puff up, smooth them with a little mousse on your fingertips.
This is a good choice when you want the face to look longer and the wig to read a little more serious. It’s neat without being severe. That’s a rare combination.
4. Half-Up Half-Down With Glossy Curls
If your wig gets puffy at the crown by midday, half-up solves the problem without hiding the texture you paid for. That’s why this style shows up so often in wet-look curly wig styles for events, photos, and anything where you want the face lifted but the curls still visible.
The top section does the heavy lifting. Pull it back just enough to clear the temples, smooth it with a bit of gel or foam, and secure it with a small band or a hidden clip. Then leave the bottom half loose and damp-looking. The contrast is what makes it work. The top says polished. The bottom says movement.
A half-up style is also forgiving if the wig has a slightly uneven curl pattern. The lifted crown hides a lot. If the front curls are looser than the back, tuck them into the half-up section. If the lengths are different, the style still reads as intentional because the split in the hair creates structure.
Best detail: wrap a small curl around the band or clip so the attachment disappears. That one move cleans up the whole look.
Honestly, this is one of the easiest wet finishes to wear for more than a few hours. It holds shape, keeps the hair off your face, and still lets the curls look alive.
5. Glossy Curly Bob With Airy Ends
Short wet looks are harder, not easier. A curly bob can go from chic to bulky in a hurry if the roots are overloaded, because there isn’t much length to hide extra product or bad shaping.
So keep the gloss narrow. Smooth the first inch at the hairline, then stop. Let the bob carry its shape through the jawline and leave the ends a little airy. That airy finish matters. A bob needs movement at the bottom or it starts looking carved out of one block.
This style shines on lace fronts with a soft side part or a tiny off-center part. The little shift keeps the face framing from feeling too blunt. And if the wig has tighter coils, the bob can look especially polished because the texture holds itself better than looser waves do.
A mistake I see a lot is over-saturating the ends. Don’t do it. Short curls need definition, not drips. If the bob looks too stiff, break up two or three curls around the cheekbones with your fingers and shake the hair lightly. That’s usually enough.
A curly bob with a wet finish is one of those styles that looks expensive when the cut is clean. If the shape is bad, the gloss only makes that obvious. No mercy there.
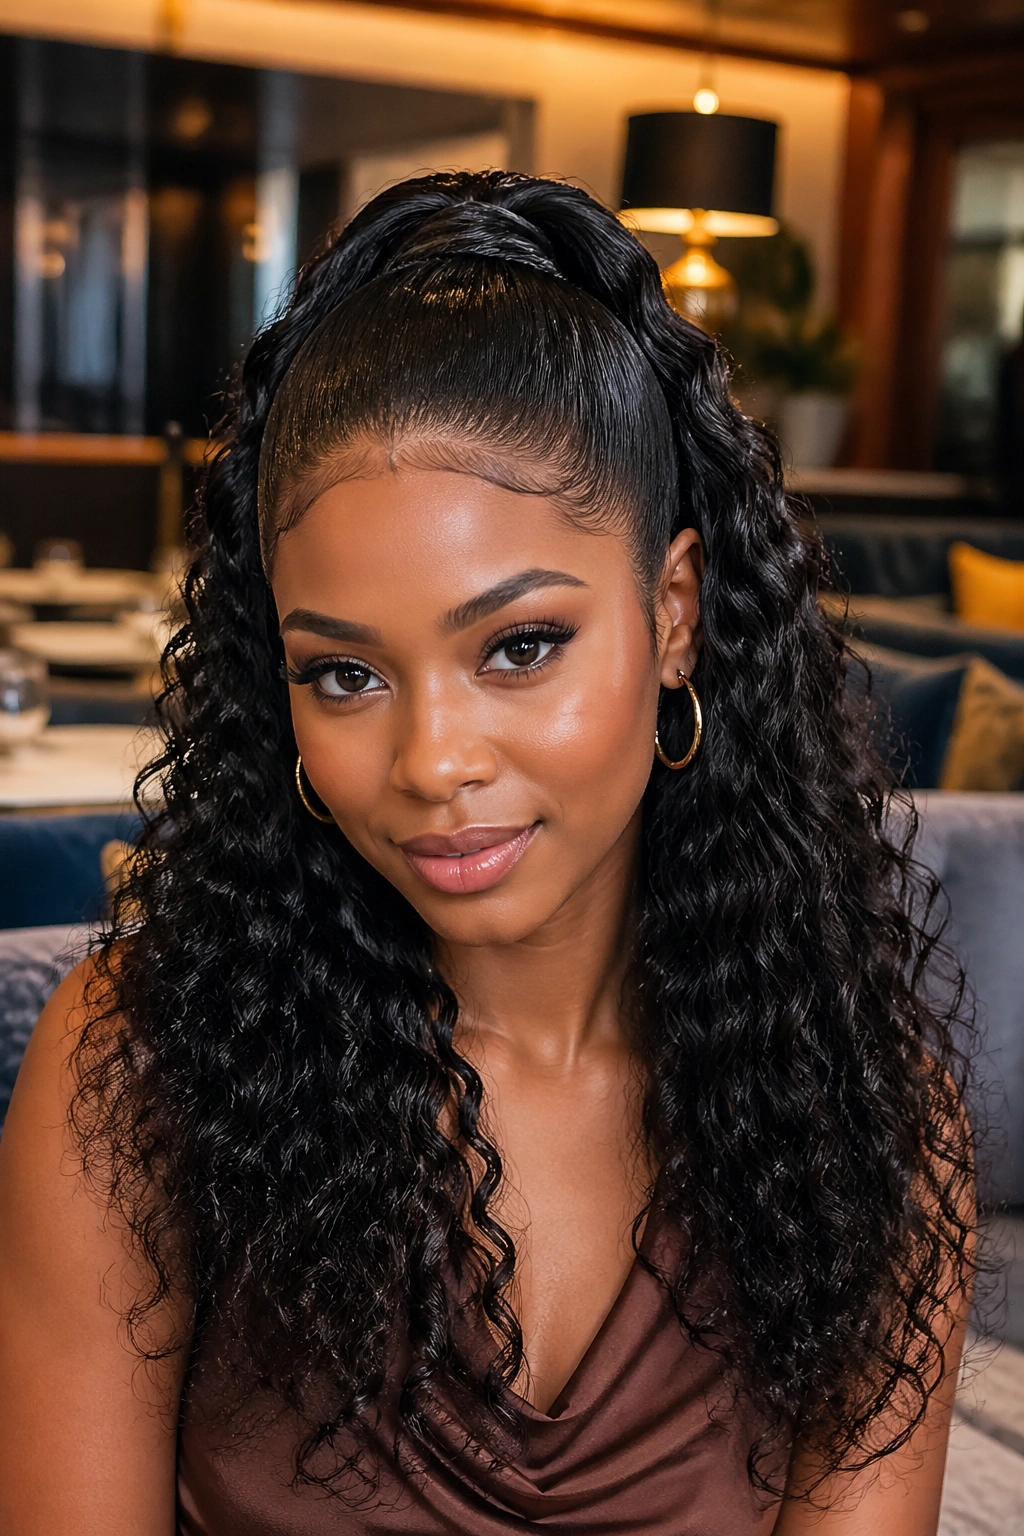
6. High Puff With Slick Roots and Defined Length
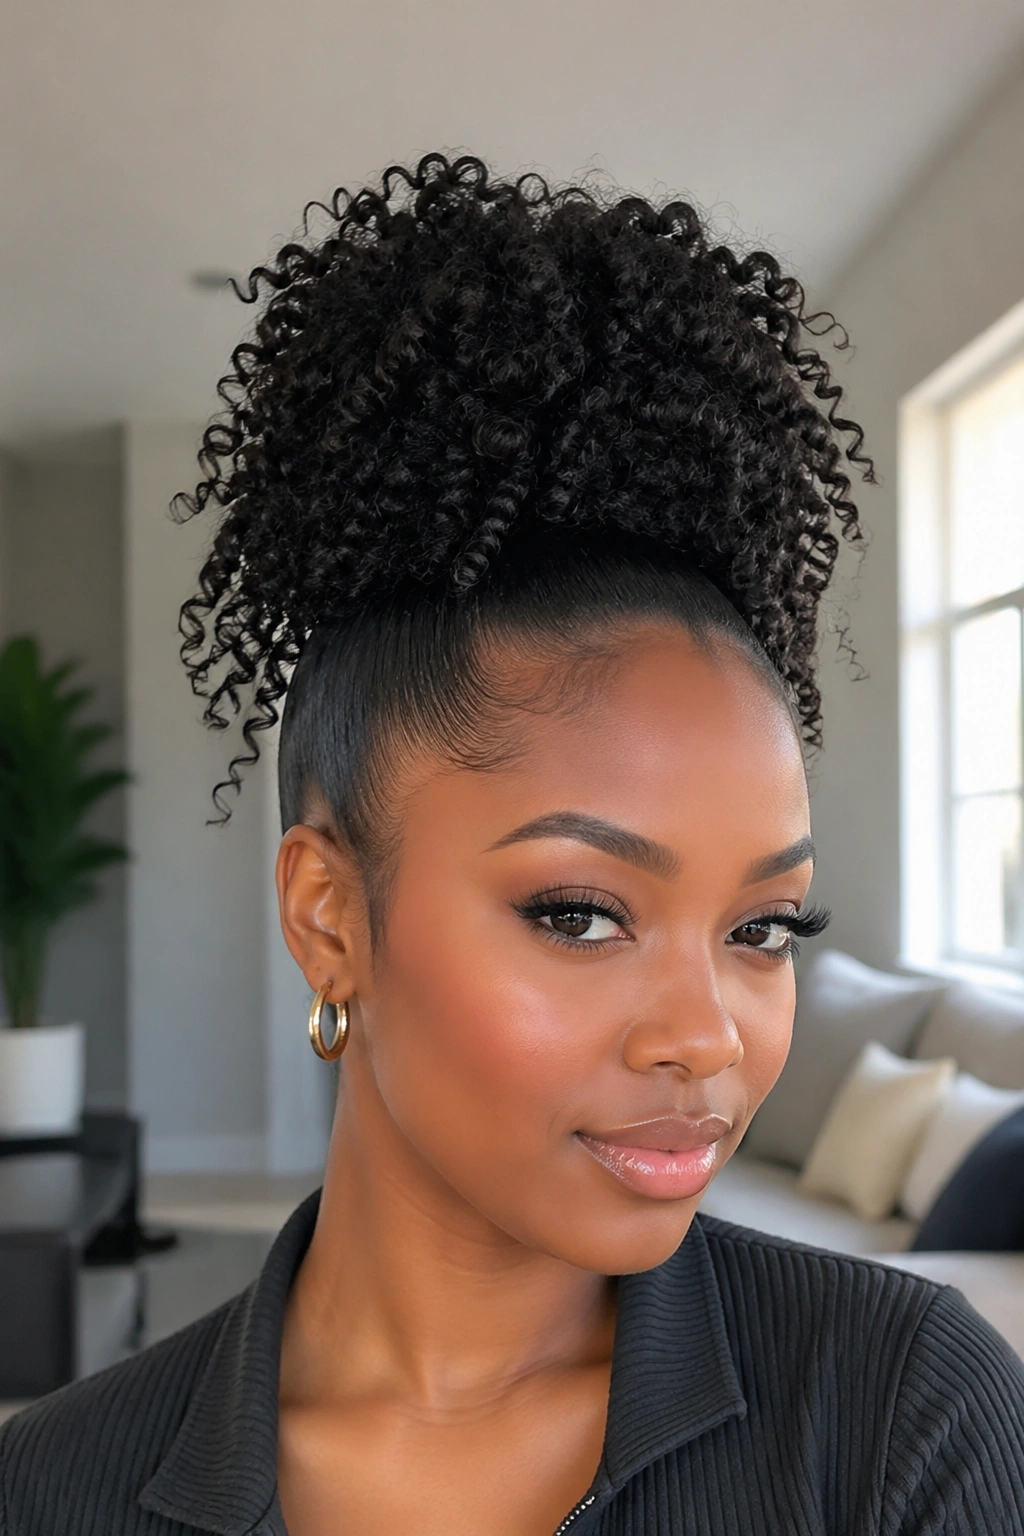
Unlike a down style, the high puff puts the shape at the top and gives the curls room to breathe below. That makes it a smart pick when you want lift without losing the wet texture, especially on fuller units that can look bulky if everything is left loose.
Where to place the puff
Sit the puff just above the crown, not at the very top of the head. Too high and the wig starts to look tense. Too low and you lose the height that makes the style flattering. A mid-high placement usually gives the best balance, especially if the lace front has a natural hairline.
The roots should be sleek, but only over the first few inches. After that, let the curls flare out and keep their separation. A little mousse helps here more than thick gel does. Gel can make the base hard. Mousse keeps it soft enough to move.
Best texture match
- 3B to 4C textures hold this shape well.
- Dense wigs give the puff more body.
- Shorter front layers help the crown blend.
- A satin scrunchie is kinder than a tight elastic.
If you want a style that reads playful but still neat, this is it. The wet finish keeps the puff from looking too casual, and the lifted shape gives the face a nice frame without needing a ton of styling time.
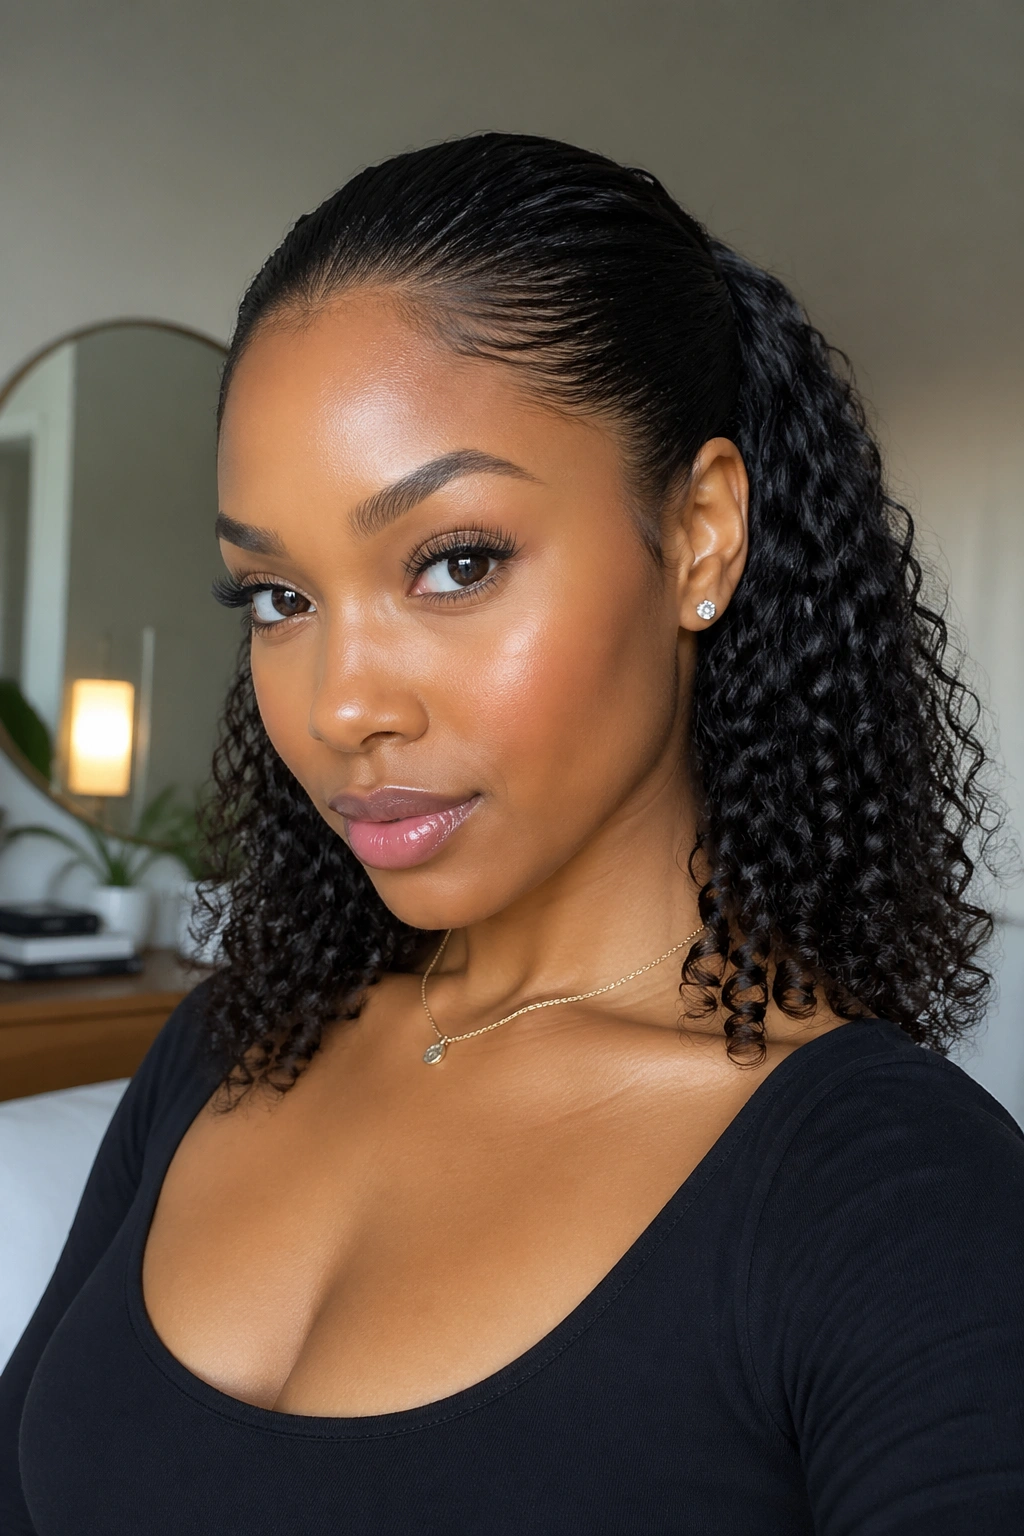
7. Curly Ponytail With Wet Ends
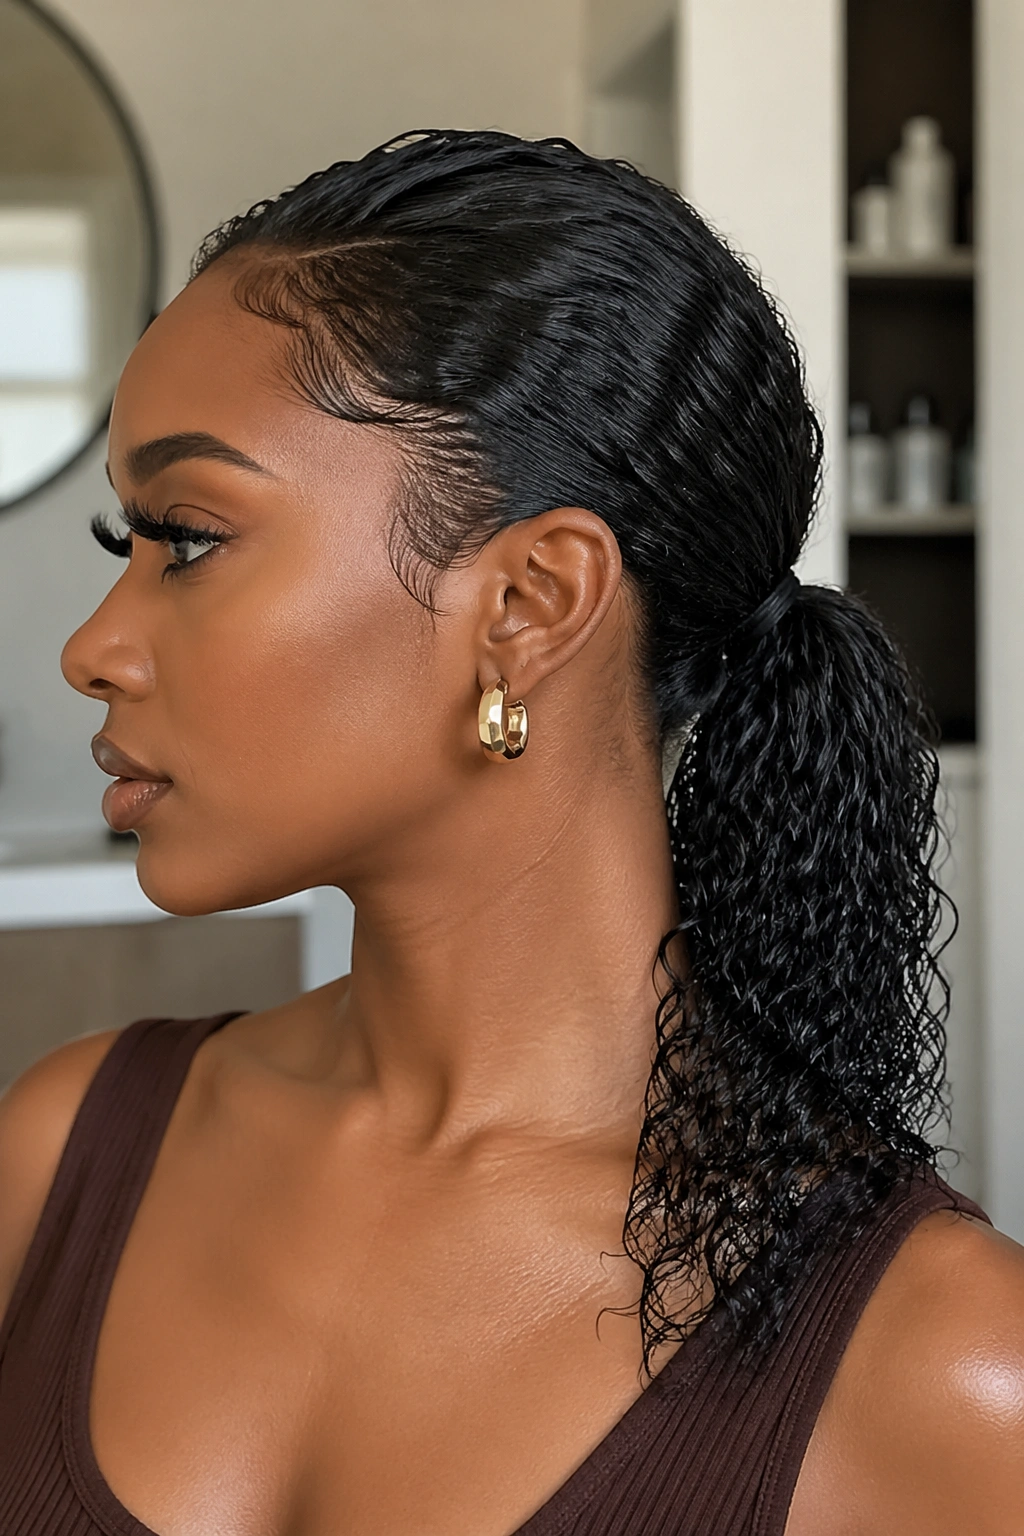
A ponytail is the fastest way to make a curly wig look intentional. That sounds blunt, but it’s true. When the hair is gathered cleanly, even a medium-density wig suddenly looks styled instead of just worn.
Start by smoothing the front and sides back with a light gel or mousse. Keep the crown damp-looking, not slick to the point of shine overload. Then secure the ponytail low, mid-height, or high depending on how dramatic you want it. The length hanging out the back should stay curly and separated, not brushed into a puffball.
A low ponytail feels softer and a little more elegant. A high ponytail has more energy and shows off the curl pattern better. Either way, the wet look works because the front is controlled and the tail stays textured. That contrast is the whole trick.
If the wig has a lot of hair, anchor the ponytail with two pins instead of one elastic if needed. Heavy curls can slide. They always do when you least want them to. Wrap a small strand around the base if you want the style to look cleaner at the back.
This is one of the few curly wig styles that can move from day to night without a full restyle. That alone makes it worth keeping in rotation.
8. Finger-Coiled Definition All Over

Sometimes the best wet look starts with a reset. If the wig has fuzzy ends, a crushed curl pattern, or odd spots from packaging, finger-coiling the whole unit can bring it back to life in a way that looks deliberate instead of repaired.
The process is slow, yes. A bit annoying too. But the result is worth it when you want every curl to sit in its own lane. You work with small sections, twist each curl around your finger while the hair is damp, and let the coils dry in place with light hold. That’s what gives the finish that neat, glossy curl clump effect.
Why this method looks so clean
Finger-coiling makes the wig look more sculpted than sprayed. It also helps the curls fall in the same direction, which matters on units with mixed texture or a lot of layers. The style reads polished because every strand has a job.
Use a light leave-in first, then a foam or soft gel. Heavy creams can make the coils droop before they set. If the wig is human hair, this works especially well after a gentle wash and air-dry. If it’s synthetic, stick to water-based products and skip anything oily.
This style is not the fastest, and I would not call it low-effort. But when the wig needs a refresh, finger coils can make it look new again.
9. Asymmetrical Shoulder-Length Gloss
Why does an uneven cut look so good with shine? Because the asymmetry keeps your eye moving. A wet finish on a shoulder-length asymmetrical wig gives you gloss, shape, and a little edge without needing loud color or heavy styling.
The shorter side can hug the cheekbone while the longer side drapes closer to the collarbone. That difference matters. It keeps the curls from building into one round mass, which is a real risk with curly wigs at this length. A side part often helps, but a soft off-center part can work too if you want less drama.
What to watch for
- Keep the shorter side lighter with product.
- Let the longer side hang with more separation.
- Use the fingers, not a brush, after the first styling pass.
- Trim only if the asymmetry looks accidental, not because the lengths differ slightly.
A shoulder-length asymmetrical cut also pairs well with glossy roots and matte-looking ends. That split gives the style depth. Too much shine everywhere and the shape flattens; too little and it loses the wet effect. The sweet spot sits right in the middle.
I like this style for people who want a curly wig that feels sharp but not fussy. It has enough attitude to stand out, and enough softness to stay wearable.
10. Full Afro-Textured Wet Look
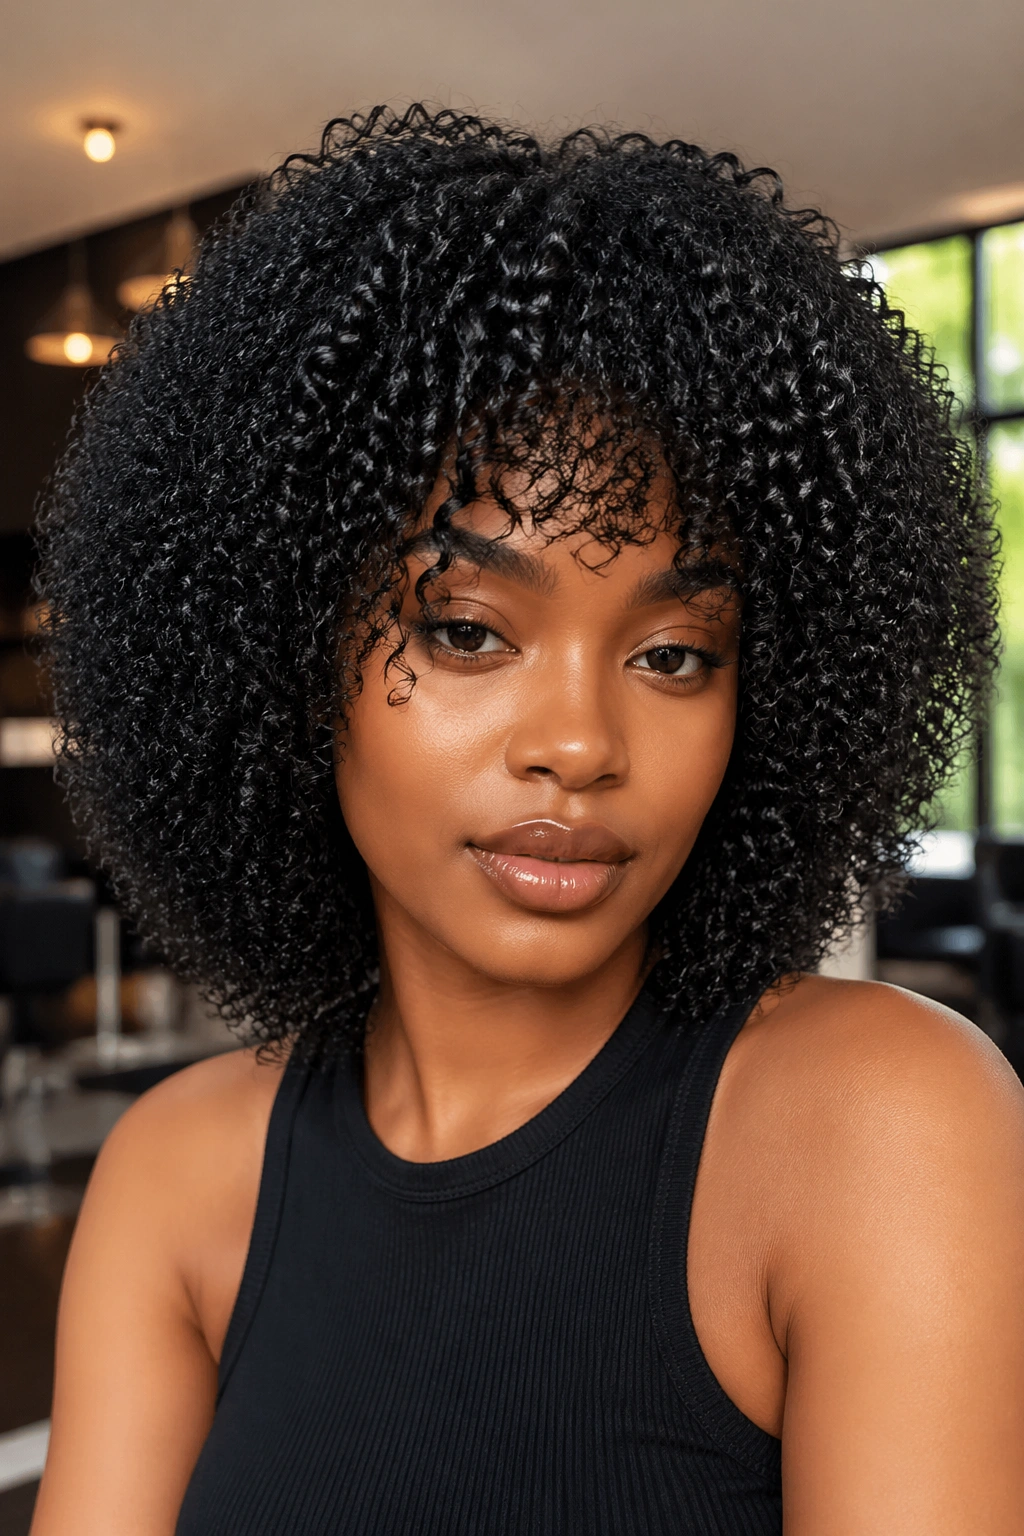
A wet look on tightly coiled hair is a different animal. It should not look slick in the straight-hair sense. It should look hydrated, stretched just enough to show shape, and full of tiny coils that still have body.
Start at the roots. Lightly mist the wig, then rake a small amount of leave-in through with your fingers or a wide-tooth comb. Stop before the hair becomes soggy. On this texture, over-wetting can make the coils collapse at the top while the ends stay dry and frizzy, which is a messy look nobody asked for.
The beauty of this style is the density. A full afro-textured unit can hold a lot of visual interest even when the finish is glossy. You can shape the silhouette round, slightly tapered, or a touch lifted at the crown. The wet effect should make the coils more readable, not erase them.
A light shine spray can help, but use it sparingly. Hold the bottle farther away than you think you need to, then stop. Too much product on tight coils kills the spring. That’s the line.
This style feels strong, modern, and honest about texture. It doesn’t try to mimic straight hair with a wet coating. It lets the coil pattern lead, which is exactly why it works.
11. Slicked-Back Crown With Loose Curls
The slicked-back crown is the grown-up cousin of the high puff. It keeps the top flat, opens the face, and lets the curls stay loose through the back and sides. If you want wet-look curly wig styles that feel polished without going full updo, this one sits in a very good middle zone.
What makes it different from a puff
A puff lifts the hair upward and creates volume at the top. A slicked-back crown pulls the hair back and down, which gives you cleaner lines and a more sculpted profile. That makes it a smart choice when the wig is dense and you want the face to stay visible.
Use gel or mousse only on the crown and temples. Leave the curls below that line damp and defined, but not coated. If the back starts looking too loose, gather just the top layer into a small hidden clip or low tie. The style should read smooth above, curly below. Nothing more complicated than that.
Best situations for this look
- Formal events where you want curls without mess.
- Wig installs that need a cleaner hairline.
- Styles where earrings or makeup need more space.
- Days when humidity is trying to ruin your life.
The nice thing here is balance. You get control at the front and movement in the rest of the hair. That’s a hard combination to beat when the wig is giving you a lot of volume to work with.
12. Tapered Curly Pixie With a Wet Finish
Short curls can be the smartest wet-look move in the bunch. A tapered pixie with curly texture gives you face shape, shine, and a fast drying time, which matters more than people admit when they are dealing with a wig they want to wear often.
The sides stay close to the head, while the top and crown keep enough length to show curl pattern. That means the wet finish lands where it should: on the top coils, around the hairline, and through the front fringe if the wig has one. You do not need much product here. A light mist, a little mousse, and a touch of gel at the edges can do the whole job.
This style is especially good if you want the wig to feel lighter on the head. It also holds up well when the weather is humid because the shape is already compact. Less hair means less room for frizz to take over. That is the truth of it.
A tapered curly pixie also changes the mood of the wet look. It feels sharper, a little more fashion-forward, and less beachy than longer curls. If you like face-framing styles that show cheekbones and don’t swallow the neckline, this one deserves a spot near the top of the list.
If I had to pick one style for easy wear and low drama, this would be close to the front of the pack. It dries fast, it stays neat, and it doesn’t ask for constant fixing. That alone is reason enough to keep it in rotation.