Picture day has a funny way of exposing every curl on the head, especially the one that decides to hang in front of an eye five minutes before the camera starts clicking. If you have ever looked at a perfectly fine mirror selfie and then seen a school portrait come back with one rogue spiral doing its own thing, you already know why picture day hairstyles for curly hair deserve a little strategy.
The goal is not to flatten curls into submission. That almost never looks good, and it usually lasts about as long as the walk from the car to the classroom. The better move is to pick a shape that works with the curl pattern you already have: clean part lines, controlled edges, enough definition to show texture, and enough movement that the hair still looks like itself.
Curly hair usually photographs best when the front is tidy and the crown has some shape. A stiff helmet of gel can look harsh on camera, but so can a style that is halfway done and falling out by second period. The sweet spot lives somewhere in the middle. Soft hold. Clean sections. A little shine. No overthinking.
The styles below lean practical, not fussy. Some take five minutes, some need a little prep the night before, and a few work best when the curls are already stretched or freshly washed. Pick the one that matches your hair length, curl pattern, and tolerance for morning drama. That part matters more than any trend ever will.
1. Picture Day Wash-and-Go With a Side Part
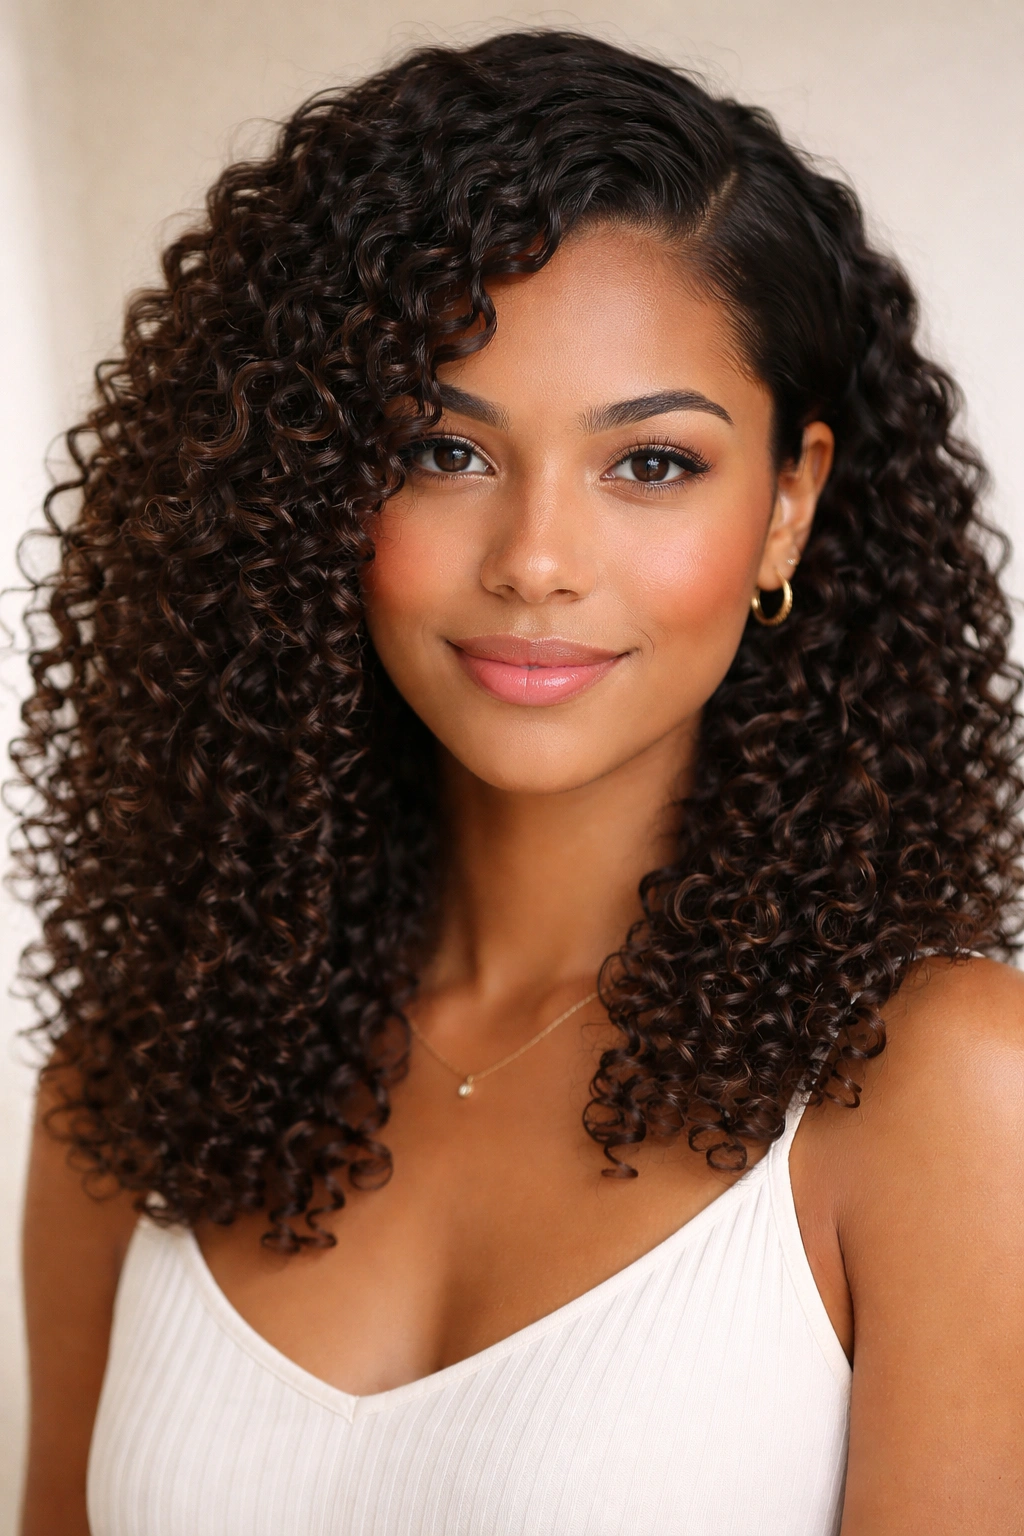
A clean wash-and-go is still one of the strongest picture day hairstyles for curly hair because it keeps the texture visible without making the hair look staged. The side part does a lot of quiet work here. It opens up the face, breaks up bulk at the center, and gives the style just enough structure that it reads polished instead of random.
Why the side part matters on camera
A center part can look neat, sure. A side part often looks a little more forgiving, especially if one side has a stronger curl than the other. It softens the forehead area and gives the face a shape that photographs well from straight on.
Start with damp hair and work in a leave-in plus a light gel or curl cream, depending on how much hold your curls need. Use your fingers or a brush to make the part before the hair starts drying. Once the curls clump the wrong way, they fight you. Hard.
- Apply product in sections, not all at once.
- Smooth the roots with your palms, then scrunch the ends.
- Diffuse on low heat, or air-dry if you have time.
- Do not separate the curls until they are fully dry.
- Scrunch out the cast only after the hair feels set and cool.
Best tip: keep your hands out of it. The fewer times you touch the curls after styling, the cleaner they look in photos.
2. Half-Up Crown Twist With Loose Curls
This is the style I reach for when I want the face clear but still want the length to show. The half-up crown twist keeps hair out of the eyes, lifts the top section, and leaves the bottom curls free to do what curly hair does best: move.
Take a small section from each temple and twist it back toward the crown. Secure the two twists together with a small elastic or two crossed bobby pins. That little cross-pin trick matters more than people think. It keeps the twists from sliding when the day gets busy, and it does not leave a giant bump at the back of the head.
The rest of the curls should stay loose and defined. If the ends are frizzy, smooth a pea-size amount of cream over wet hands and glaze only the outer layer. Don’t rake through the whole head. That usually makes the hair puff up in the wrong places.
This style is especially good for medium-length curls that need a little control without losing fullness. It also works when the front pieces are shorter than the rest, because the twist helps tuck them away without hiding the haircut.
And yes, it survives a school day better than it looks. That is the part people underestimate.
3. High Puff With a Smooth Base
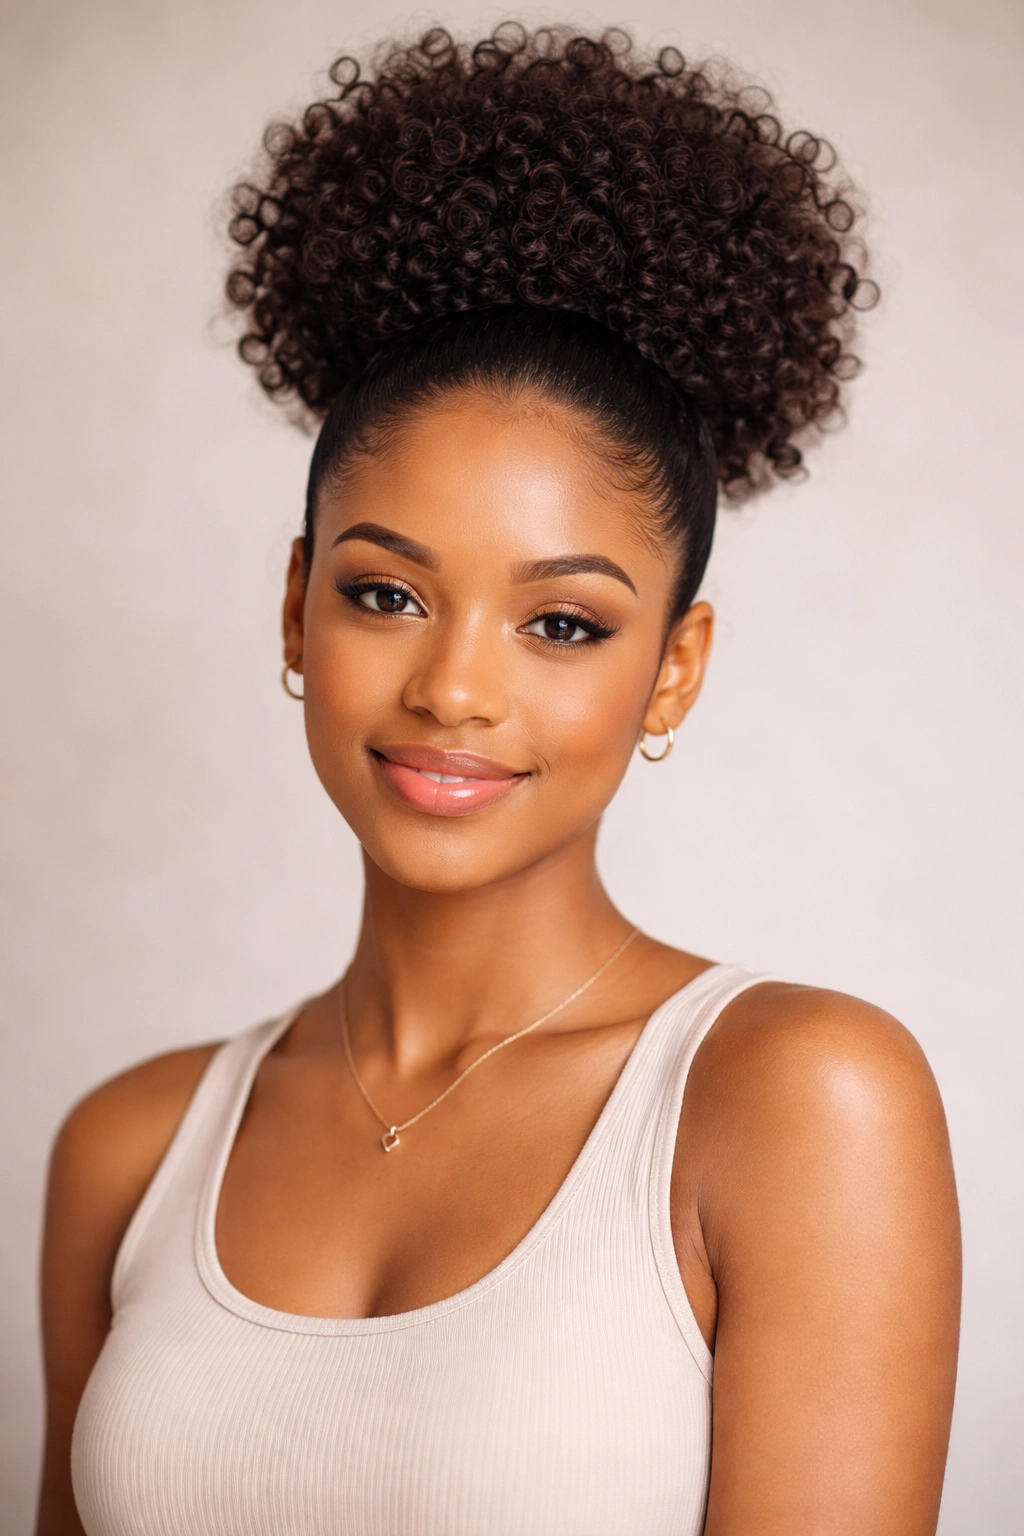
Need something fast that still looks sharp? A high puff is one of the easiest answers. It gives you height, keeps the face open, and lets the curl texture sit right where the camera can catch it without a lot of fuss.
How to keep the base smooth
The difference between a neat puff and a messy one is usually the base. Use a little water, a touch of gel, and a soft brush or your hands to smooth the hair upward toward the crown. You do not need to make it slick. You just need it gathered cleanly enough that the scalp looks intentional.
Secure the puff with a wide satin scrunchie or a thick elastic that will not dig into the hair. Then fluff the puff itself with your fingers. If the curls are long, let them fan upward. If they are tighter coils, let them sit in a round cloud. Both can look great.
- Place the puff high enough to lift the face.
- Smooth the front hairline first.
- Keep the elastic snug, not painful.
- Pull the puff outward gently so it looks full in photos.
- Leave one or two baby hairs if that is part of the usual style, but keep them controlled.
Watch the tension. A high puff should never leave the scalp sore by lunchtime. If it does, it was pulled too tight.
4. Picture Day Low Puff With a Satin Ribbon
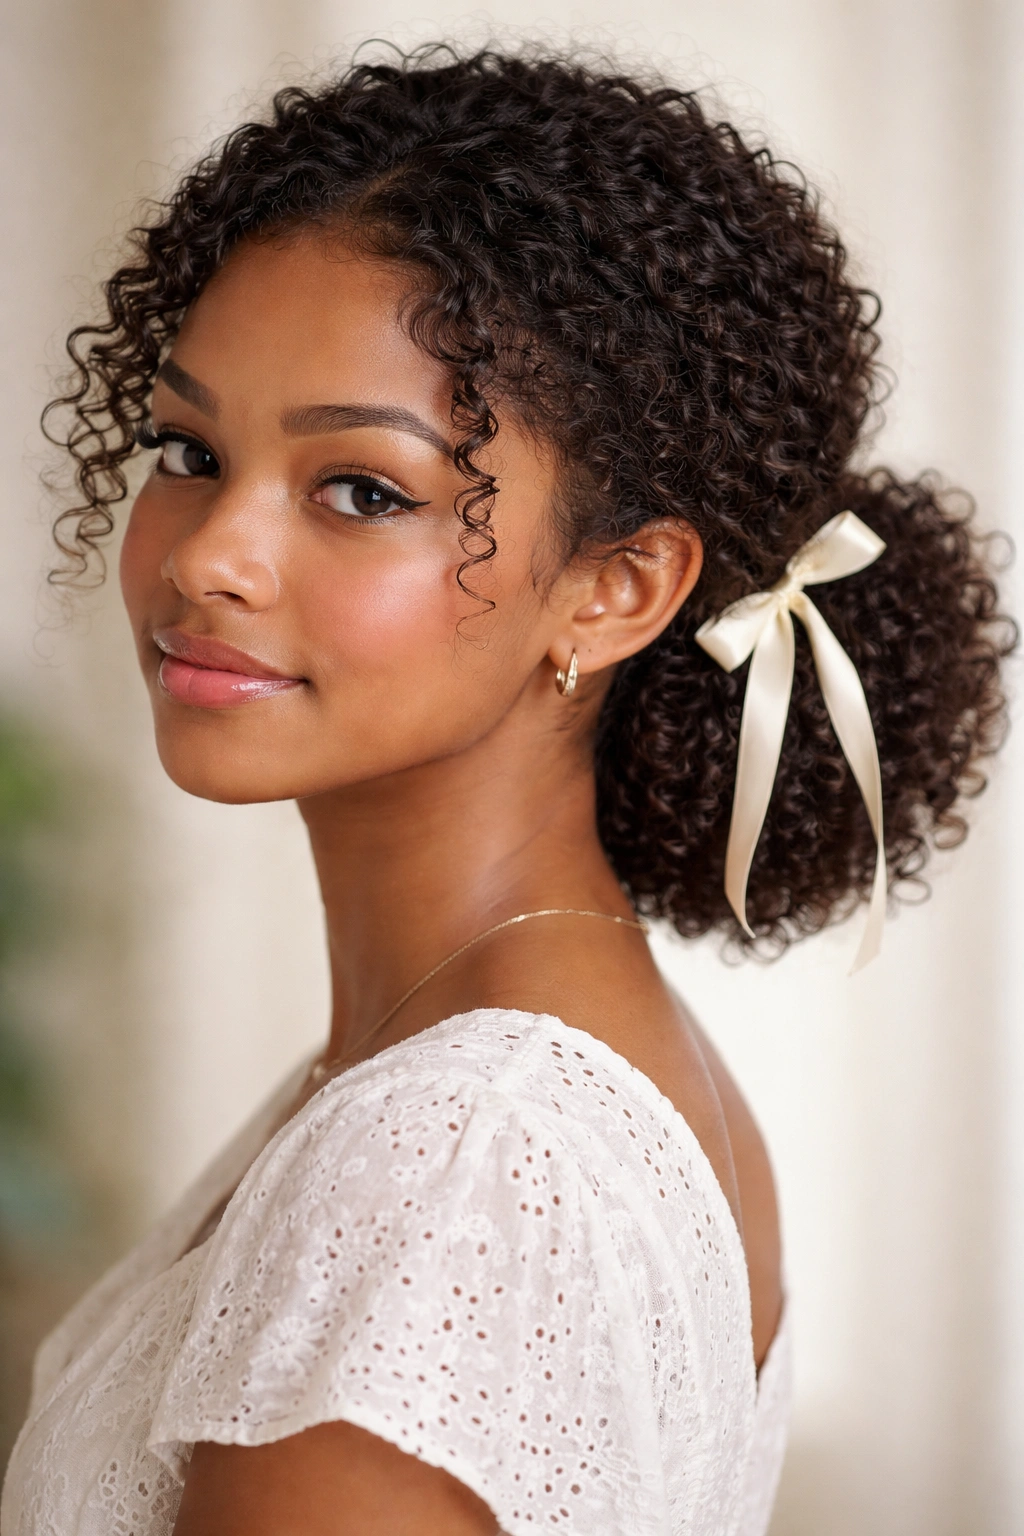
A low puff can look calmer and more elegant than a tighter braid or bun, which is why I like it for photo day. It keeps the curls contained at the nape, frames the face softly, and leaves enough volume to avoid that flattened, overdone look that can happen when hair gets smoothed too hard.
The satin ribbon makes this one feel finished. A narrow ribbon tied around the base is enough. You do not need a giant bow unless that suits the outfit. A deep burgundy, navy, cream, or black ribbon usually looks clean on camera because it does not compete with the curls.
Gather the hair low, smooth the crown with a little gel or styling cream, and secure it near the nape. If the hair is thick, split the gathered hair in two before tying it down; that stops the base from becoming lumpy. Then wrap the ribbon around the elastic once or twice and tie it off neatly.
The trick here is balance. Too much product and the roots look stiff. Too little and the top puffs away from the head in a halo that may be cute in real life but not always in a class photo. A low puff sits in that useful middle ground. It looks neat without pretending curls are something else.
5. Side-Swept Curls With Barrettes
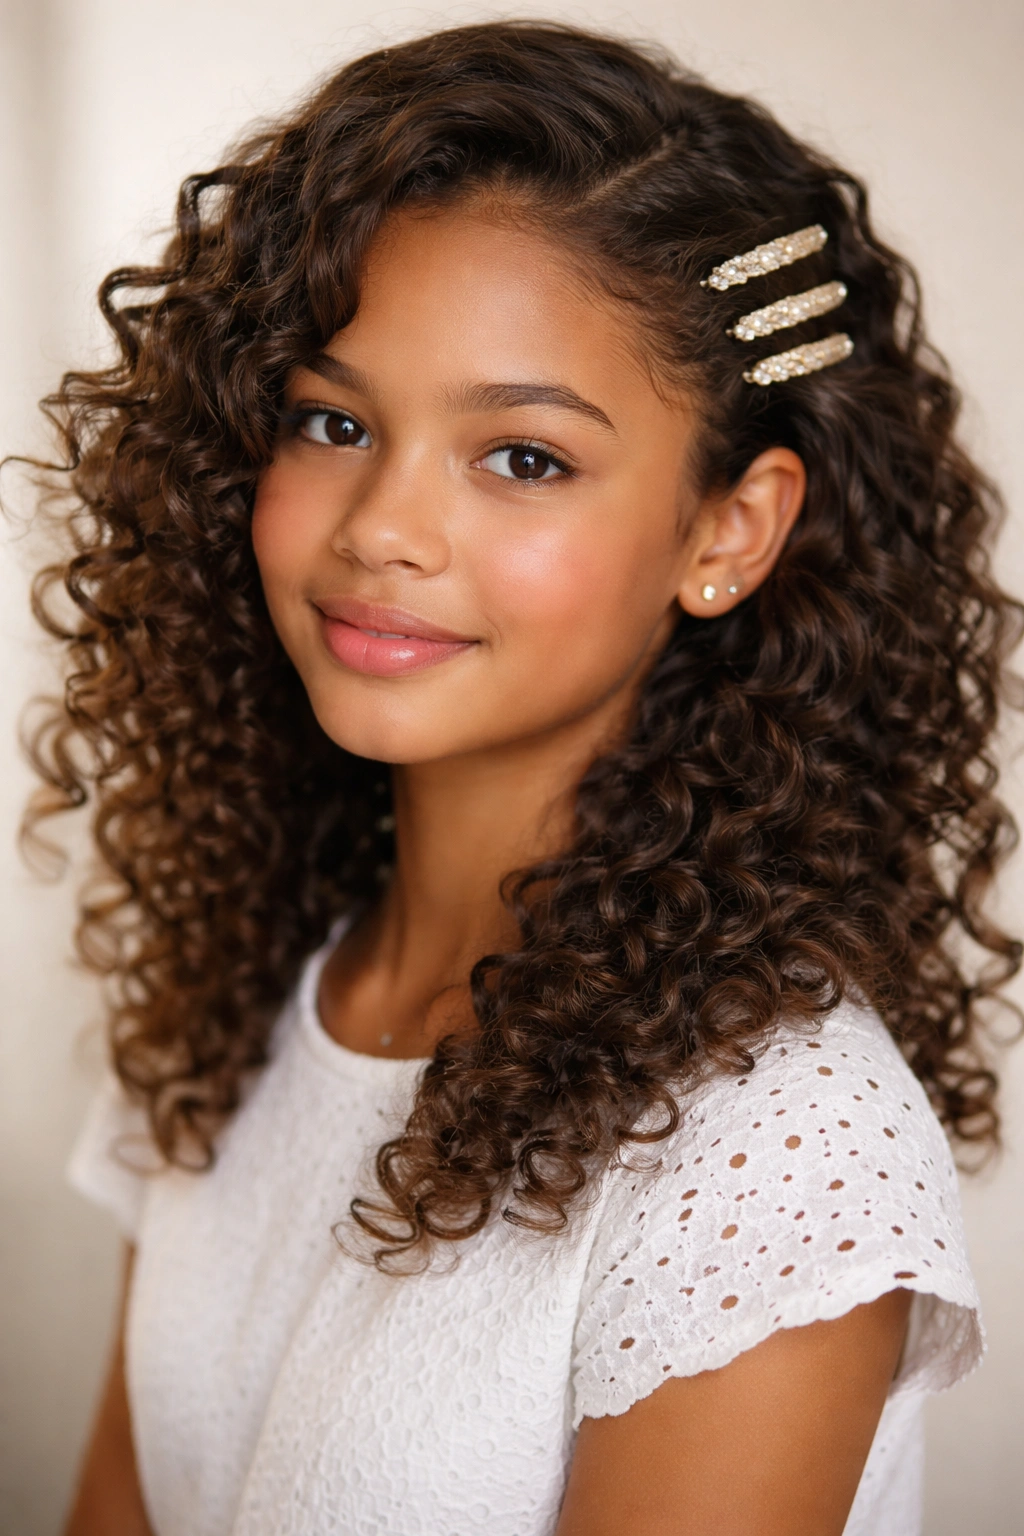
Three barrettes on one side can do more than a complicated updo. Side-swept curls are one of those styles that looks simple in the best way: the hair is still down, the face is open, and the whole look feels deliberate without feeling stiff.
A deep side part helps, especially if the curls are dense or shoulder length. Sweep the fuller side back behind one ear and pin it with two or three barrettes in a line, or use one larger clip if the hair is thick enough to hold it. Flat-backed clips are easier to wear for hours because they do not stick out or press into the scalp when the head leans against a chair.
The barrette line should sit slightly above the ear, not too far forward. That keeps the eyes and cheekbones clear on camera, which is the whole point. If the front curls are a little fuzzy, rub a small amount of curl cream between your palms and smooth just the surface. Do not chase every strand. The style works because it keeps some softness.
Tiny clips are fine, but one strong statement clip often looks cleaner in a portrait. Pick one metal tone and stay with it. Mixing five different finishes can start to look busy fast.
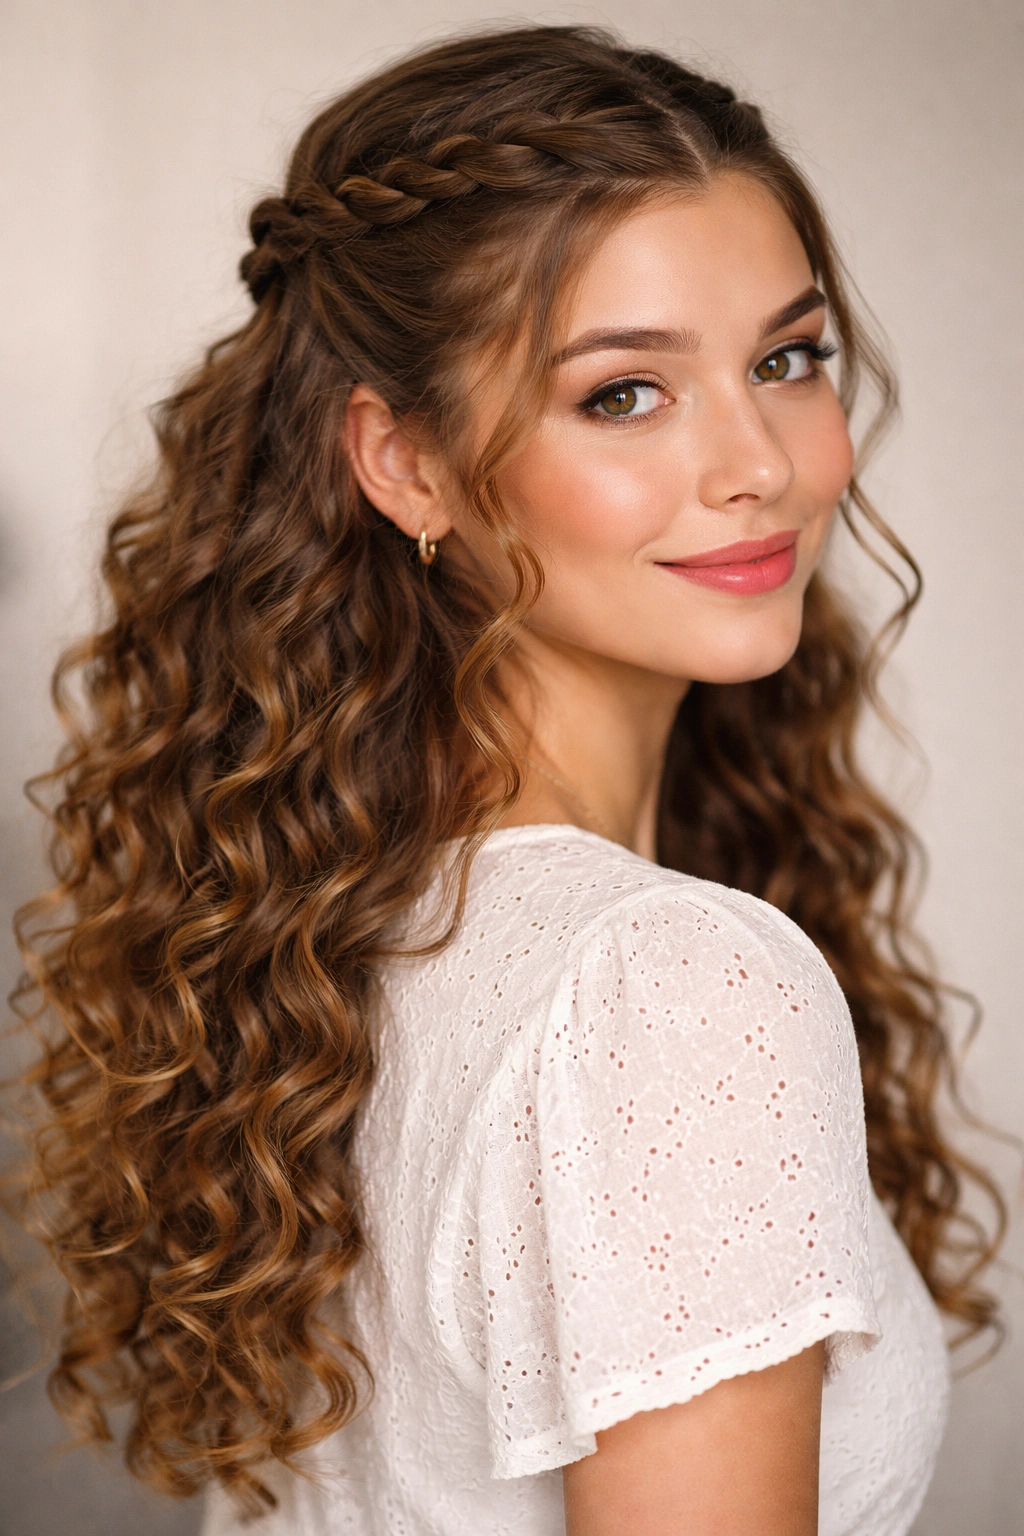
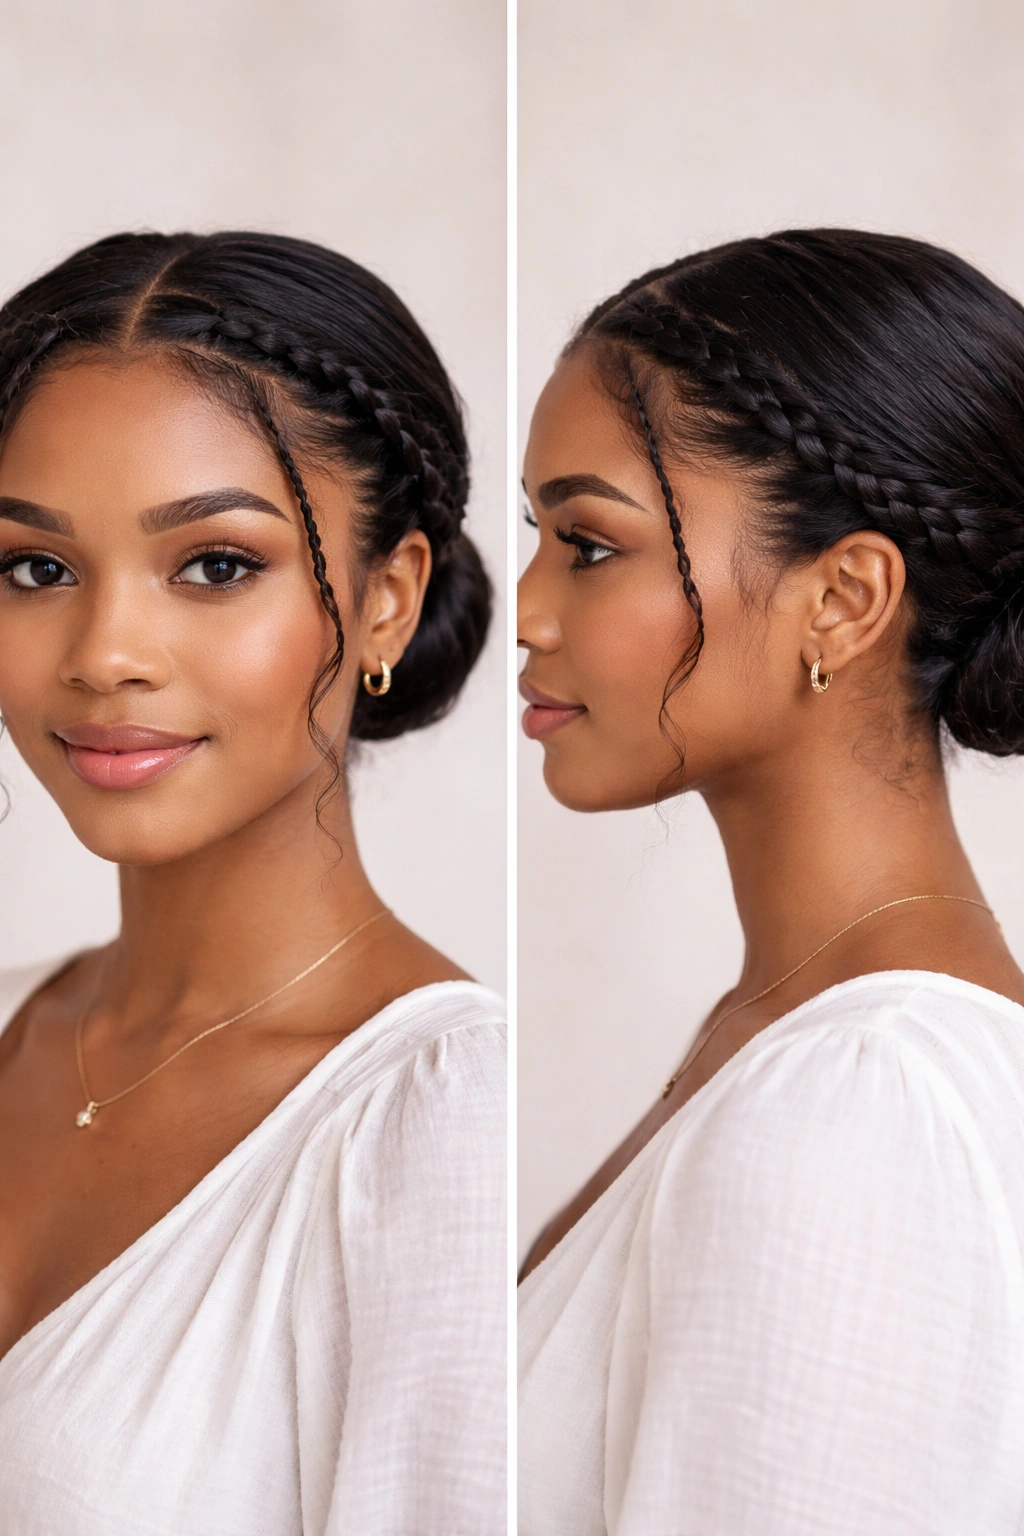
6. Crown Braid With Free Curls in Back

Unlike a full braid that hides the texture, a crown braid lets the curls stay part of the story. That is why this style works so well for picture day. The braid controls the hairline, keeps the front tidy, and leaves the back loose enough that the curls still show up as curls.
Start near one temple and braid along the hairline toward the other side. A Dutch braid gives a little more lift, while a rope twist looks softer and takes less time. Either way, the braid should sit snugly enough to stay put, but not so tight that it pulls the front section flat. A braid that is too small can disappear in photos, which is annoying after all that work.
Once it is secured, gently tug the braid edges outward with your fingertips. That tiny step matters. It makes the braid look fuller and less like it was drawn on with a pencil. Then leave the rest of the curls loose in back, shaped with your hands rather than a brush.
This style is best for medium to long curls, especially if the hairline tends to frizz first. If you want it to look a bit dressier, tuck a small pin or pearl clip where the braid ends meet. Keep it simple. The braid should frame the face, not fight it.
7. Double Space Buns With Soft Framing Pieces
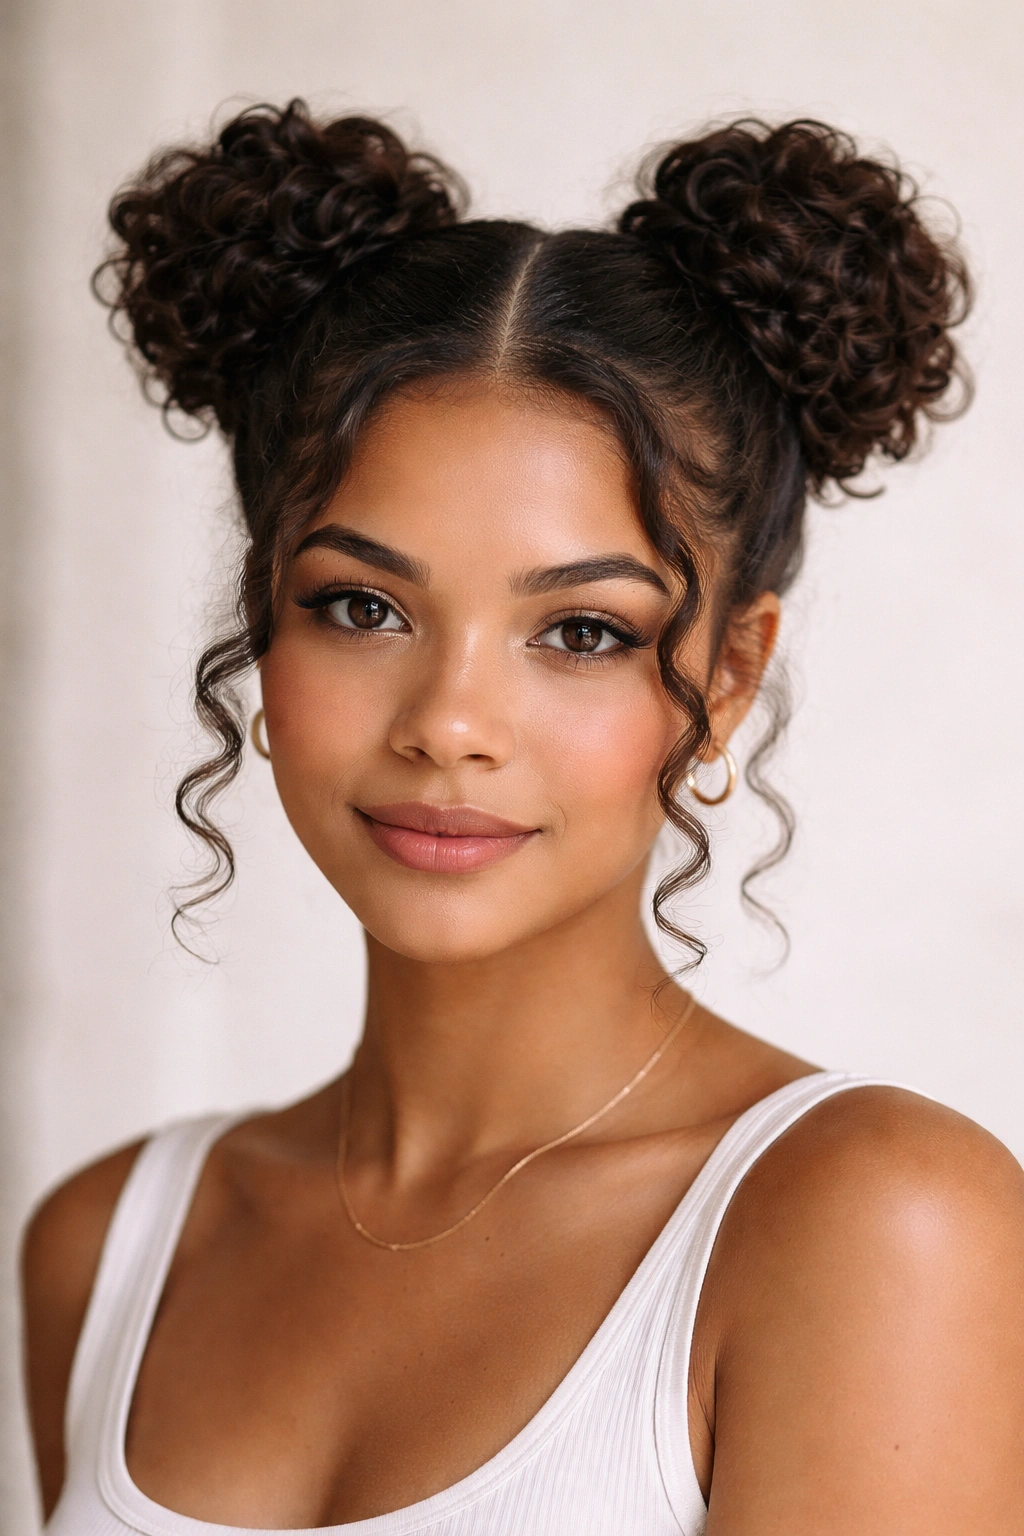
Space buns can look playful, but they can also look neat if the parts are clean and the buns are balanced. That is the whole trick. Messy is not the goal. Controlled fun is.
How to place the buns
Make a crisp center part first. That part needs to be straight enough to read from the front, because once the buns are in place, the part does most of the visual work. Split the hair into two equal halves, gather each side high above the ears, and wrap each section into a small bun or puff.
- Keep the buns the same size.
- Use small elastics before pinning the coils.
- Leave a few curled pieces at the temples.
- Pull the buns outward a touch so they look round, not tight.
- Use a light gel only at the roots.
The face-framing pieces matter more than people think. A couple of curls left loose near the cheeks stop the style from looking severe. They also keep the look from feeling too young if the person wearing it wants something a little more polished.
This style works especially well on medium to thick curls that naturally have enough fullness. Thin hair can still do it, but the buns may need a bit of teasing at the base to hold shape. That is fine. Not every head of curls behaves the same way, and thank goodness for that.
8. Two-Strand Twist-Out With a Center Part
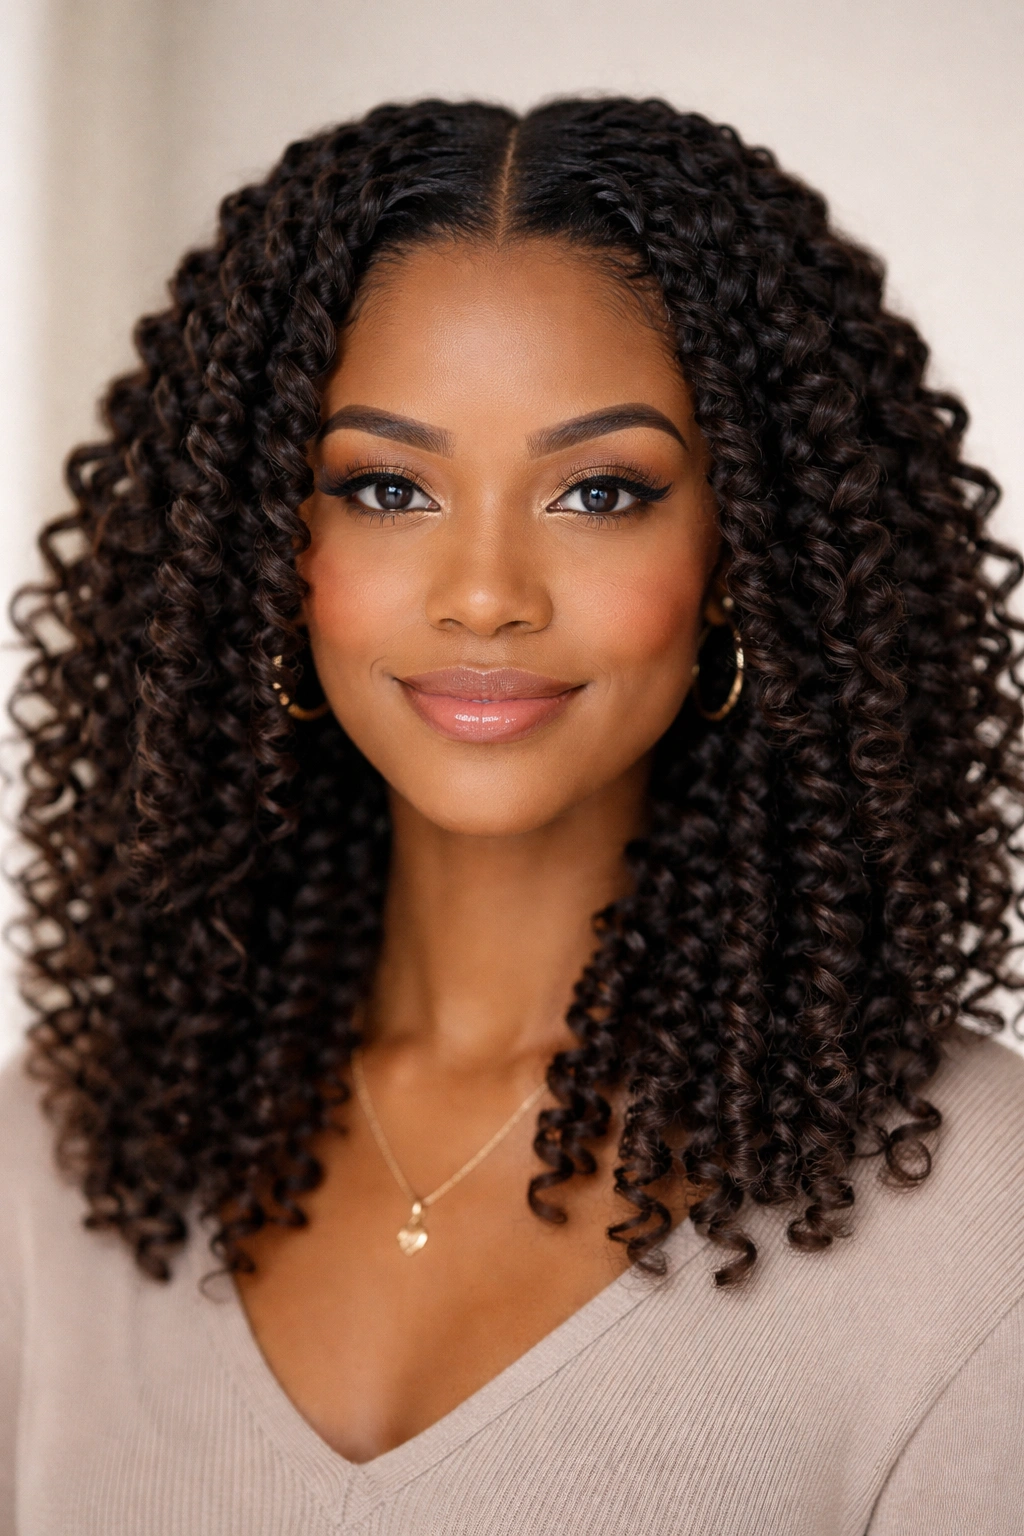
A twist-out is one of the best photo-day choices if you have a little prep time the night before. The curls come out softer, fuller, and more uniform than a style done in a rush, and the center part gives the whole head a clean frame.
How to get the most from it
Start on damp hair with a leave-in and a cream or gel that gives hold without crunch. Make medium-size twists, usually about 1 inch wide, and keep the tension even from root to end. If the sections are too big, the twist-out can look fuzzy in the middle. Too small, and you may spend half the morning taking them down.
Sleep with the twists fully dry, tucked in a satin bonnet or on a satin pillowcase. In the morning, separate each twist gently with oiled fingertips. Do not pull the strands apart aggressively. That is how definition disappears before you even leave the house.
A center part gives the face symmetry, which is useful in a straight-on portrait. It also keeps the volume balanced on both sides. If the roots are too flat after taking the twists down, lift them lightly with a pick at the crown. A brush is usually too much. A pick gives shape without destroying the pattern.
This one is a favorite for a reason. It looks like effort without looking overworked.
9. Bubble Ponytail With Curly Sections
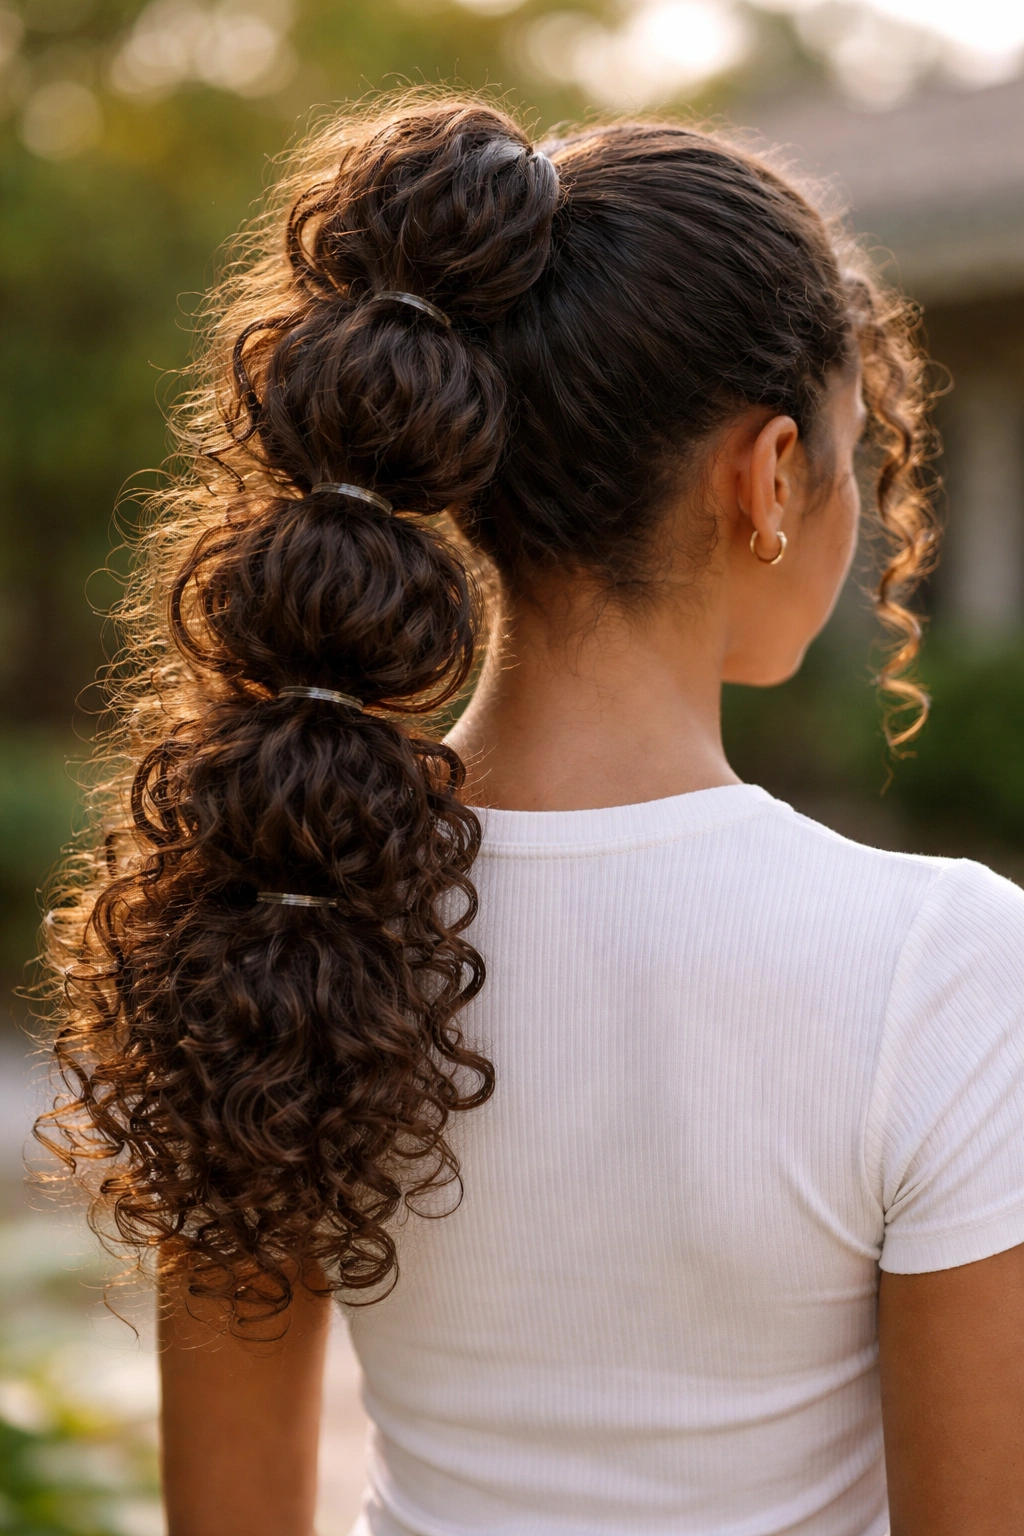
Want a style that stays put and still looks fun? The bubble ponytail handles both jobs at once. It holds the hair back, breaks the length into neat sections, and gives curly hair a shape that reads clearly in a photo.
Pull the curls into a ponytail at mid-height or high on the head, depending on how much lift you want. Secure it with a strong elastic. Then add more elastics every 2 to 3 inches down the length of the ponytail. Gently tug each section outward so it rounds into a bubble.
That little tug is not decoration. It gives the shape. Without it, the style just looks like a ponytail with extra bands on it.
- Use clear elastics for a clean look.
- Match the elastics to the outfit if you want the style to feel more finished.
- Wrap one curl around the first elastic if you want a polished base.
- Leave the ends loose so the hair still looks like curls, not rope.
This style works best on long curls, but medium-length hair can do a mini version with two or three bubbles. Keep the first elastic secure and not too tight. If the base is painful, the rest of the day gets annoying fast, and there is no cute photo in the world that makes up for that.
10. Flat Twist Halo Into a Low Bun
It looks more detailed than it is. That is why the flat twist halo is such a good option for picture day. It keeps the front tidy, gathers the hair into a low bun, and still leaves enough texture to keep the style from feeling stiff.
Start with two flat twists, one from each side of the head, beginning near the temples and moving toward the nape. Flat twists lie close to the scalp, so they create a clean frame around the face without flattening everything. Once the twists meet at the back, gather the remaining curls into a low bun or coil them into a tucked shape.
A little gel at the part lines helps the twists stay crisp. Keep the product on the roots and scalp area, not all the way through the length of the curls. That preserves softness where it matters. A gold cuff, pearl pin, or plain satin tie can finish it off, but you do not need much.
This is one of the better choices for a collared shirt, a dress with a higher neckline, or any outfit where you do not want hair fighting with fabric. The shape sits close to the head, which makes the whole look neat from the front and the side. It is calm. Clean. Reliable.
11. Curly Bob Pinned Back With One Statement Clip
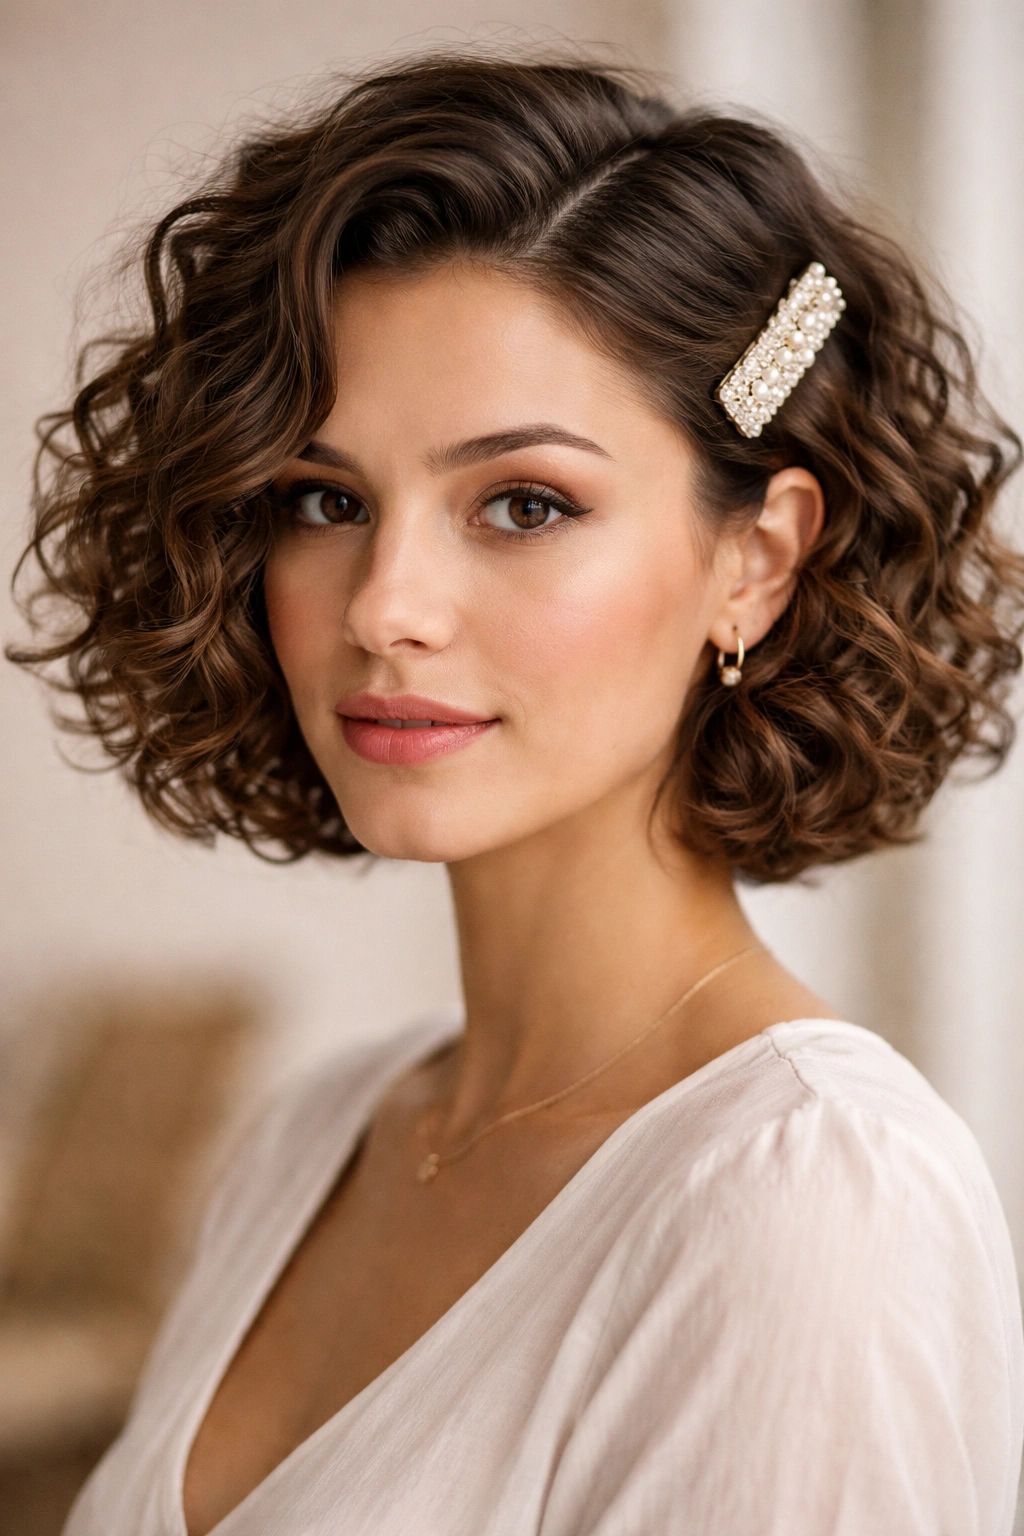
A curly bob does not need much help. In fact, one of the biggest mistakes people make with short curls is trying to dress them up too much. A single statement clip often does the job better than five smaller accessories.
Sweep one side back behind the ear and secure it with one clip that can actually hold hair — not a flimsy little barrette that slides out after ten minutes. Pearl clips, tortoiseshell clips, and smooth metal pins all work, as long as they lie flat and do not fight the shape of the bob.
The rest of the curls should stay bouncy and visible. That is the whole point. A bob looks best when the cut can be seen, and a side pin gives enough control to keep the hair out of the eyes without hiding the shape. If the front pieces are long, you can tuck just the top layer and leave a little curl at the temple.
Tiny clips get lost.
For chin-length and jaw-length curls, this is one of the most practical picture day hairstyles because it takes almost no time and still looks finished. It also works for kids who hate having too much hair pulled back. Short curls usually have enough personality on their own.
12. Picture Day Pineapple Updo With Soft Tendrils
When the curls are long, full, or already stretched from the day before, the pineapple is a smart move. It keeps the bulk up and away from the face, gives the crown a nice lift, and lets the curls fan out in a way that looks lively on camera.
Gather the hair loosely at the very top of the head with a satin scrunchie. Not too low. The point is to keep the body of the curls high so the shape reads from the front. Let the curls spill forward and outward, then pull out two to four soft tendrils around the forehead and temples. Those little pieces soften the style and keep it from looking too severe.
If the base feels loose, secure it with a couple of bobby pins hidden under the curls. If the crown feels too wide, shift the ponytail slightly forward instead of tightening it harder. Tightening usually just flattens the top and creates a headache. Not worth it.
This style shines on hair that already has volume, which is why it works so well for second-day curls or stretched curls. It also pairs nicely with small earrings or a simple collar, because the hair is high and out of the way. The result is relaxed but framed, which is a better look for school photos than a style that looks like it was forced into place.
Good picture day hair rarely comes from fighting curls. It comes from shaping them. That is the whole trick, honestly.
Pick the style that matches the length, density, and mood of the hair on that morning, not the style that looks hardest. The curls will do the rest if you give them a clean part, a bit of hold, and room to stay themselves.