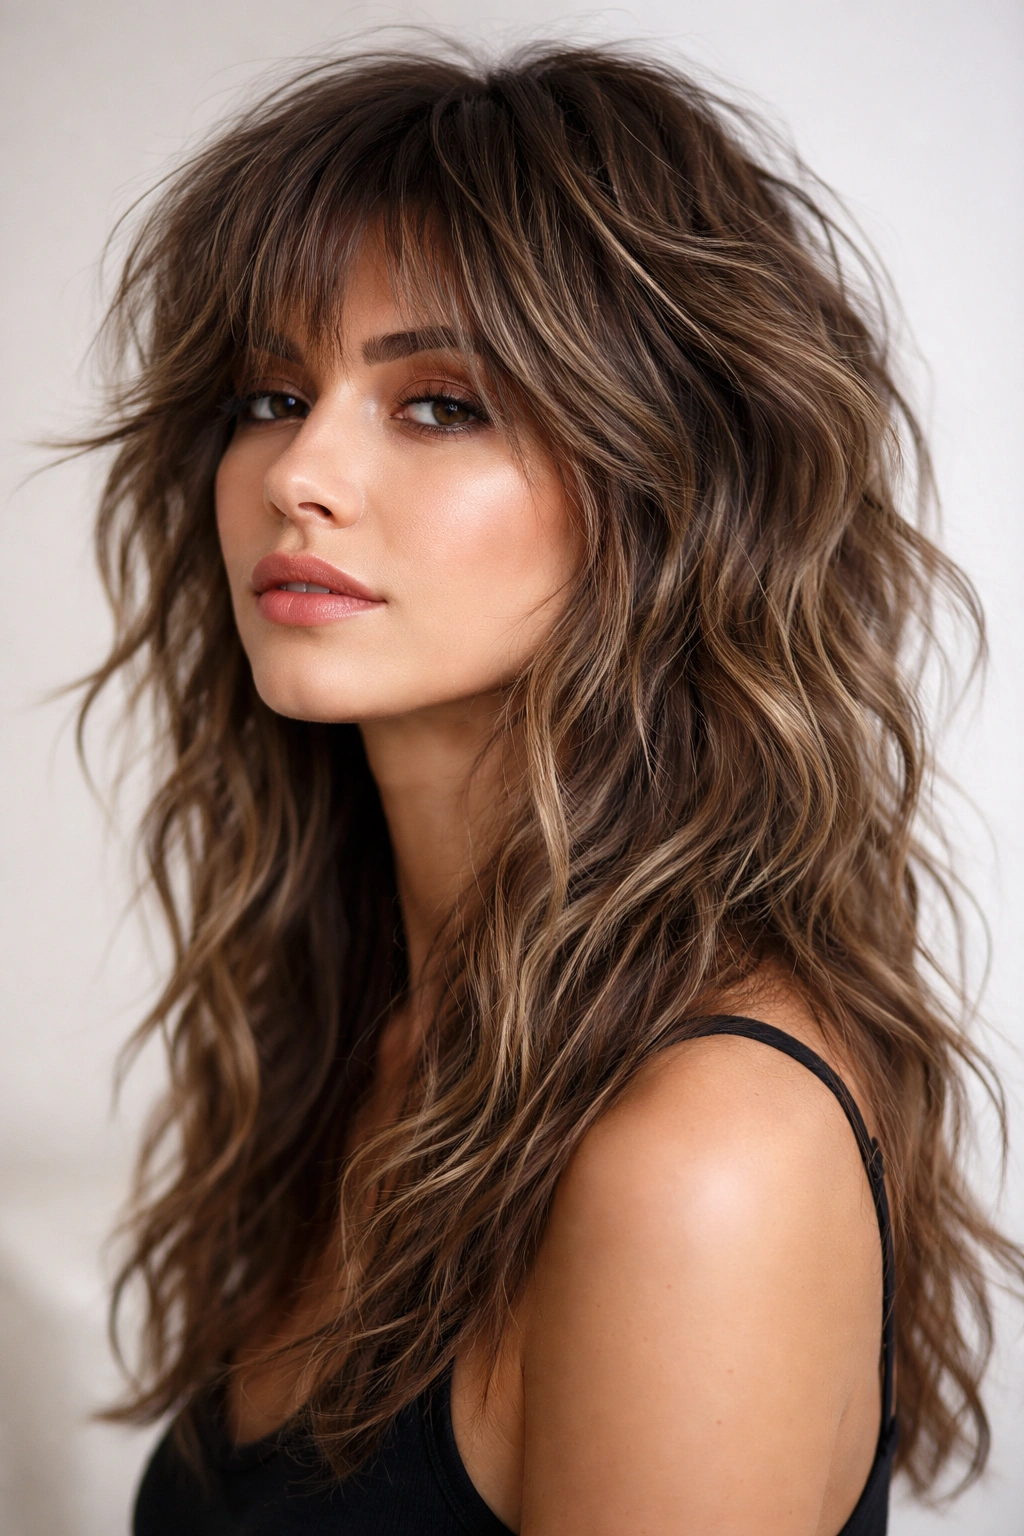
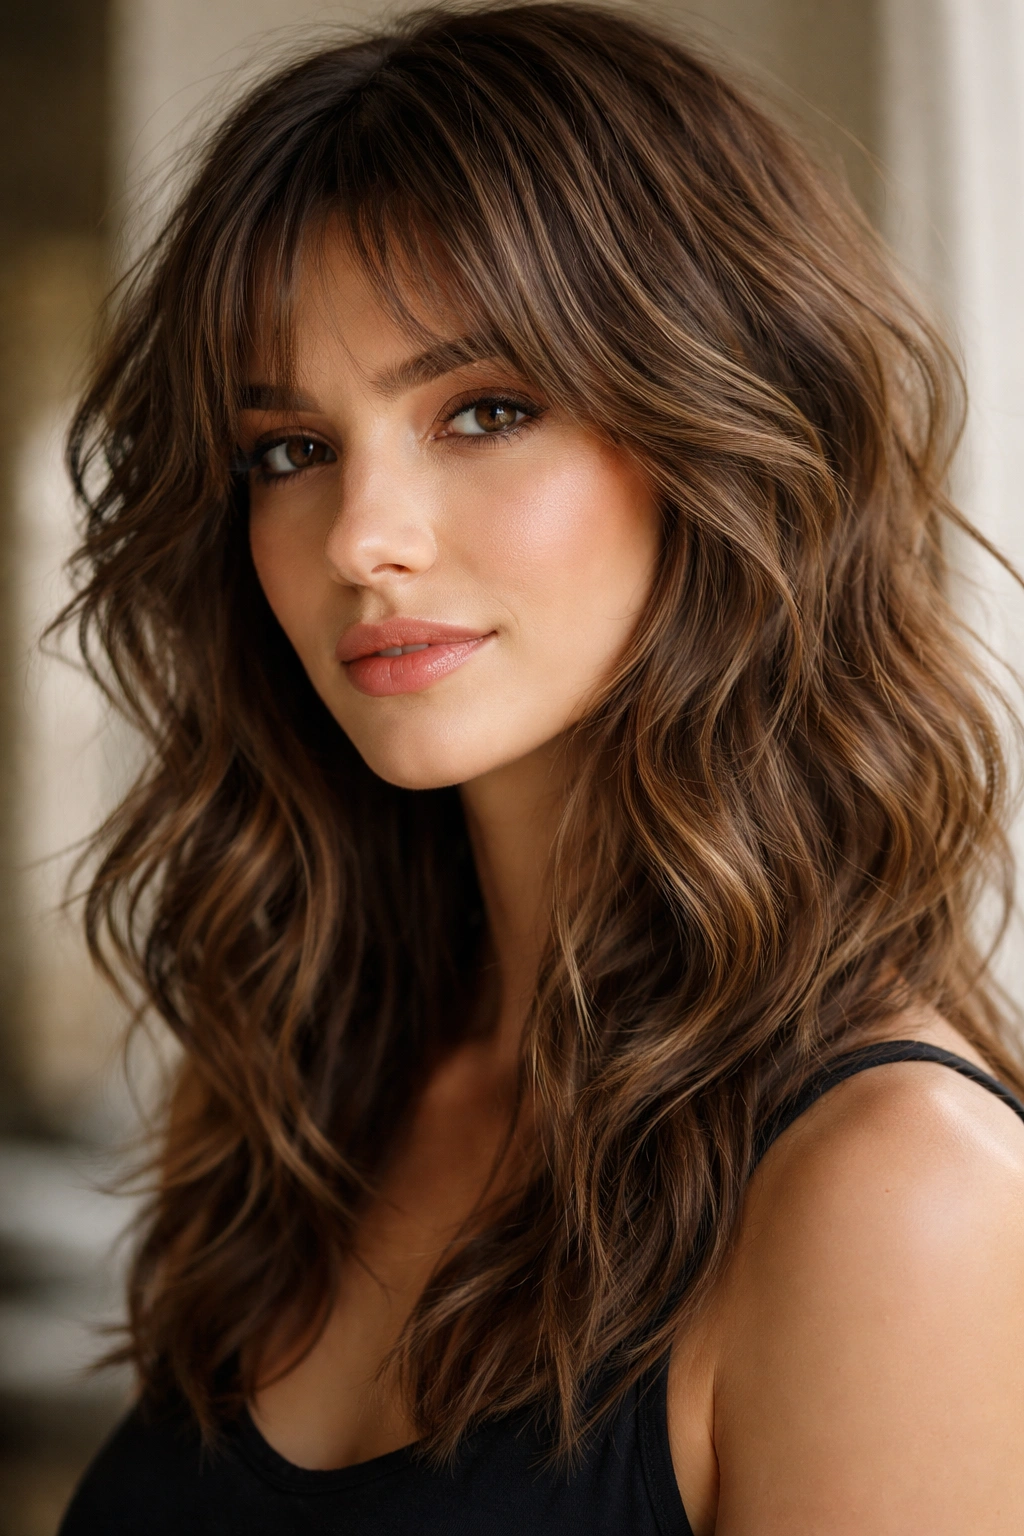
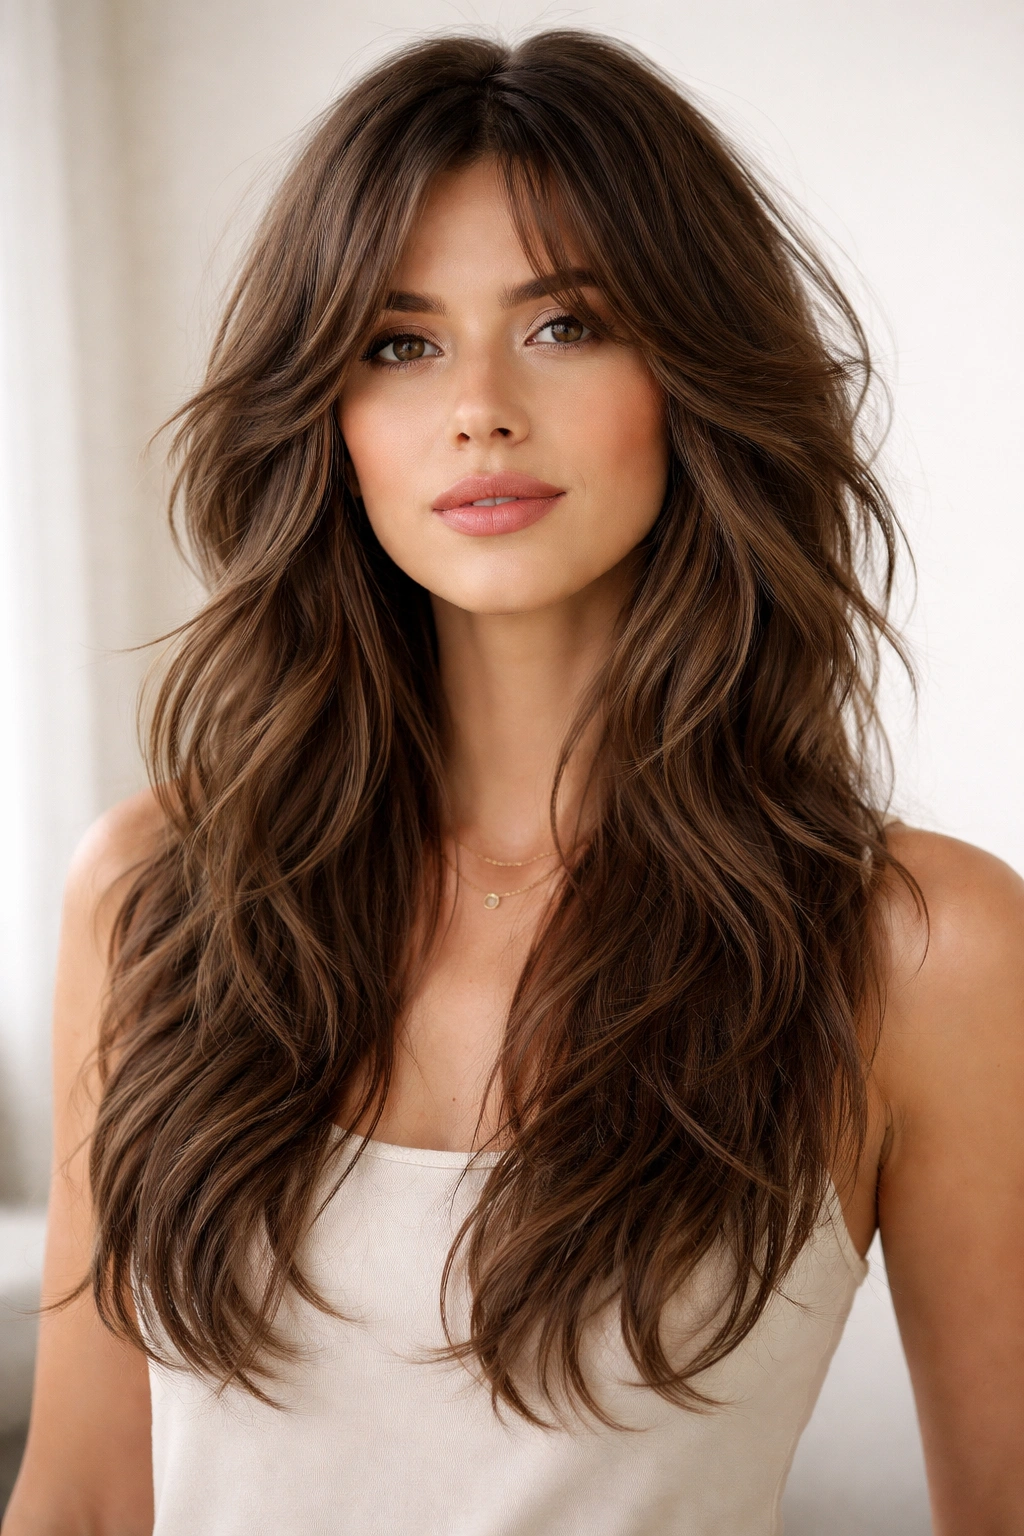
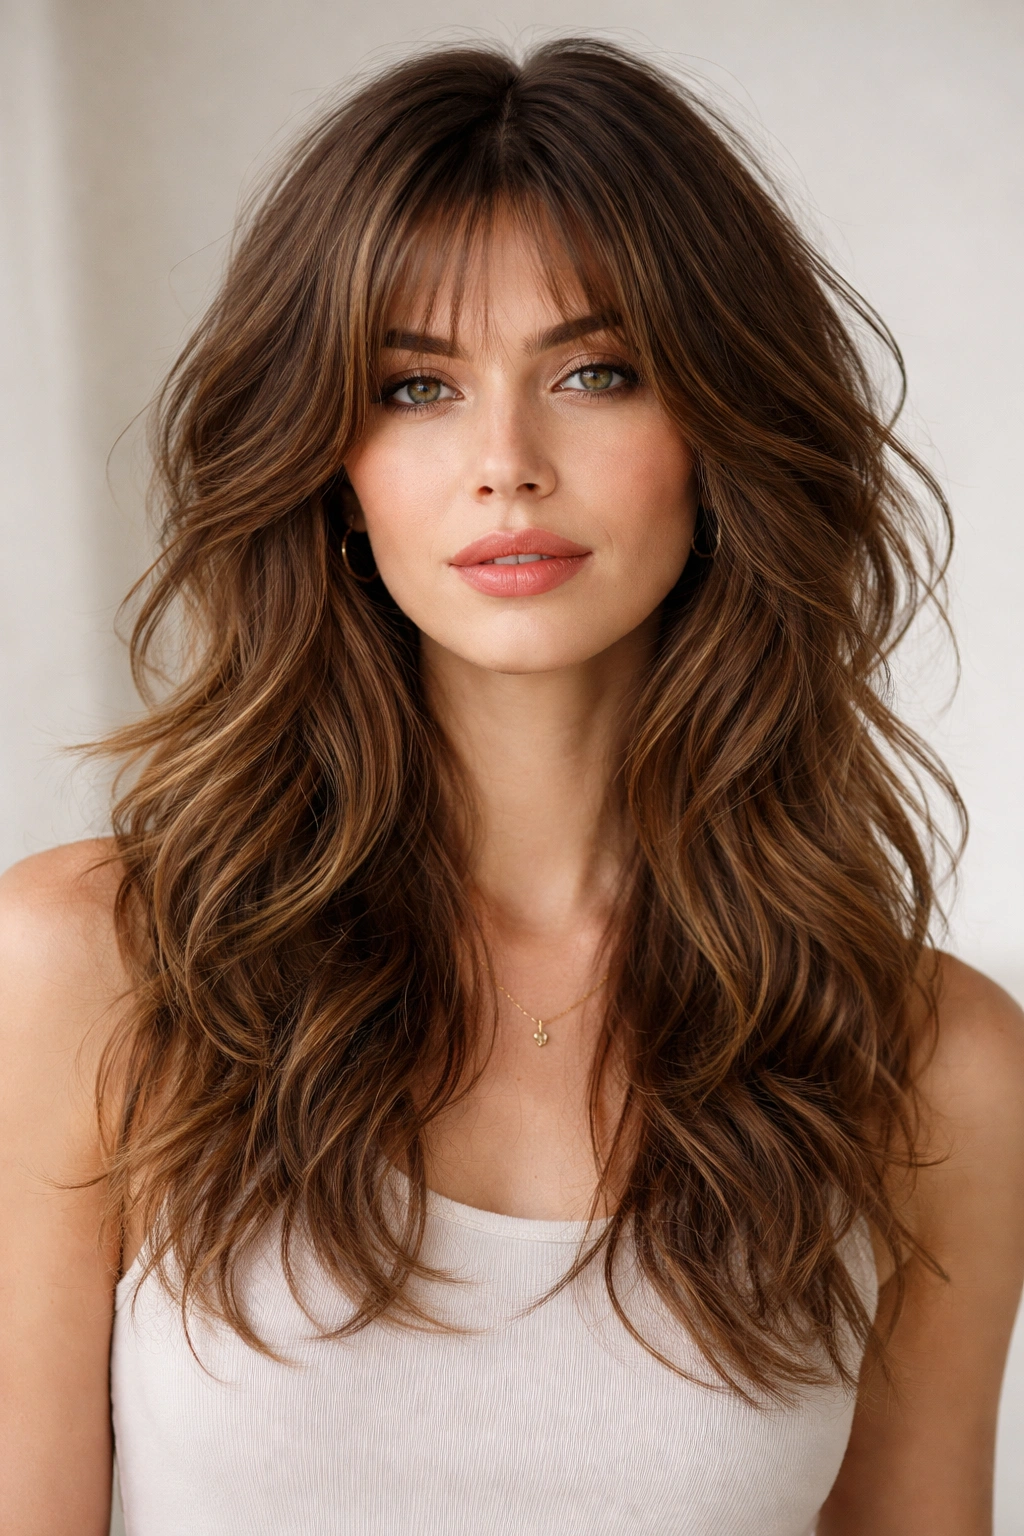
Wavy shag haircuts are having a serious moment right now, and honestly, it’s easy to see why. There’s something undeniably cool about the way layers and texture work together to create movement, dimension, and that effortlessly undone vibe that actually takes more skill than it looks. Whether you’ve got natural waves you want to enhance or you’re working with straight hair and some styling products, a shag cut designed specifically for wave texture can completely transform how your hair looks and feels.
The beauty of a wavy shag is that it works with your hair’s natural movement instead of fighting against it. You’re not trying to blow-dry everything smooth or crimp everything into rigid waves—instead, you’re creating a cut that lets your natural texture shine while adding intentional layers that boost volume, reduce bulk, and create that sought-after lived-in texture everyone’s after. The right shag cut makes styling faster, easier, and genuinely more flattering, because it’s literally cut to work with how your hair actually moves.
The thing is, not all shag cuts are created equal, especially when it comes to working with waves. The placement of layers, the length of the shortest pieces, how choppy or blended the cut is—all of these factors dramatically change how the style looks on you and how manageable it becomes. That’s why we’re breaking down ten specific wavy shag variations, each with its own character, styling approach, and ideal face shape or hair type.
1. Classic Layered Wavy Shag
The OG shag that started the whole trend revival is still the gold standard for wavy hair. This cut features heavy, blended layers throughout that start higher up on the head, giving maximum volume at the crown and movement through the mid-lengths and ends. The layers are choppy enough to create texture but blended enough that they feel intentional rather than choppy—think more “styled waves” and less “random choppiness.”
Why This Works for Wavy Hair
The classic shag’s layer placement is specifically designed to work with wave texture. By cutting shorter layers into the crown area, you’re removing weight exactly where wavy hair needs it most, preventing that flat, heavy look that happens when you try to keep waves too long on top. The longer underneath layers maintain length and create that signature shag shape—shorter in front, longer in back, with movement everywhere.
Styling and Maintenance
- Use a texture cream or sea salt spray after showering to enhance natural waves and separate layers
- Scrunch product upward through damp hair rather than smoothing it down
- Diffuse dry with a blow dryer for maximum volume, or let air dry for a more relaxed look
- Re-cut layers every 6-8 weeks because the shag shape depends on maintaining that layer structure
- Works best on shoulder-length hair or longer, typically 12-18 inches minimum
Pro tip: Apply your styling product to soaking wet hair before you start blow-drying—it sets the wave pattern in place as the hair dries.
2. Modern Wolf Cut Waves
The wolf cut took the internet by storm for a reason—it’s basically a shag that borrowed some mullet DNA and came back looking fresher. Picture a shag with dramatically shorter layers on top (creating that textured crown) and significantly longer layers underneath, almost to the point where you’ve got long pieces framing your face and falling down your back. It’s edgier than a classic shag, more dramatic, and absolutely stunning with wave texture.
What Makes the Wolf Cut Stand Out
The wolf cut’s magic is in the contrast. You’ve got seriously short, choppy layers creating maximum texture and volume at the crown, then a sudden drop in length for a wilder, more intentional shape. With waves, this contrast becomes even more striking—the shorter pieces lift and curl around your head, while the longer underneath pieces create movement that falls past your shoulders. It’s high-impact and feels modern rather than retro-shag.
Styling Tips for Wolf Cuts
- The shorter crown pieces need product to define them—use a lightweight gel or texture cream
- The longer underneath layers look best when they’re actually styled as waves rather than left straight
- Diffusing is ideal because it creates volume and defined wave clumps, especially important with the wolf cut’s dramatic shape
- Refresh waves between washings with a spray bottle of water and a bit of product, scrunching upward
- Cut every 4-6 weeks because the sharp contrast between lengths is what makes this cut work
Worth knowing: Wolf cuts look freshest when you lean into the textured, slightly chaotic energy rather than trying to make them perfectly neat.
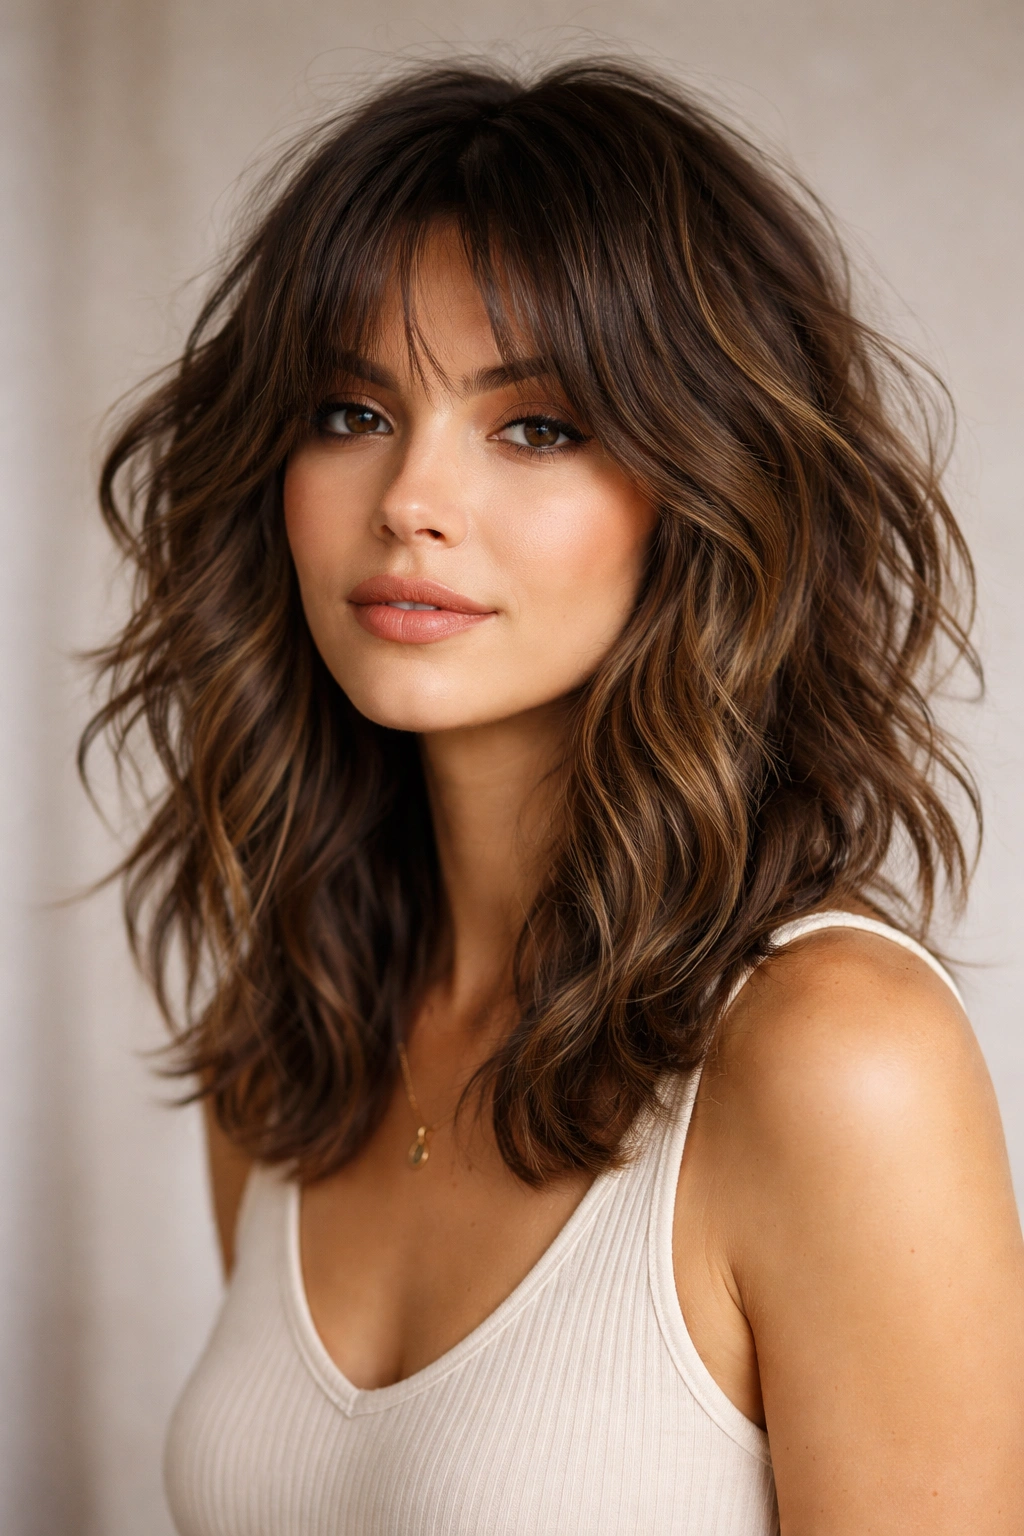
3. Shaggy Curtains with Wave Texture
Curtain bangs have been everywhere for years, and for good reason—they frame the face beautifully. Now pair those face-framing curtains with a full shag shape, and you’ve got a cut that’s flattering, wearable, and seriously stylish. The curtains part naturally down the middle and curve slightly outward, creating a frame that’s shaped by the wave texture, while the rest of the hair has that shag layering throughout.
Why Curtains Work with Shags
The curtain design in a shag specifically takes advantage of how waves fall when they’re cut. The longer face-framing pieces wave naturally outward, and the wave pattern actually helps them hold that curtain shape without needing special styling. The bangs themselves are long enough that they integrate with the rest of the cut rather than looking like a separate thing—they’re just part of the overall layer structure.
Shaping and Styling
- Cut curtains to fall just below your cheekbones at the shortest point for the most flattering frame
- The wave texture in the curtains should be encouraged rather than smoothed—scrunch upward as you dry
- Use a round brush or your fingers to gently shape the wave as you blow-dry, creating soft, curved movement
- The rest of the shag follows standard shag rules with choppy layers throughout the back and sides
- This style needs the curtains trimmed every 4-6 weeks because the framing depends on the placement
Pro tip: If your waves aren’t falling into the natural curtain part on their own, try sleeping with your hair in a specific parting to train the wave pattern.
4. Textured Pixie Shag with Waves
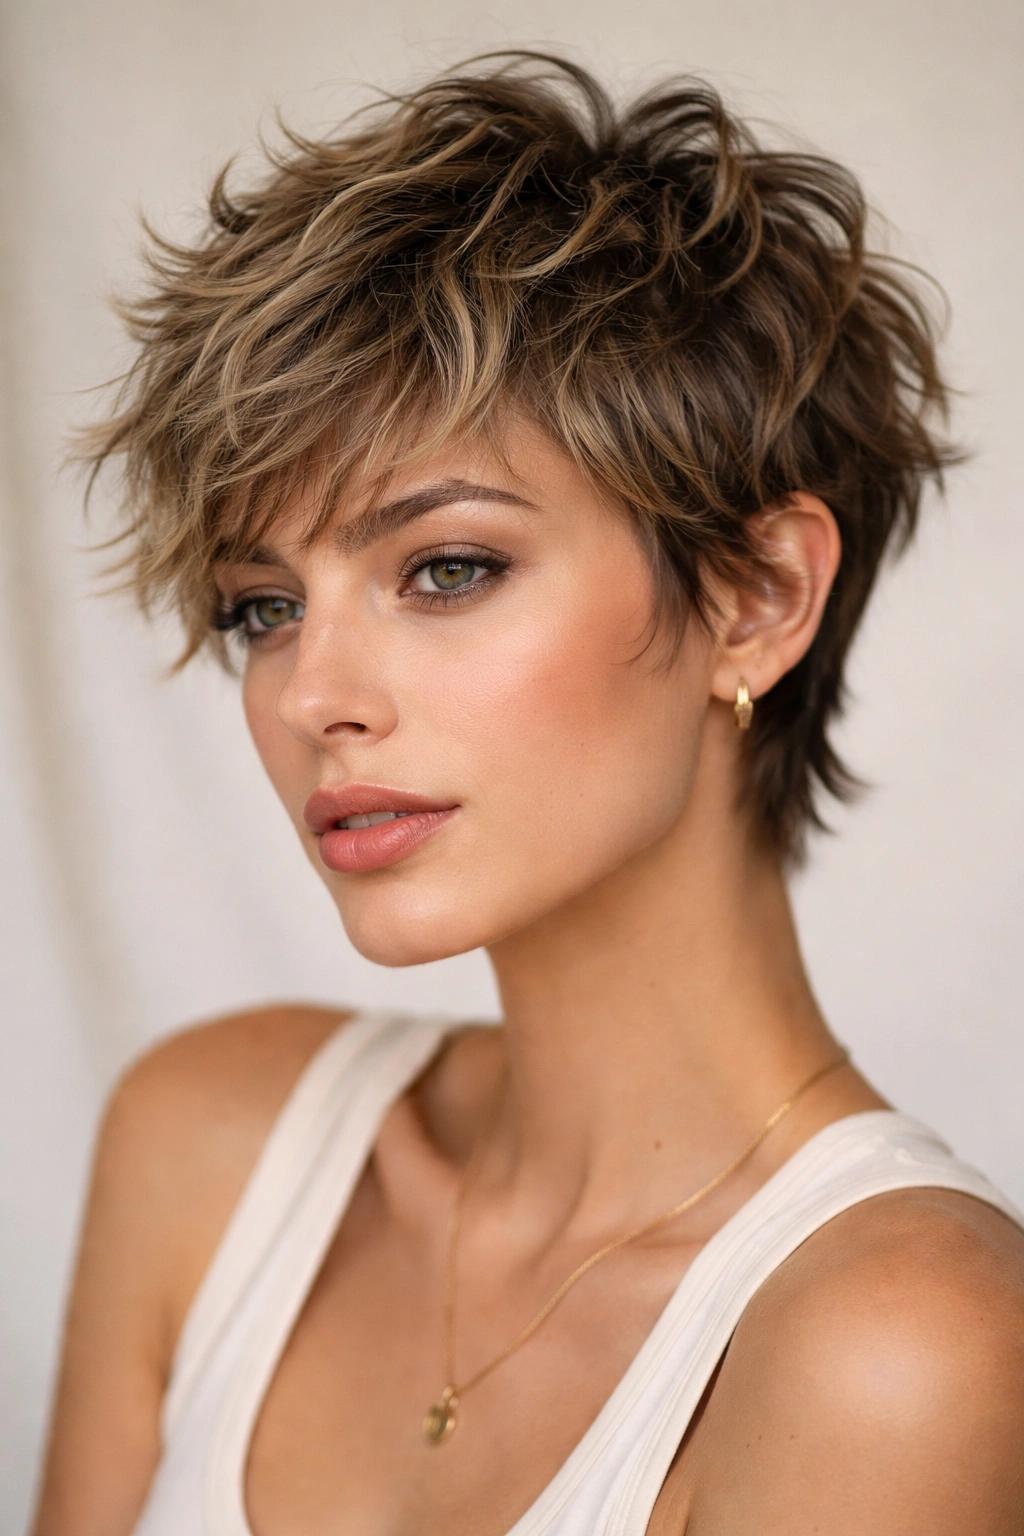
For anyone ready to go short, the pixie shag brings serious personality. This is a super short cut (usually 1-3 inches on top) with choppy, textured layers creating volume and movement from the very crown. It’s not a full shag in the traditional sense, but it borrows the layer-happy, texture-forward approach to create a short, sculptural look that absolutely sings with waves.
Perfect for Wave Texture
A pixie shag with wave texture becomes an architectural, dimensional style that looks intentionally undone. The waves create natural volume and visual interest that a straight pixie cut can’t achieve. Each wave sits slightly differently, creating dimension and movement that makes the haircut look sculptural and thoughtfully shaped rather than just “short.”
Styling and Growth
- Wash and scrunch in a lightweight styling cream while wet, then either air dry or use your hands to direct the waves as you diffuse
- The whole point is letting the waves do their thing, so heavy products that weigh down short hair aren’t ideal—think texture and definition, not slickness
- Regular trims every 3-4 weeks keep the shape clean and the layers visible
- As it grows out, the pixie shag transitions into increasingly longer shag vibes, so you’ve got style evolution happening
- This works best for people with genuine wave texture—straight hair will need regular styling to achieve the dimensional effect
Insider note: Many people transition to a pixie shag specifically for the “wash and go” factor with waves—let the texture do the heavy lifting.
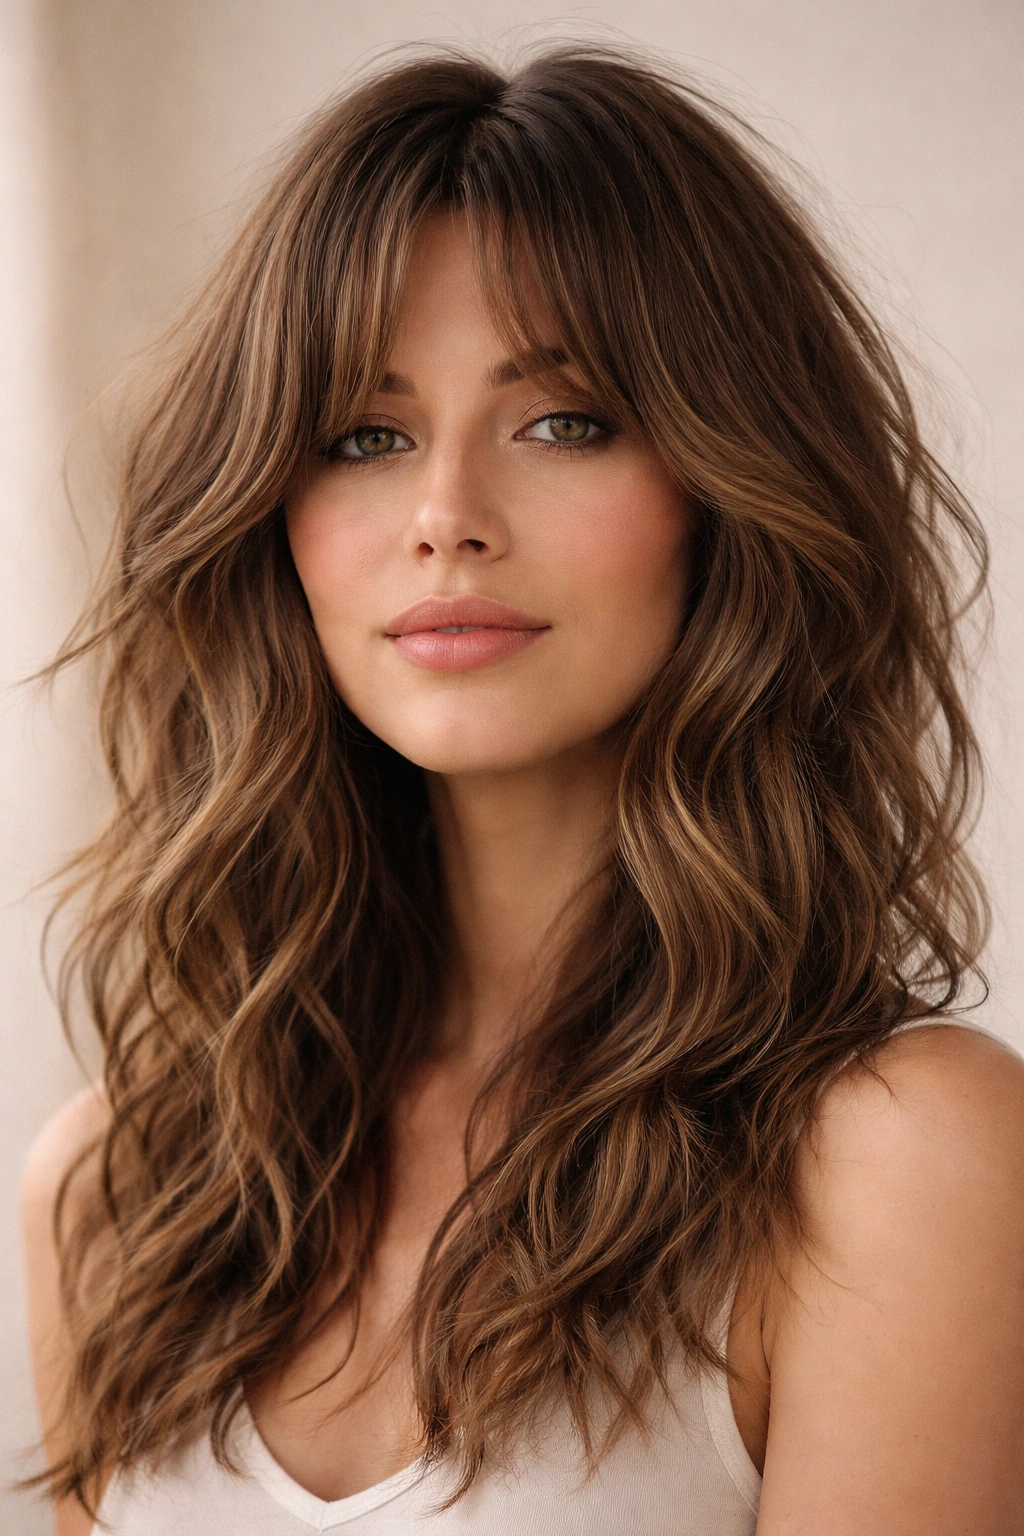
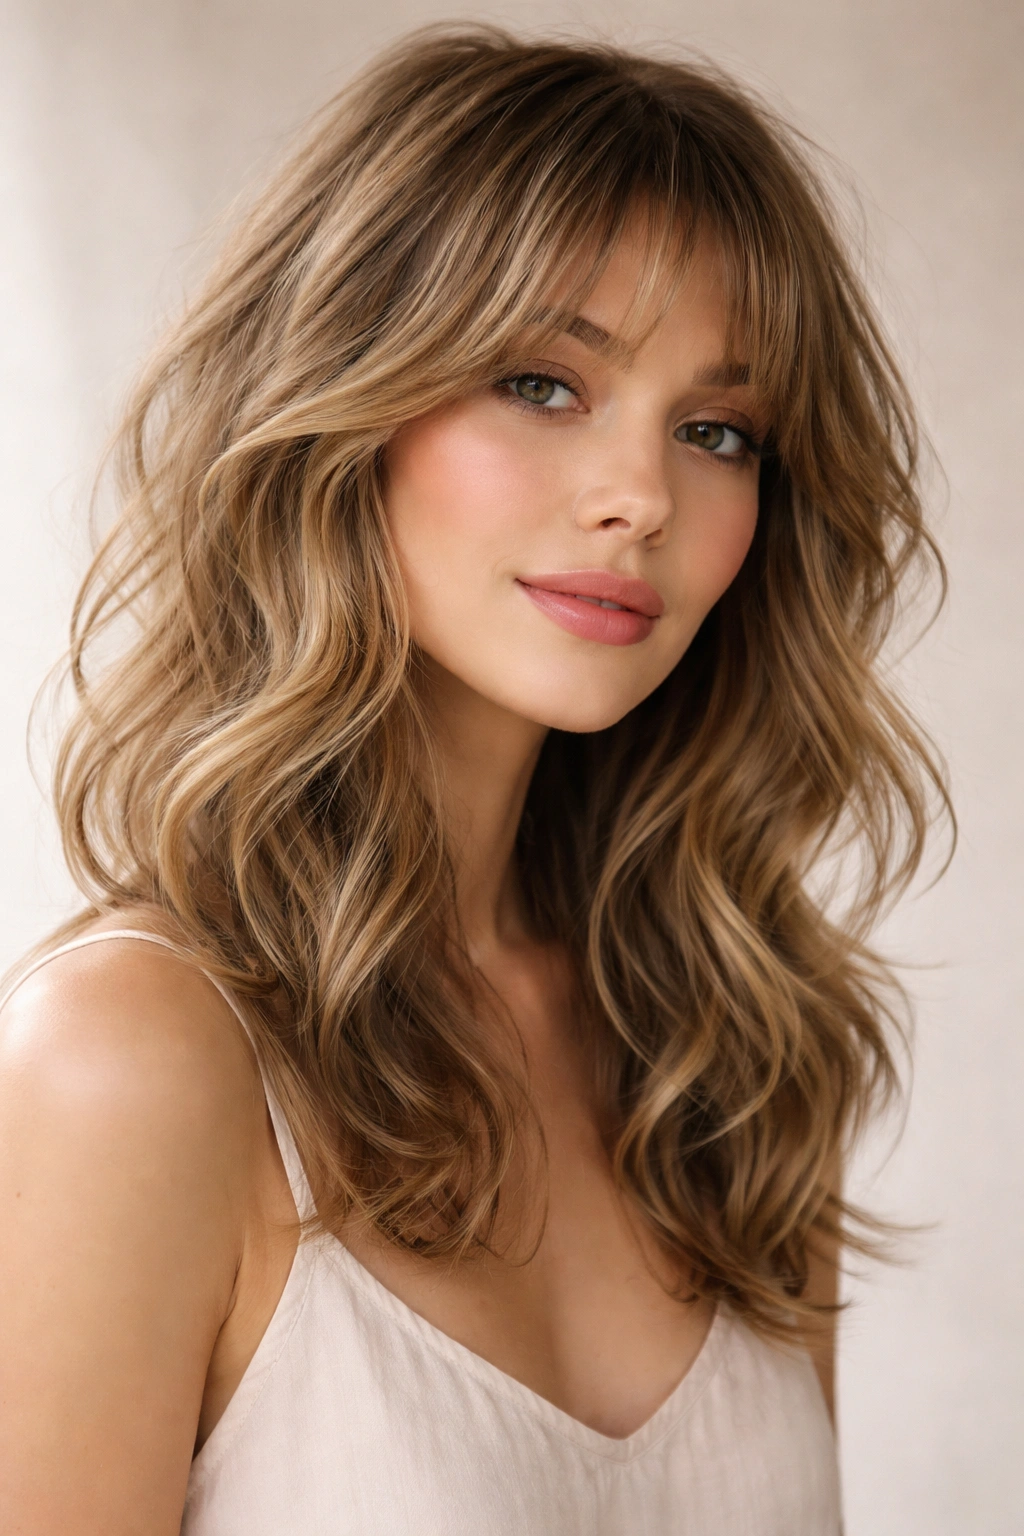
5. Shoulder-Length Wavy Shag
When you want maximum impact without going too short or too long, shoulder-length is your sweet spot. This shag hits right around your shoulders at the longest point, creating a natural-looking shape that’s longer in front, shorter in back, with layers distributed throughout for movement and volume. It’s the most versatile length because it works for basically every hair type and face shape.
Why Shoulder Length Works Best
Shoulder-length gives you enough hair to create visible layers and texture without the bulk that longer hair can develop. The length also means you’ve got options—you can wear it down with full texture, blow it out for waves, or even style it up without it looking wispy or unfinished. The layers fall at just the right length to create movement without disappearing into the overall length.
Versatile Styling Options
- Wear waves completely down and textured for maximum movement and dimension
- Blow-dry with a round brush for more defined, slower waves with lift at the roots
- Scrunch in a texture cream for beachy waves that feel organic and effortless
- Style with half-up sections for a totally different vibe while keeping the layers visible
- Pull back with a clip, bun, or barrette so the shorter layers around your face fall softly forward
Quick facts about maintenance:
- Trim every 6-8 weeks to maintain shape and layer visibility
- Regular trims actually make it look better because the layers stay sharp and textured
- Works beautifully with both natural waves and waves created through styling
- The versatility means this length stays relevant as trends shift
6. Face-Framing Wavy Shag Layers
Sometimes the most impactful element of a shag is the strategically placed shorter pieces right around your face. This cut emphasizes those face-framing layers while building a full shag in the back, creating intentional texture that draws attention upward and frames your face beautifully. It’s flattering for basically every face shape because the placement can be customized.
Strategic Layer Placement
The face-framing layers in this version are cut specifically to curve around your cheekbones and jawline, working with your wave texture to create soft, flattering lines. These aren’t choppy pieces—they’re blended shorter layers that integrate with the longer pieces, but the placement is deliberate. With waves, they naturally curve and move away from your face, creating a dimensional frame that’s both textured and flattering.
Achieving the Frame
- Ask your stylist to cut the face-framing layers to your cheekbone or slightly below for maximum flattering effect
- The waves will naturally curve these pieces—work with that rather than fighting it
- Style by scrunching texture cream upward and letting the waves do the framing work
- These layers need trimming every 6 weeks because their flattering effect depends on placement
- Pair with longer lengths in the back (18-20 inches plus) for maximum contrast and impact
Worth knowing: The face-framing layers actually become MORE visible as you style because the waves separate them naturally.
7. Soft Feminine Wavy Shag
Not all shags are choppy and dramatic—this version leans softer and more blended while still keeping that essential layering that makes a shag work. The layers are there, but they’re more integrated, creating a cut that reads as “styled waves” rather than “textured pieces.” It’s romantic, wearable, and genuinely flattering for people who want movement without edge.
Creating Softness with Layers
A soft shag uses blended rather than choppy layers, keeps the overall shape flowing, and relies on wave texture to create dimension rather than relying on dramatic layer variation. The shortest pieces still sit higher on the head for volume, and the longest pieces still create shape, but the transition between lengths is gentler and more seamless. With wave texture, this approach creates a naturally romantic, undone vibe.
Styling the Soft Approach
- Use a smoothing cream or light styling oil to enhance waves without defining every individual layer
- Blow-dry with a diffuser, using your hands to gently scrunch rather than create defined clumps
- The goal is soft waves that flow together rather than visibly separated textured pieces
- Apply styling product to damp hair and let air dry for a completely effortless look that looks way more polished
- Regular trims (every 6-8 weeks) keep the layers visible without looking overgrown
Pro tip: This soft shag pairs beautifully with longer lengths (past shoulder length) because the waves have more room to flow.
8. Choppy Textured Wavy Shag
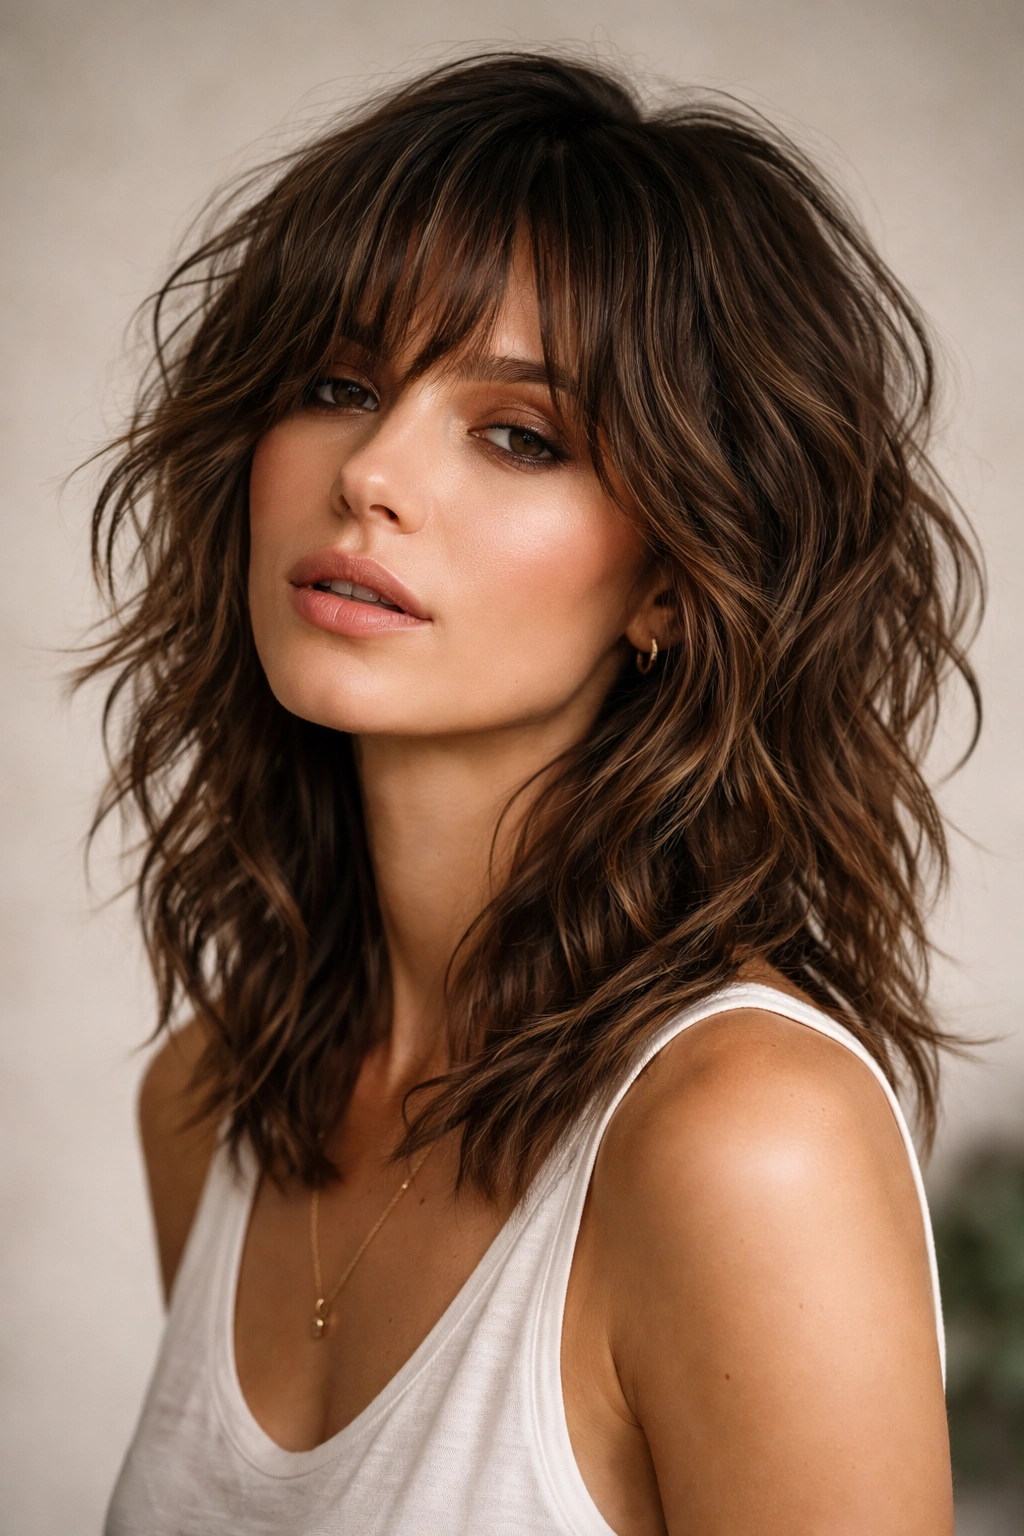
For people who want serious dimension and aren’t worried about looking polished, the choppy shag is peak edginess. This cut goes hard on the choppy layering—short pieces throughout, dramatic length variation, visible texture from every angle. With wave texture, it creates an almost defiant, cool-girl energy that looks intentional rather than accidental.
Embracing the Chop
A choppy shag celebrates texture and movement rather than trying to create smooth, blended lines. Every layer is visible. The wave texture amplifies this effect, with each choppy piece creating a different movement pattern. You’re creating an art piece, essentially—a shape that’s beautiful precisely because it’s not trying to be neat or controlled.
Styling for Maximum Texture
- Embrace products that define individual texture—gels, creams, and sea salt sprays that create visible separation
- Scrunch aggressively into damp hair, creating wave clumps that you can then break apart for a textured, lived-in look
- Use a diffuser, but move it around to create different-sized wave clumps rather than uniform texture
- Lean into the slightly chaotic energy—this isn’t a style that looks good when it’s too controlled
- Refresh with product and water between washings by scrunching and air drying or diffusing
Worth knowing: The choppy shag looks fresher longer if you style it intentionally rather than just letting it dry naturally.
9. Wavy Mullet Shag Hybrid
The shag and mullet had a baby, and it’s surprisingly cool. This cut combines the textured, face-framing front layers of a shag with a mullet’s dramatic short-to-long structure—shorter throughout the front and sides, significantly longer in the back. With waves, the contrast becomes visually striking: short, textured pieces in front that frame your face, and long, flowing waves in back.
How the Hybrid Works
The mullet shag uses shag’s layer philosophy (chop it up for texture and movement) but applies it asymmetrically, creating length contrast that’s more dramatic than a traditional shag. The front creates a shorter, textured silhouette while the back remains long, creating an edgy, rock-and-roll energy that’s somehow also wearable. The wave texture makes this work because it softens the edge of the mullet’s dramatics.
Wearing the Hybrid Style
- The front pieces are styled as a shag—textured, layered, framing your face with waves
- The back length remains longer and can be worn down with full waves, styled half-up, or even pulled back completely
- The contrast is part of the style, so don’t try to make it blend—embrace the front/back difference
- Maintain with trims every 4-6 weeks in the front (where shape matters) and less frequently in the back
- This is an intentional, statement-making cut that signals confidence
Pro tip: The mullet shag looks best when you style the front and back slightly differently—textured waves in front, smoother or differently-shaped waves in back.
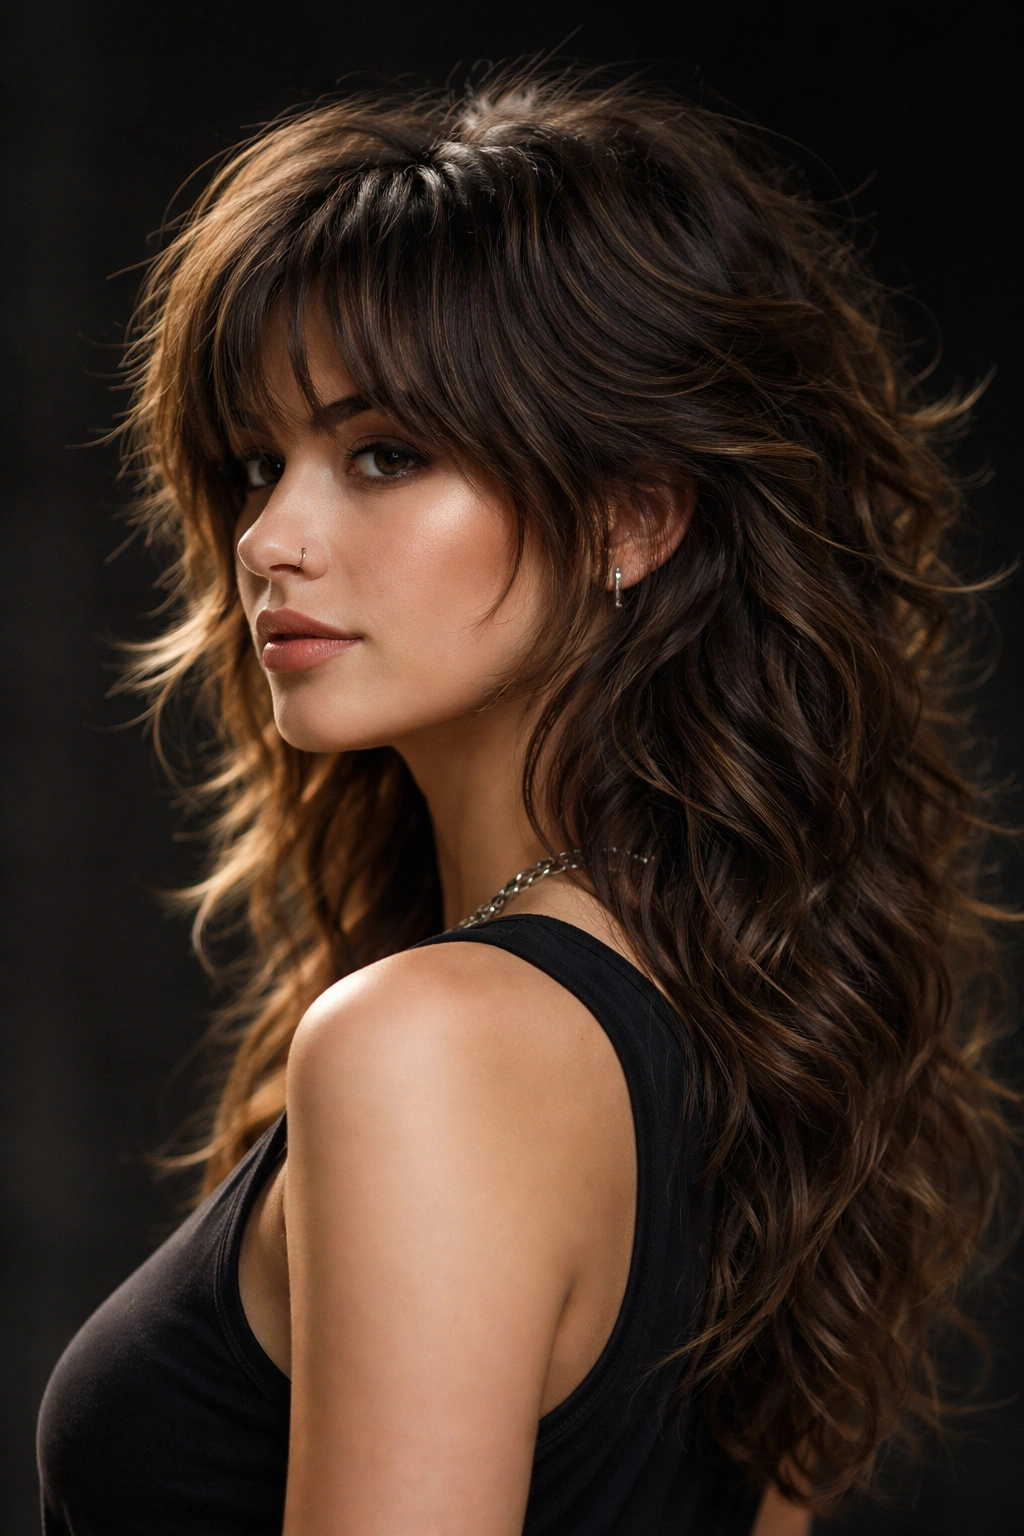
10. Long Wavy Shag with Feathered Layers
For anyone who wants to keep serious length while still getting that shag texture and movement, the long shag with feathered layers is the answer. This cut maintains length (often 20+ inches) while creating feathered, lighter layers throughout that remove bulk, add texture, and create movement without sacrificing the long aesthetic. Feathering specifically means the layers are cut at angles that create a tapered, swooping effect rather than blunt chopping.
Feathering for Dimension
Feathered layers curve inward and outward, creating a shape that moves with your waves rather than just adding random texture. The technique means each layer tapers toward the ends rather than being cut straight across, creating a lighter, more refined look than choppy layers. With waves, feathered layers create this beautiful sense of movement and flow—your hair literally seems to wave in directions that look intentional and styled.
Maintaining Long Feathered Shags
- Trim every 6-8 weeks to maintain the feathering and layer placement—this is not a low-maintenance cut
- Use a lightweight styling cream that won’t weigh down long hair
- Diffuse dry for maximum wave definition, or scrunch with product and air dry for a more relaxed texture
- The length requires dedication to keep ends healthy and prevent split ends from making layers look stringy
- Sleep with your hair braided or in a loose bun to prevent tangles and maintain wave pattern overnight
Quick facts about long shags:
- They require regular trims to look intentional rather than just “long and messy”
- The feathering becomes more visible with shorter trims, so commit to the maintenance
- Works beautifully with both naturally wavy hair and waves created through styling
- Creates a romantic, flowing aesthetic that’s flattering for many face shapes
Final Thoughts
The wavy shag is having its moment because it genuinely works—it’s a cut that celebrates texture instead of fighting it, creates volume and movement naturally, and actually saves styling time once you’ve got the right shape. Whether you go choppy and dramatic, soft and blended, short and textured, or long and feathered, the core principle remains the same: intentional layering that works with your wave texture rather than against it.
The key to making any wavy shag work is finding a stylist who understands how layers interact with wave texture, and then committing to regular trims that maintain the shape. A shag that’s grown out too long loses its magic—the layers disappear, the texture flattens, and you’re left with a vaguely shaggy-looking mess instead of an intentional style. But keep up with trims and styling, and you’ve got a cut that looks effortlessly cool while actually being quite intentional.
Your face shape, hair type, daily styling commitment, and personal style preferences should all factor into which wavy shag variation you choose. Spend some time looking at photos of real people with your face shape wearing each version, and bring those photos to your consultation. Be specific about maintenance expectations—if you’re not interested in trimming every six weeks, choose a longer shag with less dramatic layering. If you love styling and creating texture, go for the choppy, textured versions. The best wavy shag is the one that fits your life and makes you feel good when you look in the mirror.