If you’re tired of flat, one-dimensional hair but aren’t ready to commit to super short layers, a medium wavy shag haircut might be exactly what you’ve been searching for. The shag—that legendary cut from the ’70s that’s made a serious comeback—works magic on wavy hair. It combines choppy, disconnected layers with movement and texture that actually enhances natural wave patterns instead of fighting against them.
The beauty of a shag on medium-length hair is that you get all the face-flattering benefits of shorter styles without sacrificing length. You can still pull your hair back, style it sleek when you want to, or lean into the tousled, lived-in texture that makes this cut so irresistibly cool. A medium wavy shag also sits in that sweet spot where it’s easy to maintain—you’re not dealing with super long hair that tangles constantly, but you have enough length to work with.
The best part? Shags photograph beautifully from every angle, and they genuinely look better as they grow out. Most shag haircuts work particularly well if your hair has natural wave or curl pattern already. If your hair is naturally straight, you can still rock a shag (styling products and maybe a curling iron become your friends), but the magic really happens when you’ve got texture to work with.
Here are ten stunning variations on the medium wavy shag that you can bring to your next salon appointment.
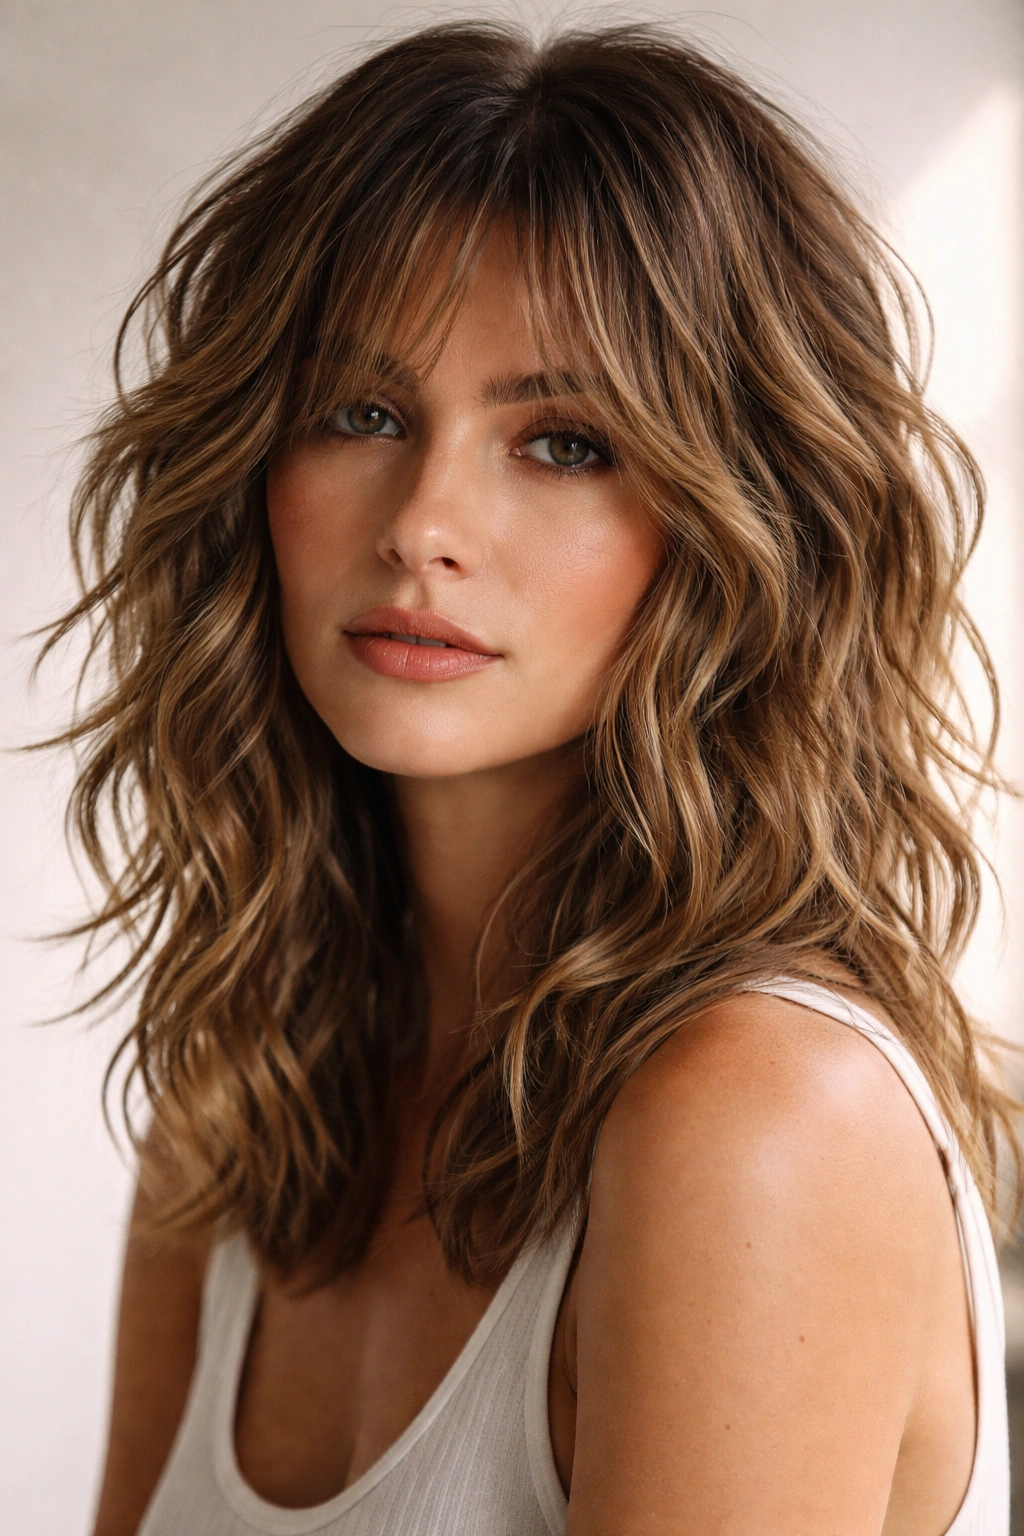
1. The Classic Textured Shag
This is the foundational shag that works for nearly everyone—think tousled, undone, and incredibly cool without looking like you’re trying too hard. The cut features choppy layers throughout the entire head with shorter, feathered layers on top that create serious volume and texture. The underneath stays slightly longer, giving you movement and flow that makes waves look absolutely effortless.
Why This Cut Stands Out
A classic textured shag plays beautifully with natural wave patterns because the layers encourage your waves to move independently rather than clumping together. Each layer catches light differently, which makes even flat hair look thicker and more textured than it actually is. The face-framing elements naturally contour your cheekbones without you having to do anything special.
How to Style It
- Air-dry with a curl-enhancing cream or mousse for a completely effortless look
- Use a diffuser attachment on your blow dryer to amplify natural waves and add volume at the roots
- Scrunch damp hair upward with a sea salt spray for that signature shag texture
- Run your fingers through the layers while it dries to break up clumps and create movement
- Sleep in loose braids and refresh with a light mist of texturizing spray the next morning
Pro tip: The less you fuss with this cut, the better it looks. Embracing the slightly messy, tousled vibe is literally the whole point—precision styling defeats the purpose.
2. Piece-y Wavy Layers
This variation takes the shag concept and cranks up the layering intensity, creating super defined, almost choppy pieces throughout. Instead of one cohesive shape, you get distinct sections and disconnected strands that move independently. The layers are strategically cut to create pieciness that catches light and adds visual texture even when your hair is completely dry.
What Makes This Version Different
The piece-y approach is perfect if you want more edge and definition in your shag. Rather than blending the layers for a softer look, this cut celebrates the separateness of each layer. You get lots of movement because individual strands have room to move and wave without being weighed down by hair around them. It’s the perfect choice if you want your shag to feel modern and fashion-forward rather than vintage.
Styling Tips for Piece-y Shags
- Use a texturizing cream or wax through damp hair to emphasize individual pieces
- Blow-dry sections separately with a round brush to build definition between layers
- Create separation by running a wide-tooth comb through the pieces while hair is still damp
- Apply a lightweight finishing spray that won’t weigh down the individual strands
- Consider a very light point-cut trim every 6-8 weeks to maintain the piece-y quality
Worth knowing: This style shows off balayage and highlights beautifully because the layers create natural dimension where light can hit color differently.
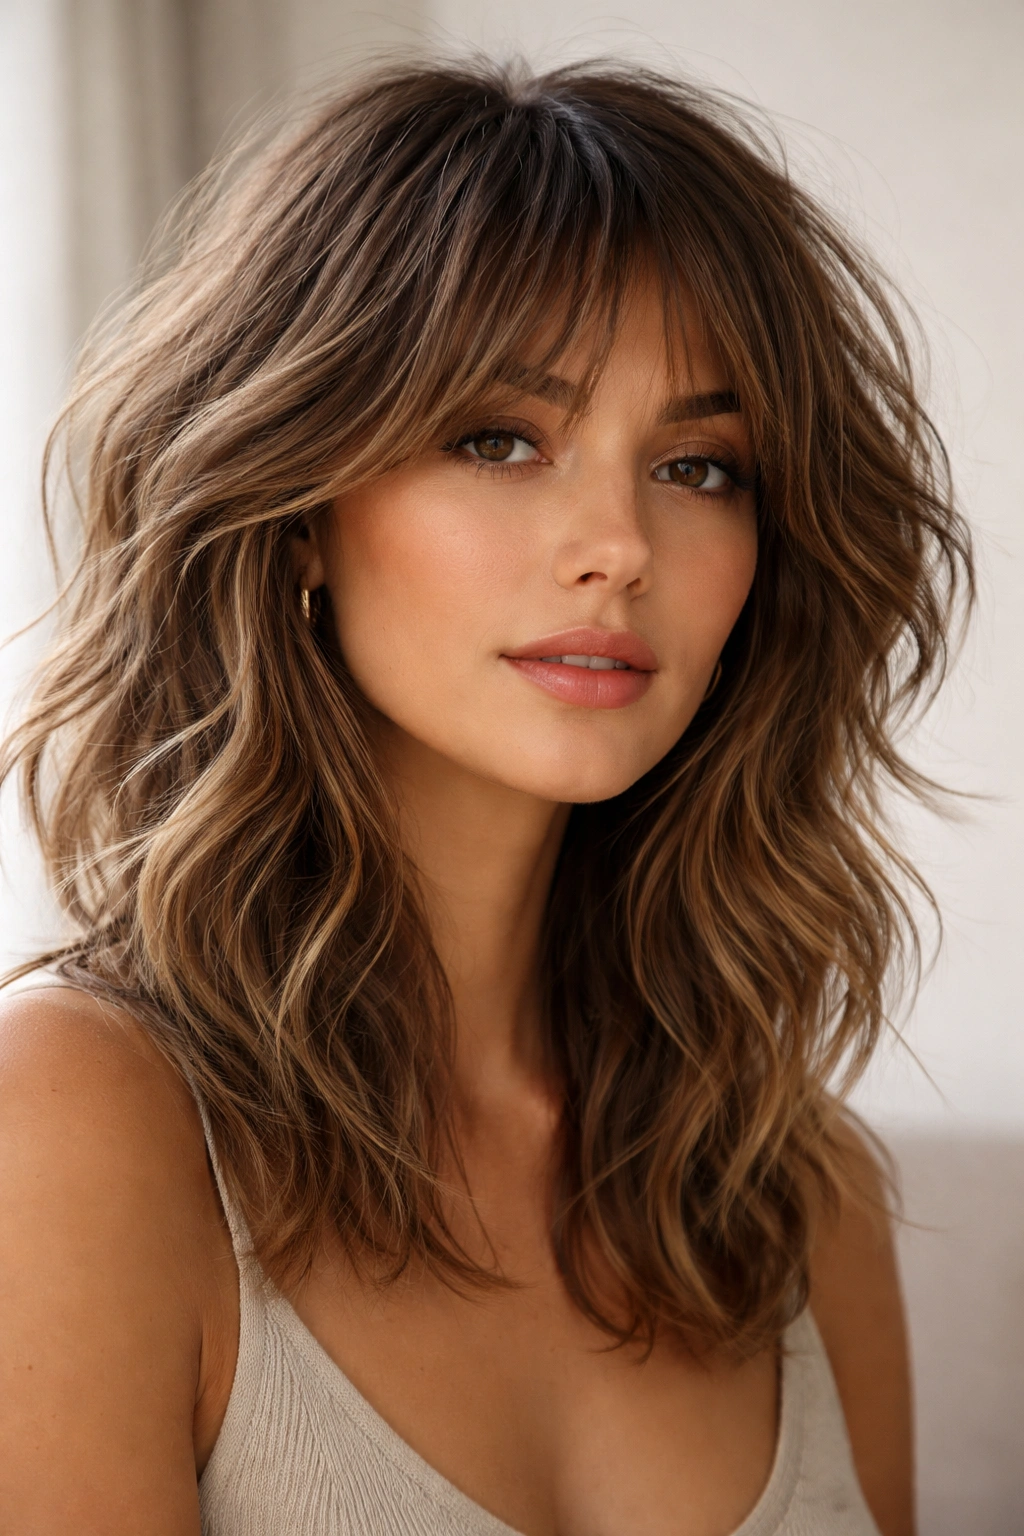
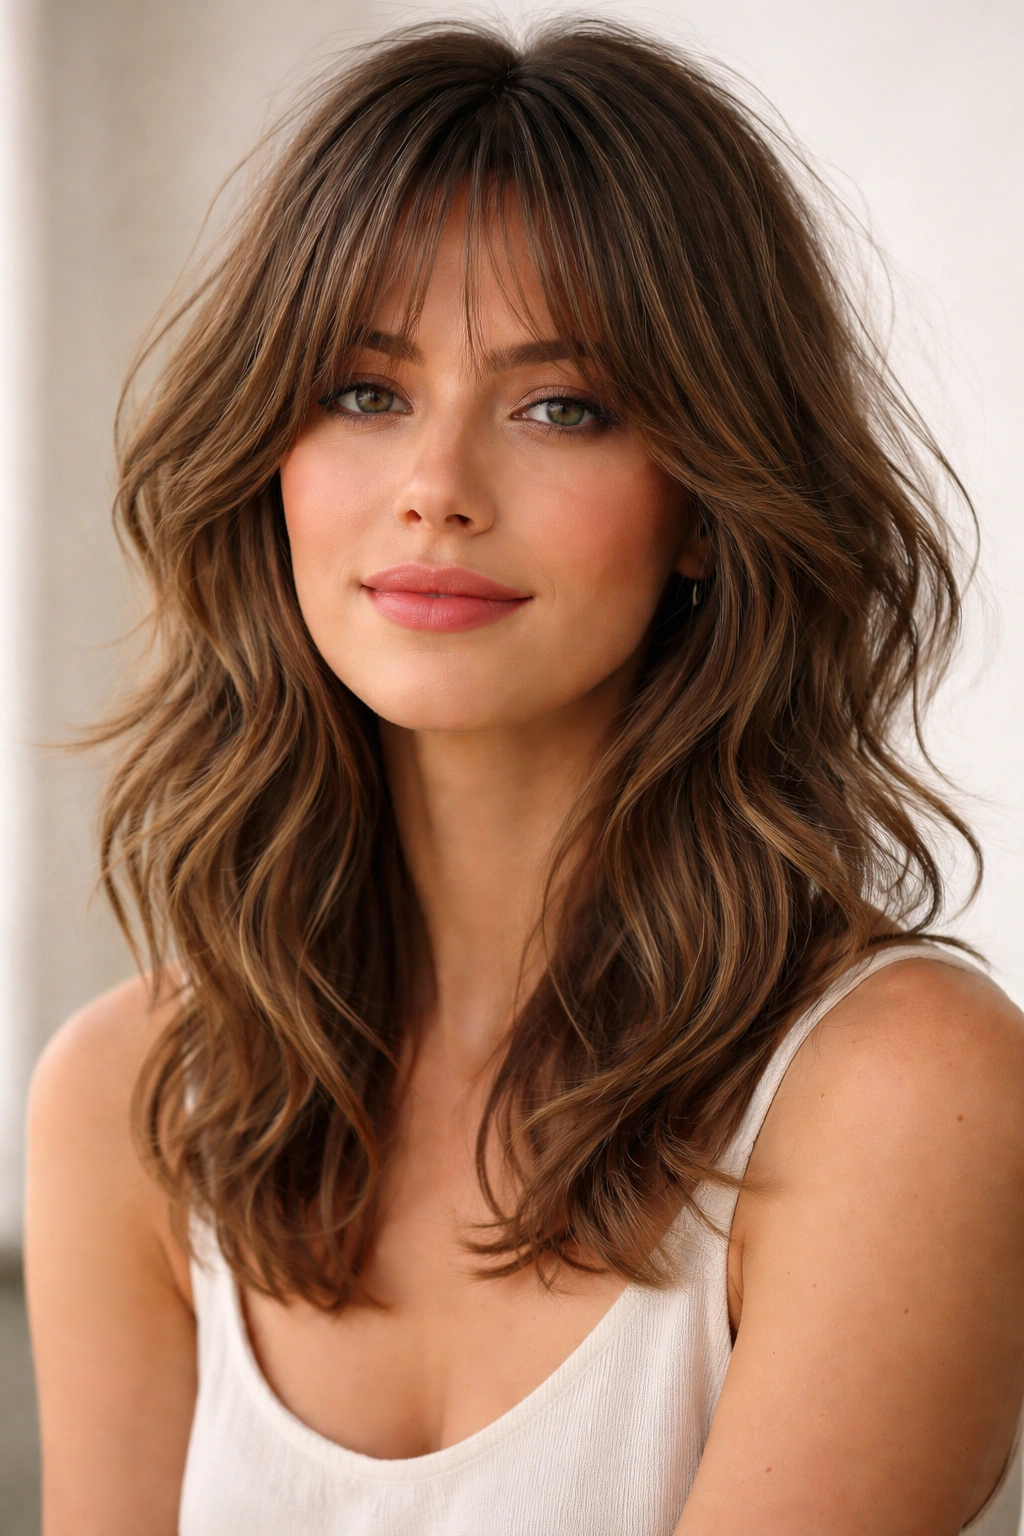
3. Curtain Bangs with Shag Layers
Combining a modern curtain bang with a shag base gives you the best of both worlds—face-framing softness in front with texture and movement throughout. The bangs part down the center and fall to frame your cheekbones, while the rest of the hair is cut into choppy shag layers. It’s sophisticated but still playful, and it genuinely suits most face shapes because the curtains can be tailored to your proportions.
Why Curtains Elevate a Shag
Curtain bangs add a softer, more intentional element to what’s otherwise a deliberately undone cut. They frame the face in a way that feels polished even when the rest of your shag is doing its tousled thing. The bangs also create a focal point that draws attention to your eyes and cheekbones, making this version especially flattering for rounder or wider face shapes.
How to Make This Work Daily
- Blow-dry the bangs straight or with a slight wave using a small round brush
- Let the shag layers beneath do their natural wavy thing—contrast is intentional here
- Use a lightweight styling cream on the bangs to keep them smooth while the rest of your hair is textured
- When bangs feel flat, scrunch them with a light dry texture spray for subtle movement
- Tuck the bangs behind your ears when you want a completely different vibe—curtain bangs are endlessly versatile
Insider note: Curtain bangs need slightly more frequent trims (every 4 weeks or so) than the rest of your shag because they frame your face so prominently.
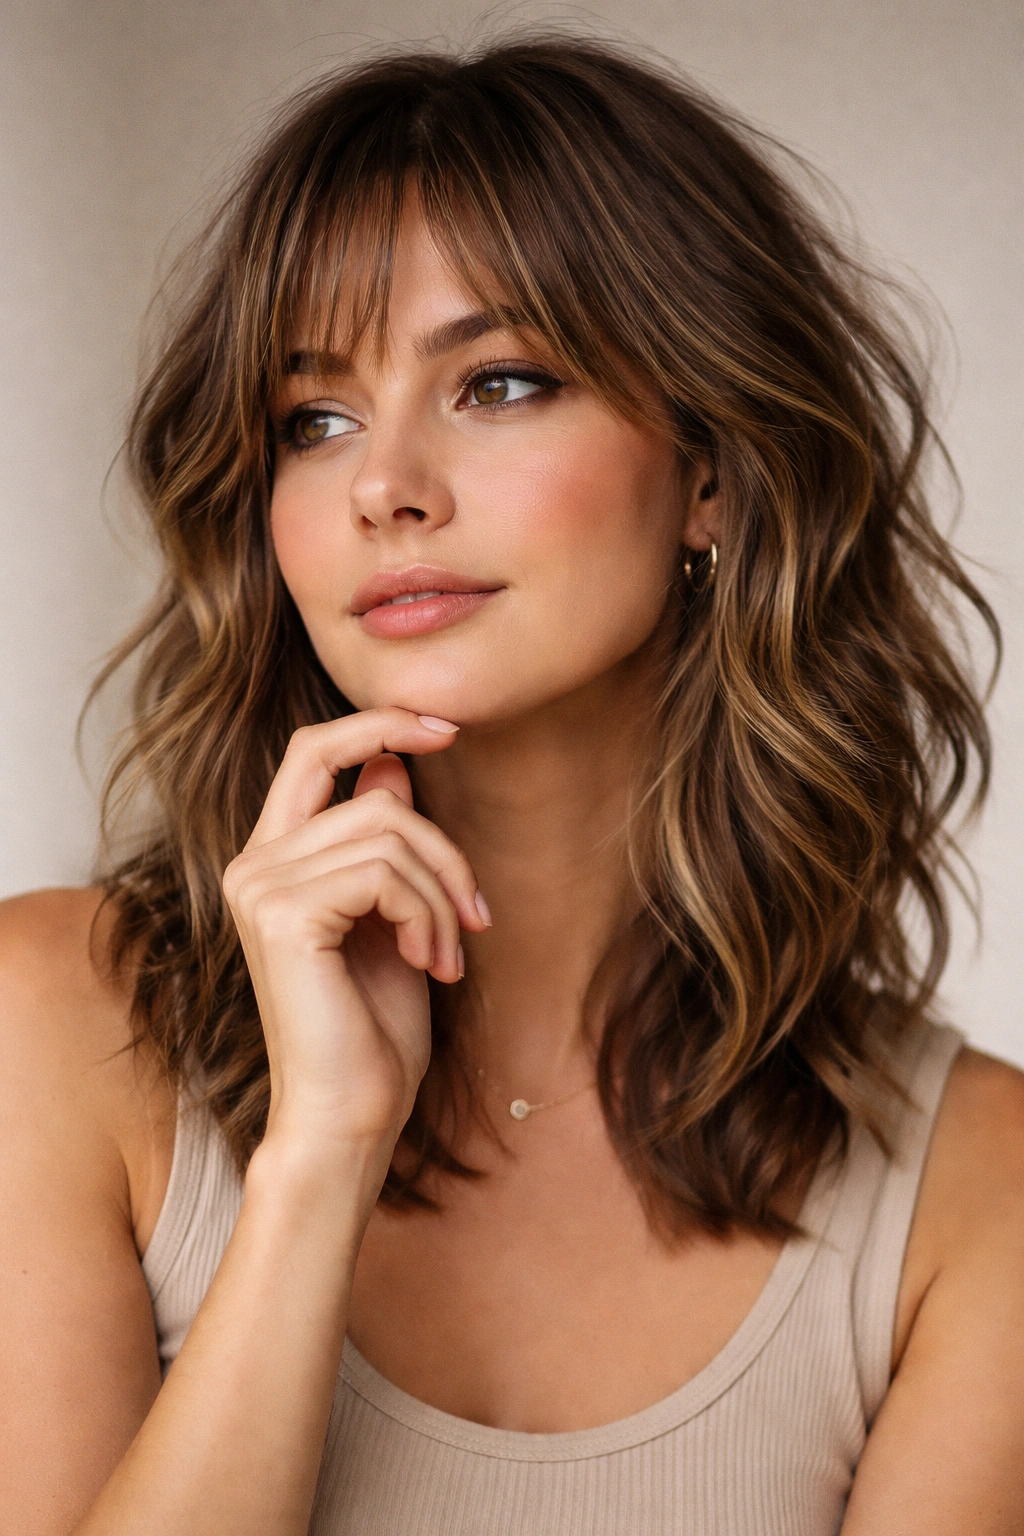
4. Effortless Beachy Waves
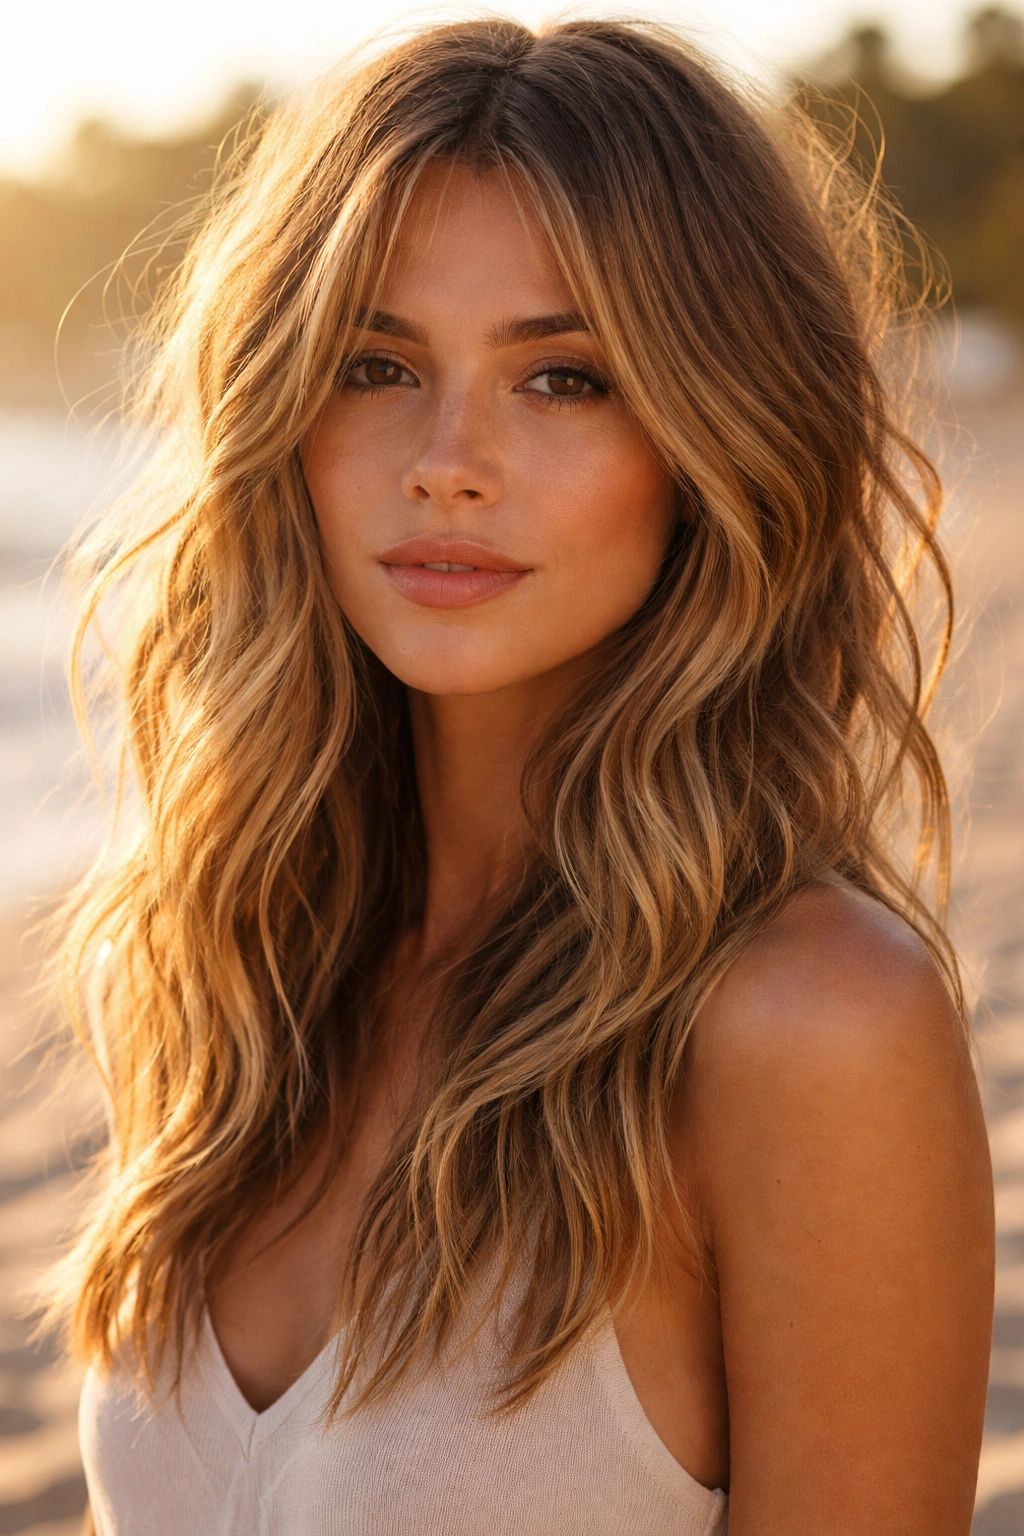
This version of the shag leans into the beachy, salt-kissed aesthetic with deliberate waviness built into the cut itself. Instead of choppy layering, the emphasis is on longer pieces with subtle undercutting that encourages waves to flow and move. The result feels like you spent the day surfing, even if the closest you’ve been to the ocean is your shower.
What Makes It Beachy
The key to this version is that the layers work with your natural wave pattern rather than against it. A skilled stylist will cut the layers in a way that enhances whatever wave or curl pattern you already have. You’re not fighting your hair texture—you’re celebrating it. The cut usually incorporates some longer pieces that can be tucked behind your ears, giving you styling flexibility.
Beachy Wave Styling Routine
- Apply sea salt spray to damp hair before blow-drying for that textured, wave-encouraging base
- Use a diffuser or just scrunch while air-drying to enhance natural waves
- Braid damp hair loosely overnight and release for effortless waves the next morning
- Try a curling iron just on the pieces around your face to deepen the wave pattern
- Finish with a sea salt or texturizing spray for definition and hold without crunch
Pro tip: This style actually gets better the second or third day when your waves have fully developed and the product has set.
5. Voluminous Spiral Shag
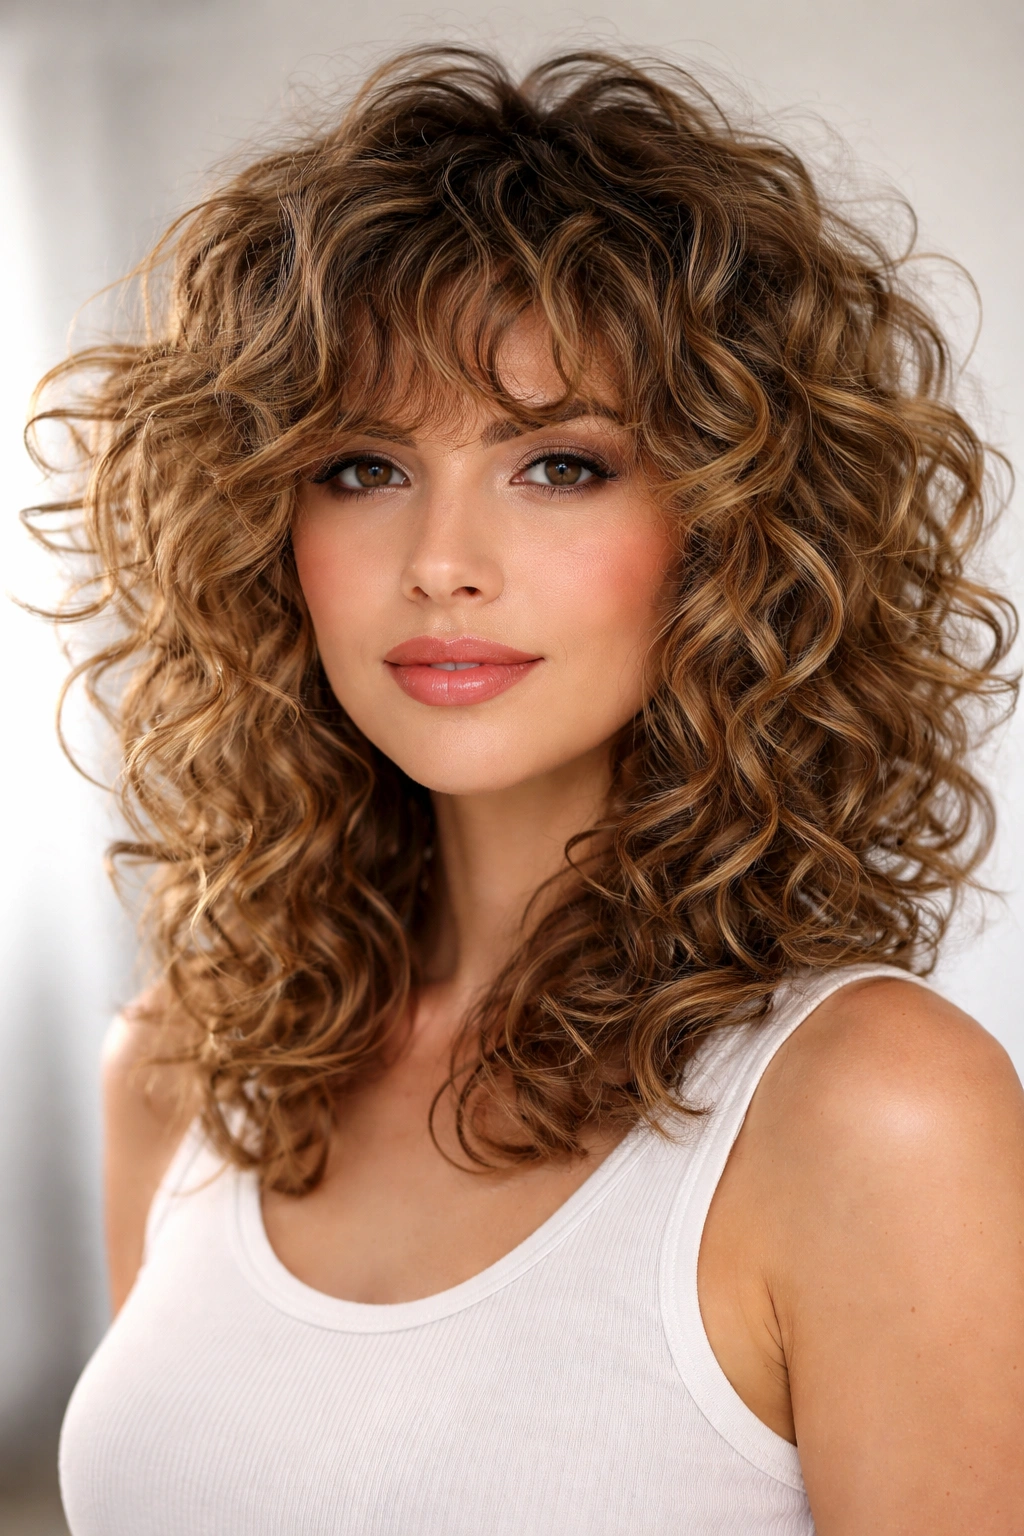
If you’re working with naturally curly or spiral-textured hair, this shag variation is specifically designed to maximize volume and celebrate your curl pattern. The layers are cut shorter and choppier throughout, with special attention to how the layers sit on top of and around your curls. The result is a cut that looks full, bouncy, and three-dimensional from every angle.
Why Curly Hair Loves This Cut
Curly and spiral-textured hair is naturally prone to looking heavy and compressed because all those curls stack on top of each other. Strategic layering removes weight from the interior of your hair, allowing curls to spring up and away from your head. Each layer can express itself independently, which means more volume, more movement, and more of that gorgeous texture showing through.
Styling Spiral Texture
- Cleanse with a curl-friendly shampoo and deep conditioning treatment
- Apply leave-in conditioner and curl cream to soaking wet hair
- Use a diffuser attachment or cup hands around curls while blow-drying to encourage lift
- Apply cream or gel to define individual curl spirals
- Don’t touch your hair while it dries—let gravity and diffusion work their magic
- Once dry, you can gently separate curls with your fingers or a pick if they’ve clumped
Worth knowing: This cut usually looks best on tighter curl patterns (from loose spirals to coils). If you have super loose waves, one of the other shag versions might suit you better.
6. Wet-Look Shag with Movement
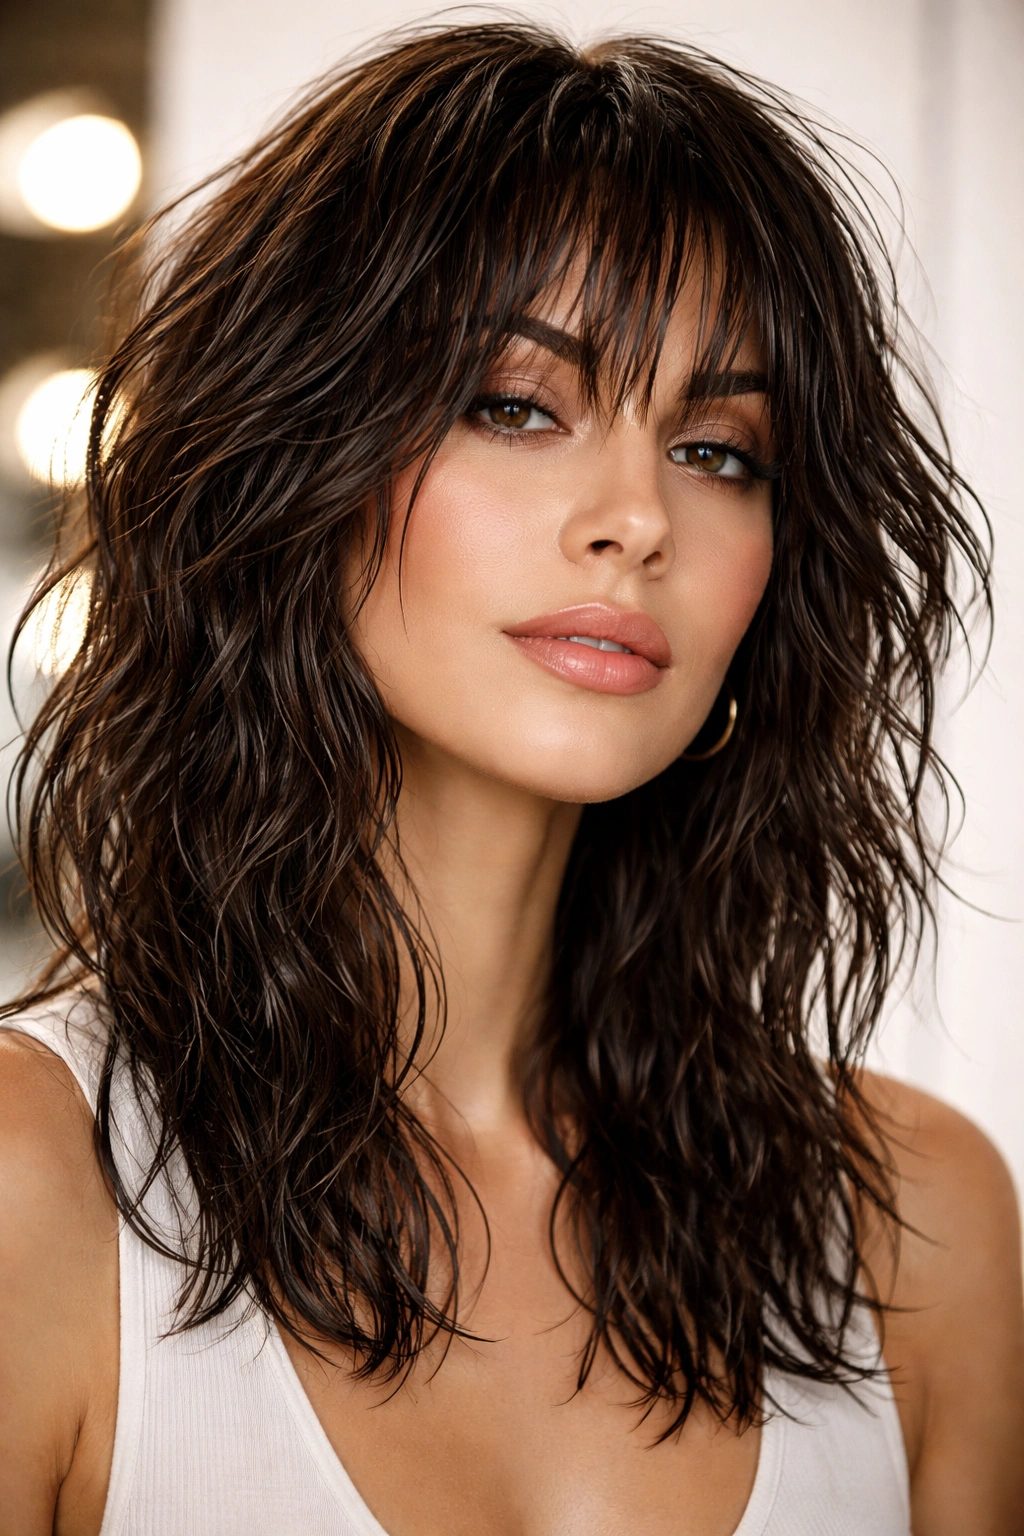
This contemporary take on the shag embraces a slick, wet appearance with intentional shine and movement. The cut incorporates choppy layers that allow movement even when hair is styled sleek. It’s less about the tousled, undone vibe and more about polished texture—think model-off-duty but intentional. This works especially well if you like to style your hair with products that add shine.
The Wet-Look Aesthetic
The wet-look shag is perfect if you want texture and movement but prefer a more groomed, styled appearance than a completely effortless shag. The layers are there, but they’re working in harmony with a slicked-back or sleekly-styled vibe. You’re getting dimension and movement without the “just woke up” energy. It photographs beautifully and works for both casual and dressier occasions.
Creating the Wet-Look Shag
- Apply a shine serum or glossing spray to damp hair
- Blow-dry smooth using a paddle brush or concentrator nozzle
- Use a fine-tooth comb to smooth hair down while blow-drying for a sleek base
- Finish with a pomade or wet-look gel applied sparingly to the pieces you want emphasized
- The layers create natural shine breaks that look intentional and cool
- You can style it completely smooth or encourage slight waves depending on your mood
Pro tip: This look works beautifully with darker hair or rich, jewel-tone color because the wet look creates extra depth and shine.
7. Choppy Face-Framing Shag
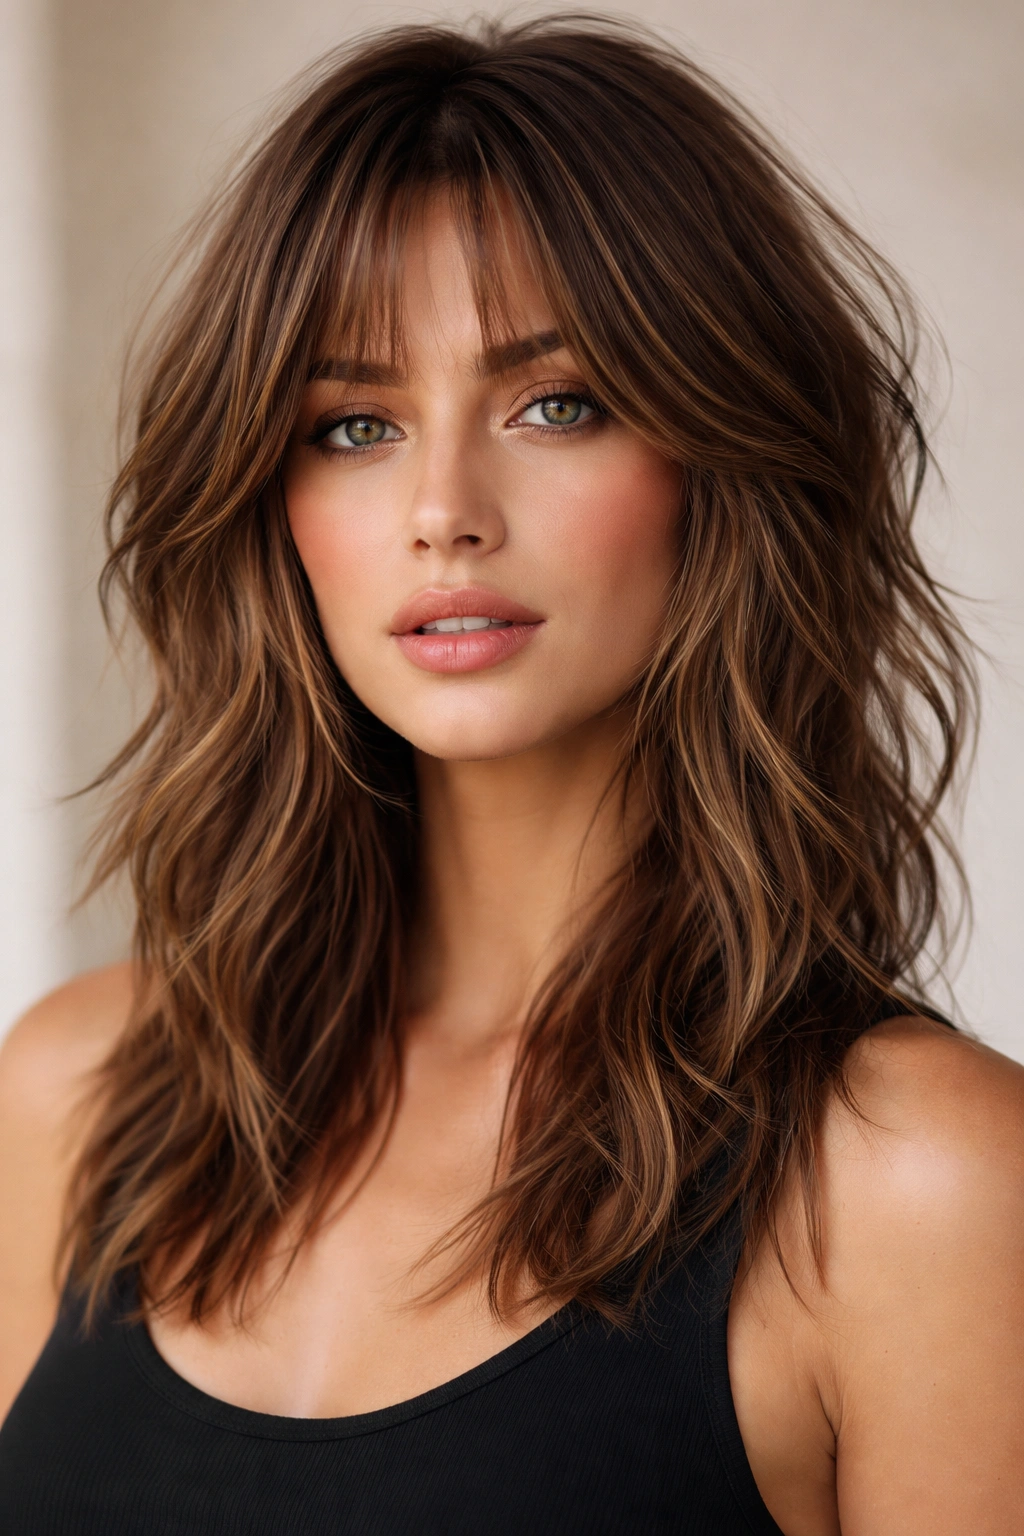
This version emphasizes face-framing pieces that are noticeably shorter than the rest of your hair, creating a concentrated area of texture and movement right where it matters most. The face-framing layers are choppy and irregular, designed to move independently and catch light. The back and sides are longer and slightly less choppy, creating a shape that’s graduated but still definitely a shag.
Why Face-Framing Works
Your face is what people see first, and strategically choppy layers right there make an immediate impact. They draw attention upward and create movement exactly where you want emphasis. This version is especially flattering if you want to highlight your cheekbones, jaw, or eye area. The shorter pieces in front also make styling easier because you’re not fighting long pieces that fall in your face.
Maintaining Face-Framing Layers
- These shorter pieces grow out faster, so plan on trims every 4-6 weeks
- Style them with a round brush while blow-drying to encourage volume and wave
- Use texturizing cream on just these pieces to separate them from the rest of your hair
- Tuck them behind your ears when you want a completely different vibe
- Scrunch them with texture spray for definition or smooth them for a sleeker look
- They look best when they’re showing movement and catching light
Worth knowing: Face-framing pieces look especially good when they’re slightly longer on one side—asymmetry adds to the intentional, modern vibe.
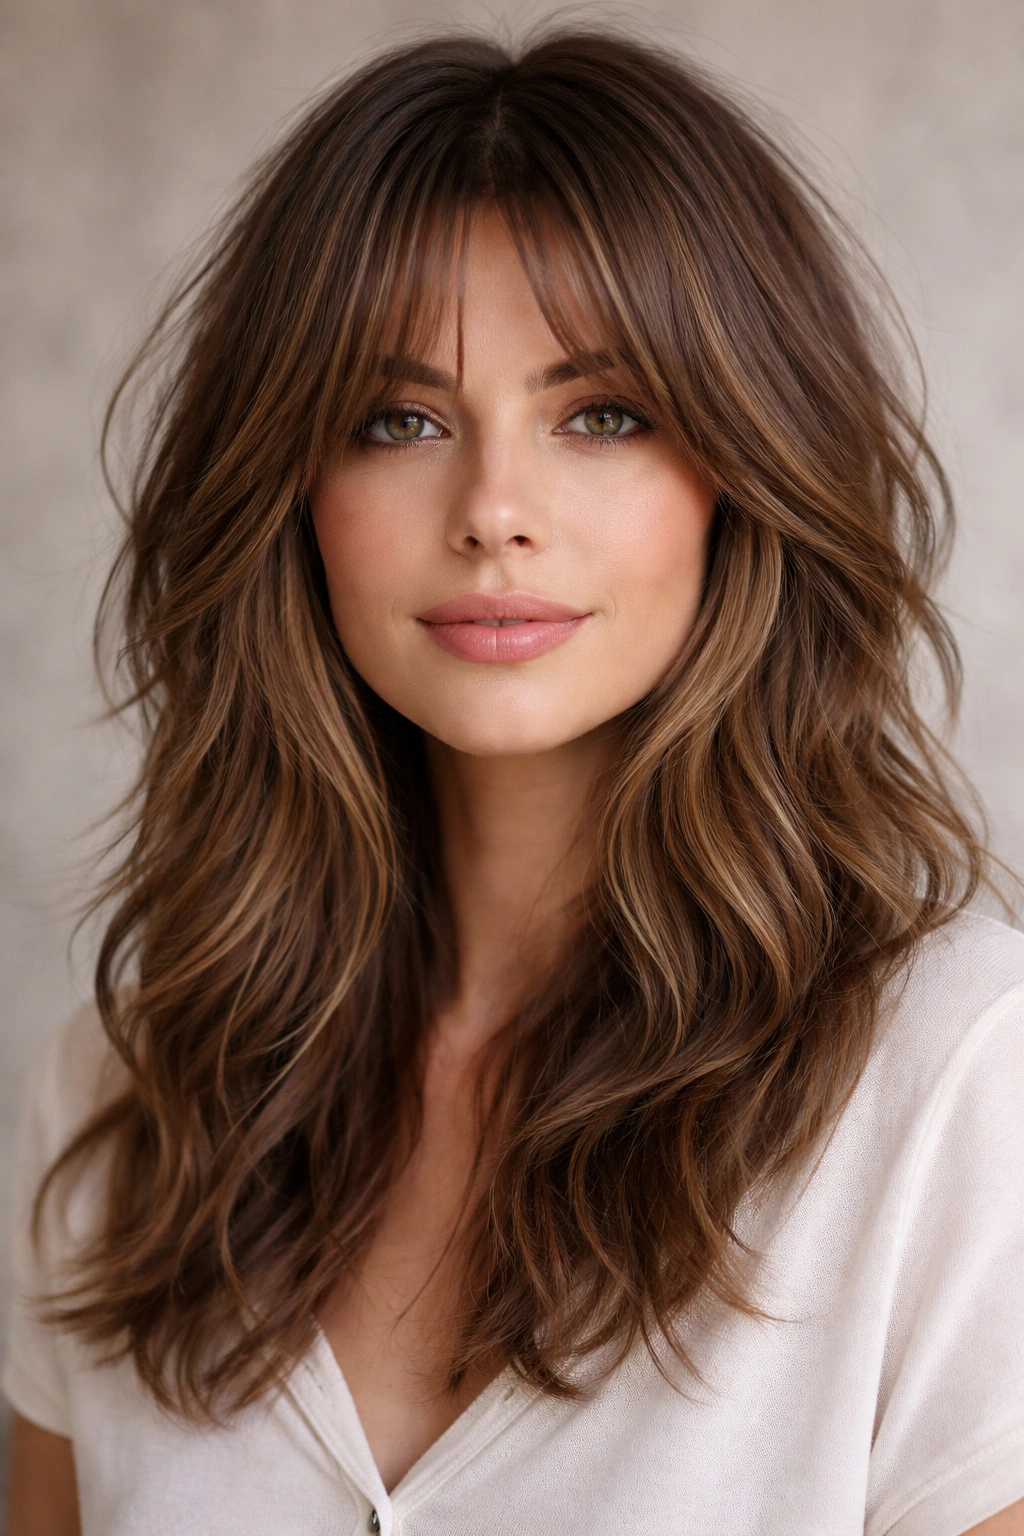
8. Subtle Balayage Shag
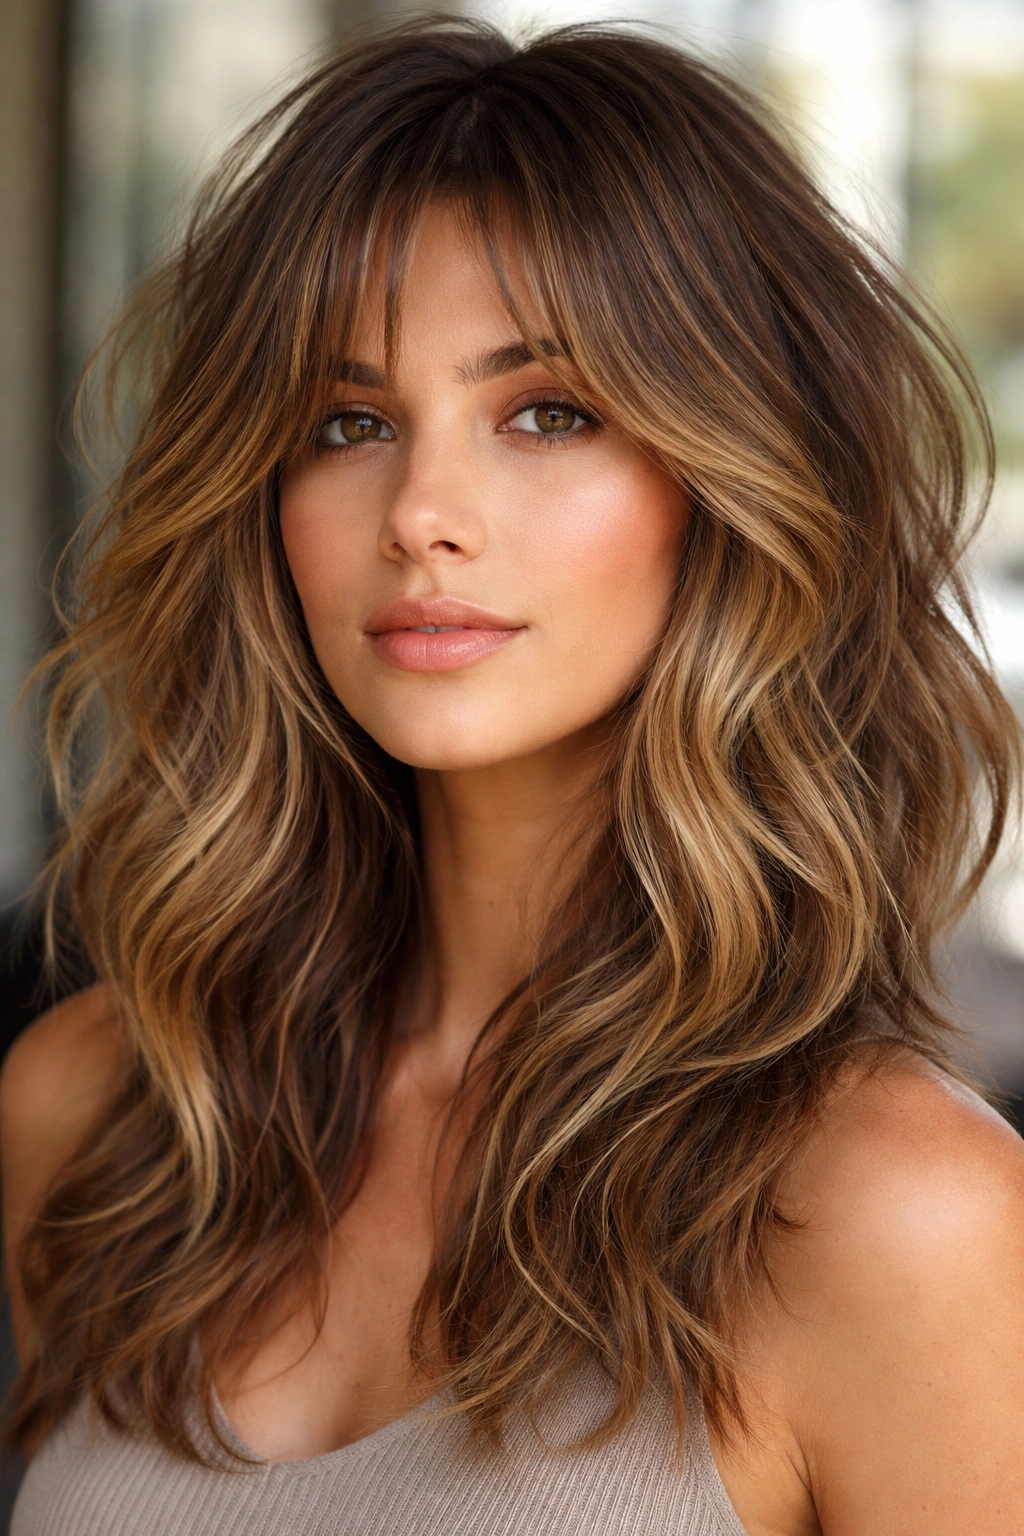
The cut itself is a refined, slightly less choppy shag—more blended layers than pieces—that’s specifically designed to showcase beautiful balayage or dimensional color. The layers create a canvas where highlights and lowlights can play off each other, with each layer picking up light differently. The color and cut work together to create dimension that’s impossible to achieve with either element alone.
How Color and Cut Collaborate
A shag cut naturally creates movement and texture, but when you layer in dimensional color, the effect becomes exponentially more interesting. Lighter pieces catch light from one direction, darker pieces add depth, and the shag layers ensure that color hits your hair from multiple angles. You’re not just adding color—you’re amplifying the cut’s texture through strategic color placement.
Styling This Version
- Use a lightweight styling cream to encourage movement without weighing down highlights
- Blow-dry with a diffuser to create soft waves that show off color dimension
- Consider a gloss treatment every 6-8 weeks to keep balayage looking fresh and dimensional
- Use a volumizing mousse at the roots while blow-drying to create lift that shows off color placement
- Air-dry completely to see the true color dimension—wet hair hides half the balayage’s magic
- A light hairspray keeps movement while maintaining shine on highlighted pieces
Pro tip: Ask your stylist to cut the layers slightly longer underneath—this keeps highlighted pieces visible even when you pull your hair back.
9. Tousled Undercut Shag
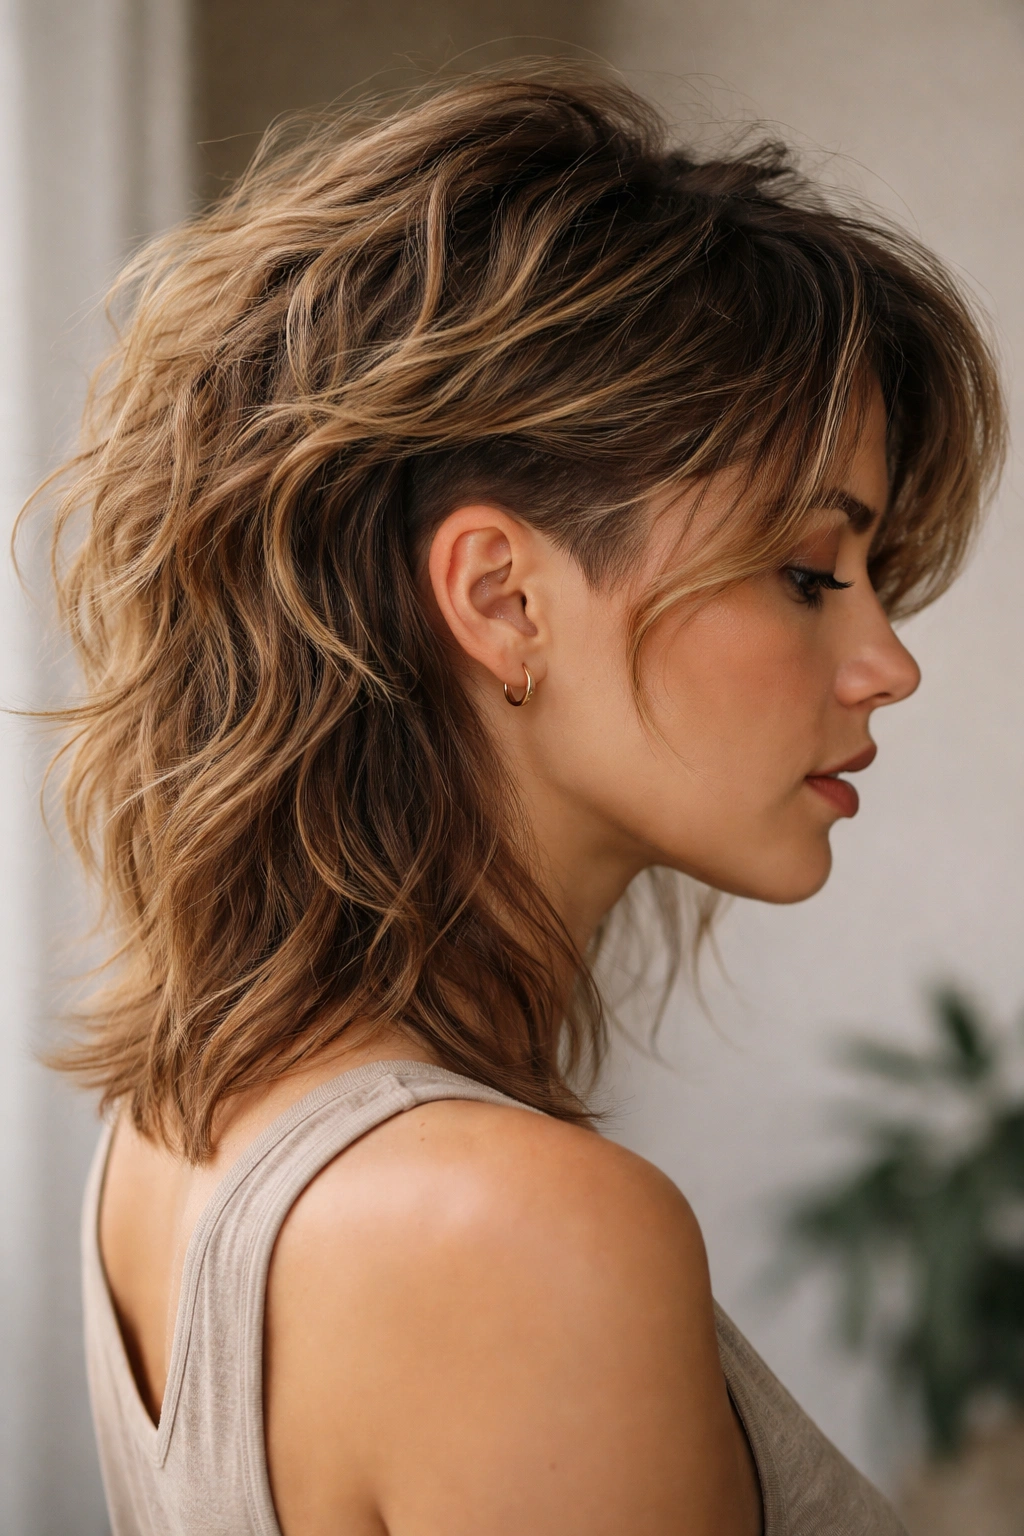
This modern take incorporates subtle undercut elements where the underneath is shorter and creates a hidden layer of texture. When your hair is down, it looks like a standard shag, but there’s intentional shorter layering underneath that creates movement and fullness. When you pull your hair up, you’ll see the undercut creating a cool, edgy detail. It’s subtle but impactful.
What an Undercut Adds
The undercut element gives you styling versatility and hidden cool factor. You can wear your hair down and rock a classic shag vibe, or pull it up and reveal the undercut detail. It also helps with weight distribution—the shorter underneath layers prevent your medium-length hair from feeling heavy while maintaining length on top. The undercut creates movement that wouldn’t exist if the underneath was cut evenly.
Styling the Undercut Shag
- When wearing down, style like a standard shag with texturizing cream and movement
- Blow-dry the top layers away from your face to show off the undercut’s effect on movement
- When pulling hair back, deliberately expose the undercut for an edgy moment
- The undercut means you need more frequent touch-ups (every 5-6 weeks) to maintain the distinction
- Use a texturizing spray on the undercut pieces for extra definition
- The shorter underneath dries faster, so section dry these pieces first
Insider note: An undercut shag is perfect if you want an edgy vibe without fully committing to a short haircut—it gives you that modern energy with the security of longer length.
10. Shoulder-Grazing Feathered Shag
This final version keeps things longer—hitting right at or just below your shoulders—with feathered, softer layers rather than choppy pieces. It’s the most wearable, least dramatic shag variation, perfect if you want texture and movement but aren’t ready for a super short or super choppy look. The feathering creates softness and flow while still maintaining the shag’s signature layered structure.
Why Feathering Matters
Feathering means the layers are cut with a technique that creates tapered, feathery ends rather than blunt or choppy cuts. This gives you texture and movement while keeping things feeling polished and intentional. Feathered layers sit smoothly against your head while still creating volume and dimension. It’s the sweet spot between a standard long haircut and a full-on shag.
Styling a Feathered Shag
- Blow-dry with a round brush to create gentle waves and volume
- Use a curl cream or mousse for definition without crunch
- Feathered layers look best with some movement—completely straight feels flat
- Light texturizing spray adds separation without looking overdone
- You can wear this sleek and polished or tousled and undone—it adapts to your vibe
- Frequent trims every 6-8 weeks keep the feathering looking intentional rather than raggedy
Pro tip: This version is perfect if you’re transitioning to a shag from longer, straighter hair because the feathering feels less dramatic than choppy pieces.
Final Thoughts
A medium wavy shag haircut is genuinely one of those rare styles that looks good, feels easy to manage, and photographs beautifully. The key is finding the right variation that matches your hair texture, daily styling commitment, and personal style. Whether you’re drawn to the undone beachy vibe, the polished wet-look version, or something in between, there’s a shag variation that will make you feel confident and look effortlessly cool.
When you head to your salon appointment, bring photos of the specific variation that speaks to you and have a detailed conversation with your stylist about how often you’re willing to style your hair versus how much you want to rely on air-drying. A good shag is all about working with your natural texture, so be honest about your hair’s wave pattern, density, and porosity. Your stylist can then adjust the layering strategy to work with what you’ve actually got rather than against it. The best shag is the one you’ll actually wear, so choose the version that matches your real life, not some aspirational version of yourself.